
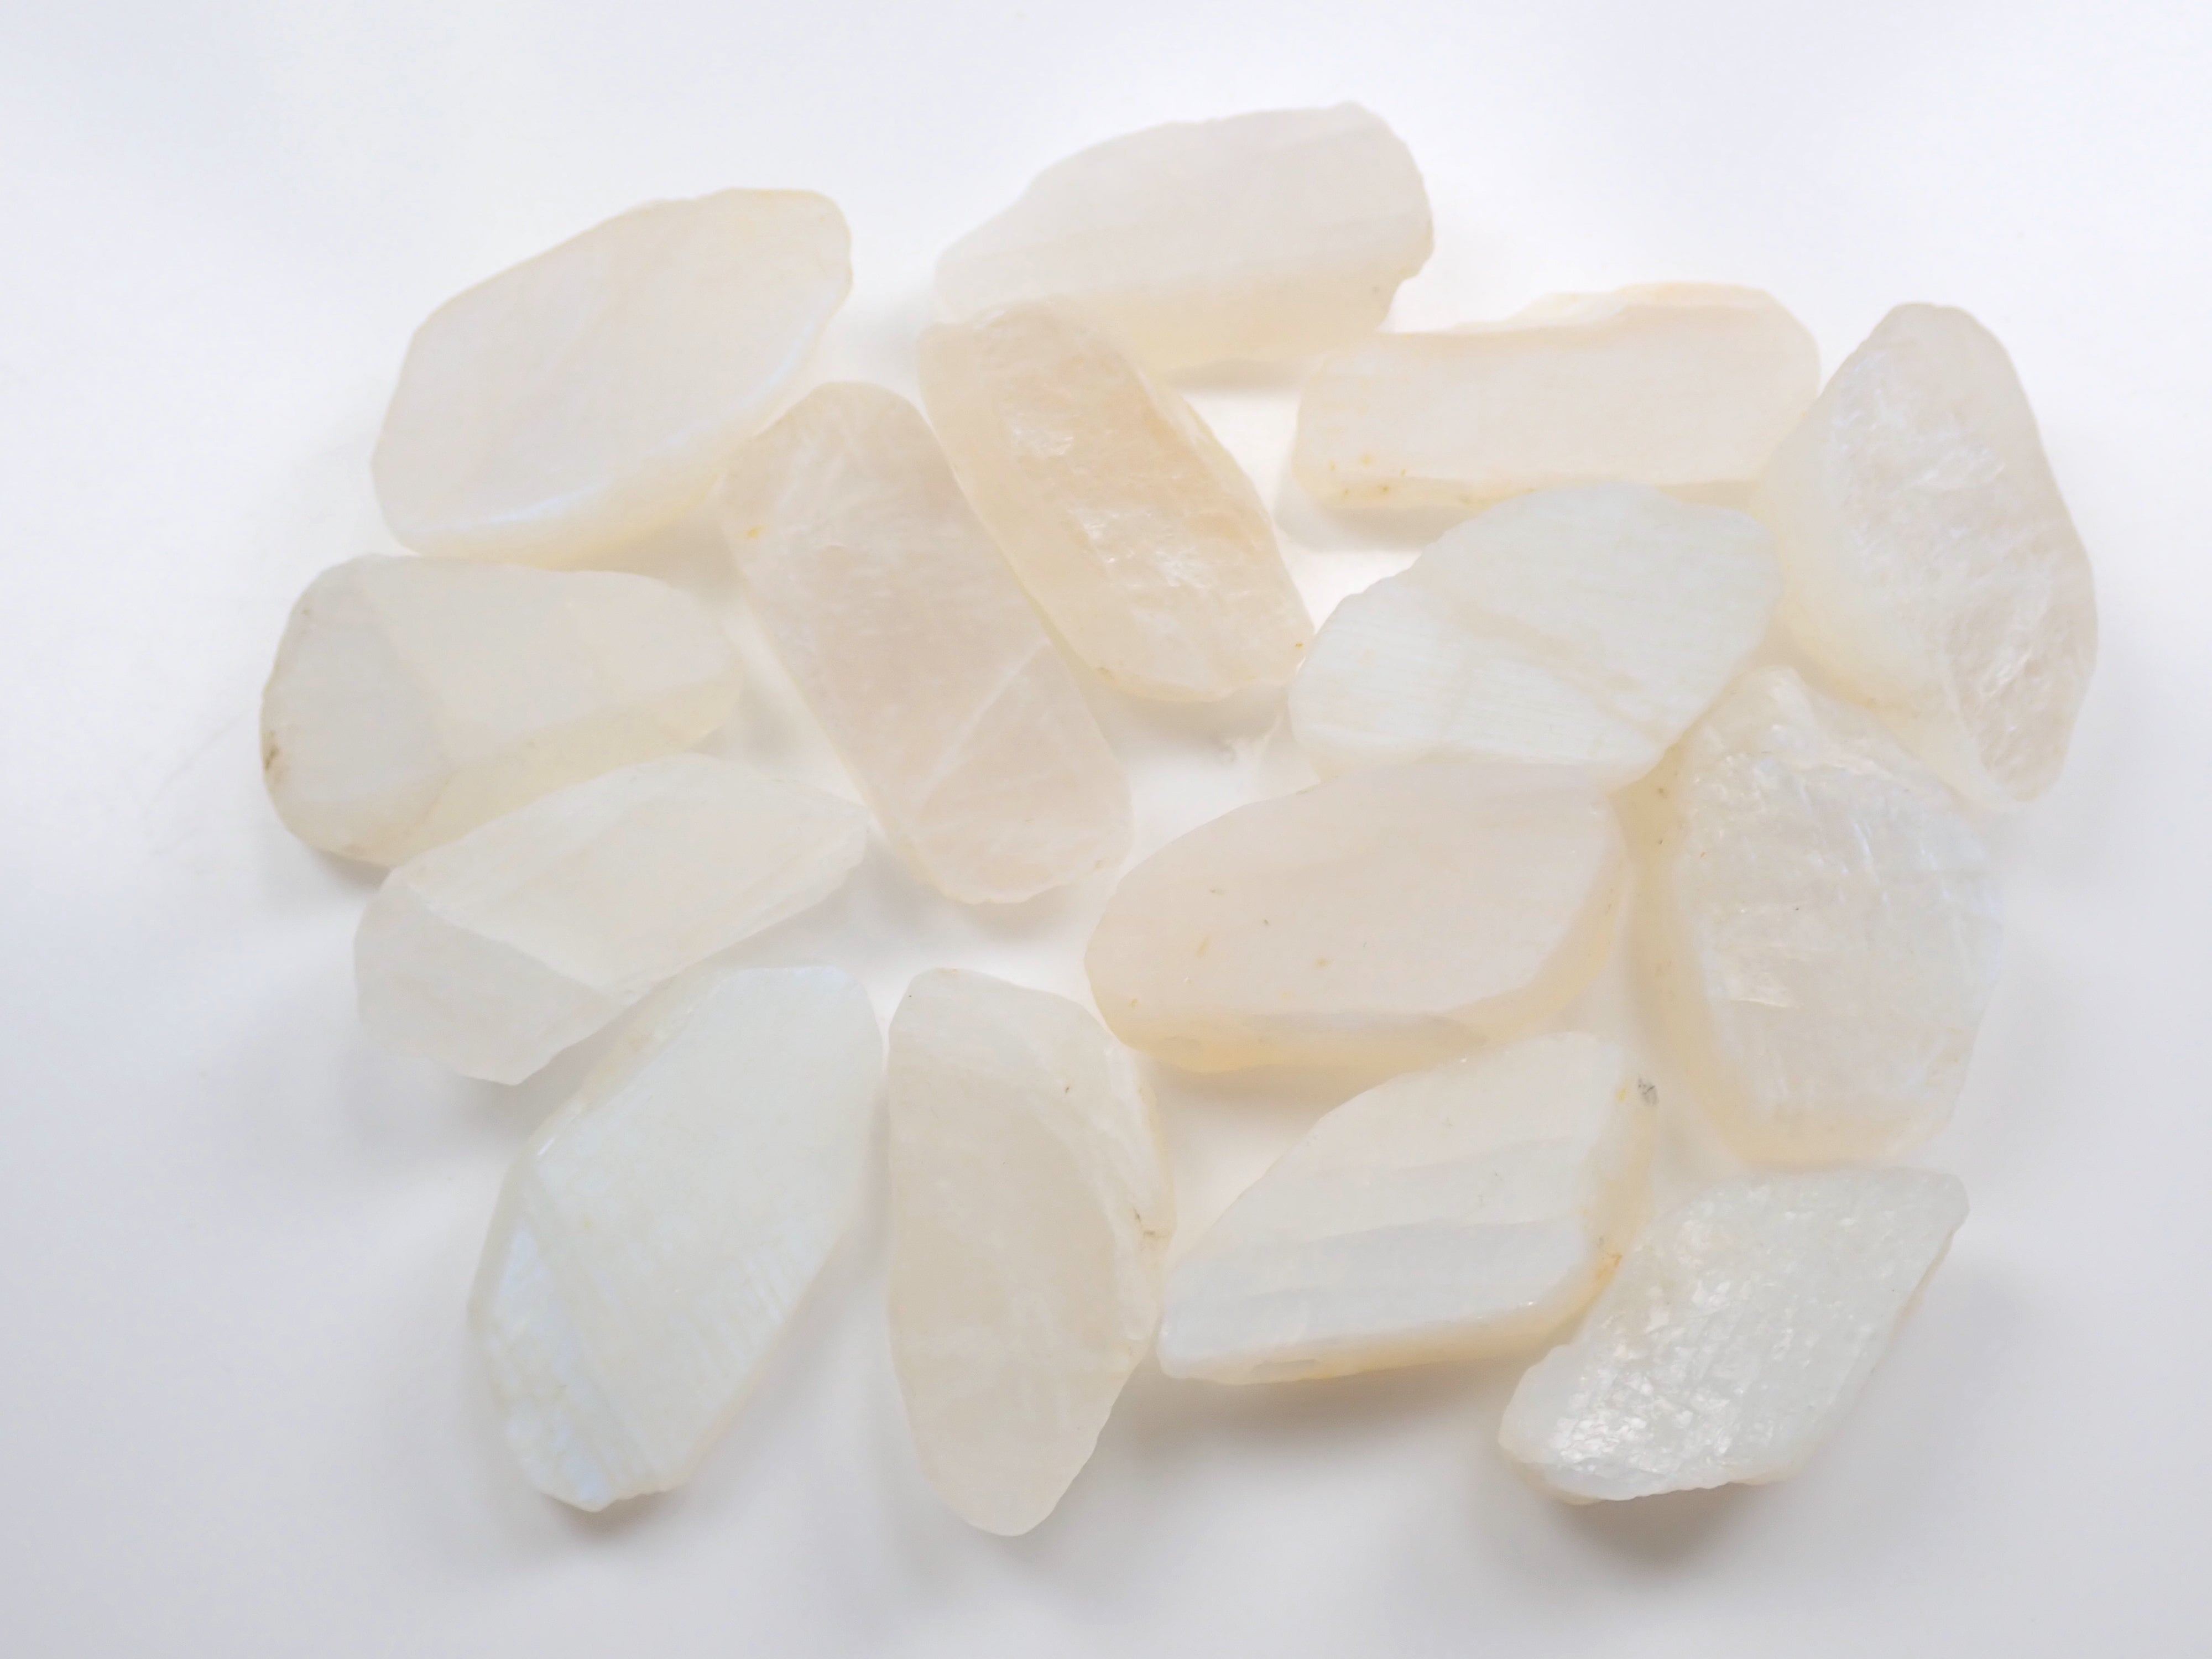
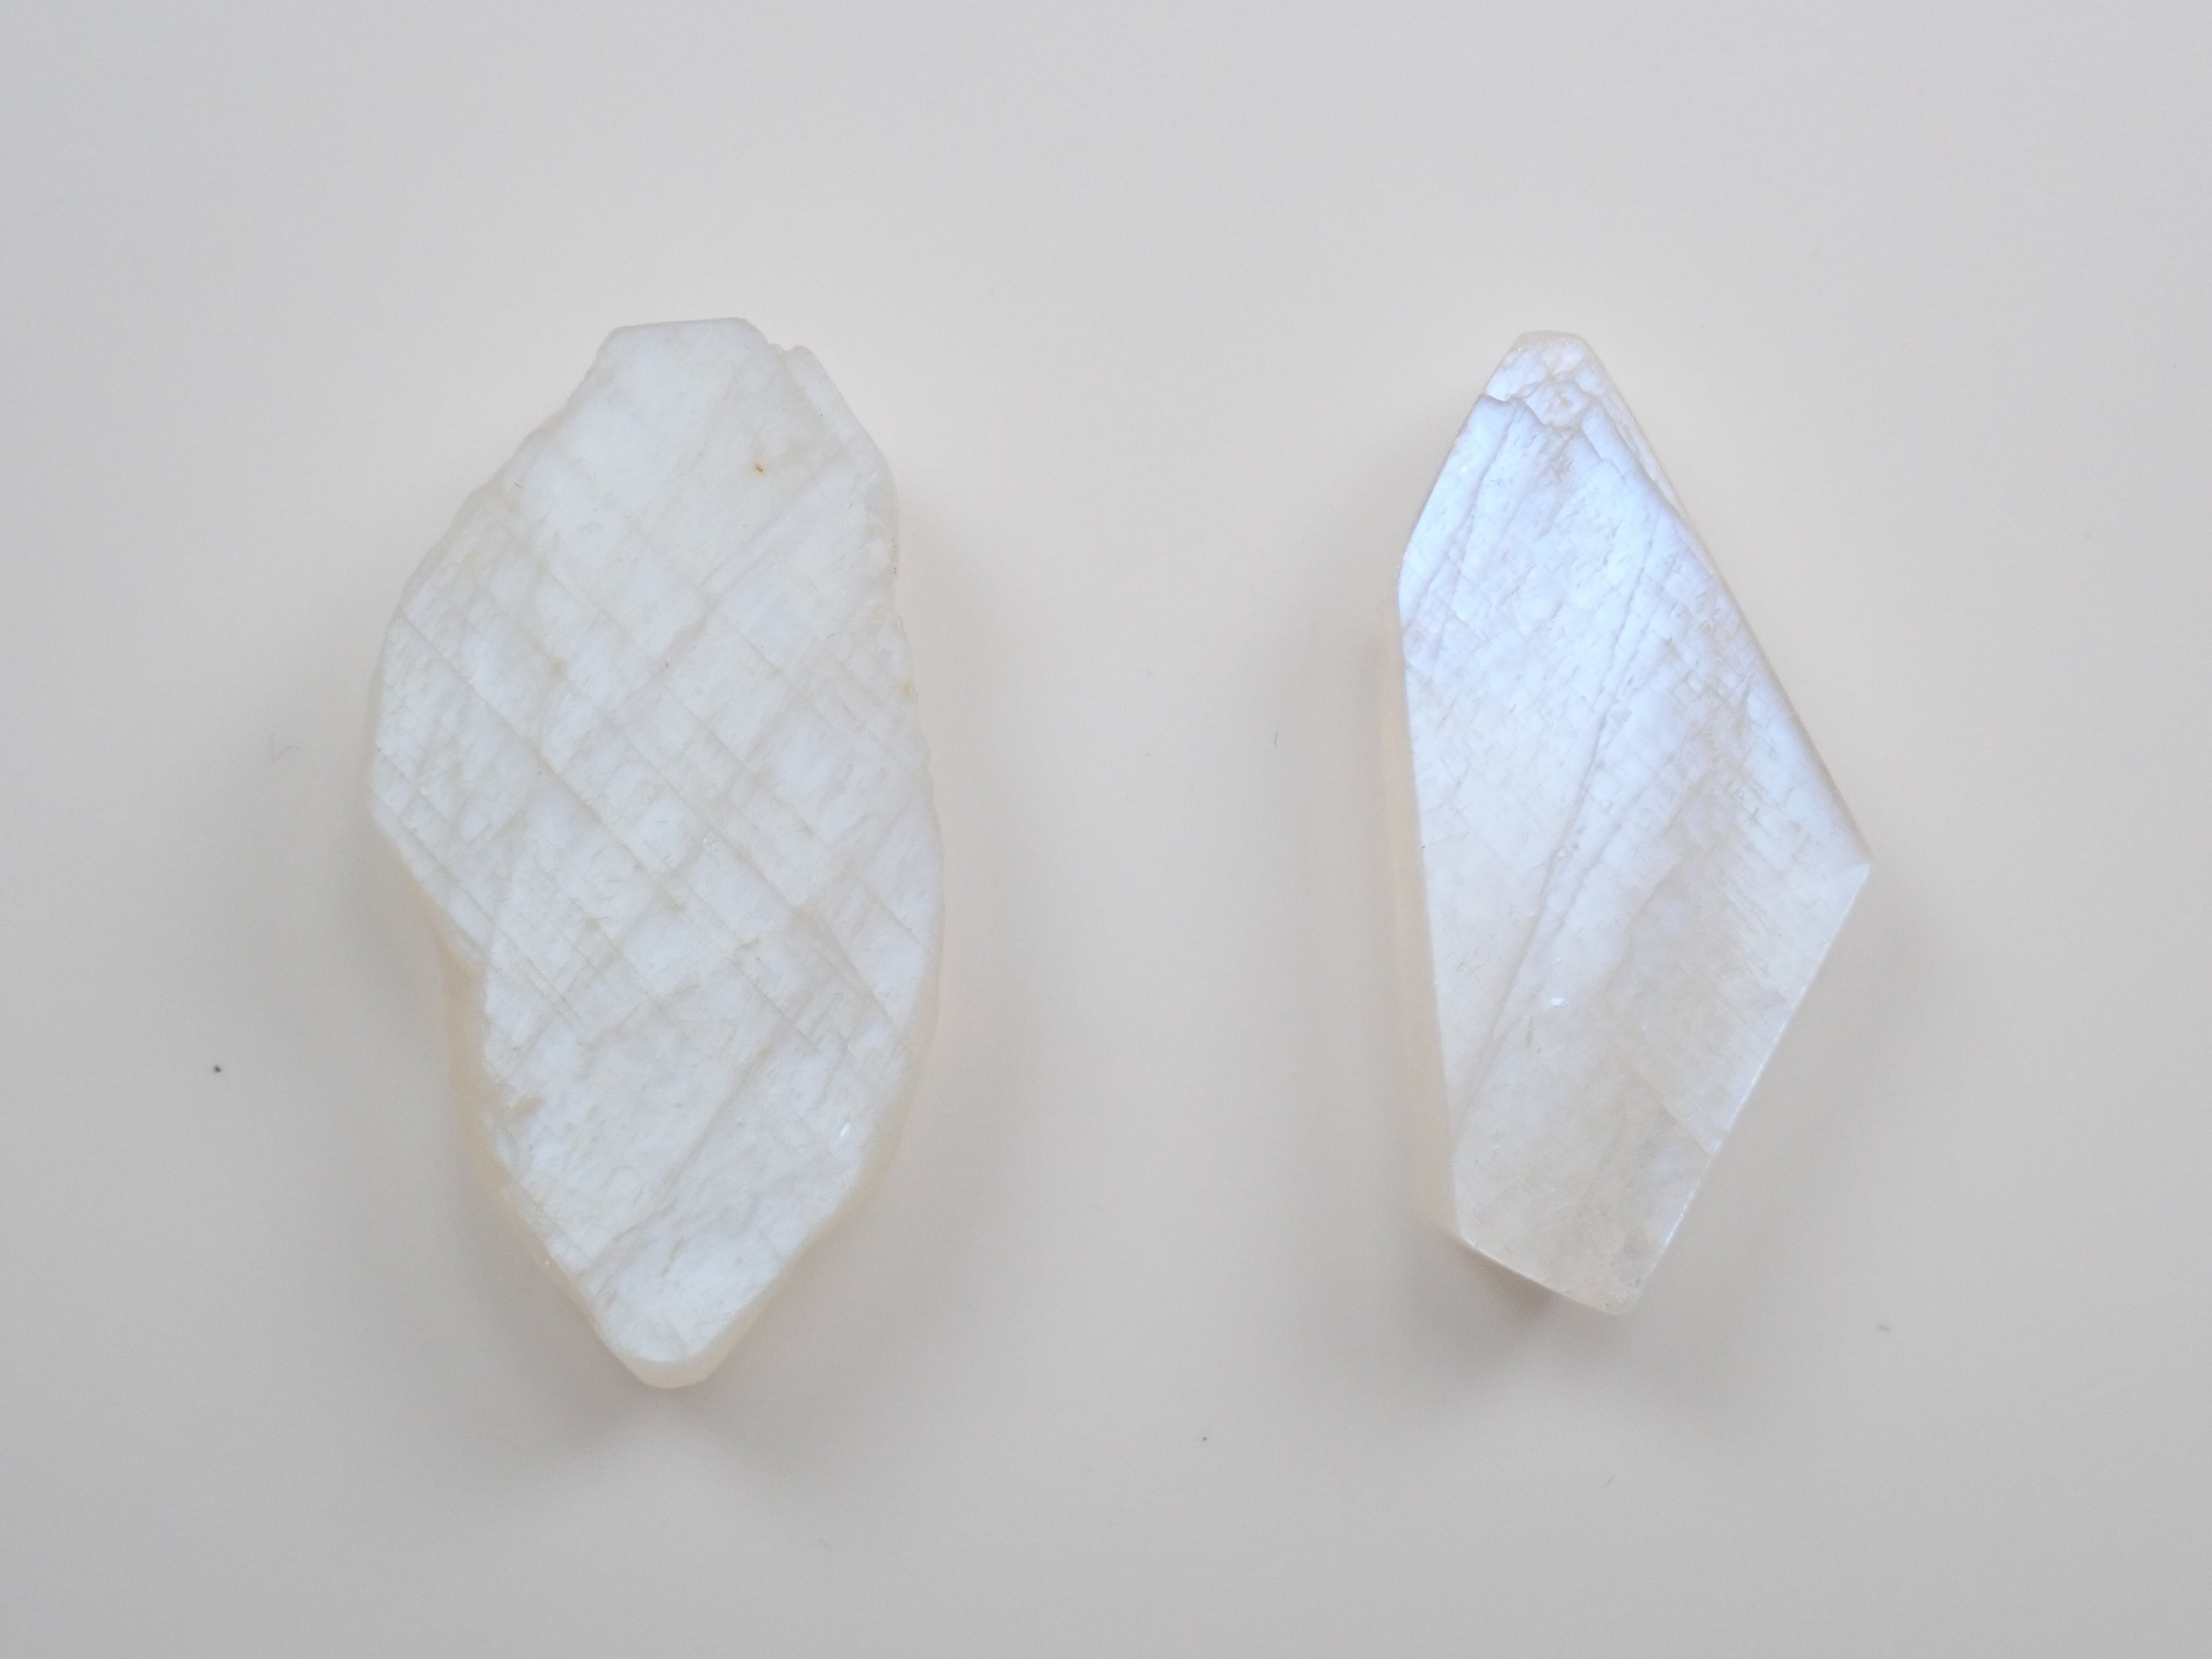
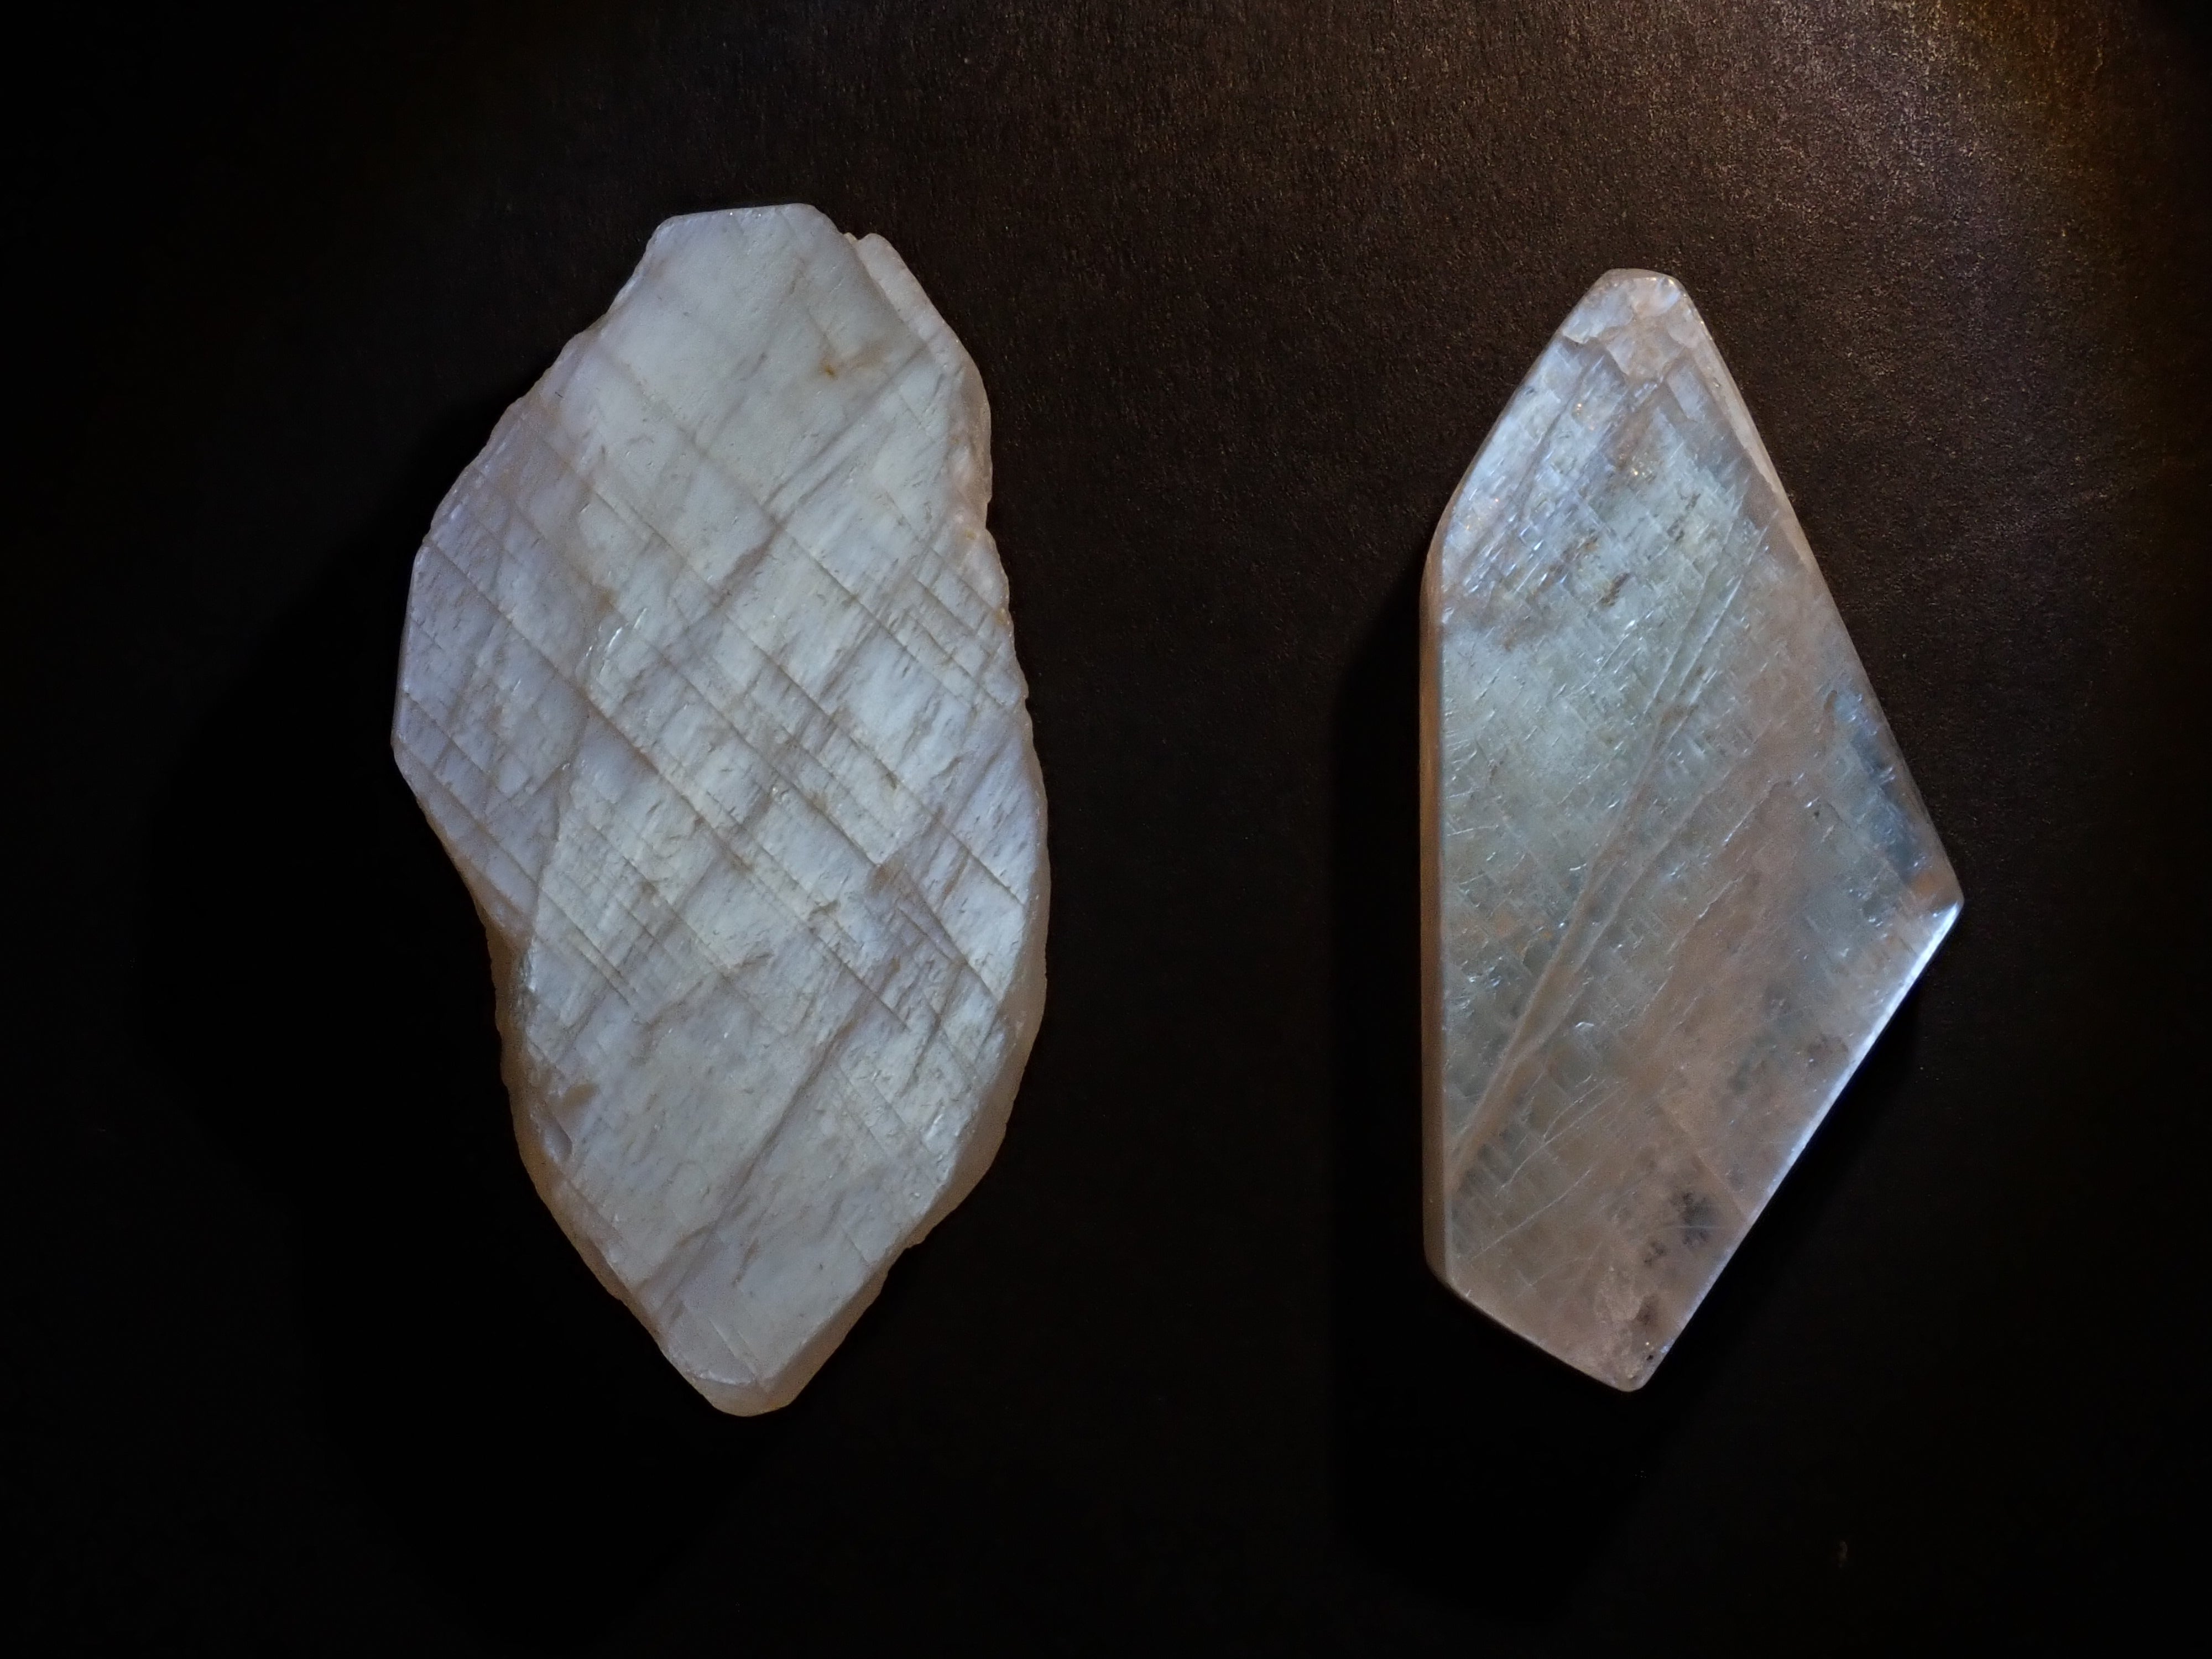
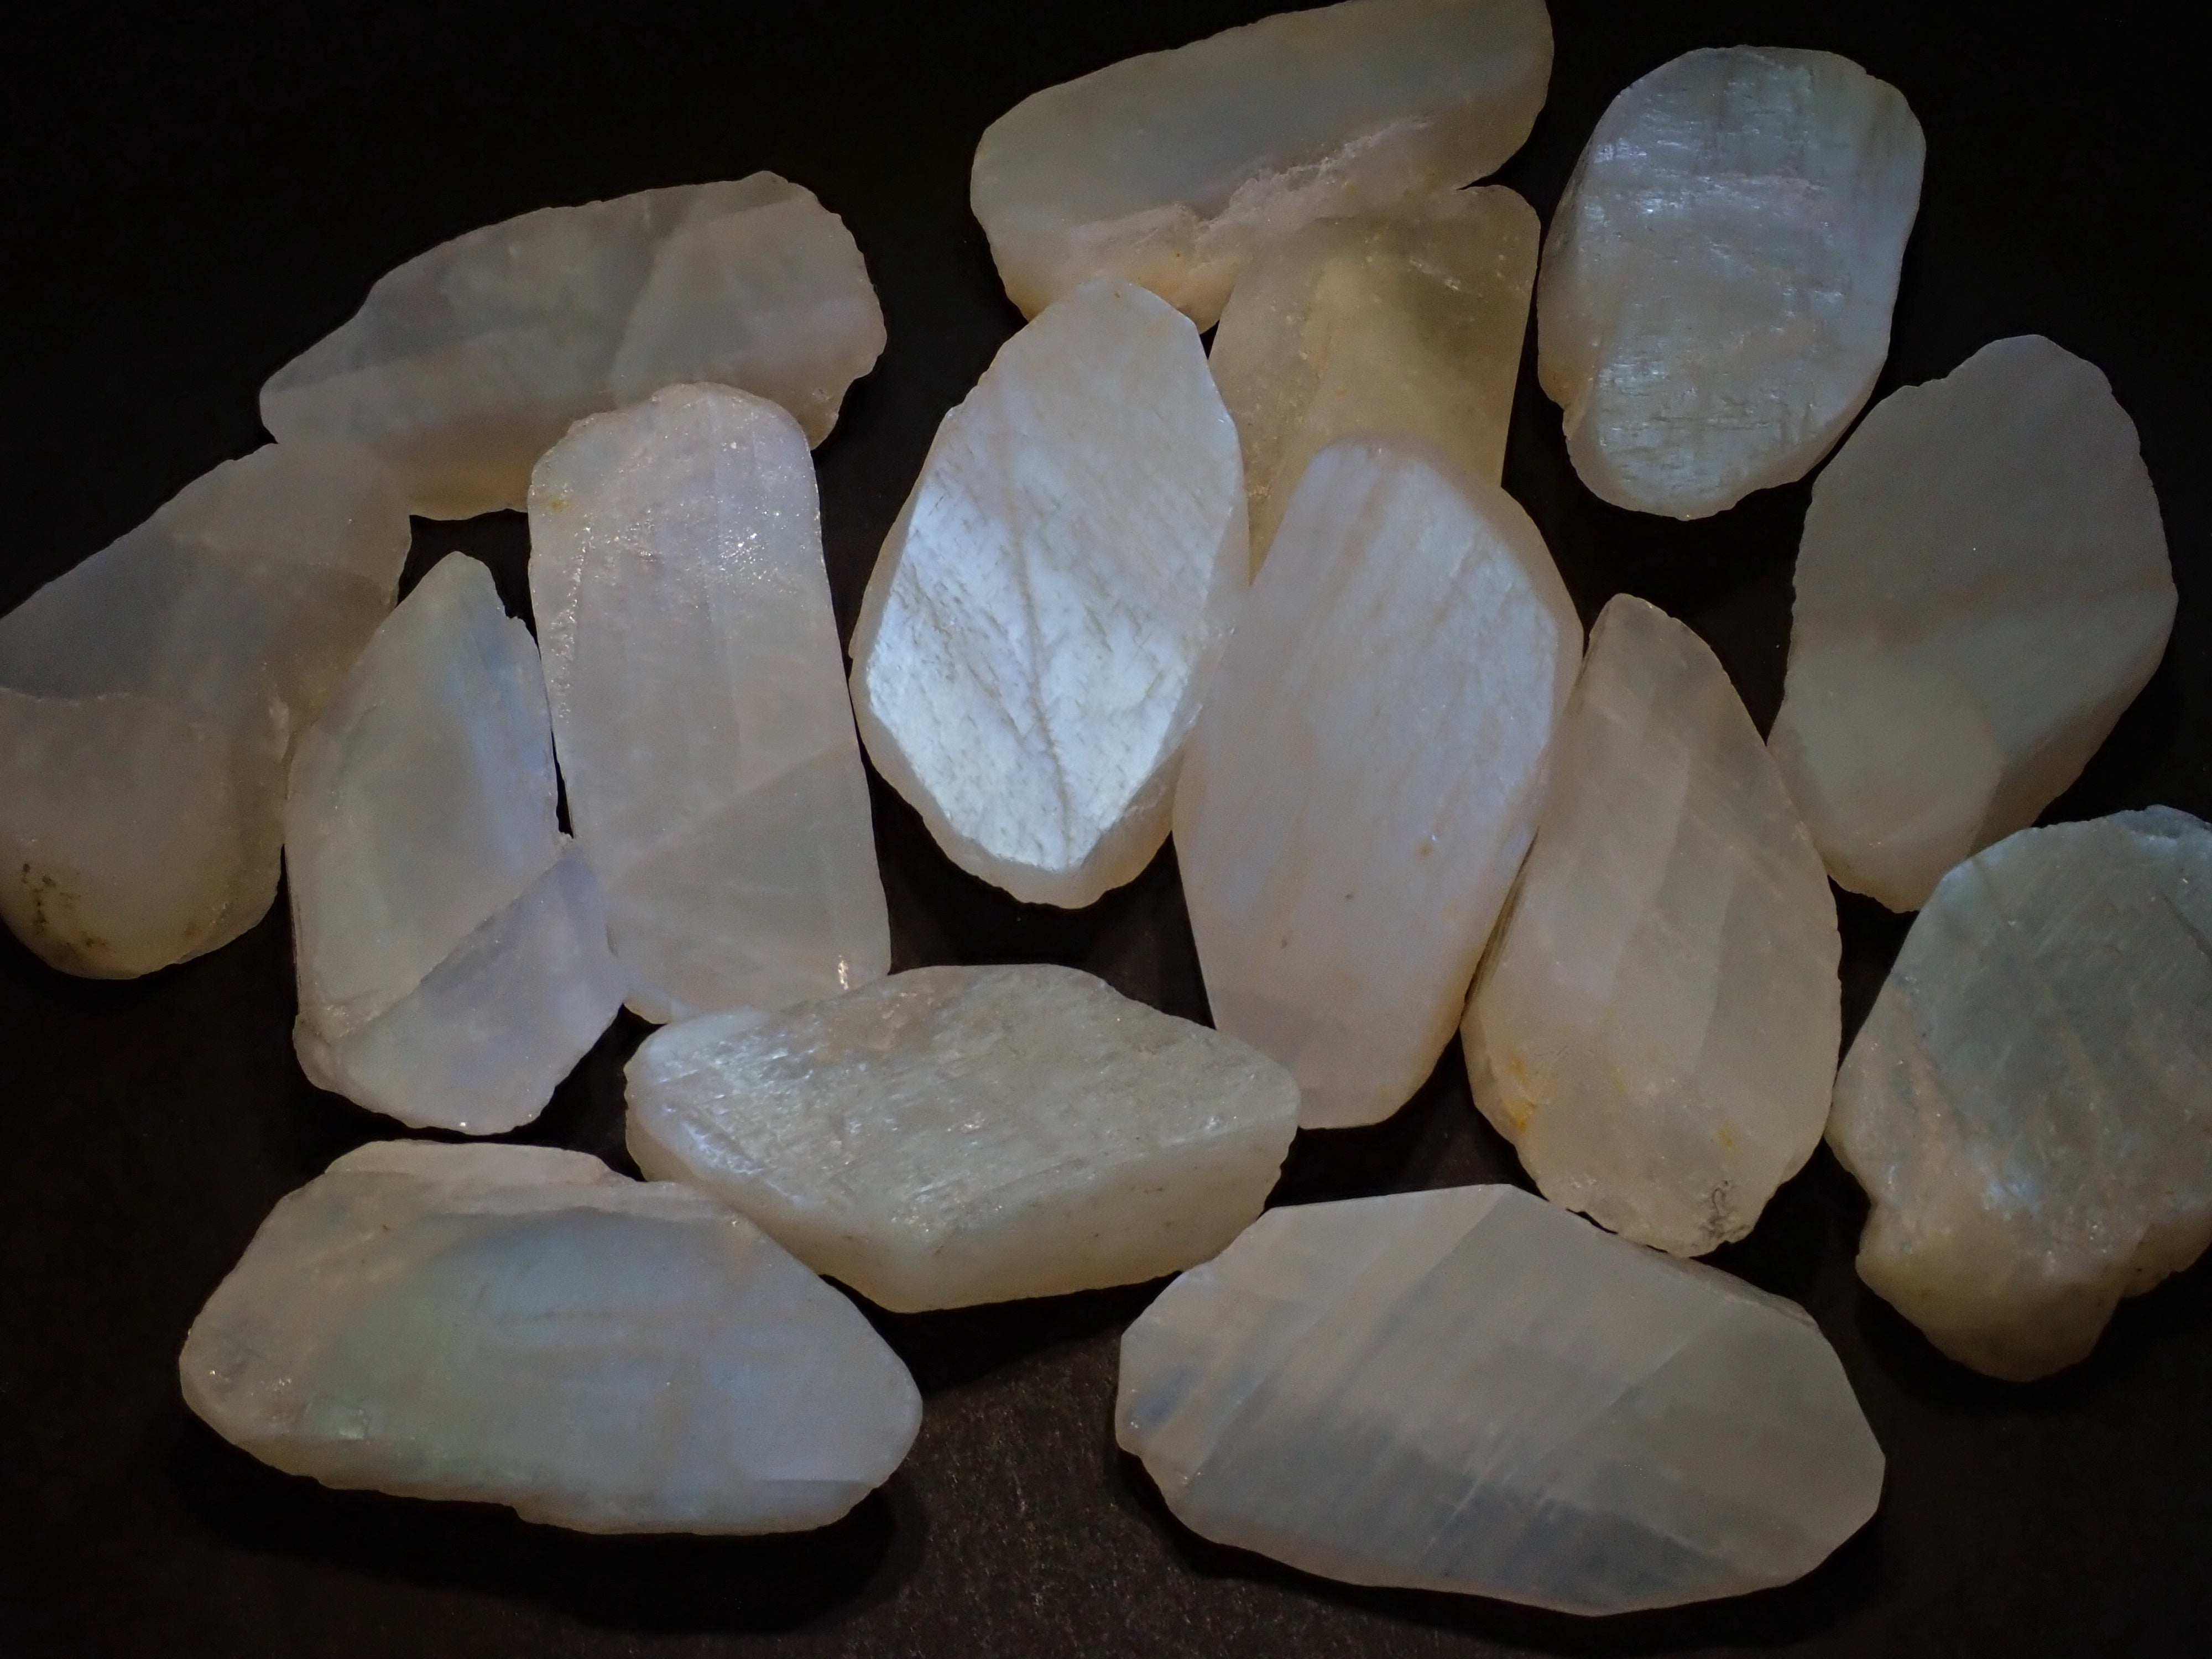
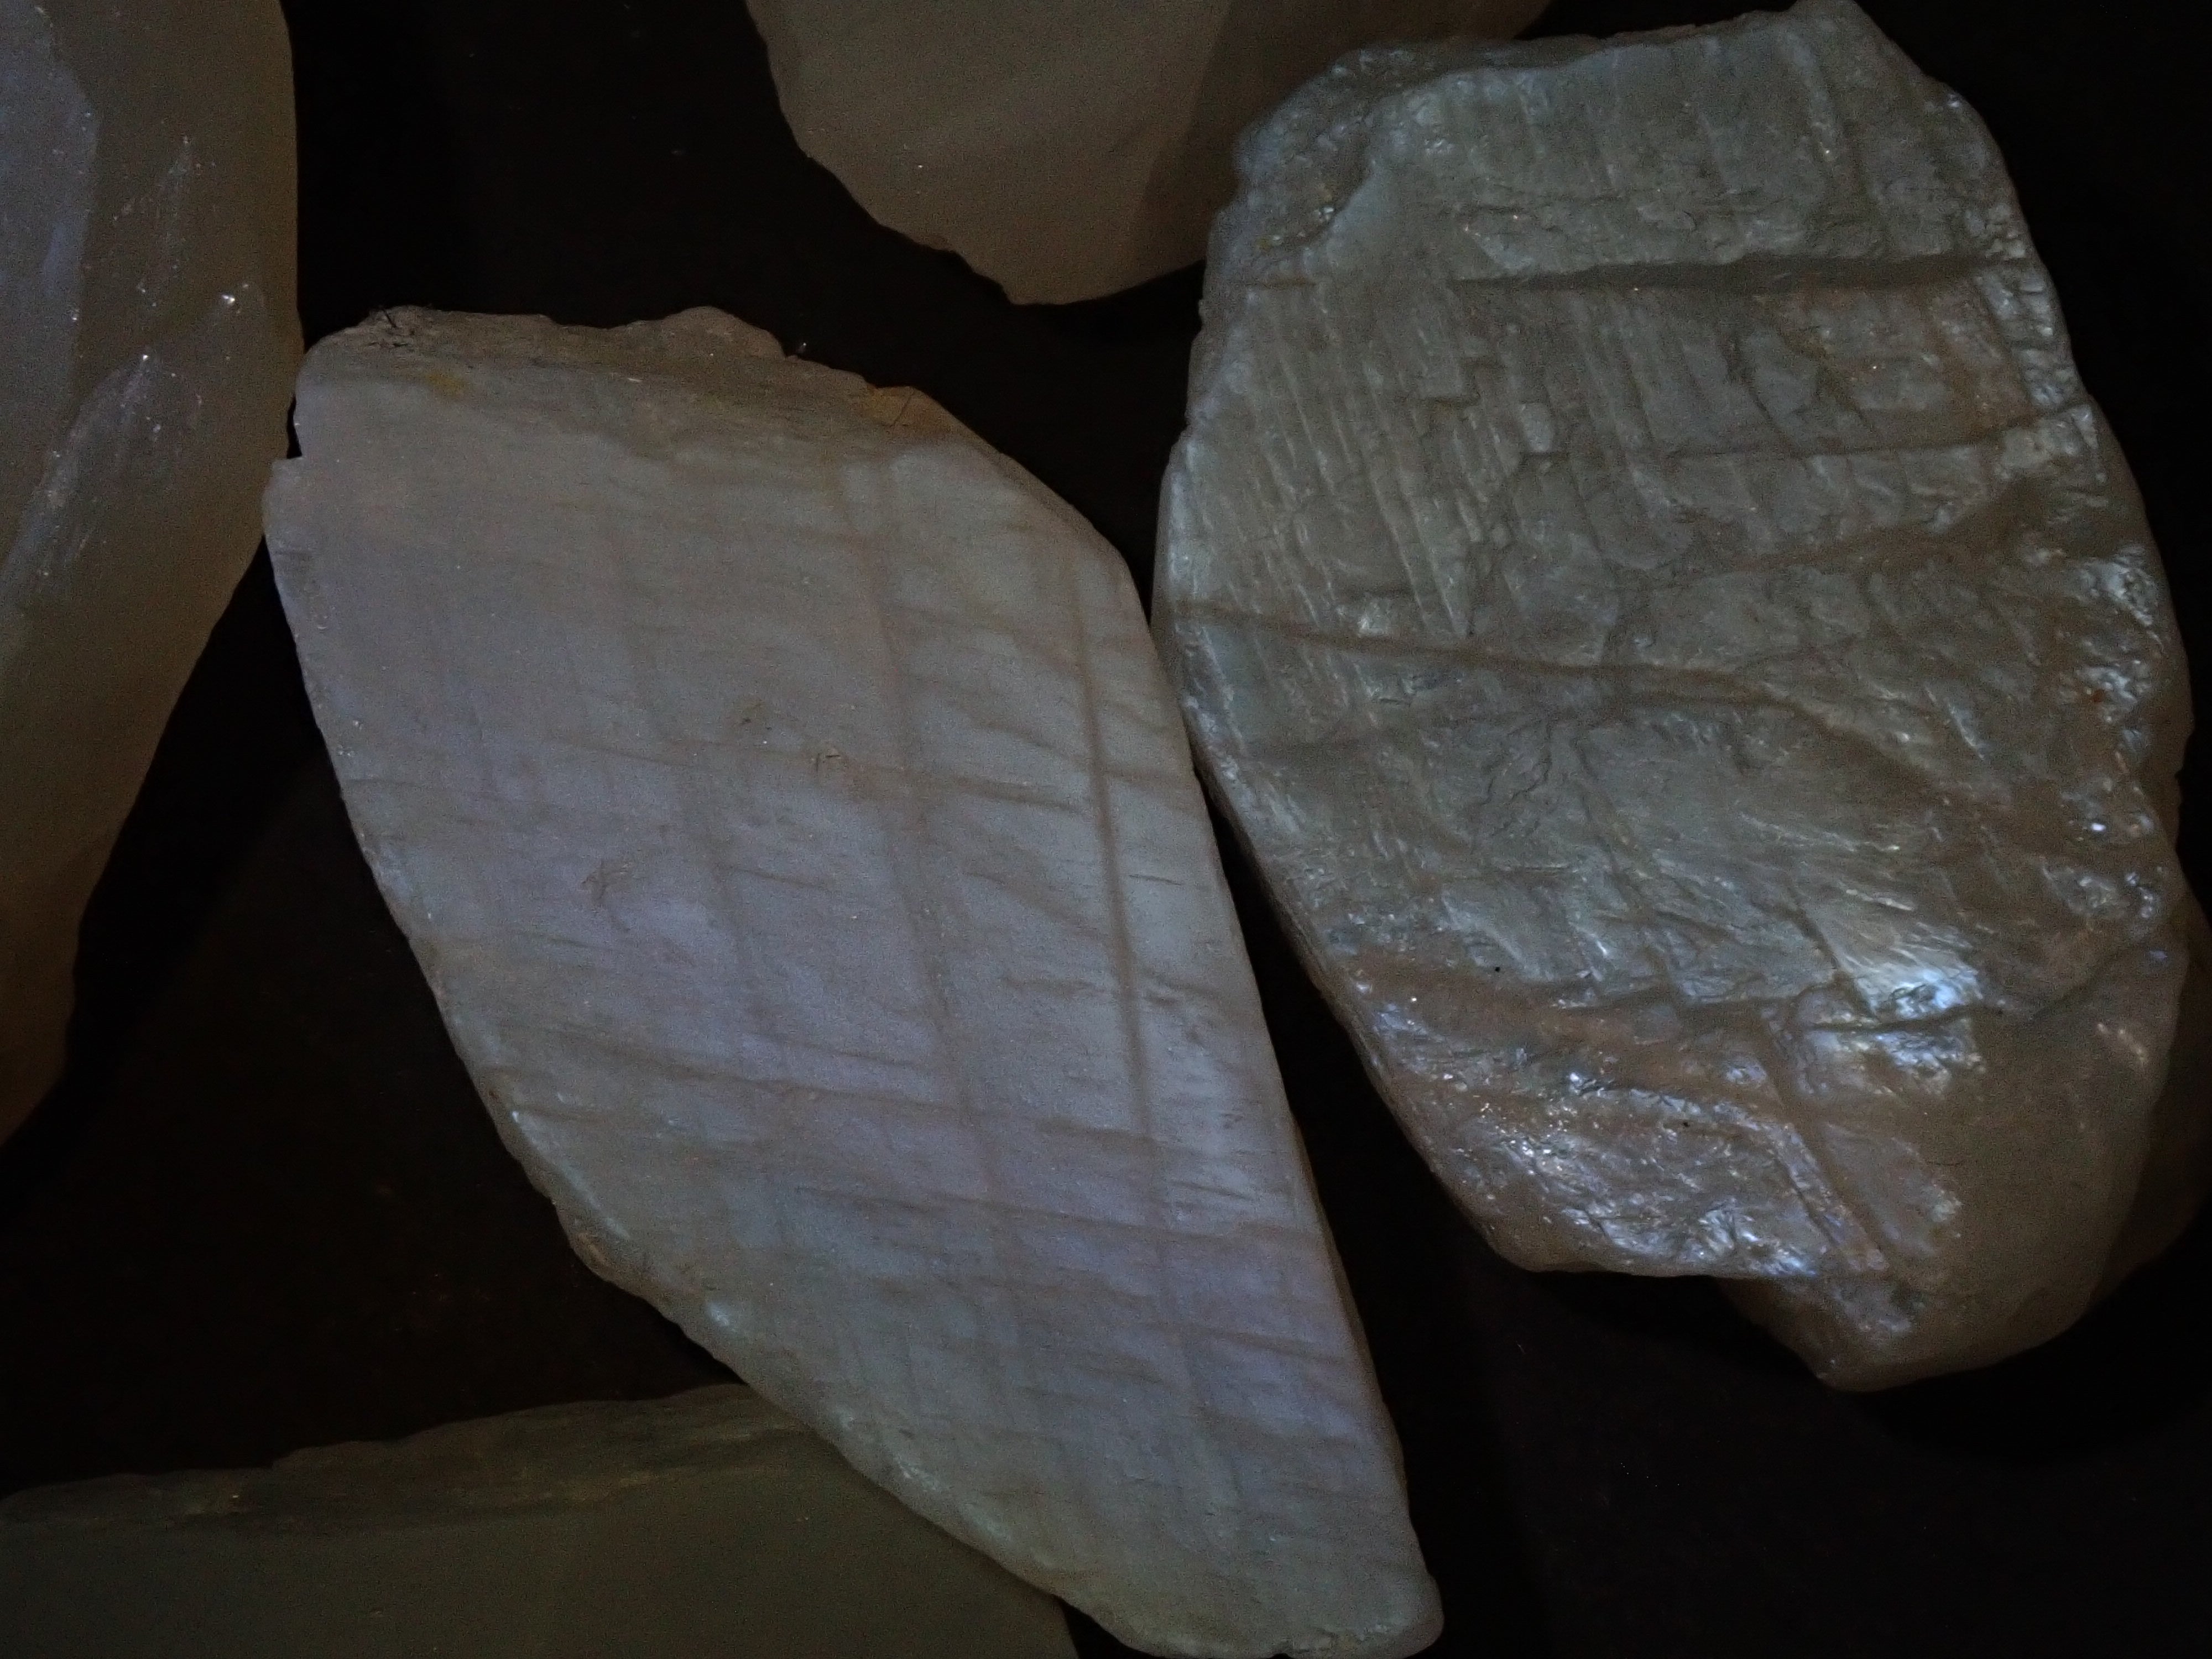
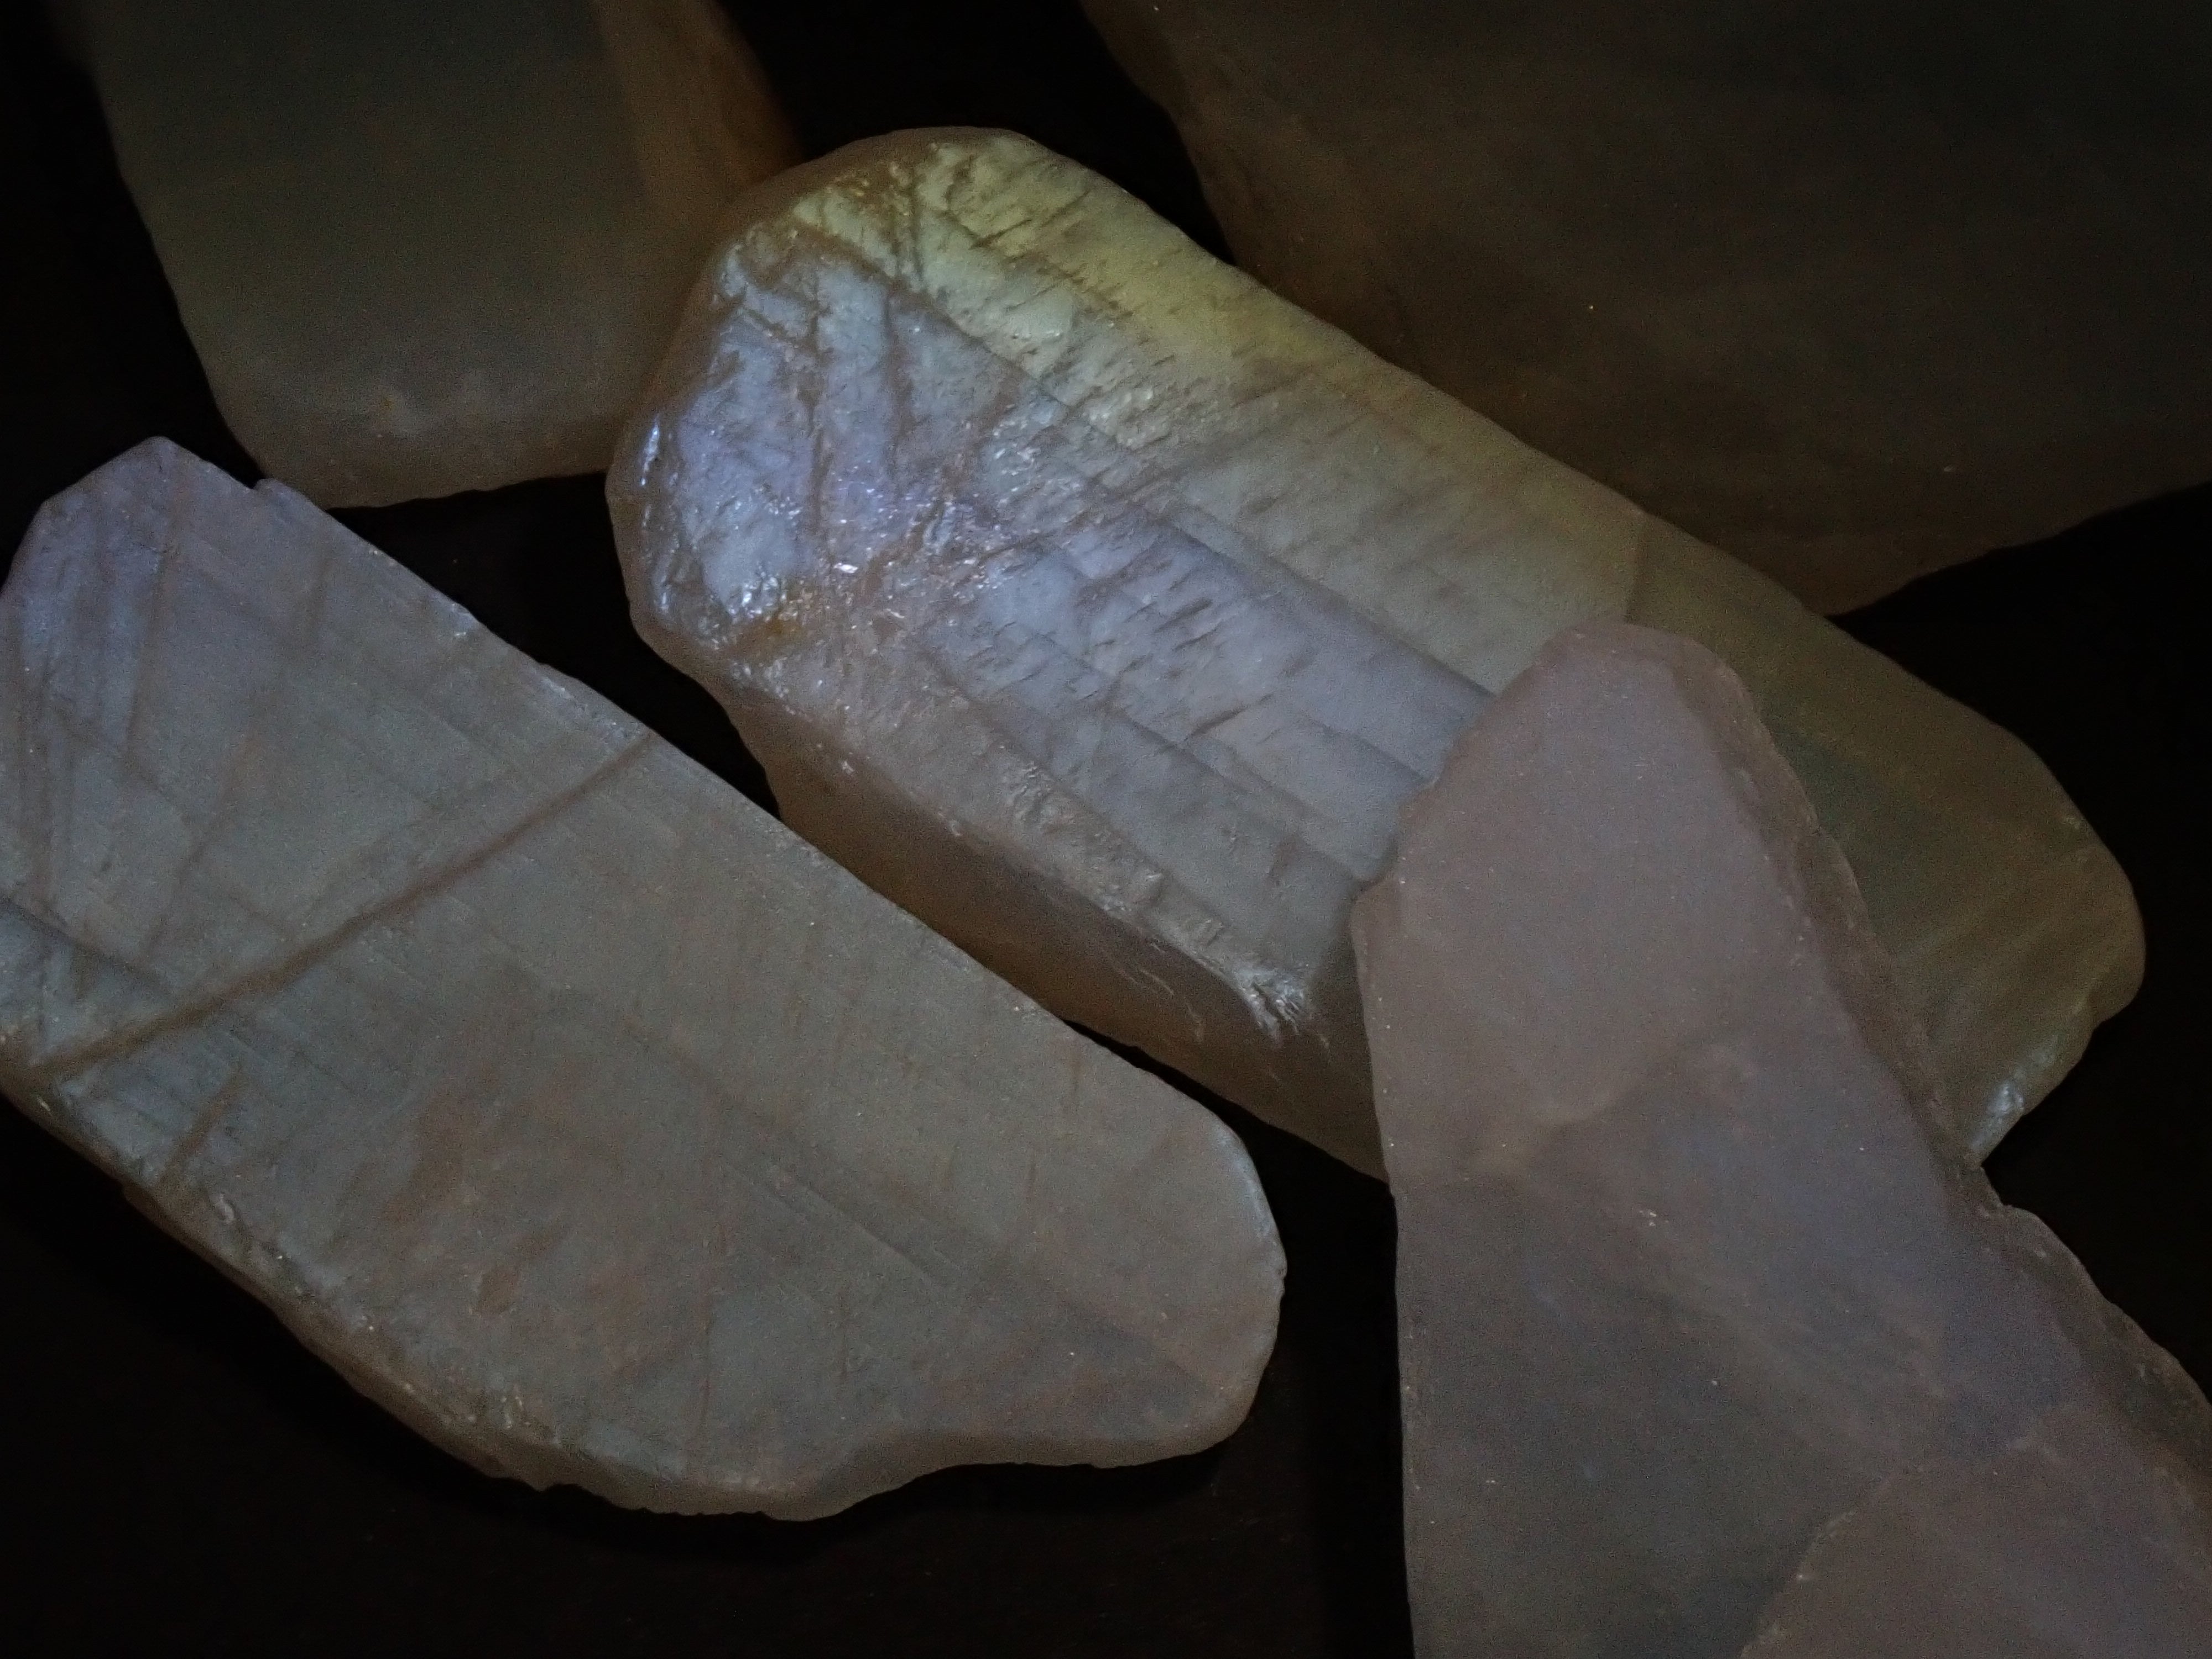
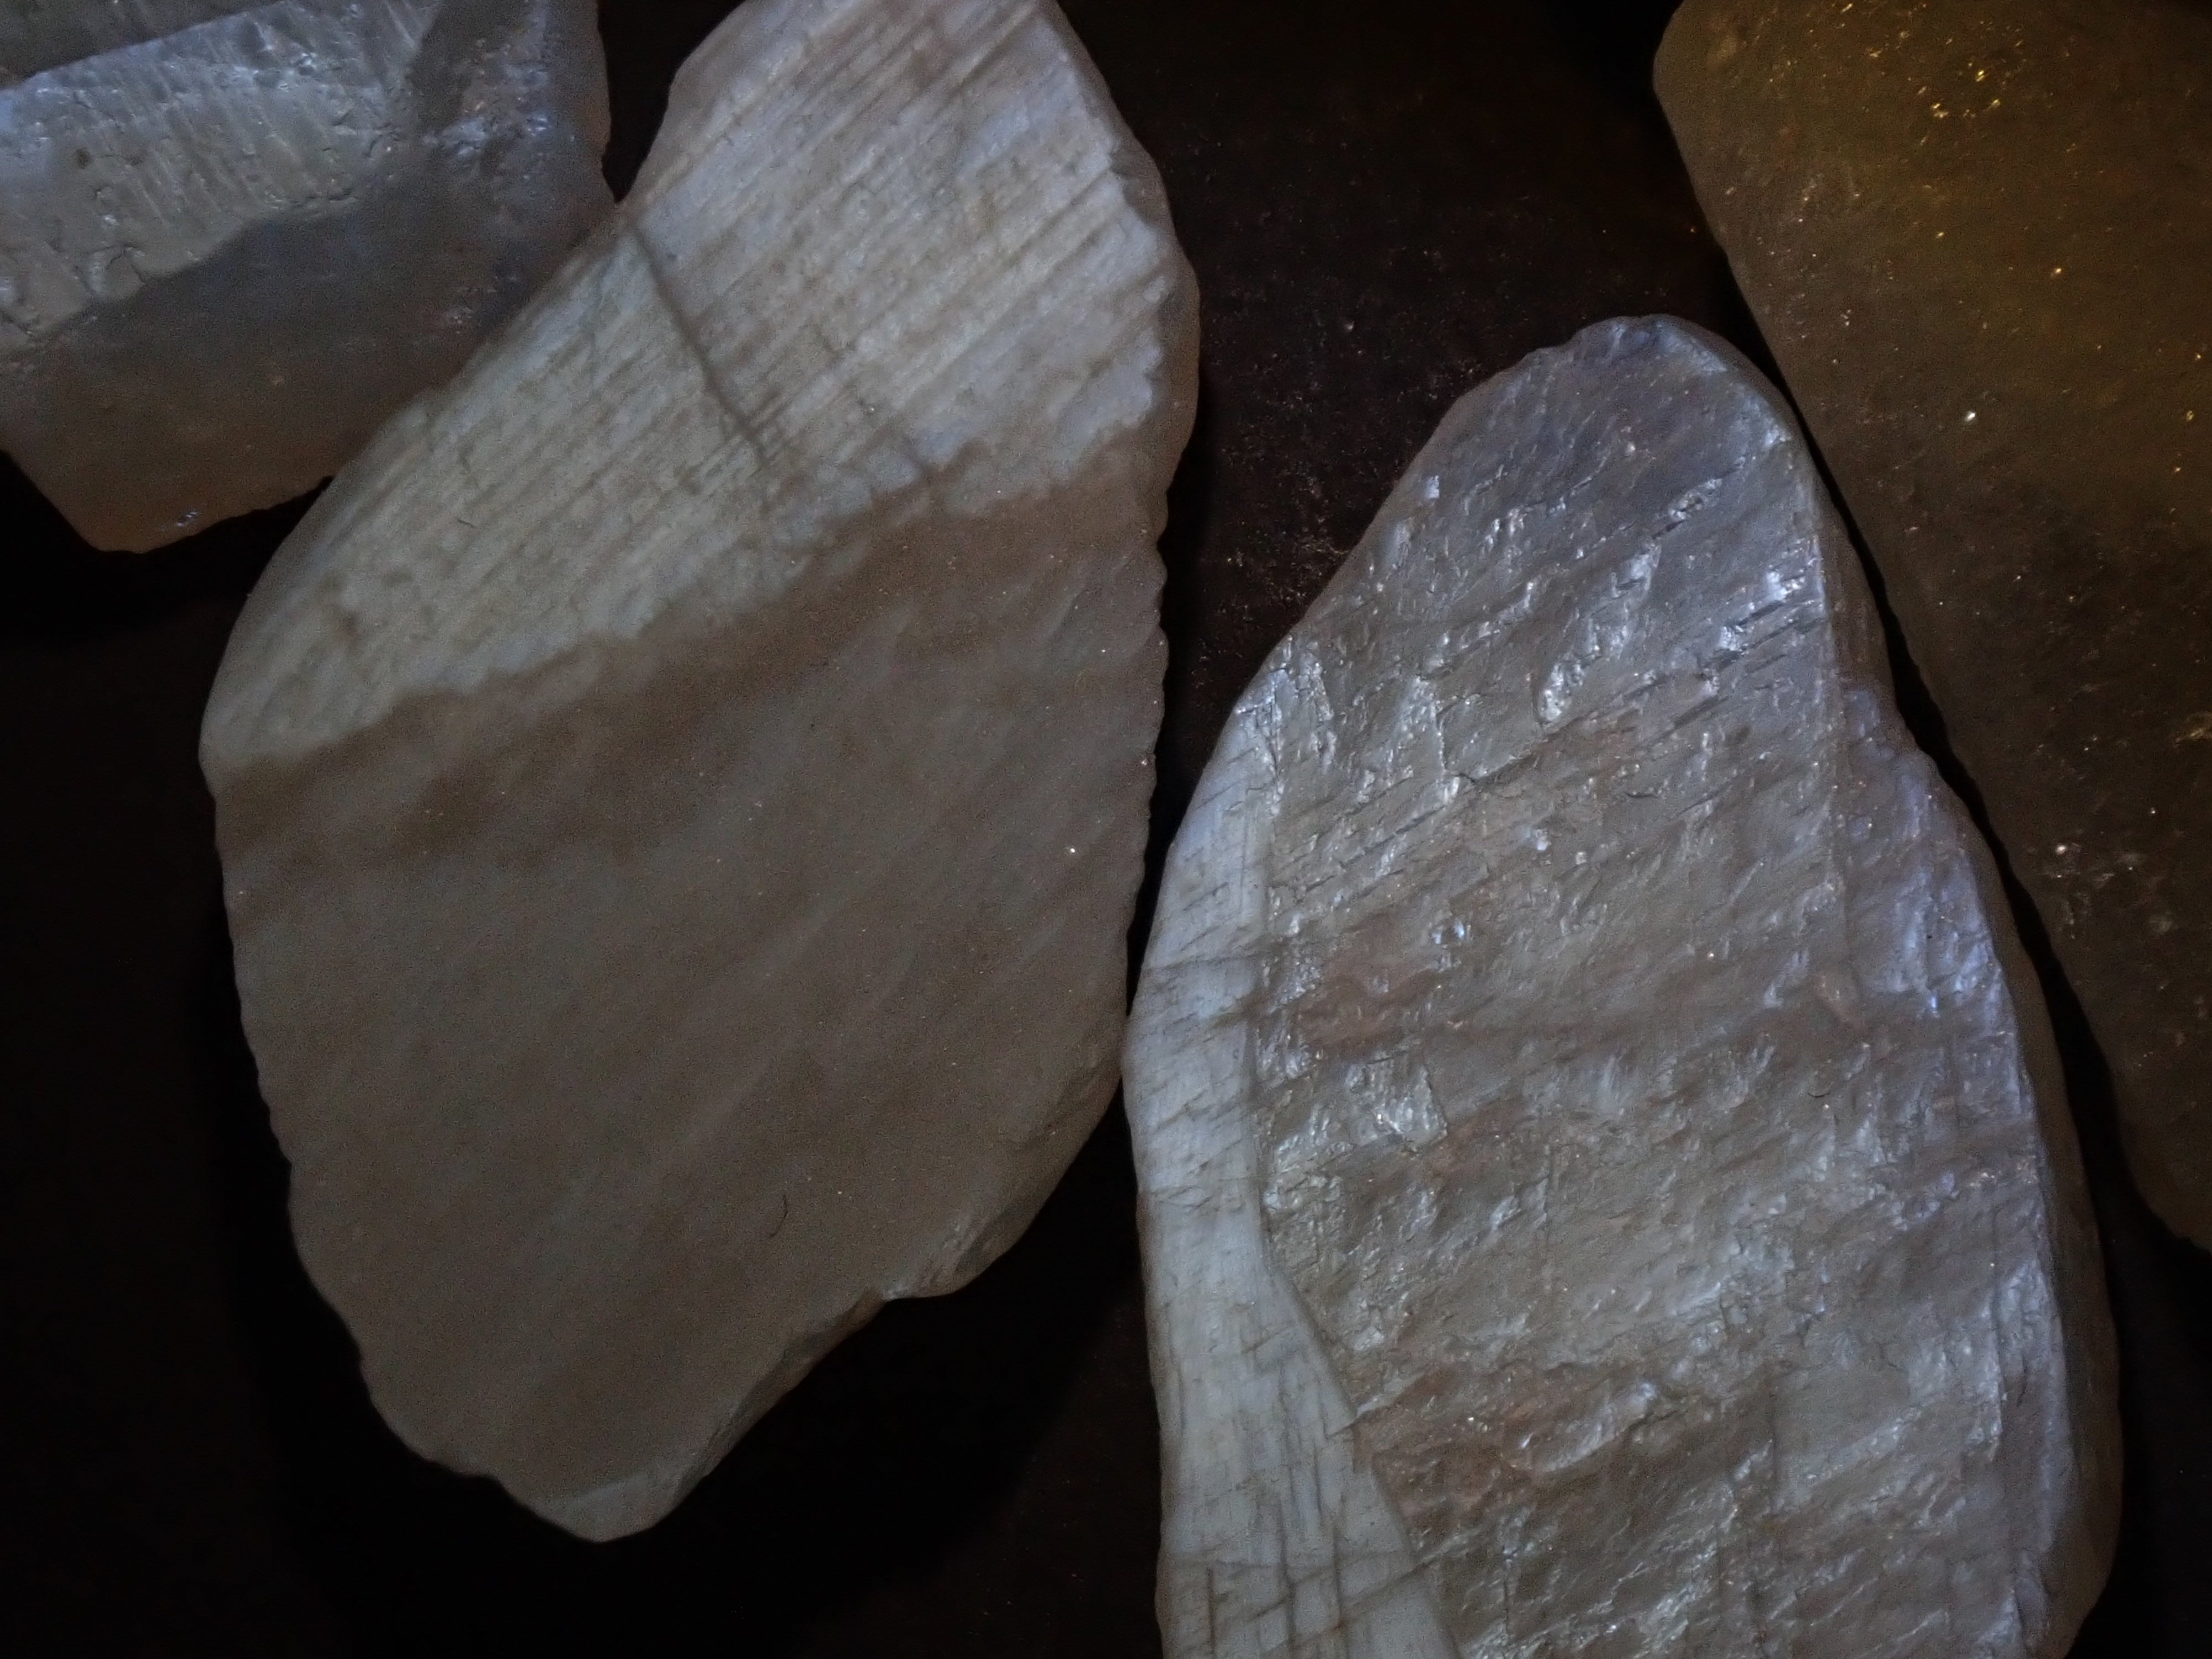
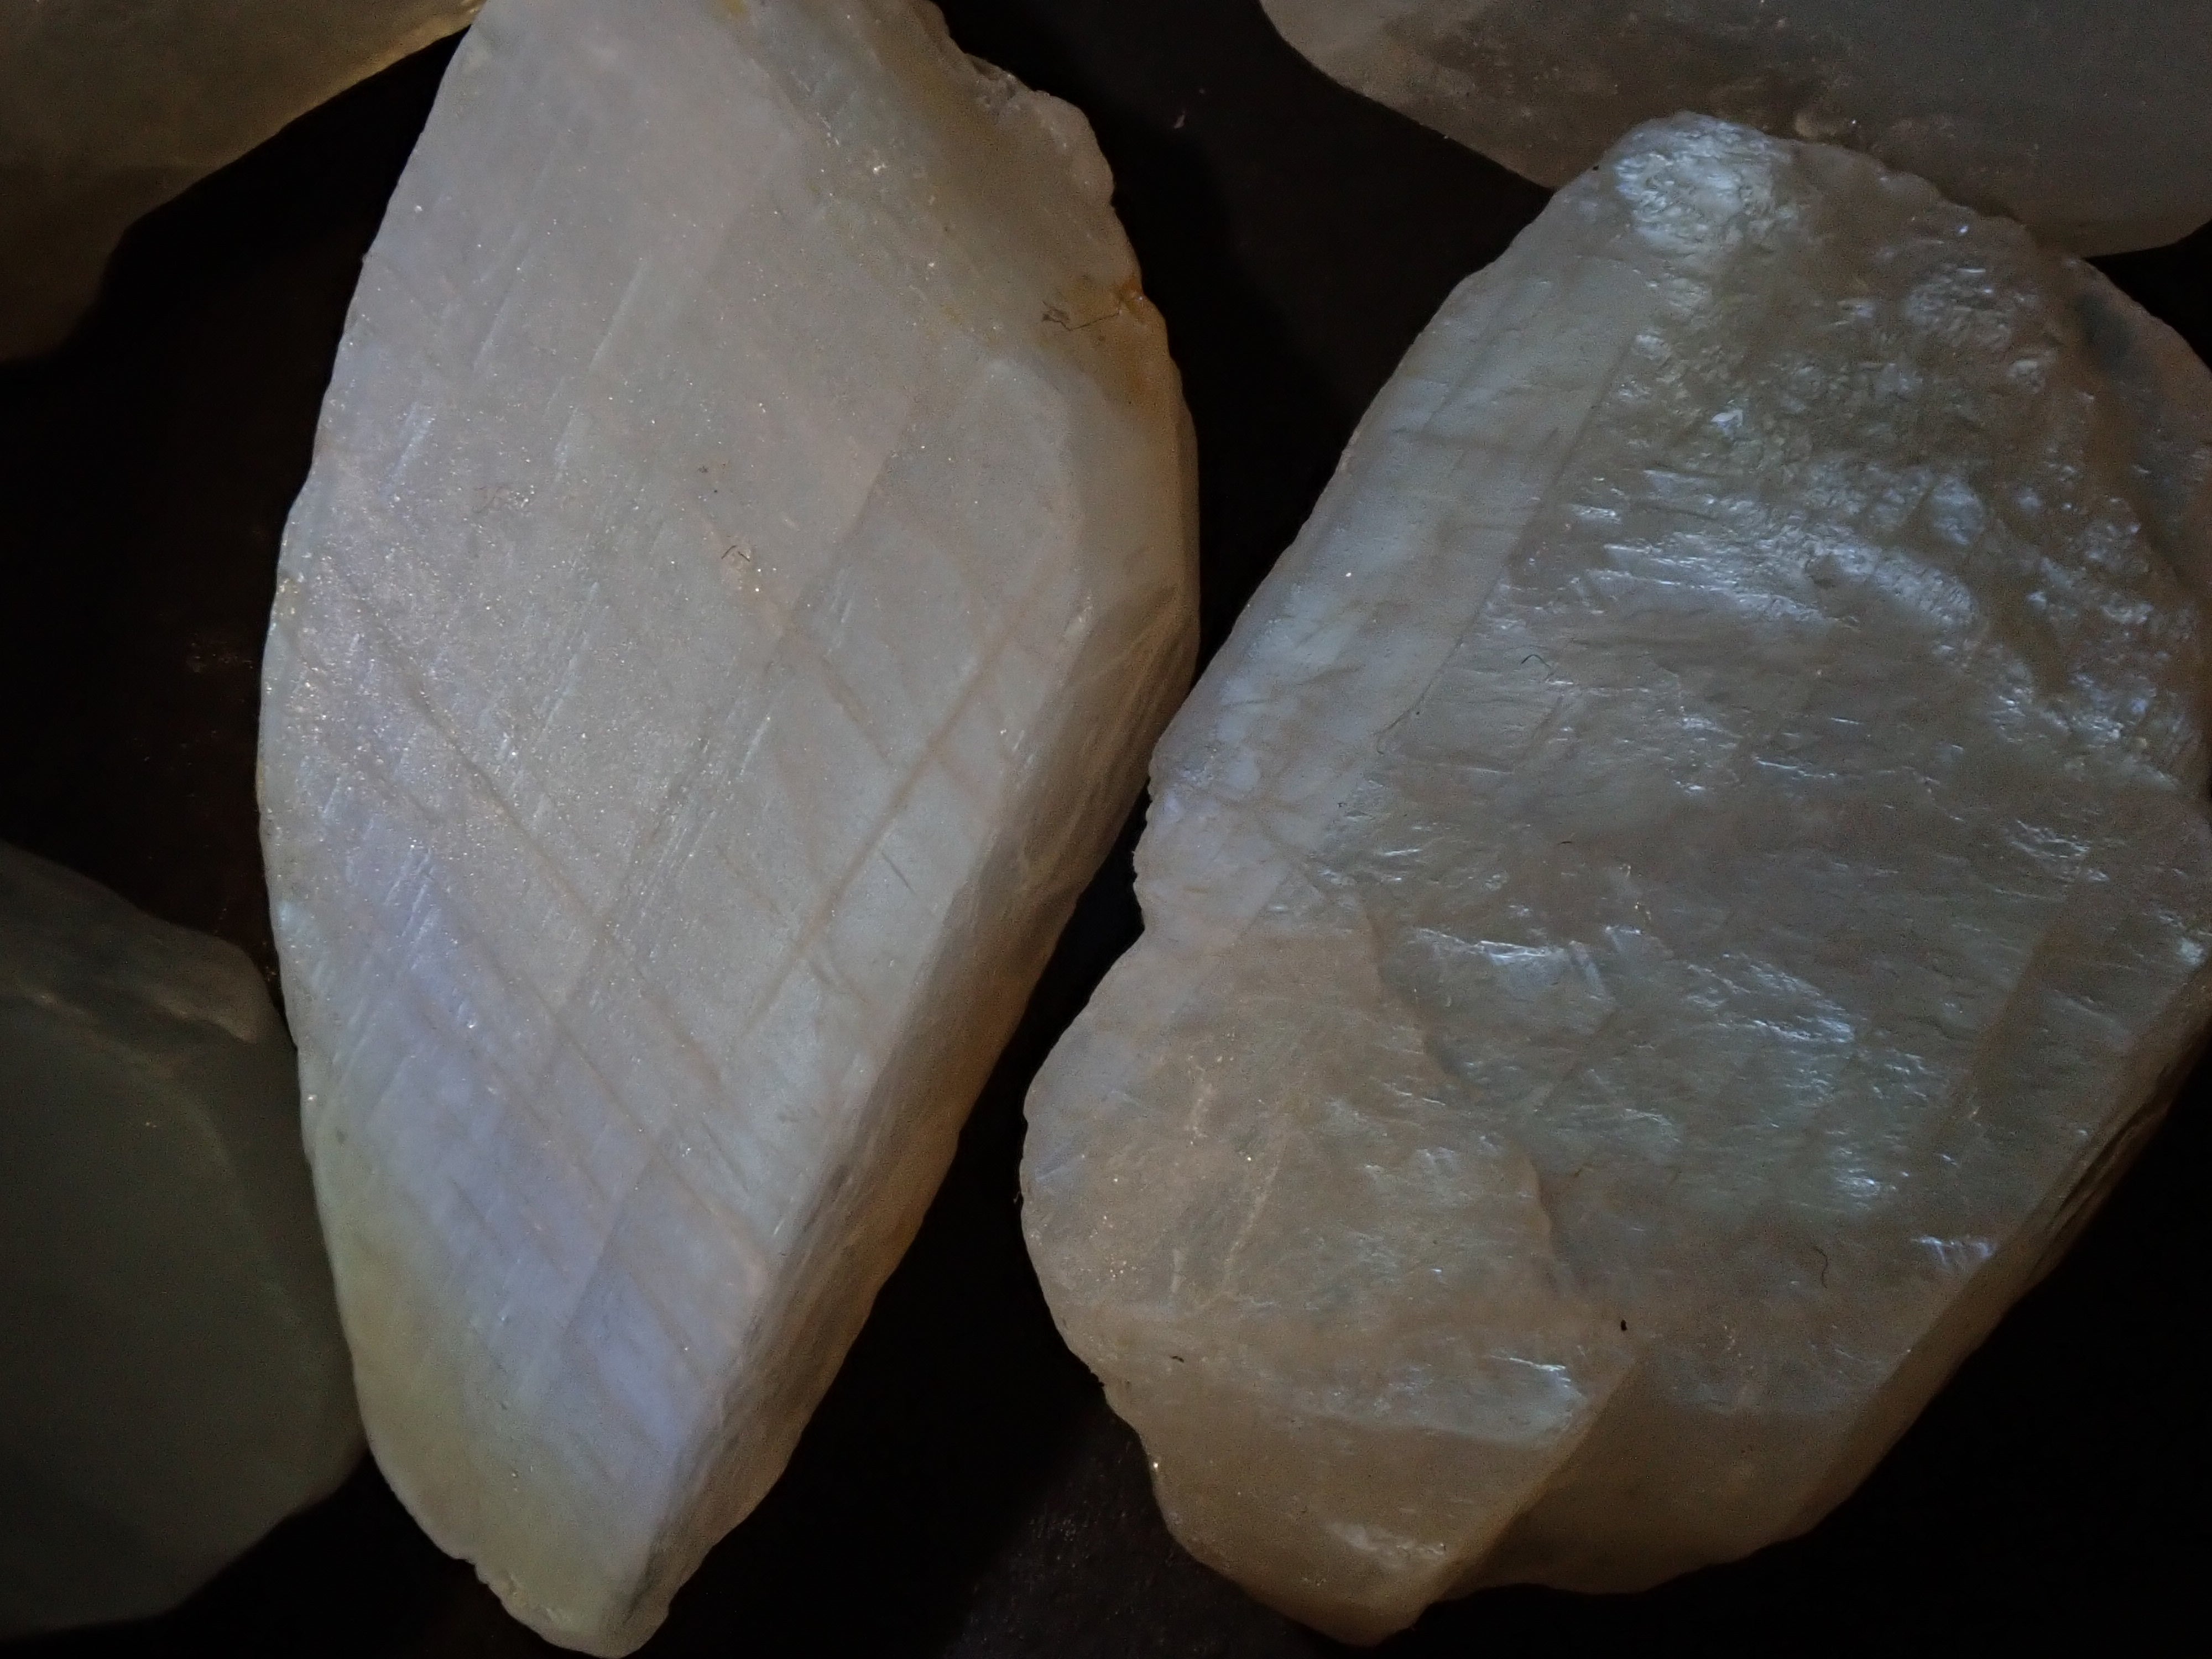
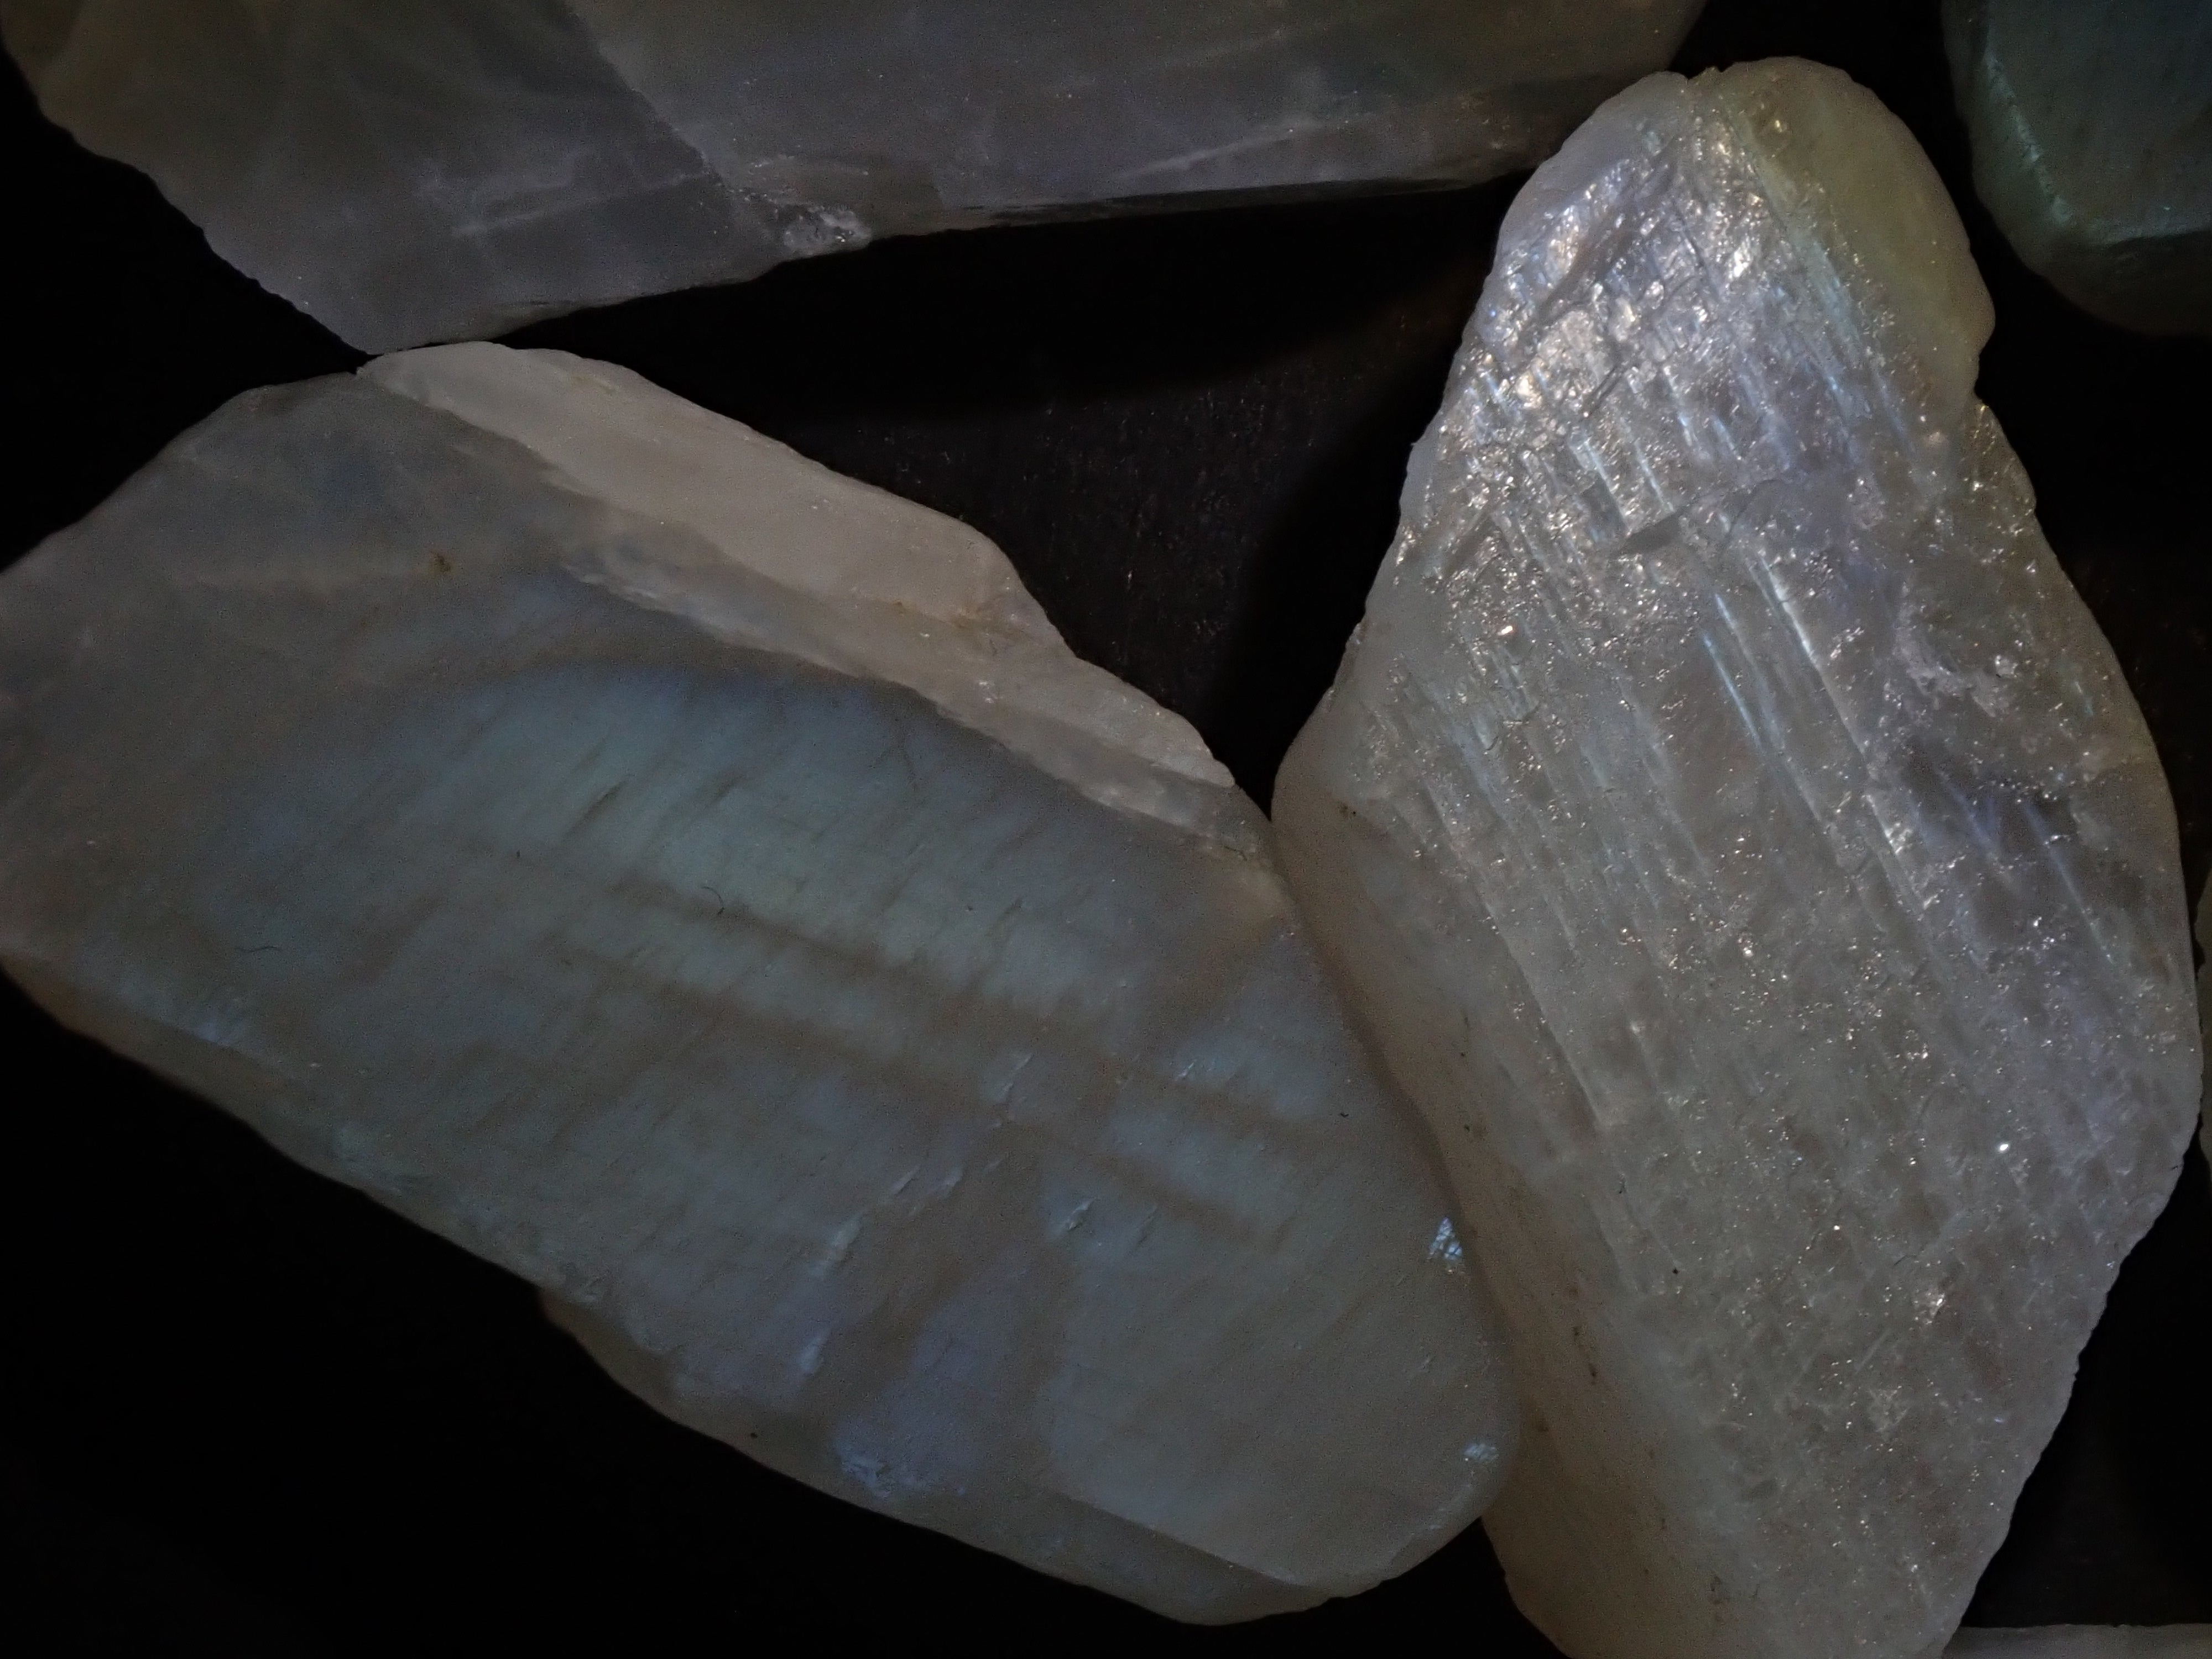
Let's try gemstone polishing "Do-it-yourself rough stone polishing set" (for intermediate users: white labradorite)
Born from the request, "I want to enjoy gems up close, are there any parent-child experiences available?", comes the "DIY Rough Gemstone Polishing Kit".
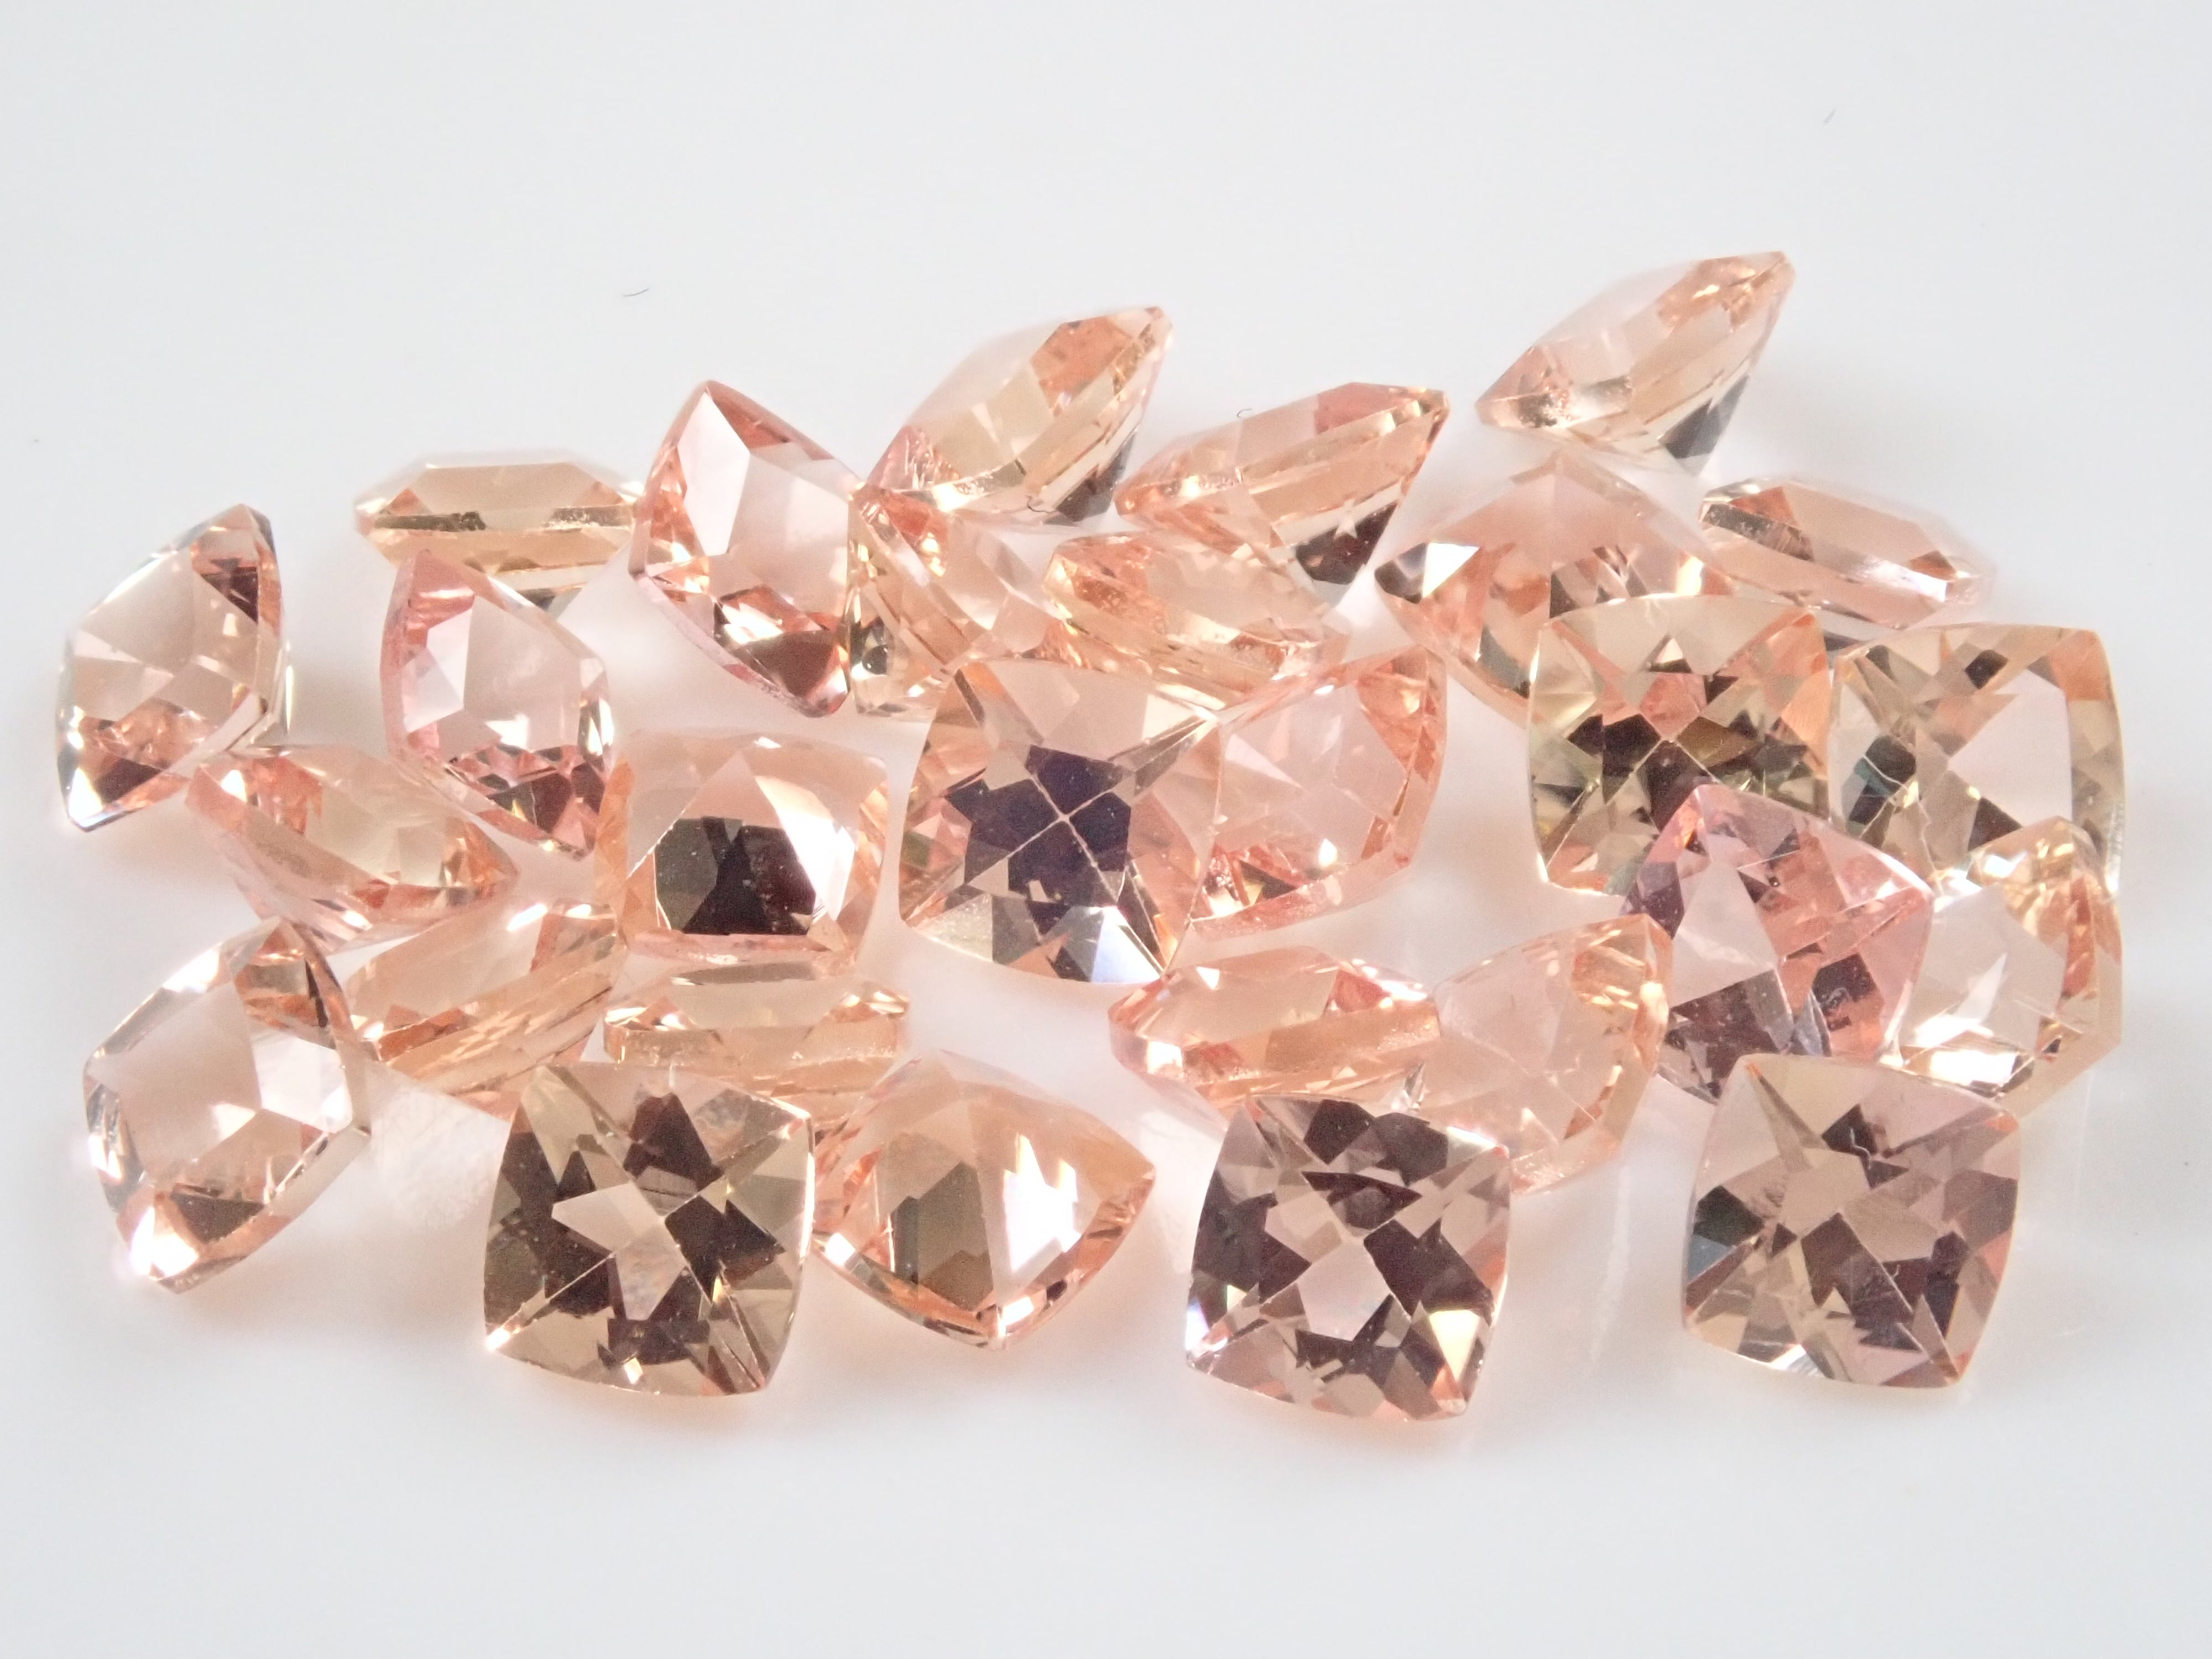
This rough gemstone is harder than others, making it recommended for adults who want to take their time and polish carefully [Intermediate level]. We have carefully selected white labradorite with a size suitable for polishing rough gemstones, allowing you to fully enjoy its Schiller effect. Tools for polishing rough gemstones are also included. This is a rough white labradorite gemstone where you can enjoy the Schiller effect.
Since one side has already been rough-cut, you can enjoy the difference between the rough state and the rough cut. When polishing, try polishing either both sides or one side, as you prefer.
With this kit, you can immediately enjoy the experience of polishing rough gemstones at home.
▶Previous Customers' Masterpieces
You can view the masterpieces of customers who have worked on rough gemstone polishing here. Please take a look at everything from adorable pieces polished by children to those with a professional finish.
*These are entries from the Karatz Rough Gemstone Polishing Contest, held regularly on Twitter.
【Reference Articles】
▶Can you easily enjoy gem polishing at home? How to do it
▶Easy and fun rough gemstone polishing! Let's make a cabochon cut with Rhodochrosite!
【Reference Videos】
These videos feature dendritic yellow opal, but for white labradorite, each step of the polishing process takes more time.
▶Rough Gemstone Polishing (Basic)
▶Rough Gemstone Polishing (Advanced: Cabochon Cut)
【Contents】
▷Rough Gemstone: 1 piece total
・White Labradorite [Hardness: 6-6.5]
▷Waterproof Sandpaper: 2 sheets x 4 types
600 grit: 2 sheets
1200 grit: 2 sheets
1500 grit: 2 sheets
2000 grit: 2 sheets
▷Board: 1 piece total
▷Diamond File: 2 pieces total
・(White): 1 piece
・(Red): 1 piece
【Polishing Instructions】
*For more detailed and easy-to-understand explanations, please watch the video.
1. After soaking the stone in water,
begin by polishing with a diamond file. There is no functional difference in the polishing surface between the diamond file (white) and (red). The (white) file has a wider surface, making it easier for children to use. Use it when you want to remove a larger amount. The (red) file is recommended for polishing smaller surfaces.
2. Fix the waterproof sandpaper to the wooden binder and polish the stone in a circular motion, while applying water. The smaller the number of the waterproof sandpaper, the coarser it is. Polish by switching from sandpaper with smaller numbers to larger numbers (from coarser paper to finer paper).
3. The process is complete when you have polished it to your desired extent.
【Precautions when polishing】
・There is a risk of cutting and injuring your hands while filing. Please polish with extreme caution.
・Occasionally rinse off the abrasive produced during polishing with water, remove moisture with tissue or kitchen paper, and check the polished surface. If you continue polishing without rinsing with water, the remaining abrasive on the surface may damage the gemstone's surface. Replace the water as needed.
*The photos are examples, and you cannot choose the color or shape, so please be aware of this in advance.
*While the quality and intended use will not change, some tool colors and specifications may be altered.
* For other frequently asked questions, please refer here.
karatz_id:93500403

インクルージョン編ということで、カラッツさんの本領発揮回かと思います。
特に袋から出して見るとよりリアルさを感じることができます。
ティンカーベルクォーツのカットの横の部分、サファイア、アクアマリンのインクルージョン…
実物で見る厚み感を感じ、これはもう一枚いる!と追加買いしました!
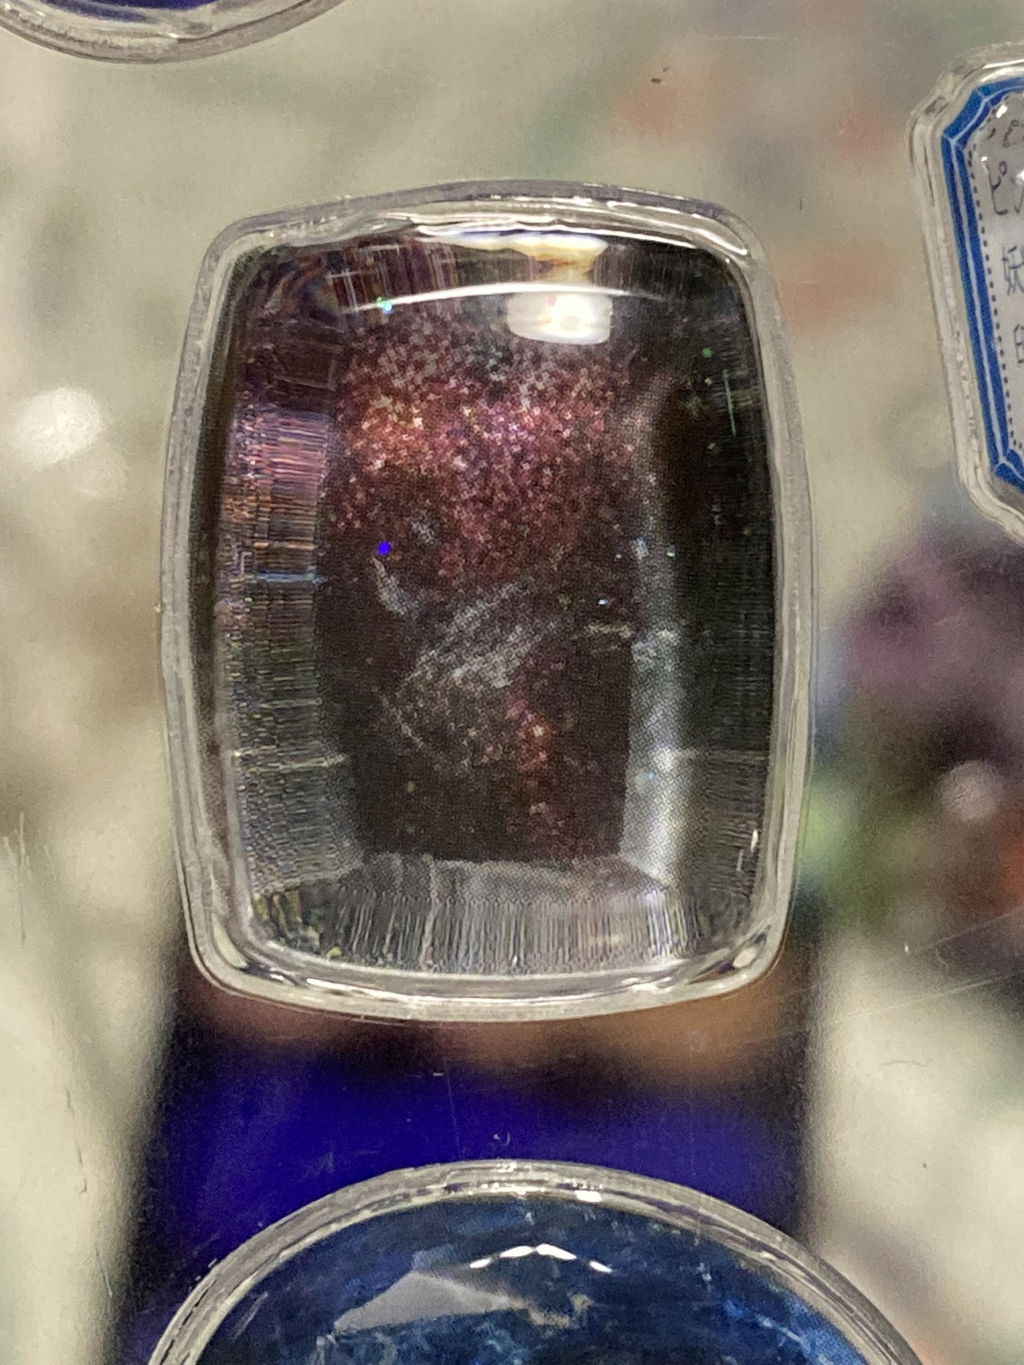
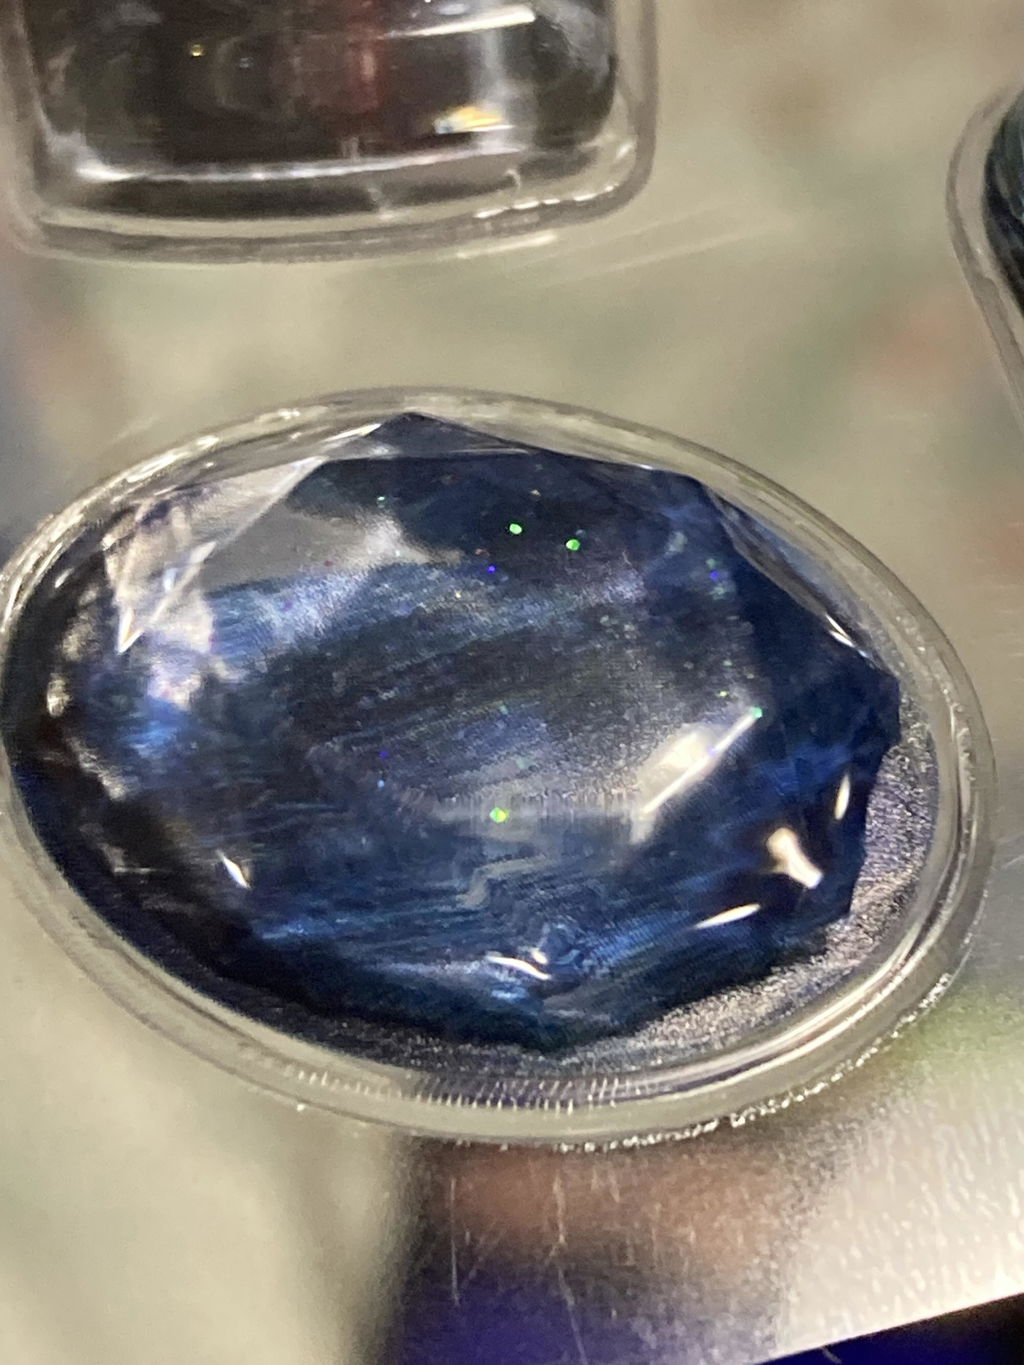
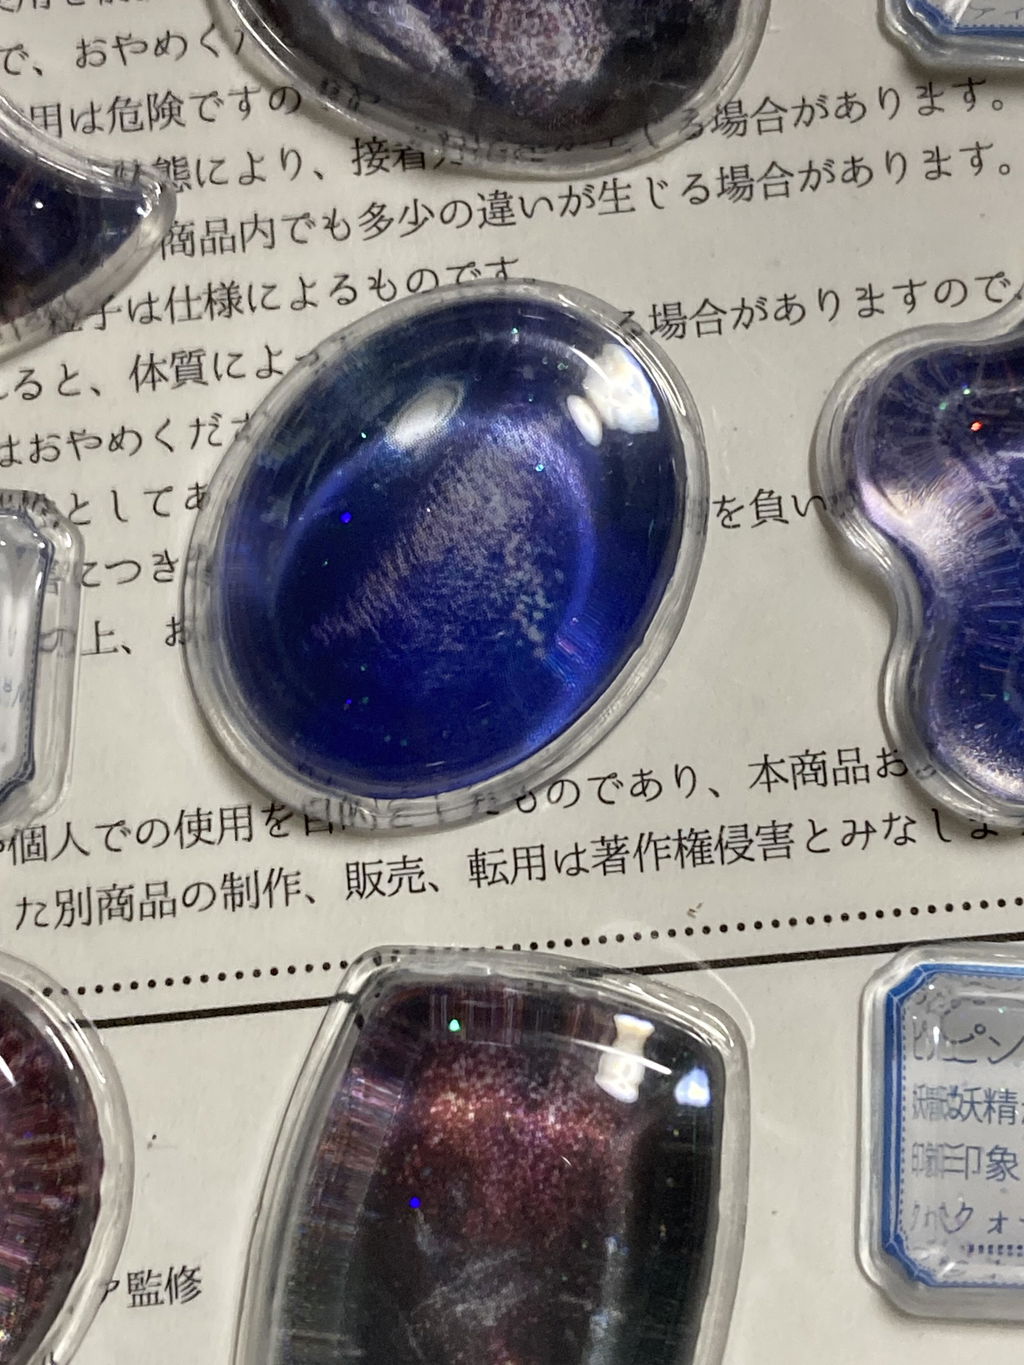
とてもかわいいです✨
孫がキラキラ好きなのであげよう思います😊
壊れてしまった指輪に、持ち主の息子は、ショックを受けていましたが、綺麗になおしていただいたので、とても喜んでいます。ありがとうございます。
綺麗に張り付いて、ルースを裏表で観察できるようになりました!カボション系だと大きくても張り付いてくれます。ちいさなおまけのサファイアたちもとてもかわいく、買ってよかったです!ルースが増えたらまた購入させていただきたいです。
難しいけどその分完成した時の達成感は高いです。
宝石ノートで初めて知ったブラッドショットアイオライトサンストーンに一目惚れして最近本物を買いました。推し石です。
シールが気になっていたので購入しました。ラメが細かくて綺麗で角度を変えて眺めて楽しんでいます。ルーペも丁度欲しいと思っていたので良かったです。天然石の小瓶も可愛くて気に入っています。ありがとうございました。
Choose options
インクルージョン編ということで、カラッツさんの本領発揮回かと思います。
特に袋から出して見るとよりリアルさを感じることができます。
ティンカーベルクォーツのカットの横の部分、サファイア、アクアマリンのインクルージョン…
実物で見る厚み感を感じ、これはもう一枚いる!と追加買いしました!
とてもかわいいです✨
孫がキラキラ好きなのであげよう思います😊
壊れてしまった指輪に、持ち主の息子は、ショックを受けていましたが、綺麗になおしていただいたので、とても喜んでいます。ありがとうございます。
綺麗に張り付いて、ルースを裏表で観察できるようになりました!カボション系だと大きくても張り付いてくれます。ちいさなおまけのサファイアたちもとてもかわいく、買ってよかったです!ルースが増えたらまた購入させていただきたいです。
難しいけどその分完成した時の達成感は高いです。
宝石ノートで初めて知ったブラッドショットアイオライトサンストーンに一目惚れして最近本物を買いました。推し石です。
シールが気になっていたので購入しました。ラメが細かくて綺麗で角度を変えて眺めて楽しんでいます。ルーペも丁度欲しいと思っていたので良かったです。天然石の小瓶も可愛くて気に入っています。ありがとうございました。
Today's new arrivals

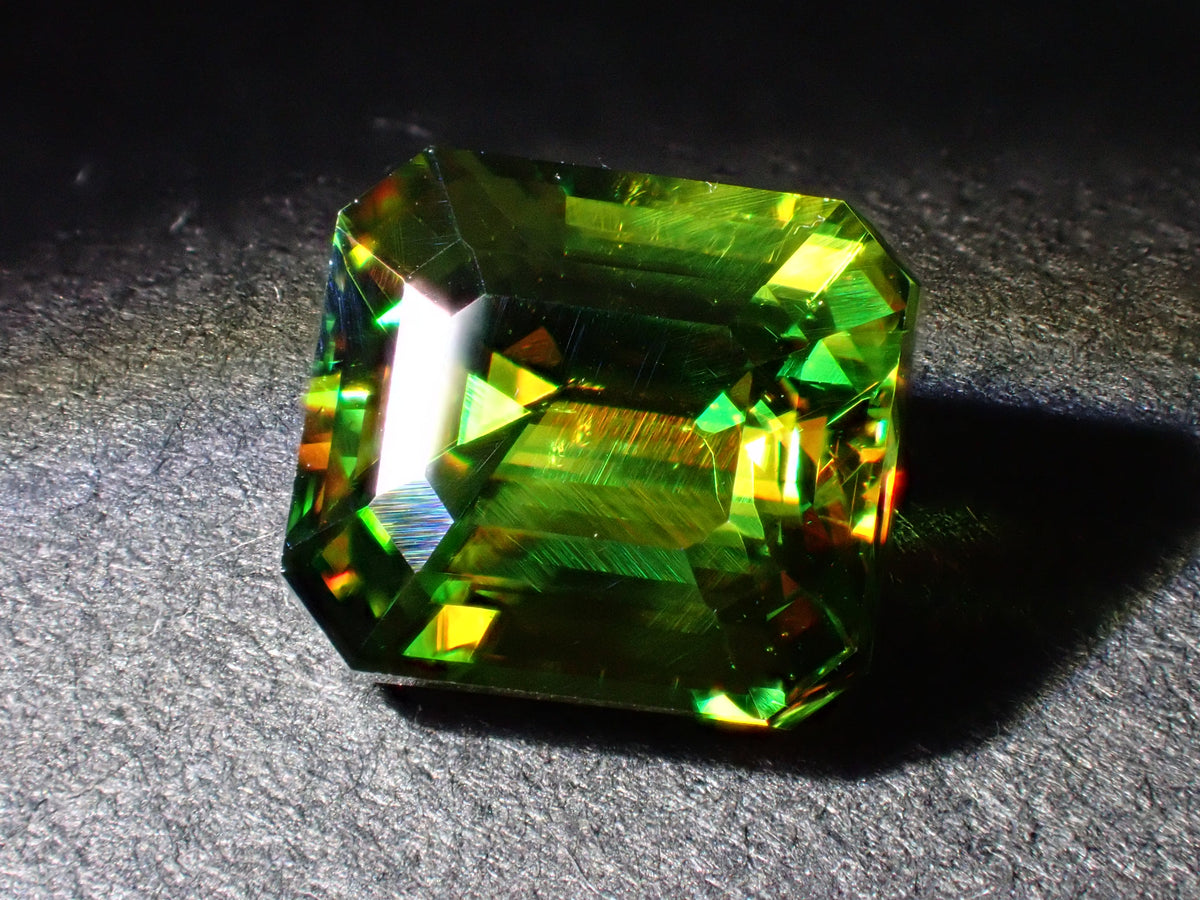
[Item 12564632] Pakistani Vanadium Sphene 1.579ct Loose Gemstone
Sale price¥69,800
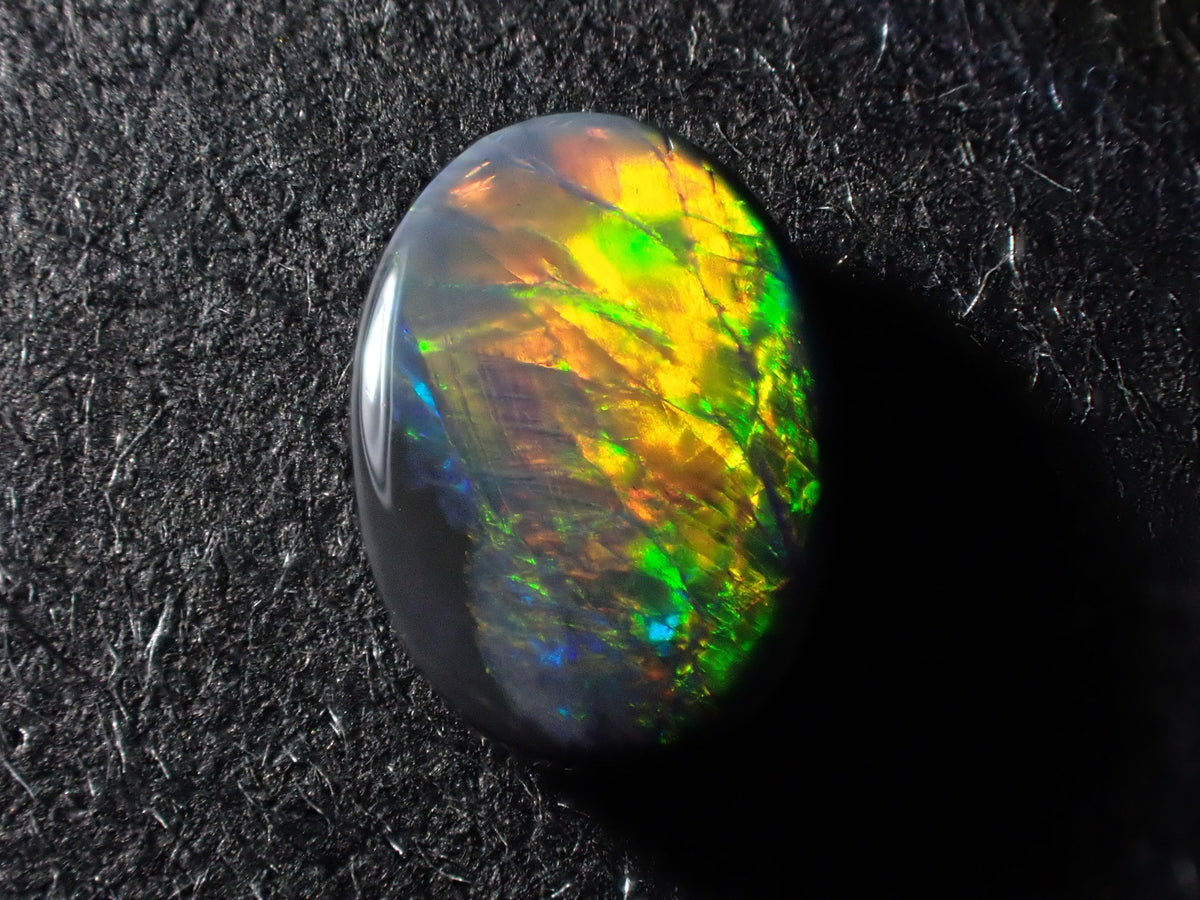
[Item 12564468] Australian Black Opal 0.306ct Loose Stone
Sale price¥25,800
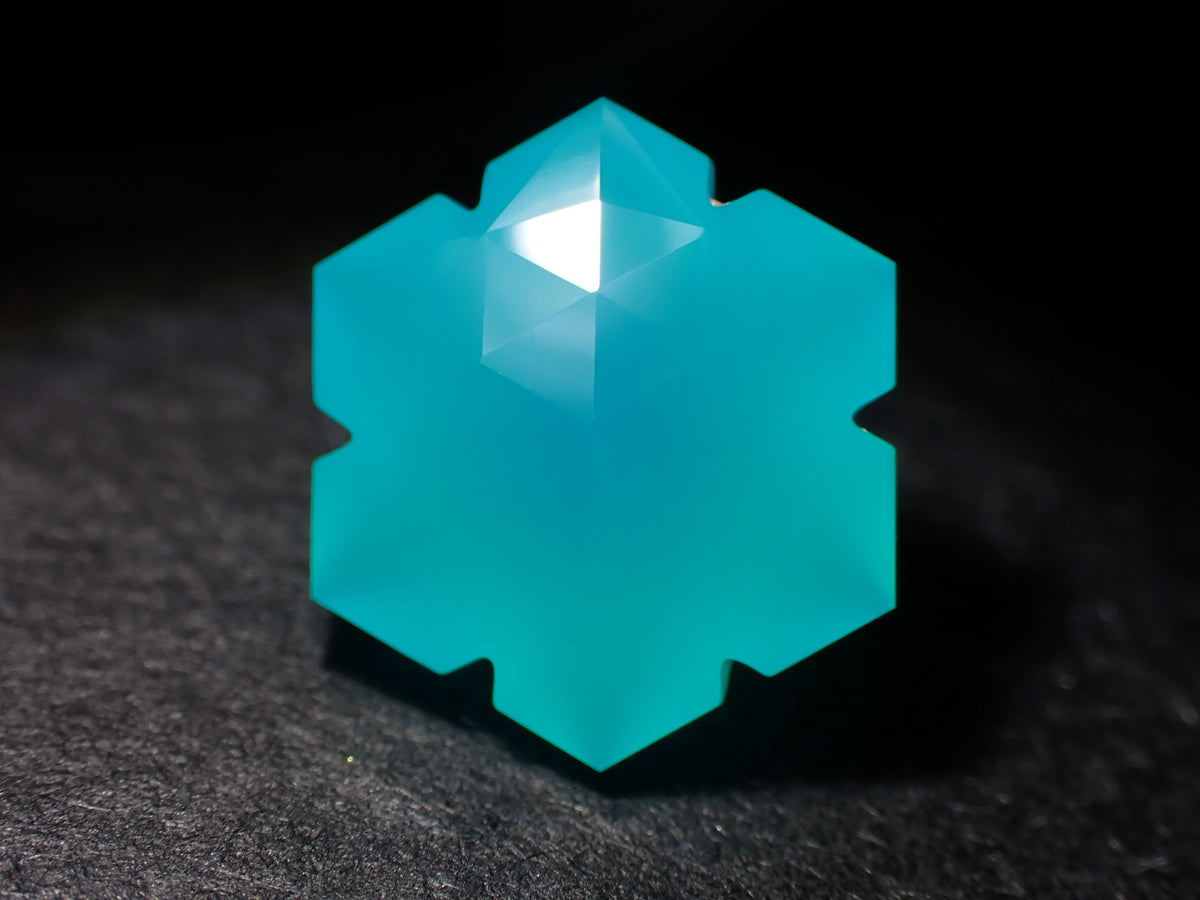
[Item 12564457] Sea Blue Chalcedony 2.001ct Loose Stone
Sale price¥18,800
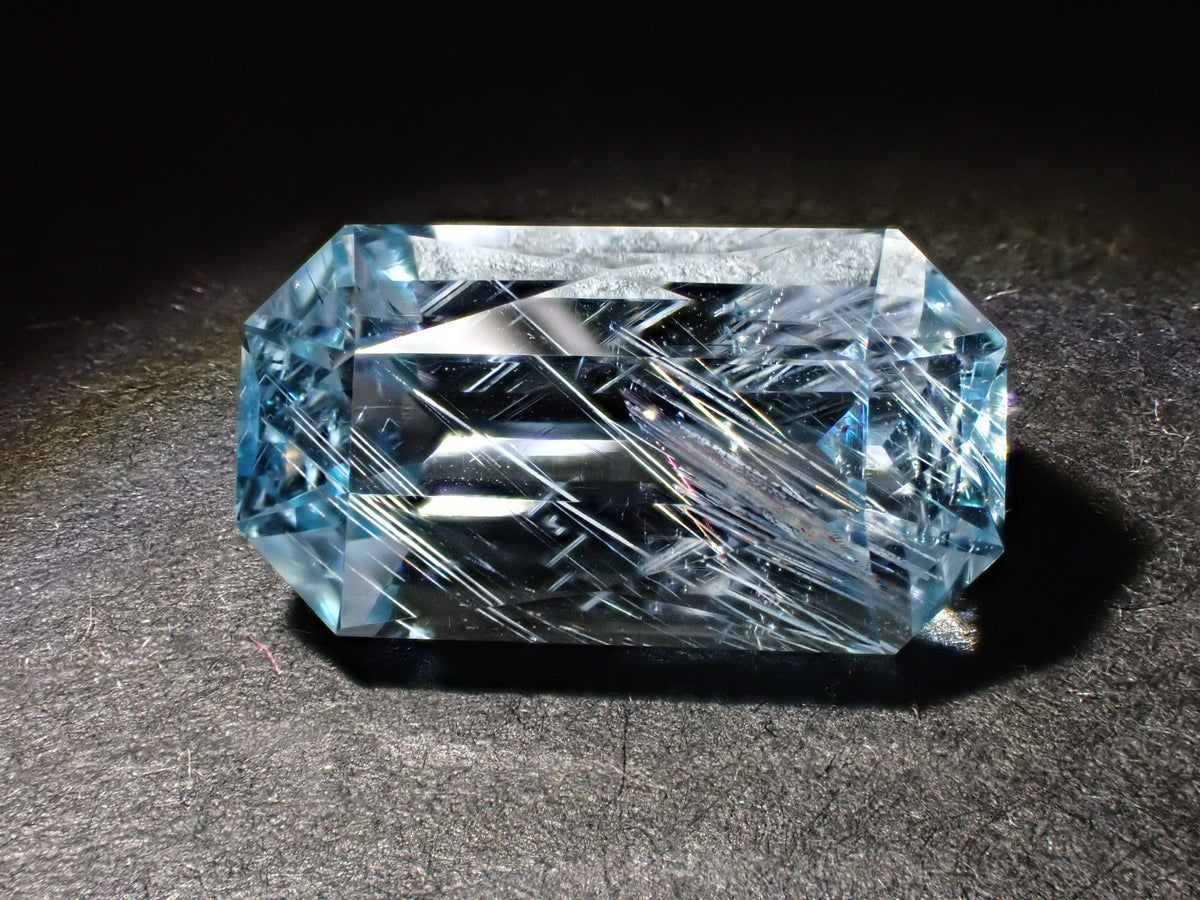
![[Item 12564405] Axinite from Pakistan (Blue Tint) 0.347ct Loose Stone](http://store.karatz.jp/cdn/shop/files/P9087190_756c191f-6e09-45ef-876c-559e7144b5a4.jpg?v=1791805273&width=3383)
![[Item 12564325] Kenya Gold Sheen Sapphire (Star Sapphire) 0.477ct Loose Gemstone](http://store.karatz.jp/cdn/shop/files/P9098894_9e71d12f-afda-46cb-99c2-1c15650319a3.jpg?v=1791805575&width=3070)
![[12564127 listed] Apatite 0.764ct loose stone](http://store.karatz.jp/cdn/shop/files/P9045124_40f81794-e0dc-4ff2-a6b4-5692af797c06.jpg?v=1791806195&width=3323)
[12564127 listed] Apatite 0.764ct loose stone
Sale price¥6,980
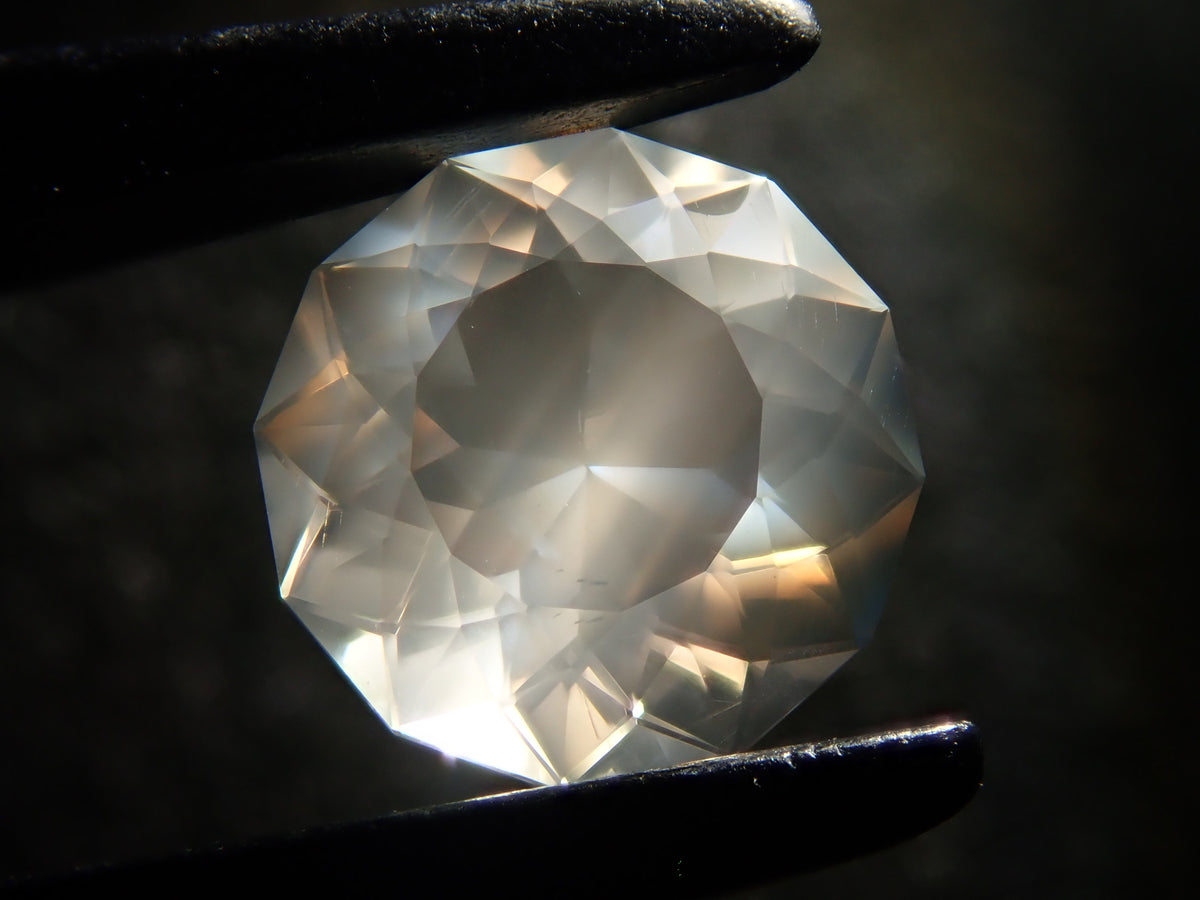
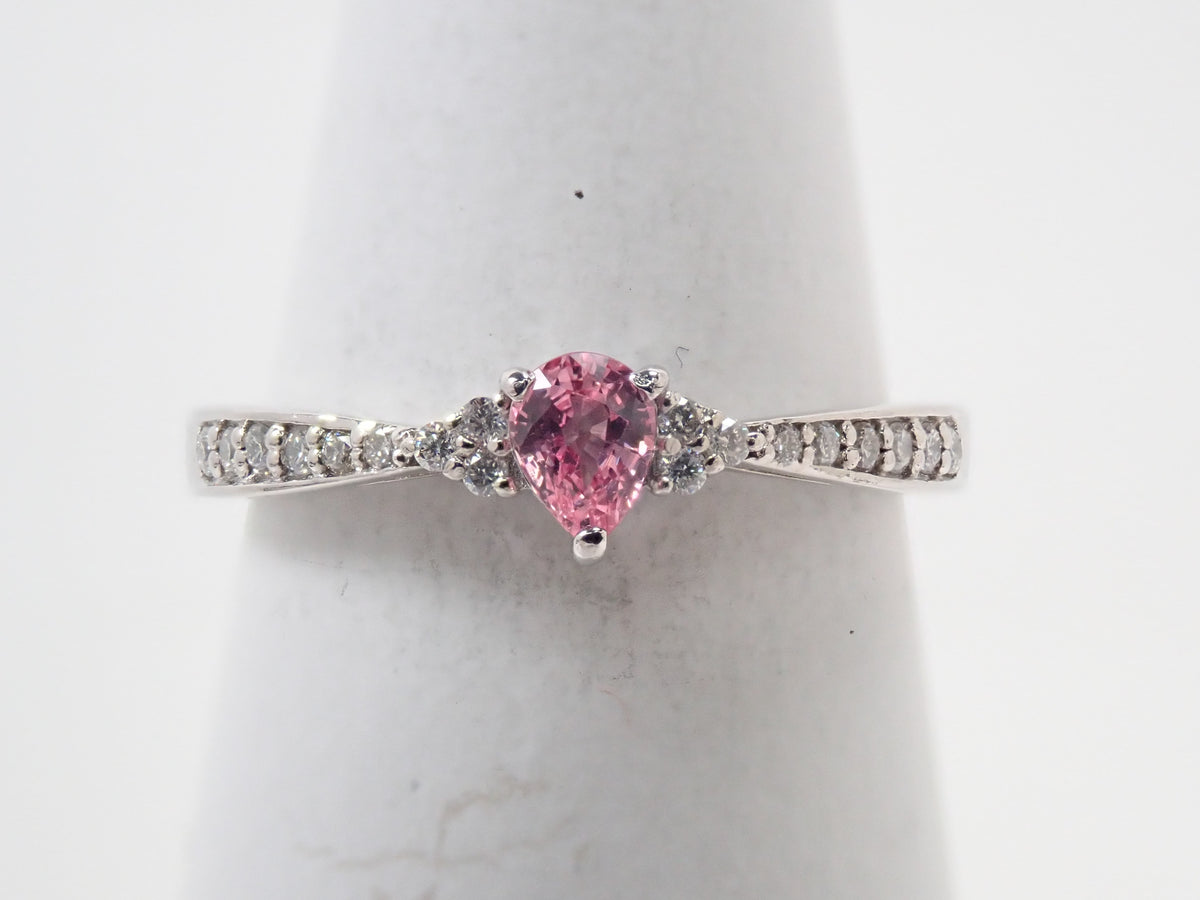
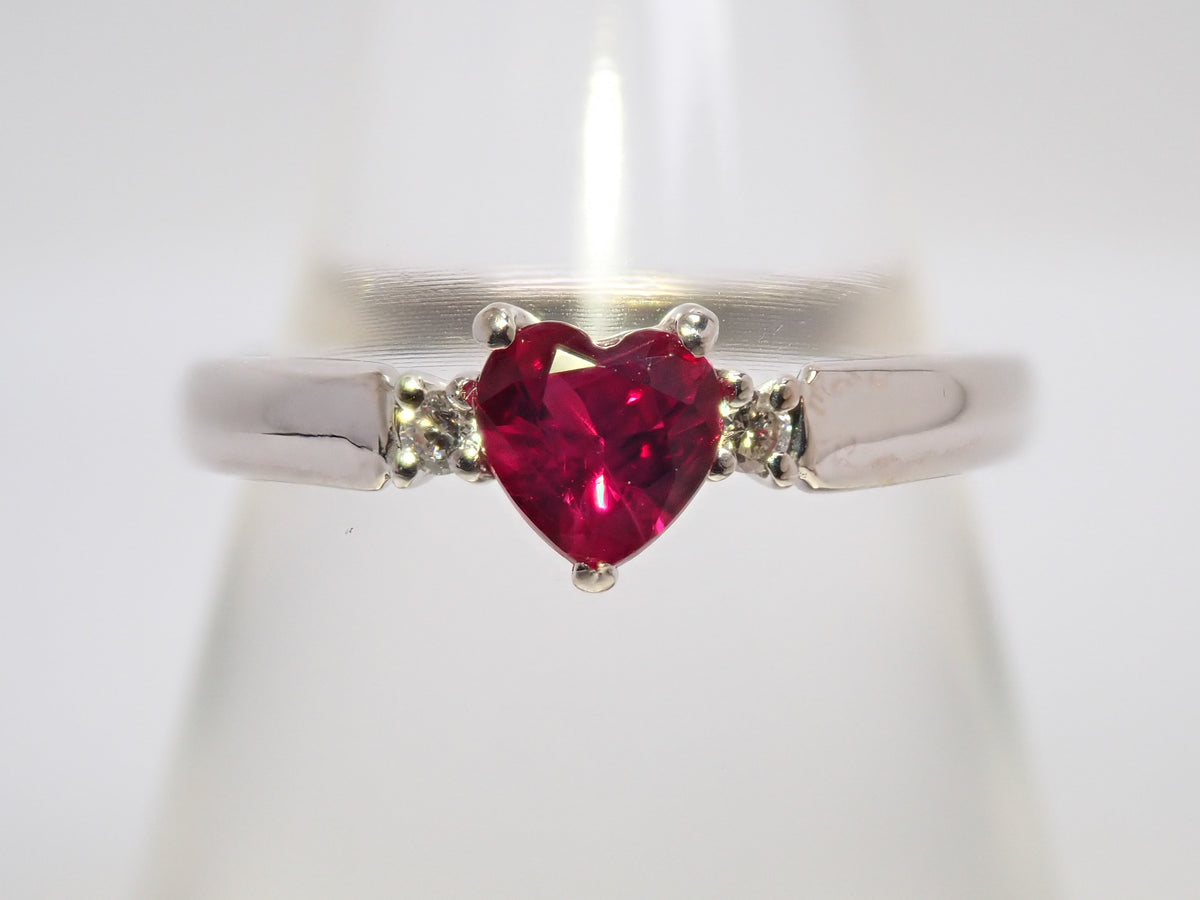
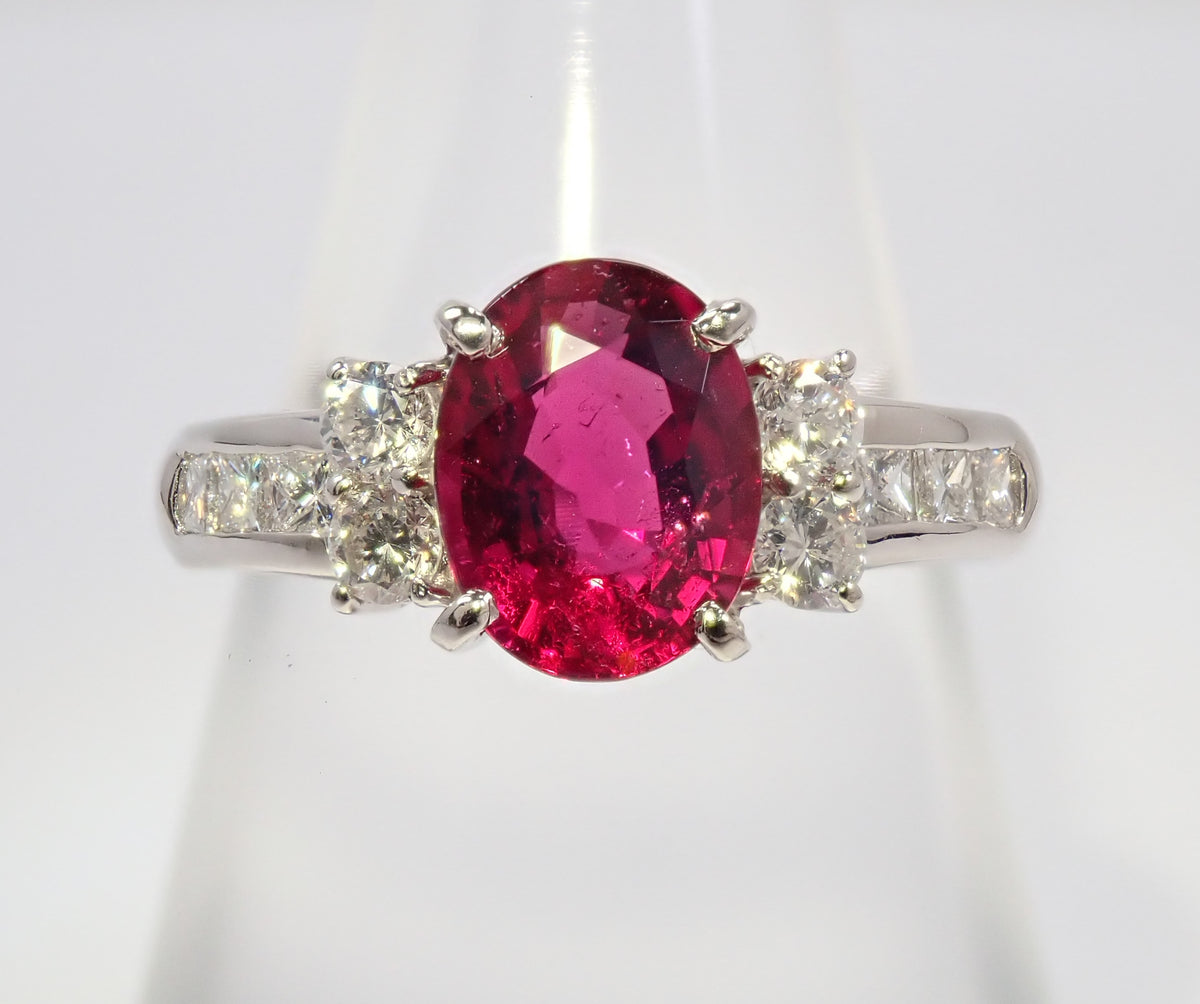
[Posted on 22602707] [Colorful] Pt900 Rubellite 1.308ct Ring
Sale price¥158,000

[Item 12564248] Madagascar Sapphire 0.385ct Loose Stone
Sale price¥18,800
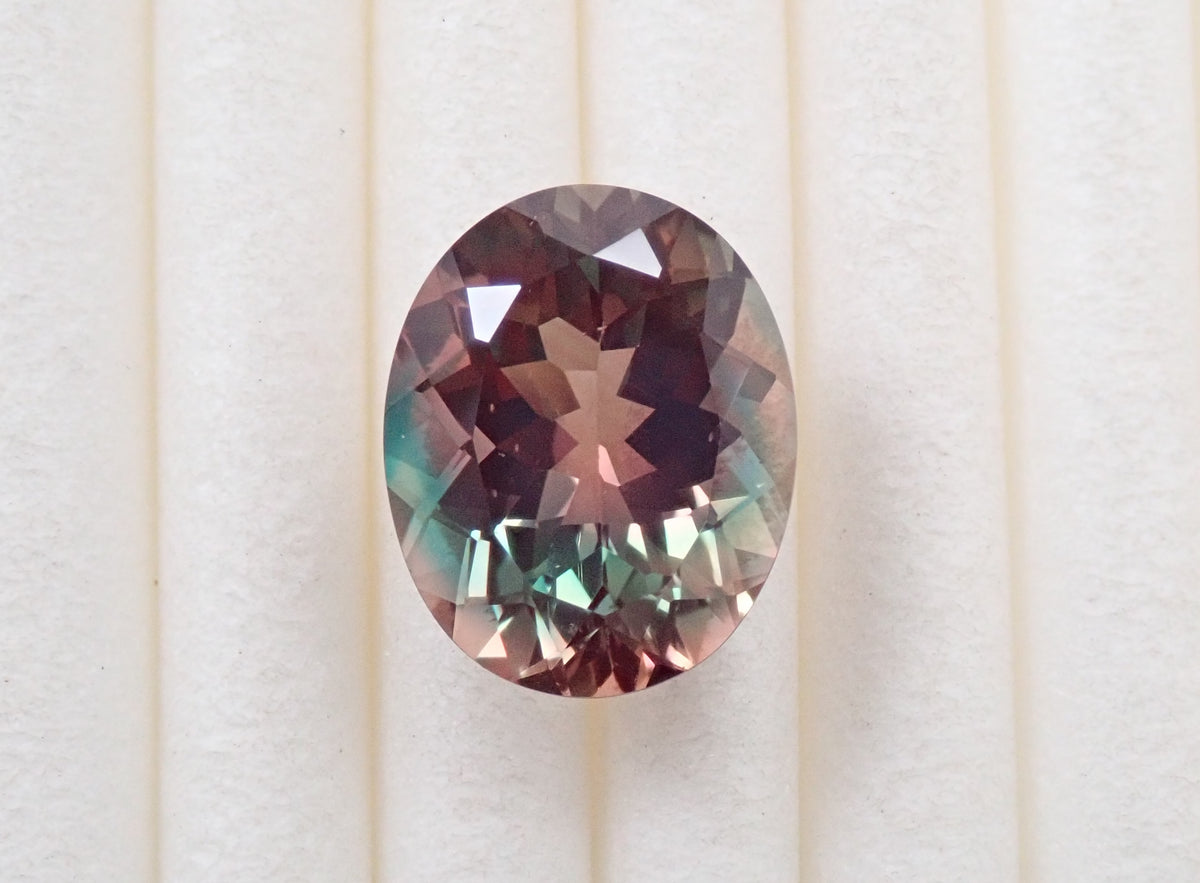
[Item 12564372] Mongolian Bicolor Andesine 2.399ct Loose Gemstone
Sale price¥25,800
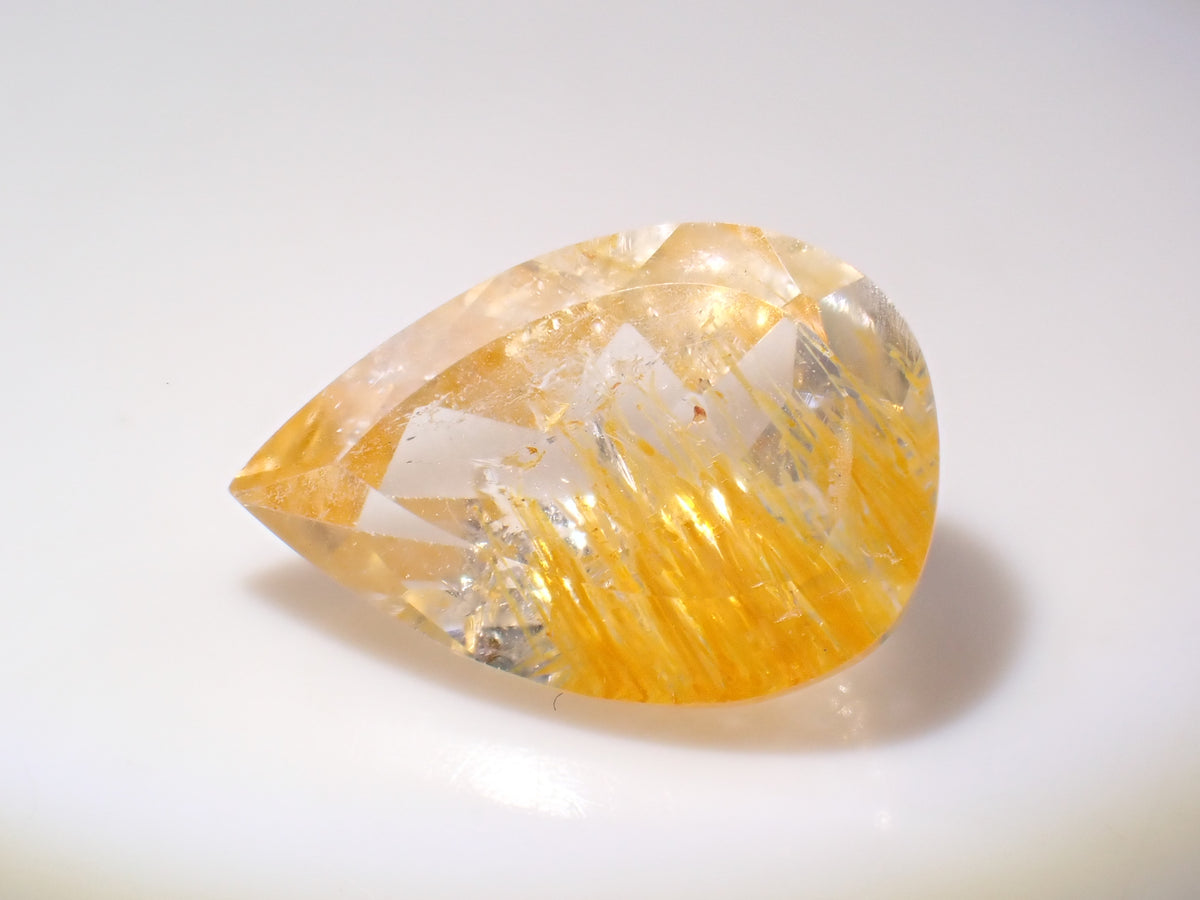
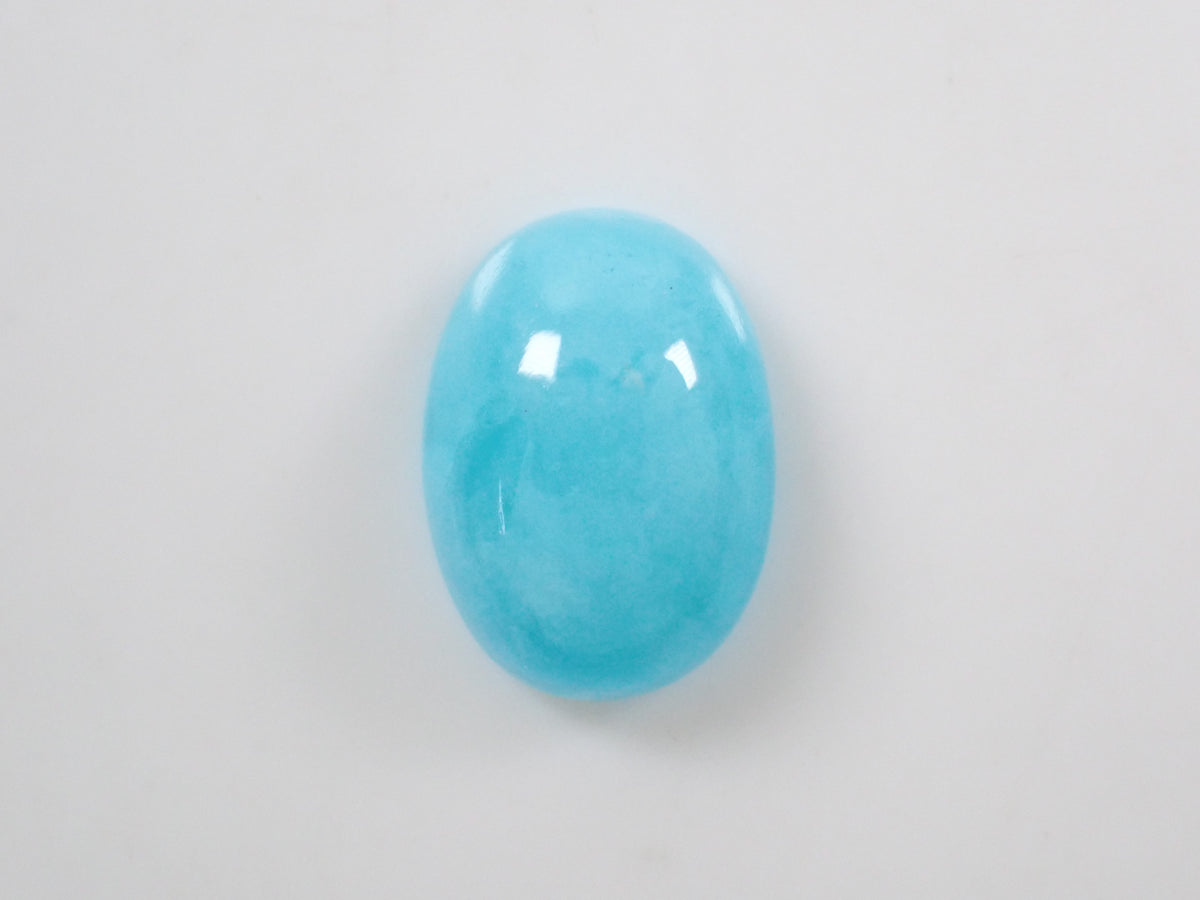
[Available 10/10 at 10 PM] Hemimorphite from Congo, 3.363ct loose stone
Sale price¥18,800

Brazilian unheated particolor Paraiba tourmaline 0.84ct loose GIA
Sale price¥2,580,000

Brazilian Paraiba tourmaline 0.275ct loose (CuO:1.5%.MnO:2.3%)
Sale price¥398,000
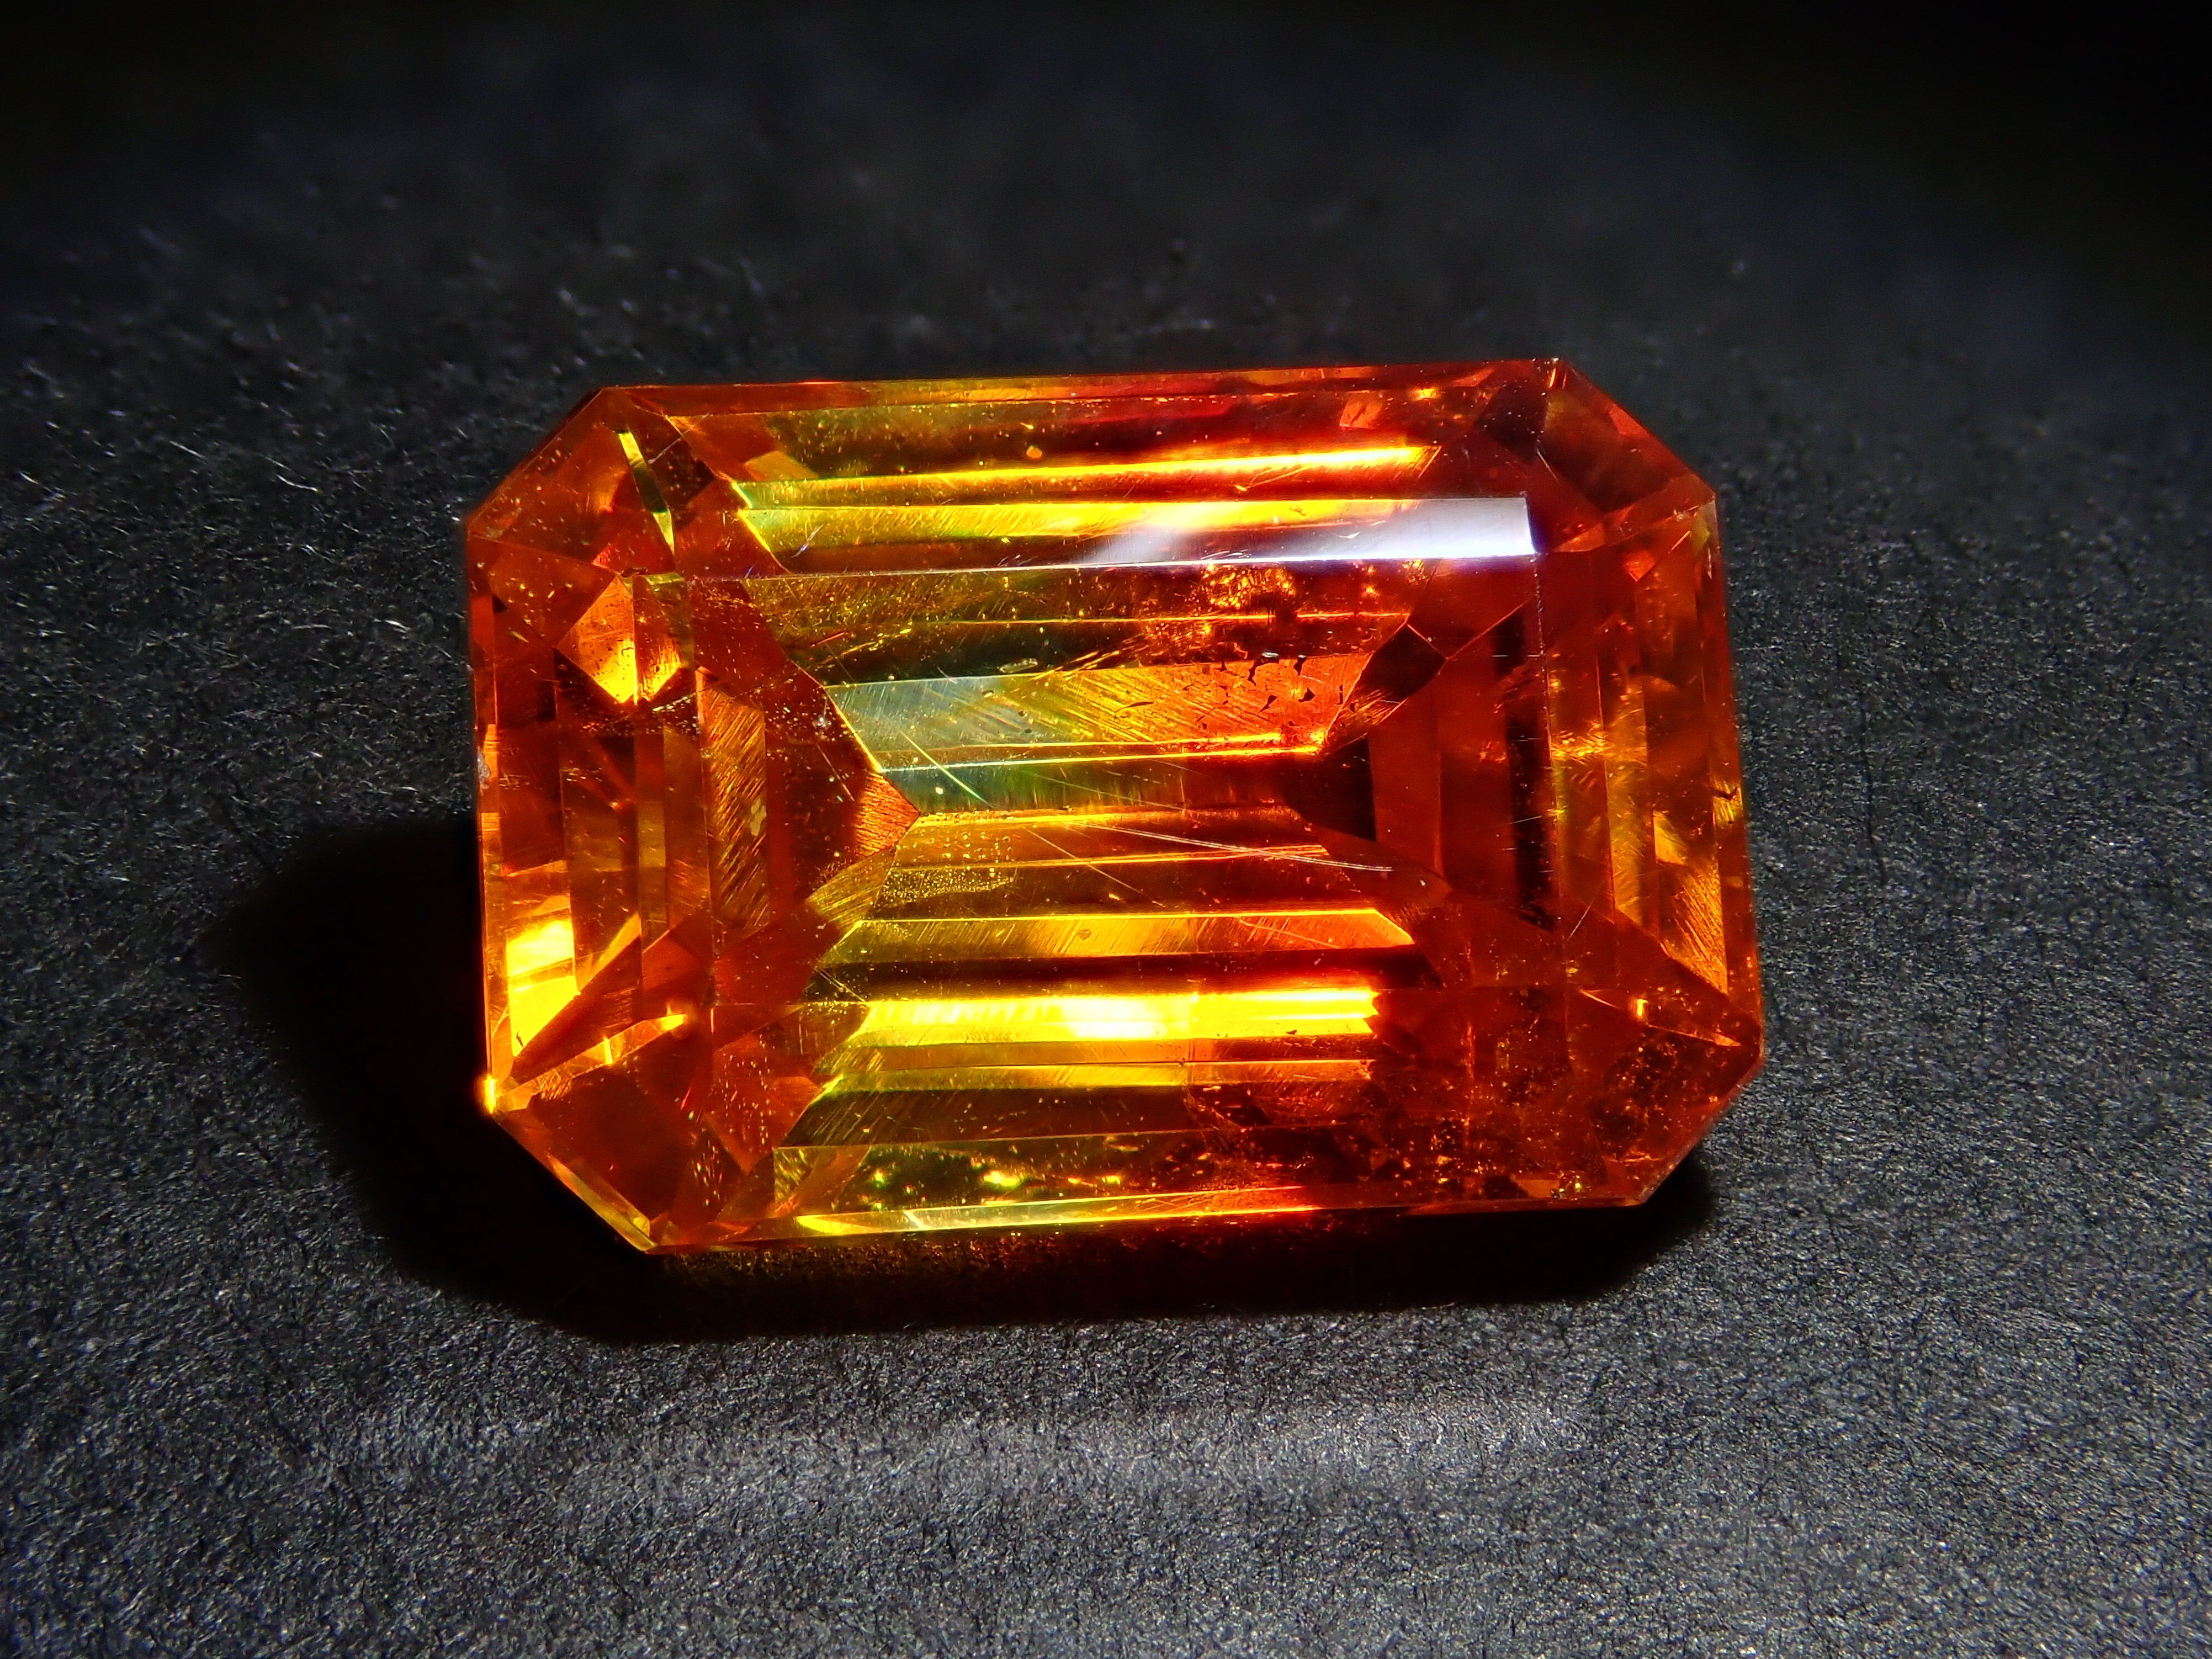
Spanish bicolor sphalerite 6.230ct loose
Sale price¥69,800
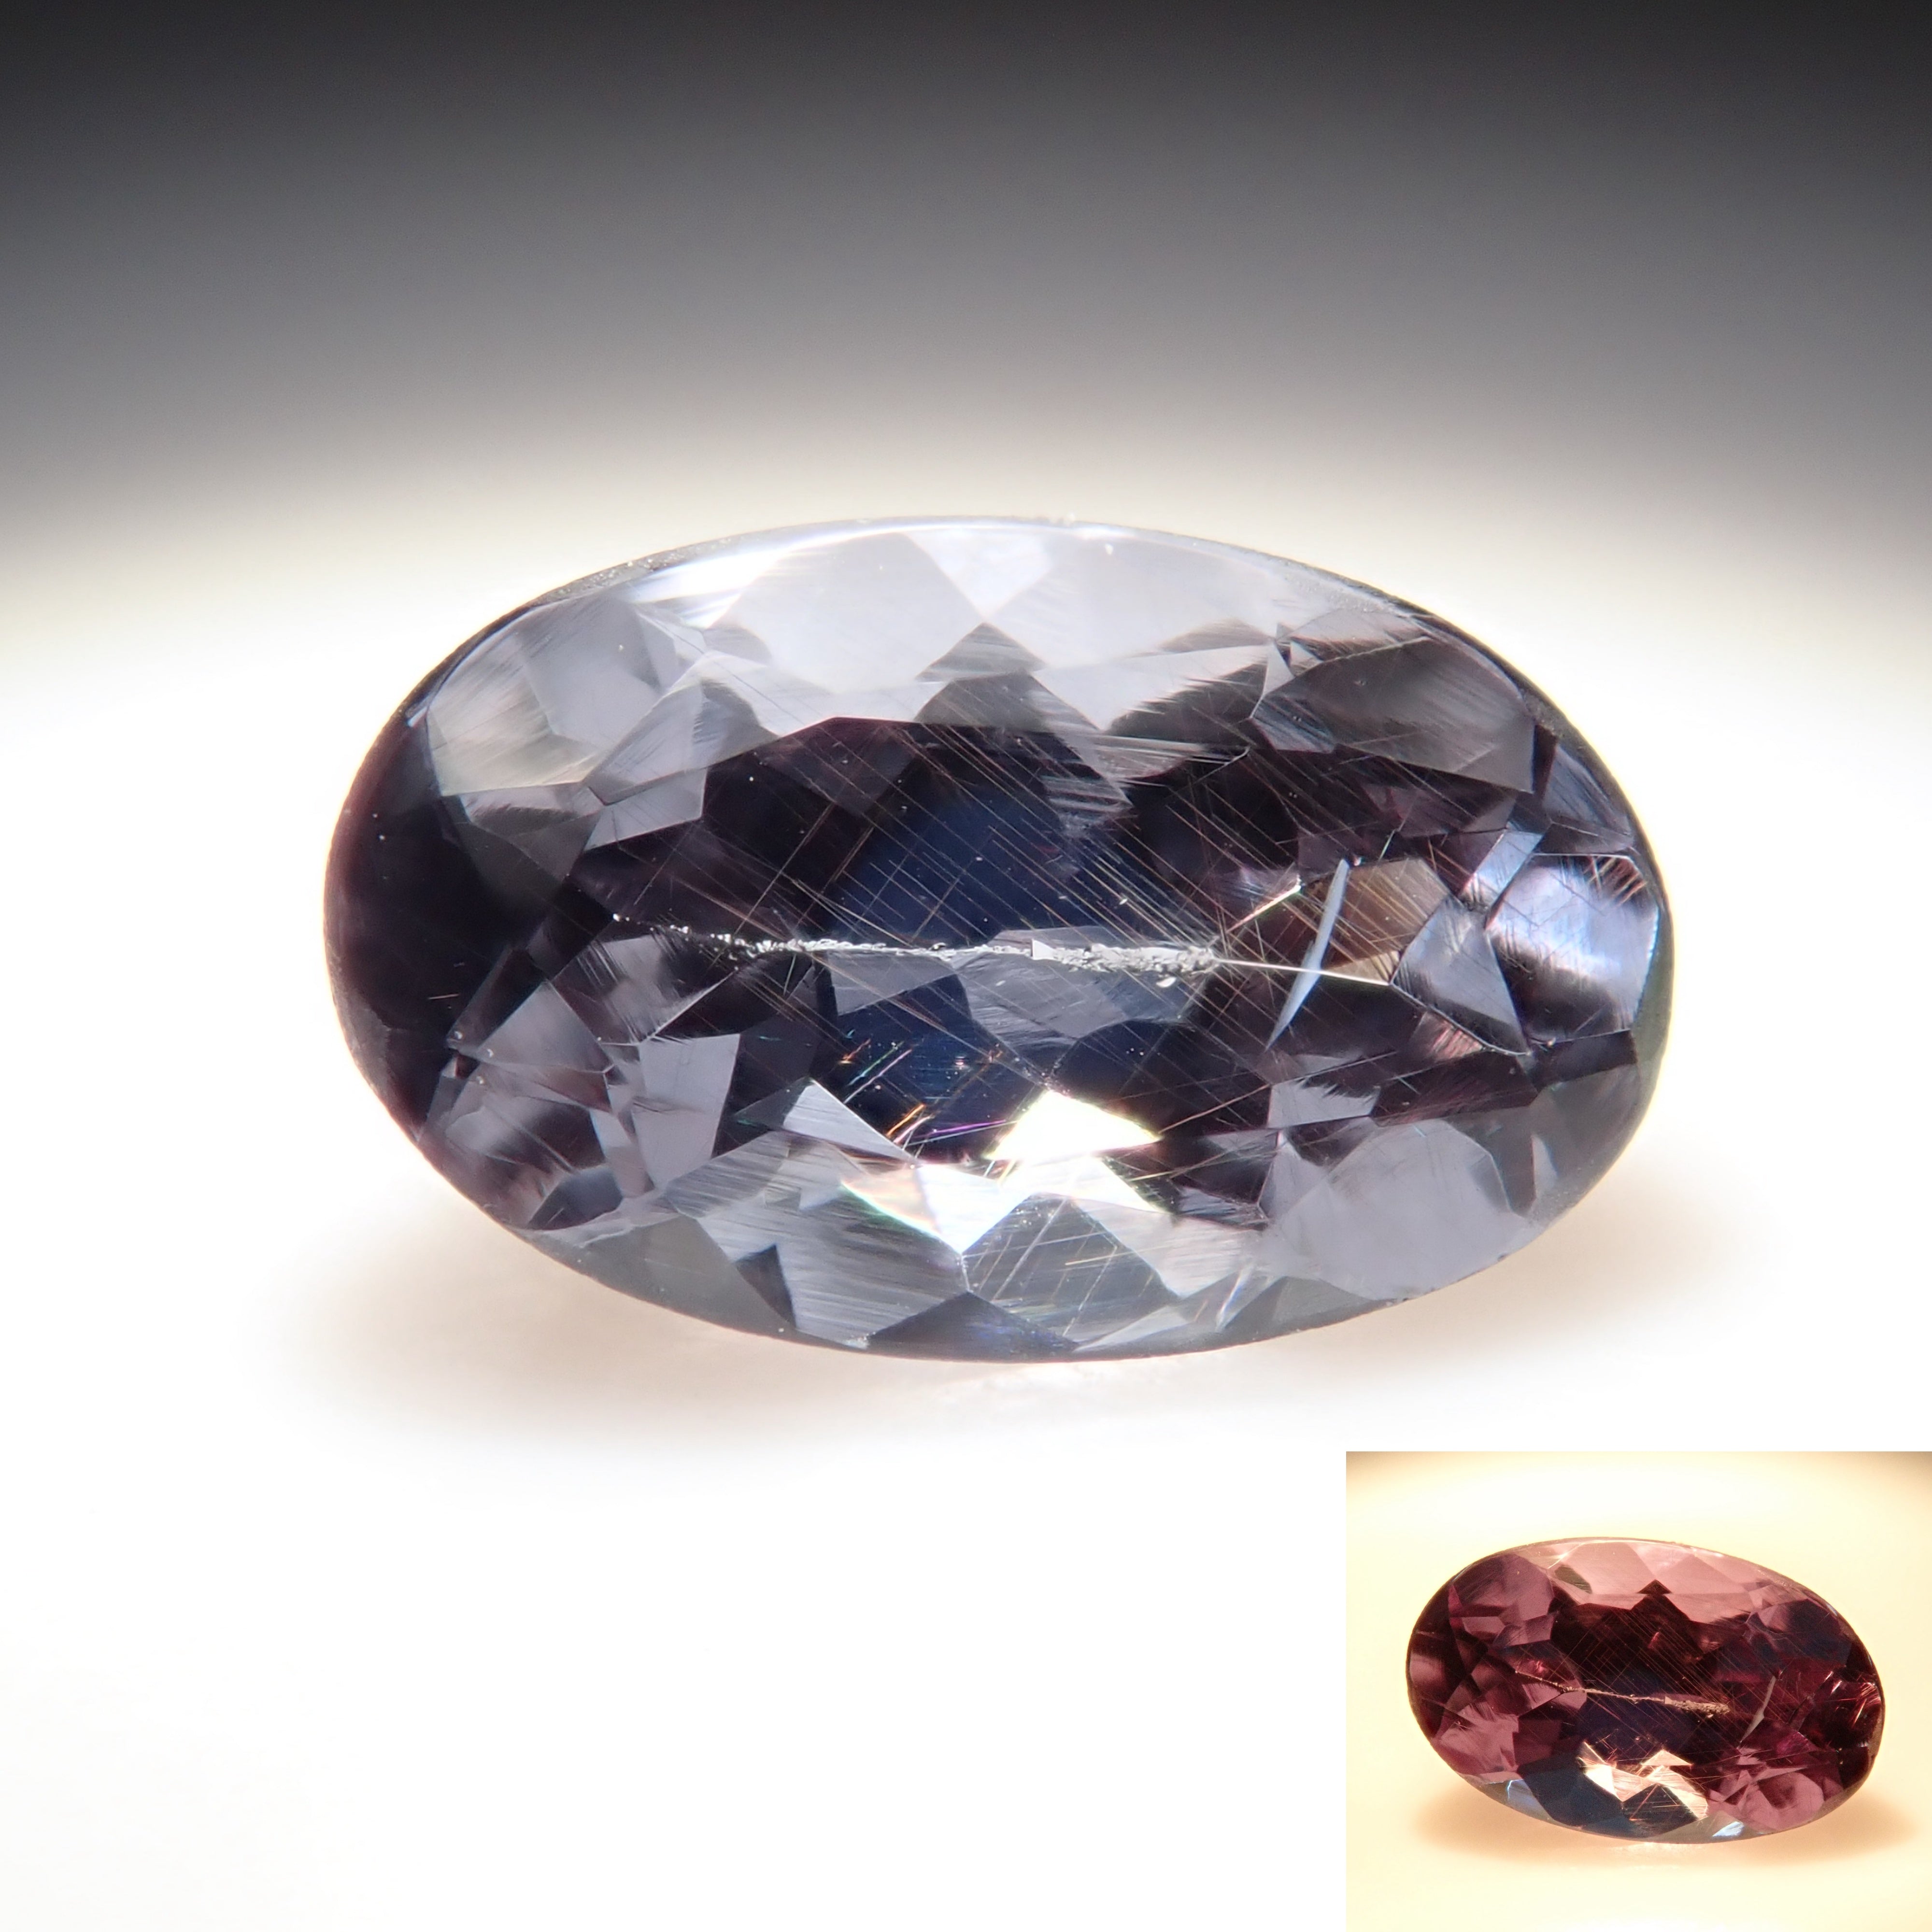
Bekily Blue Garnet from Madagascar (color change garnet) 0.297ct loose
Sale price¥19,800
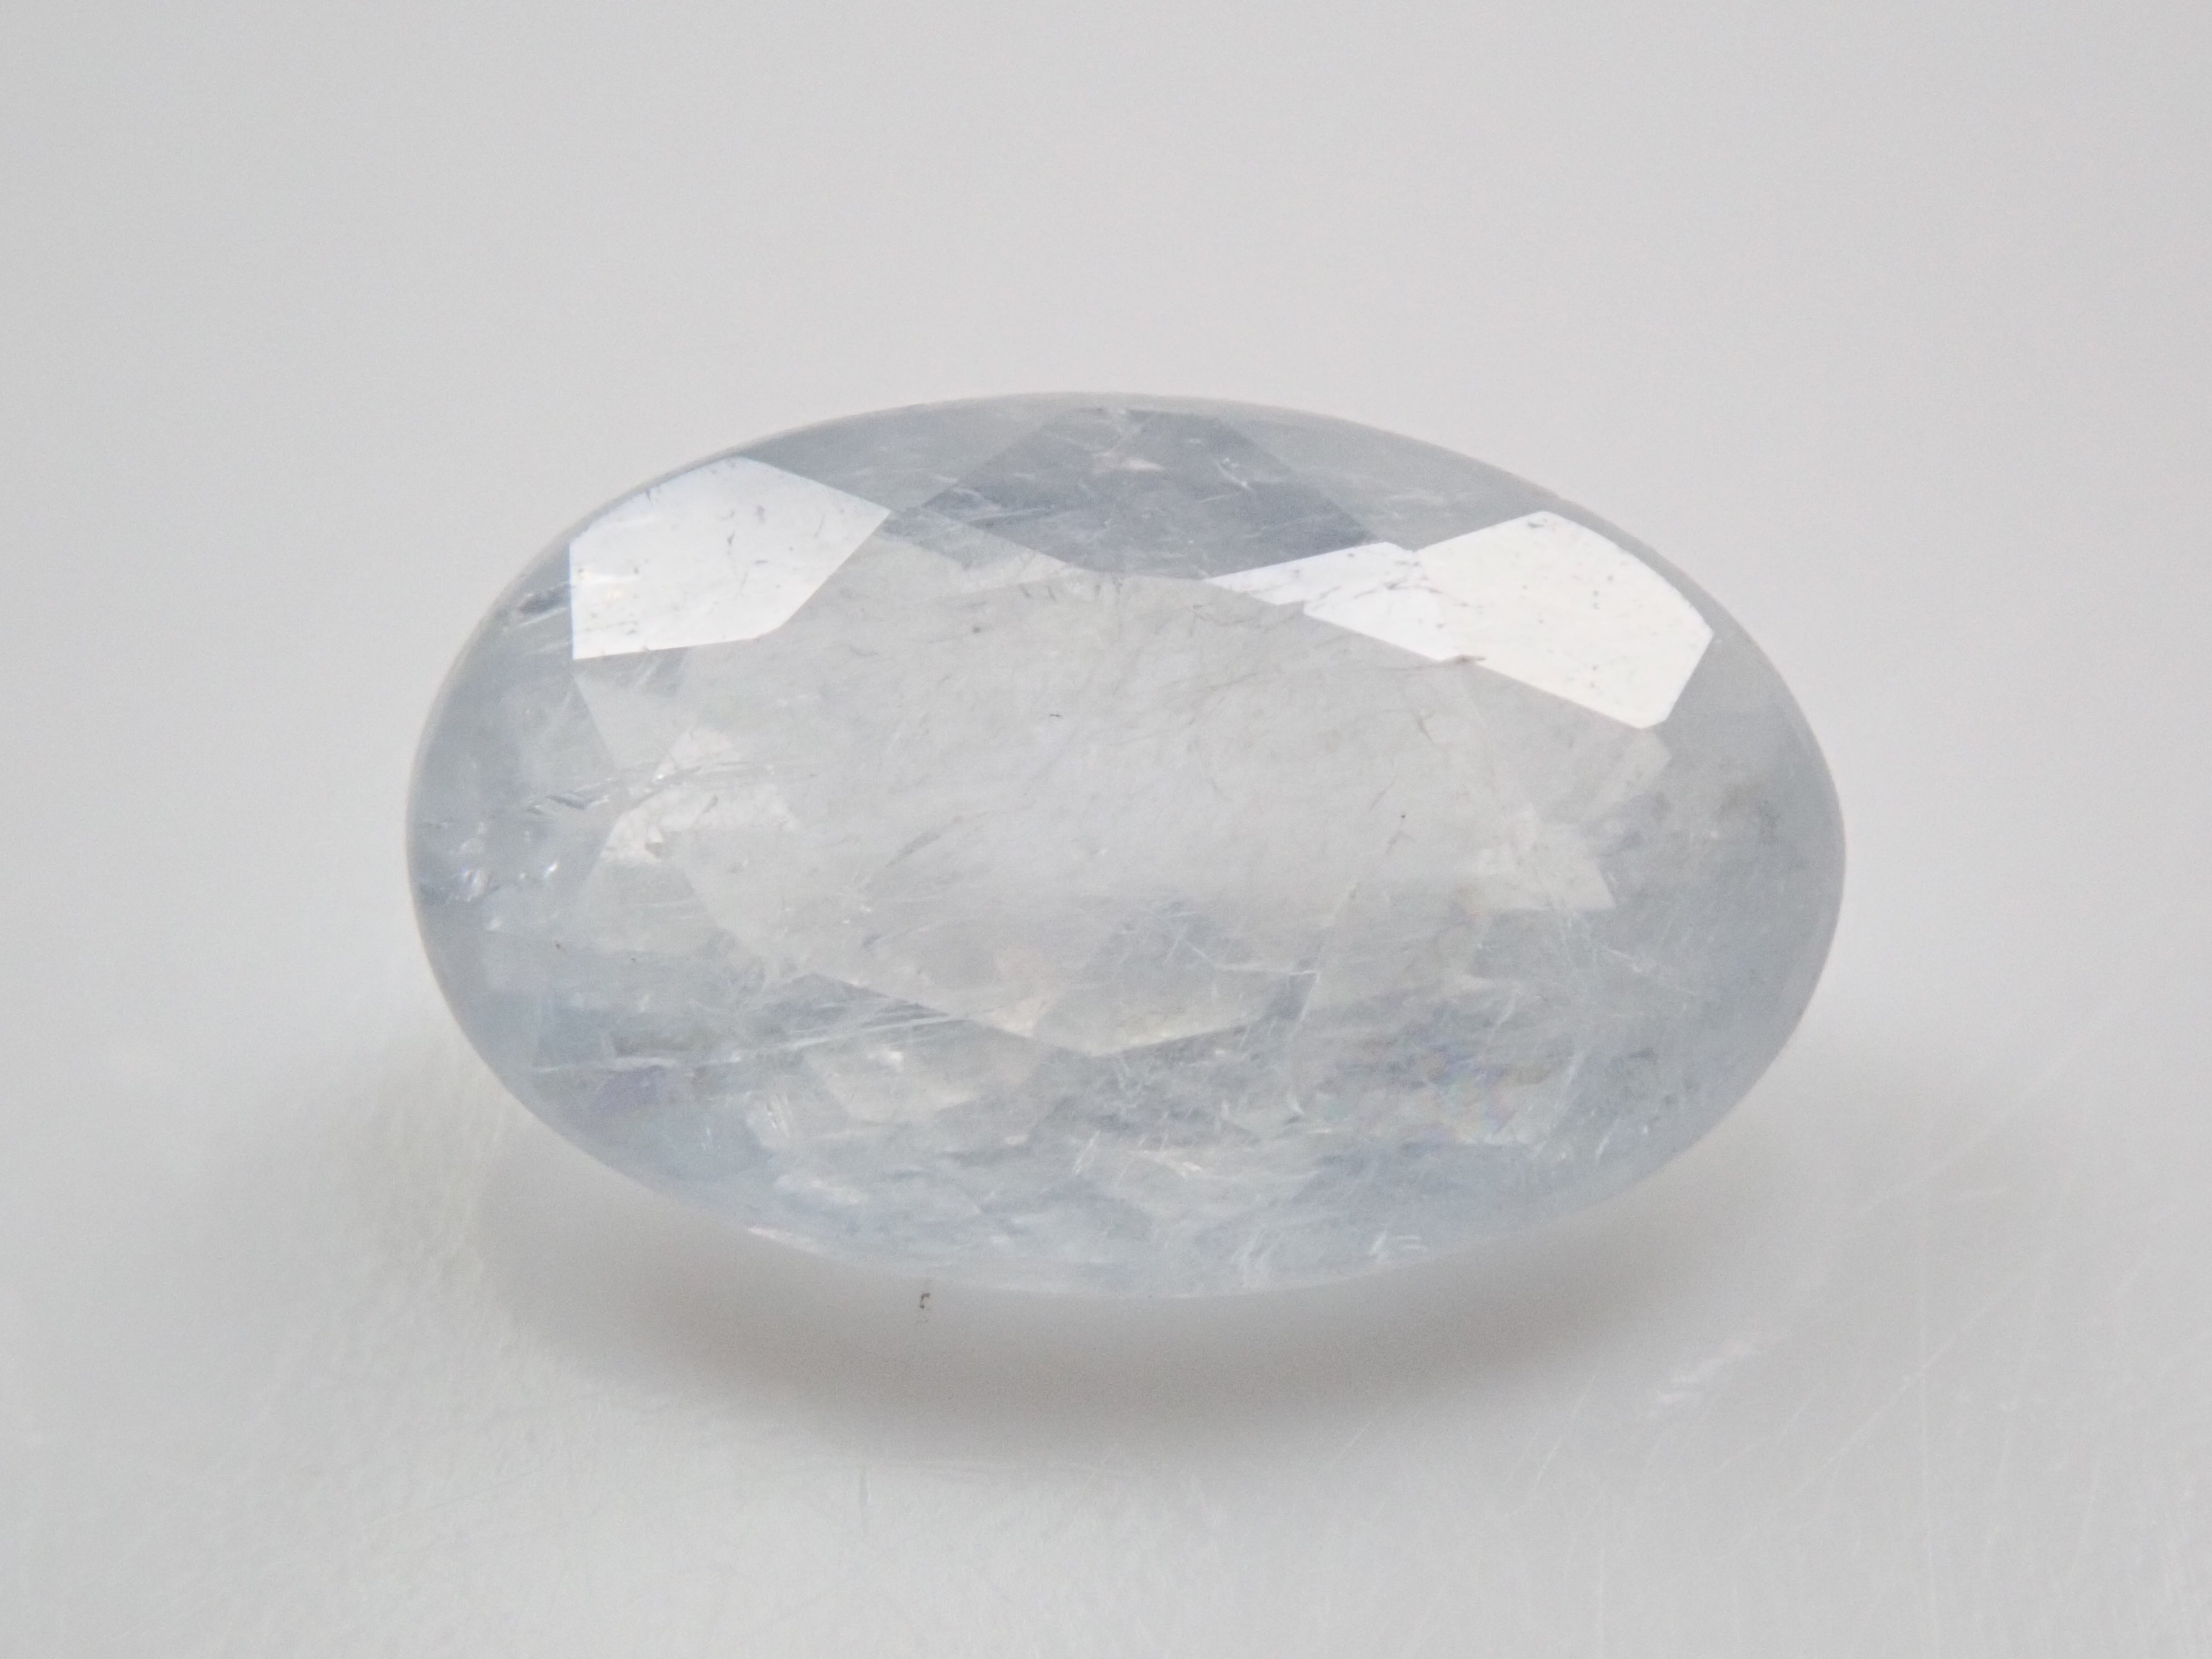
Brazilian Euclase 0.610ct loose
Sale price¥14,800
![[Jeweler's tools] 4-piece set including loupe (10x magnification), tweezers, and 2 loose stones](http://store.karatz.jp/cdn/shop/files/P4130575.jpg?v=1776126091&width=4000)