

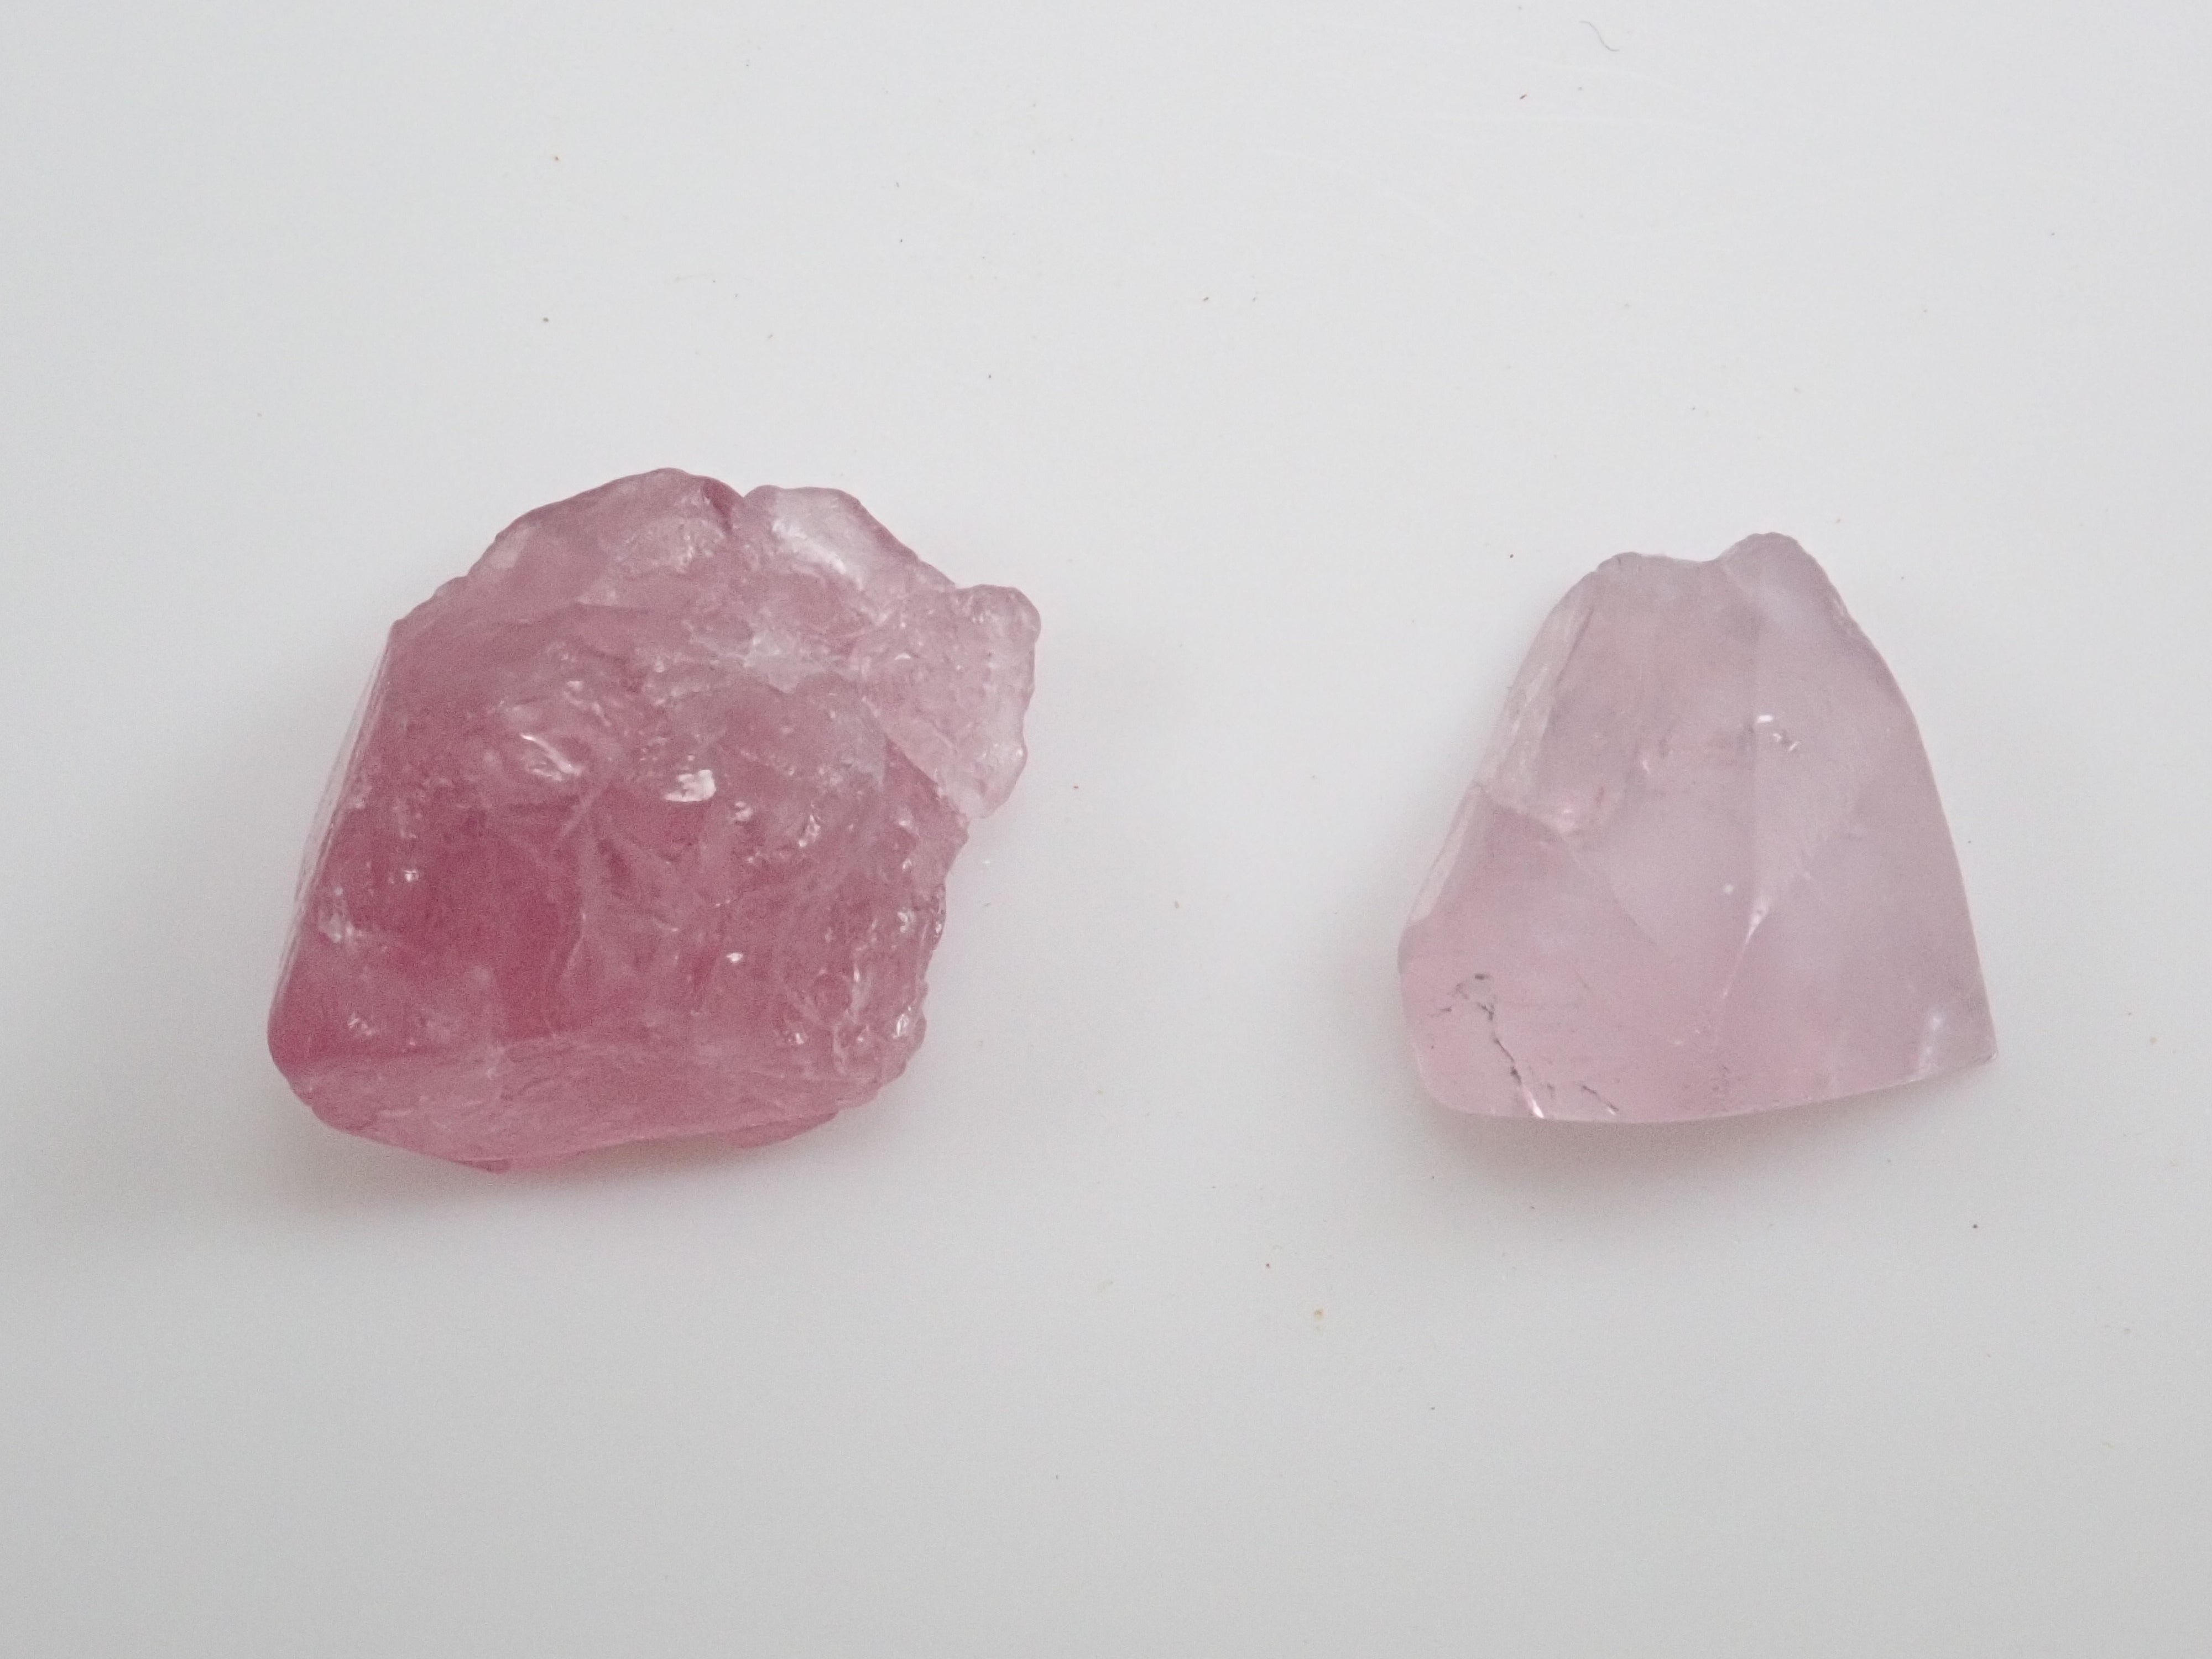
Let's try gemstone polishing "Do-it-yourself rough stone polishing set" (for advanced users: rough spinel from Mozambique)
The "DIY Rough Stone Polishing Set" was created in response to requests like "I want to enjoy gemstones up close and experience them with my children."
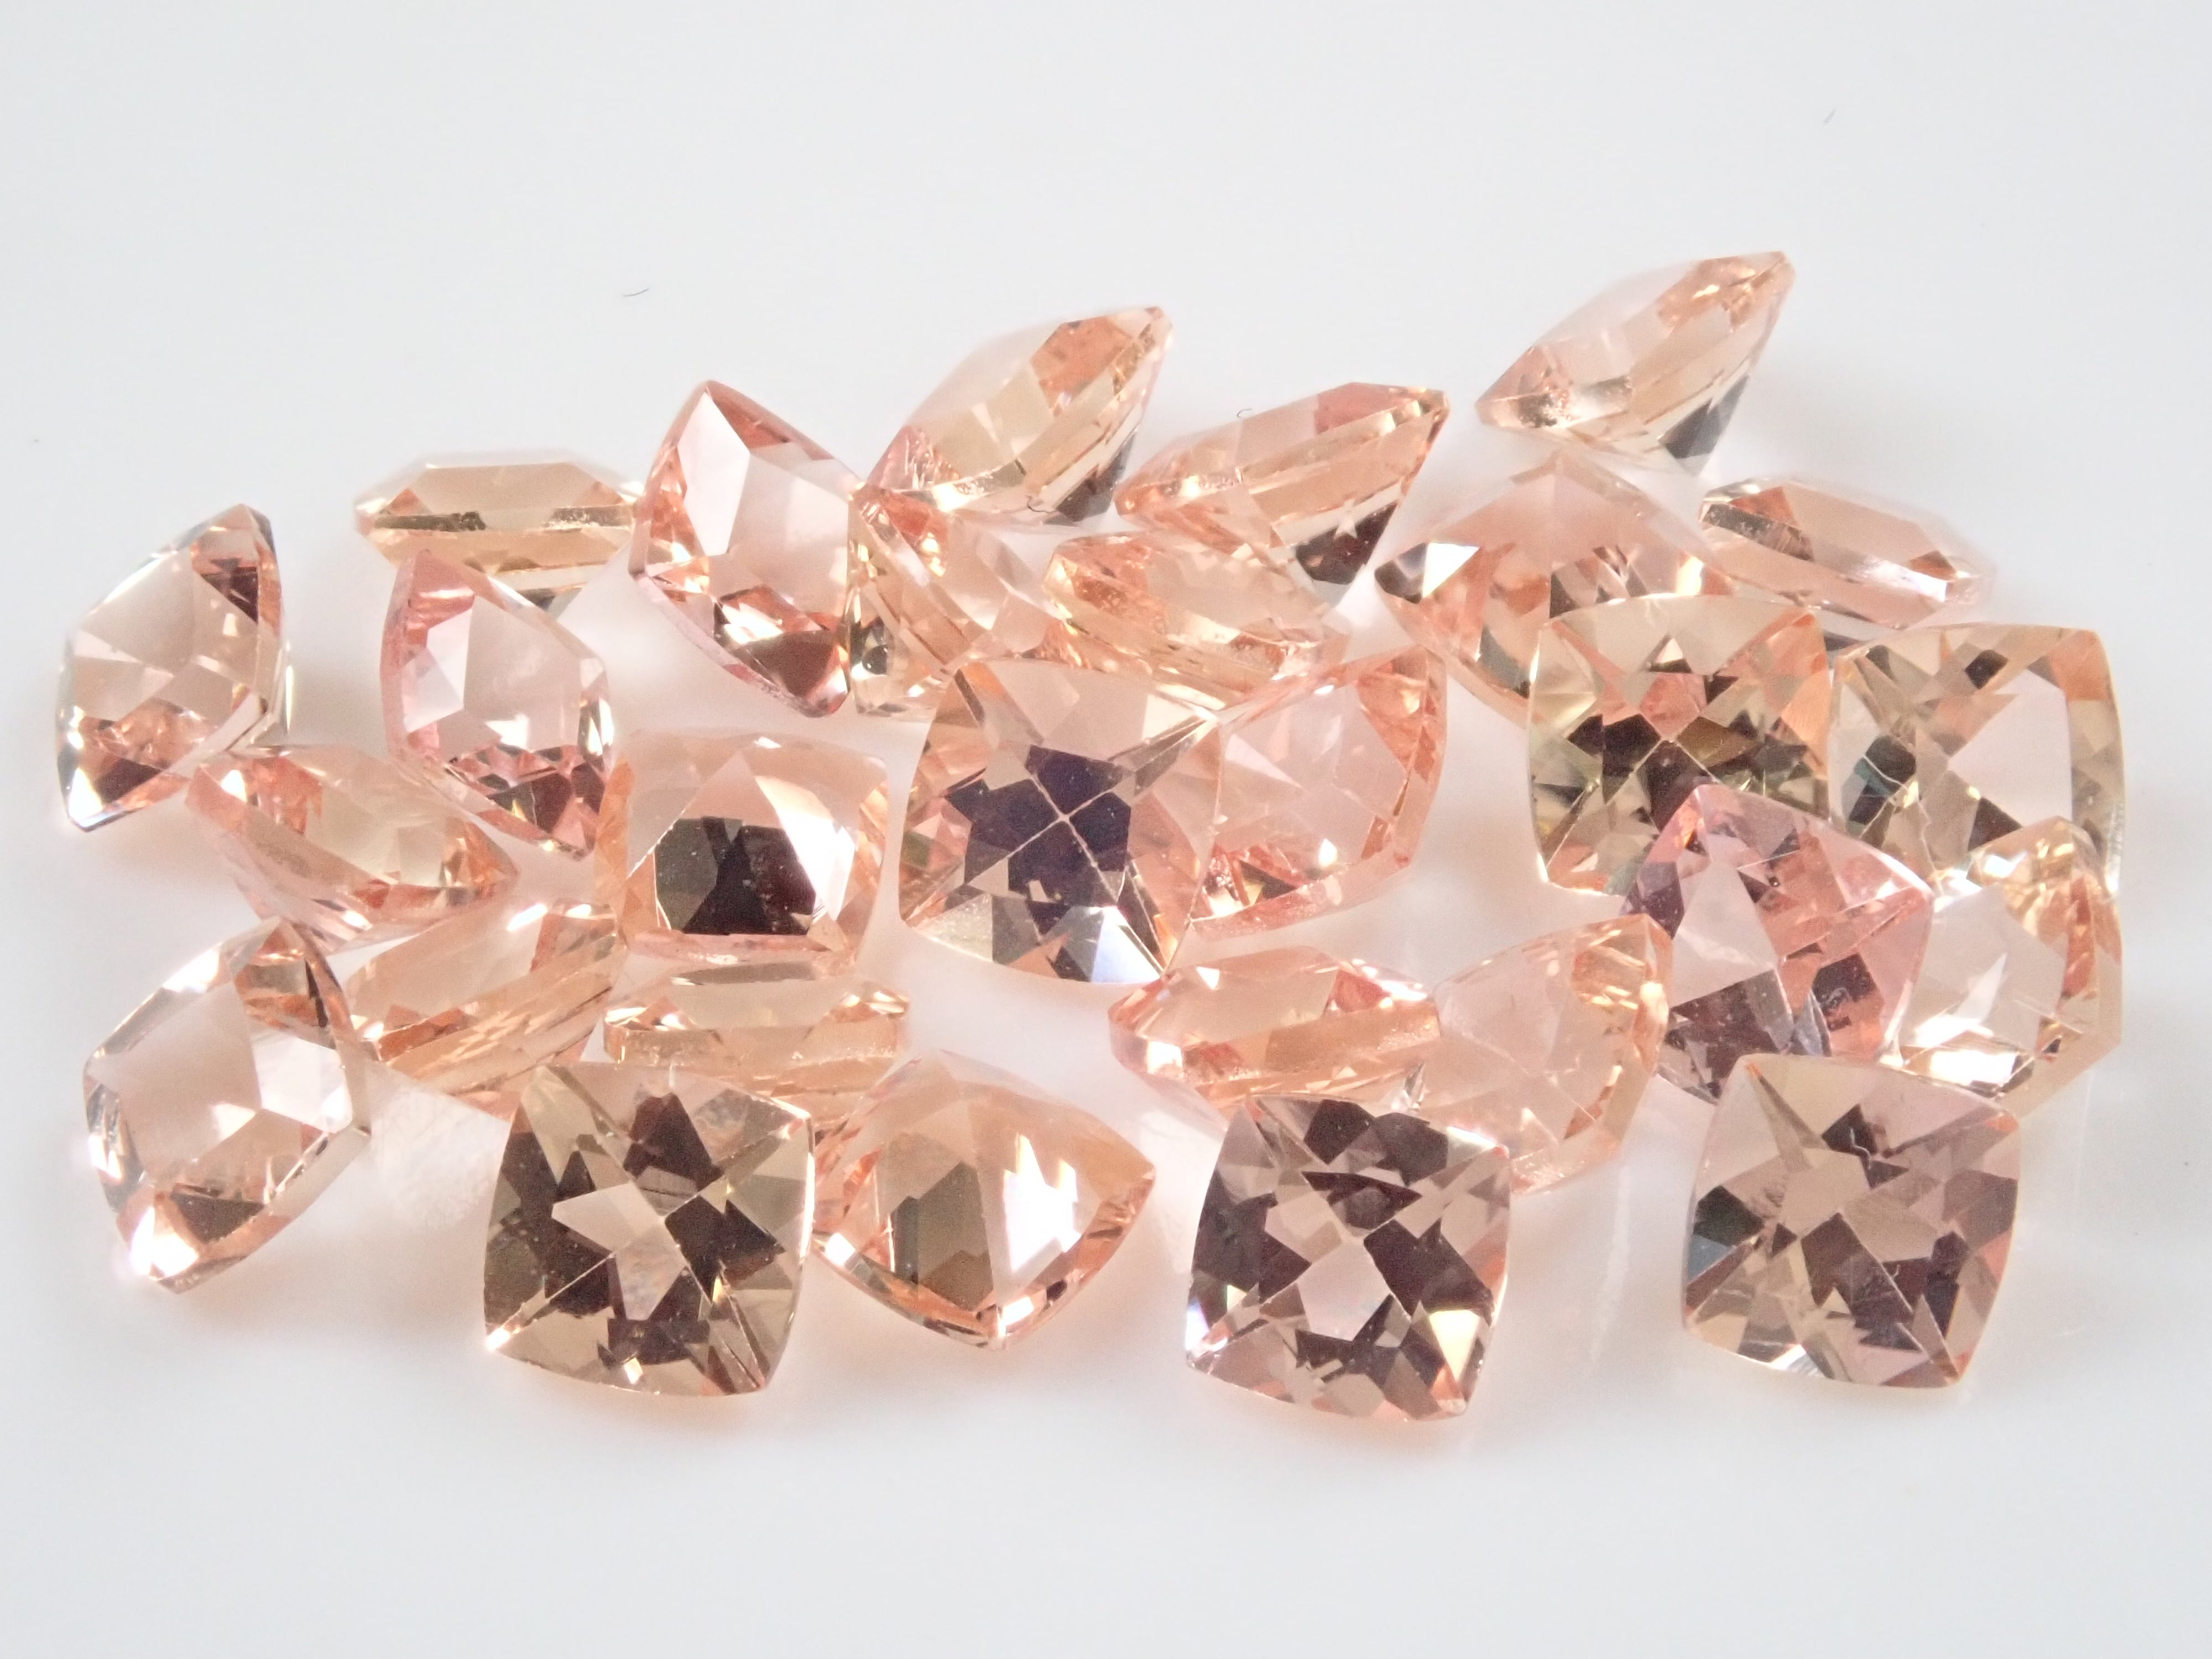
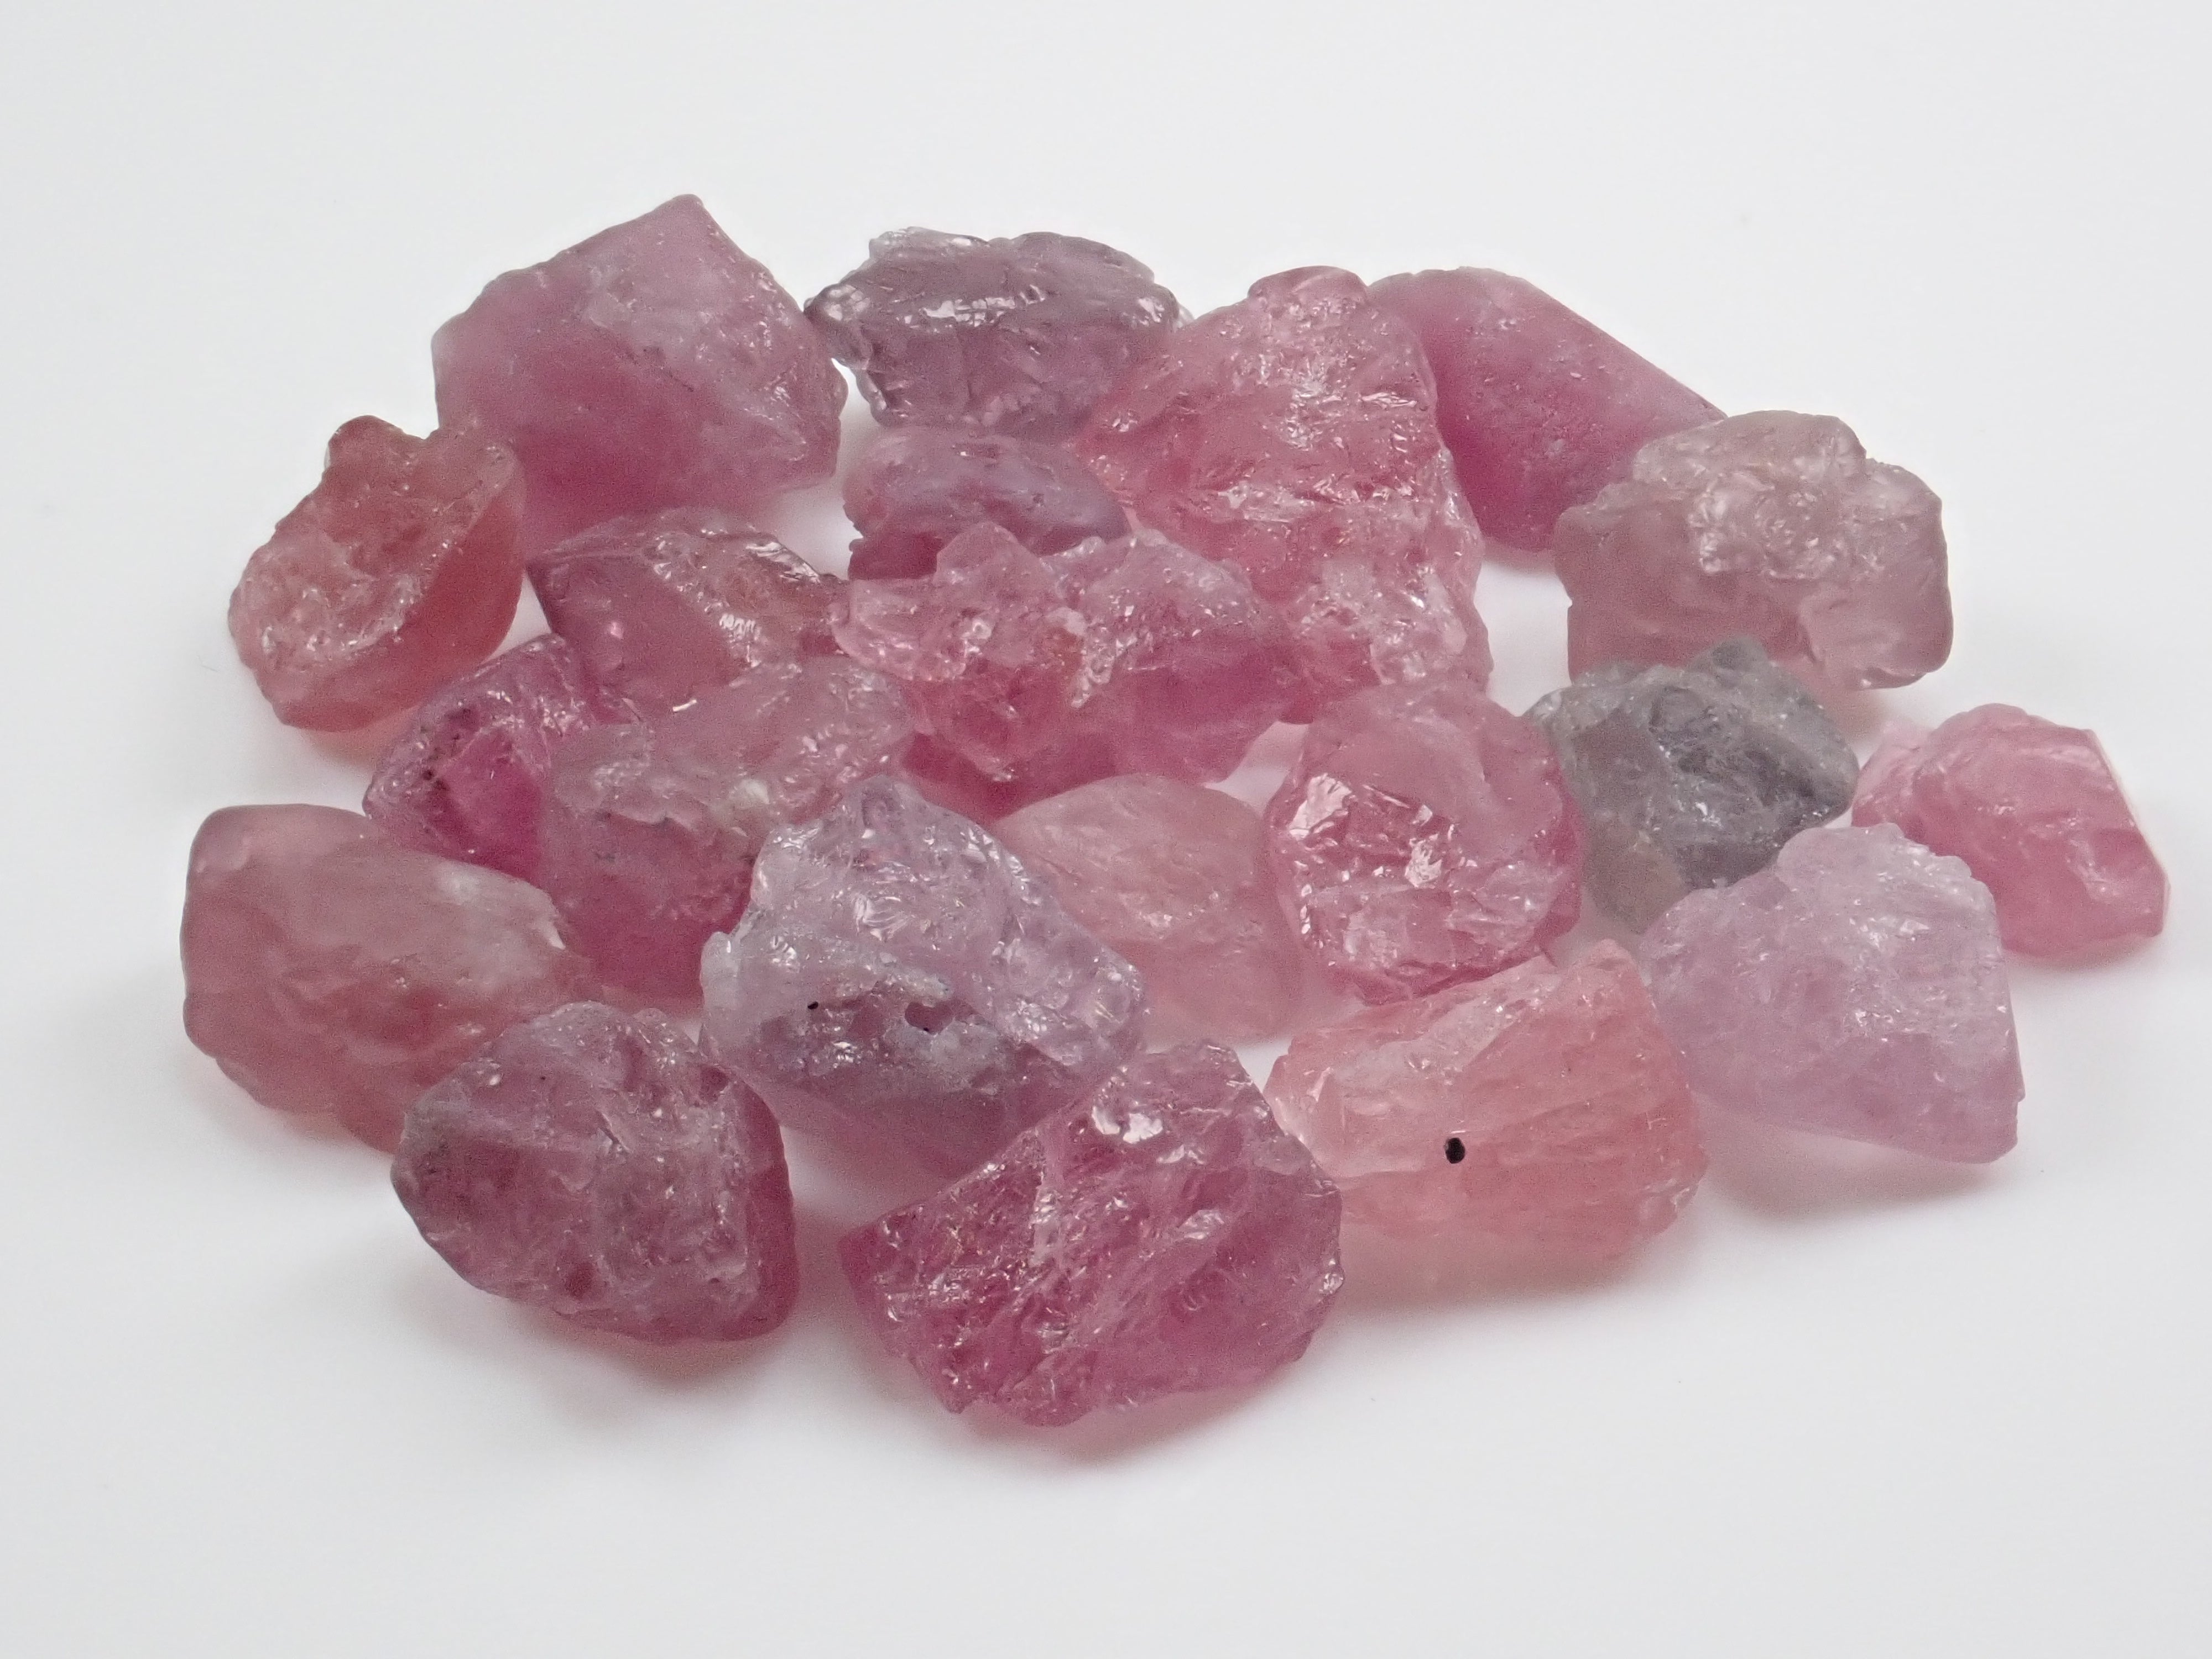
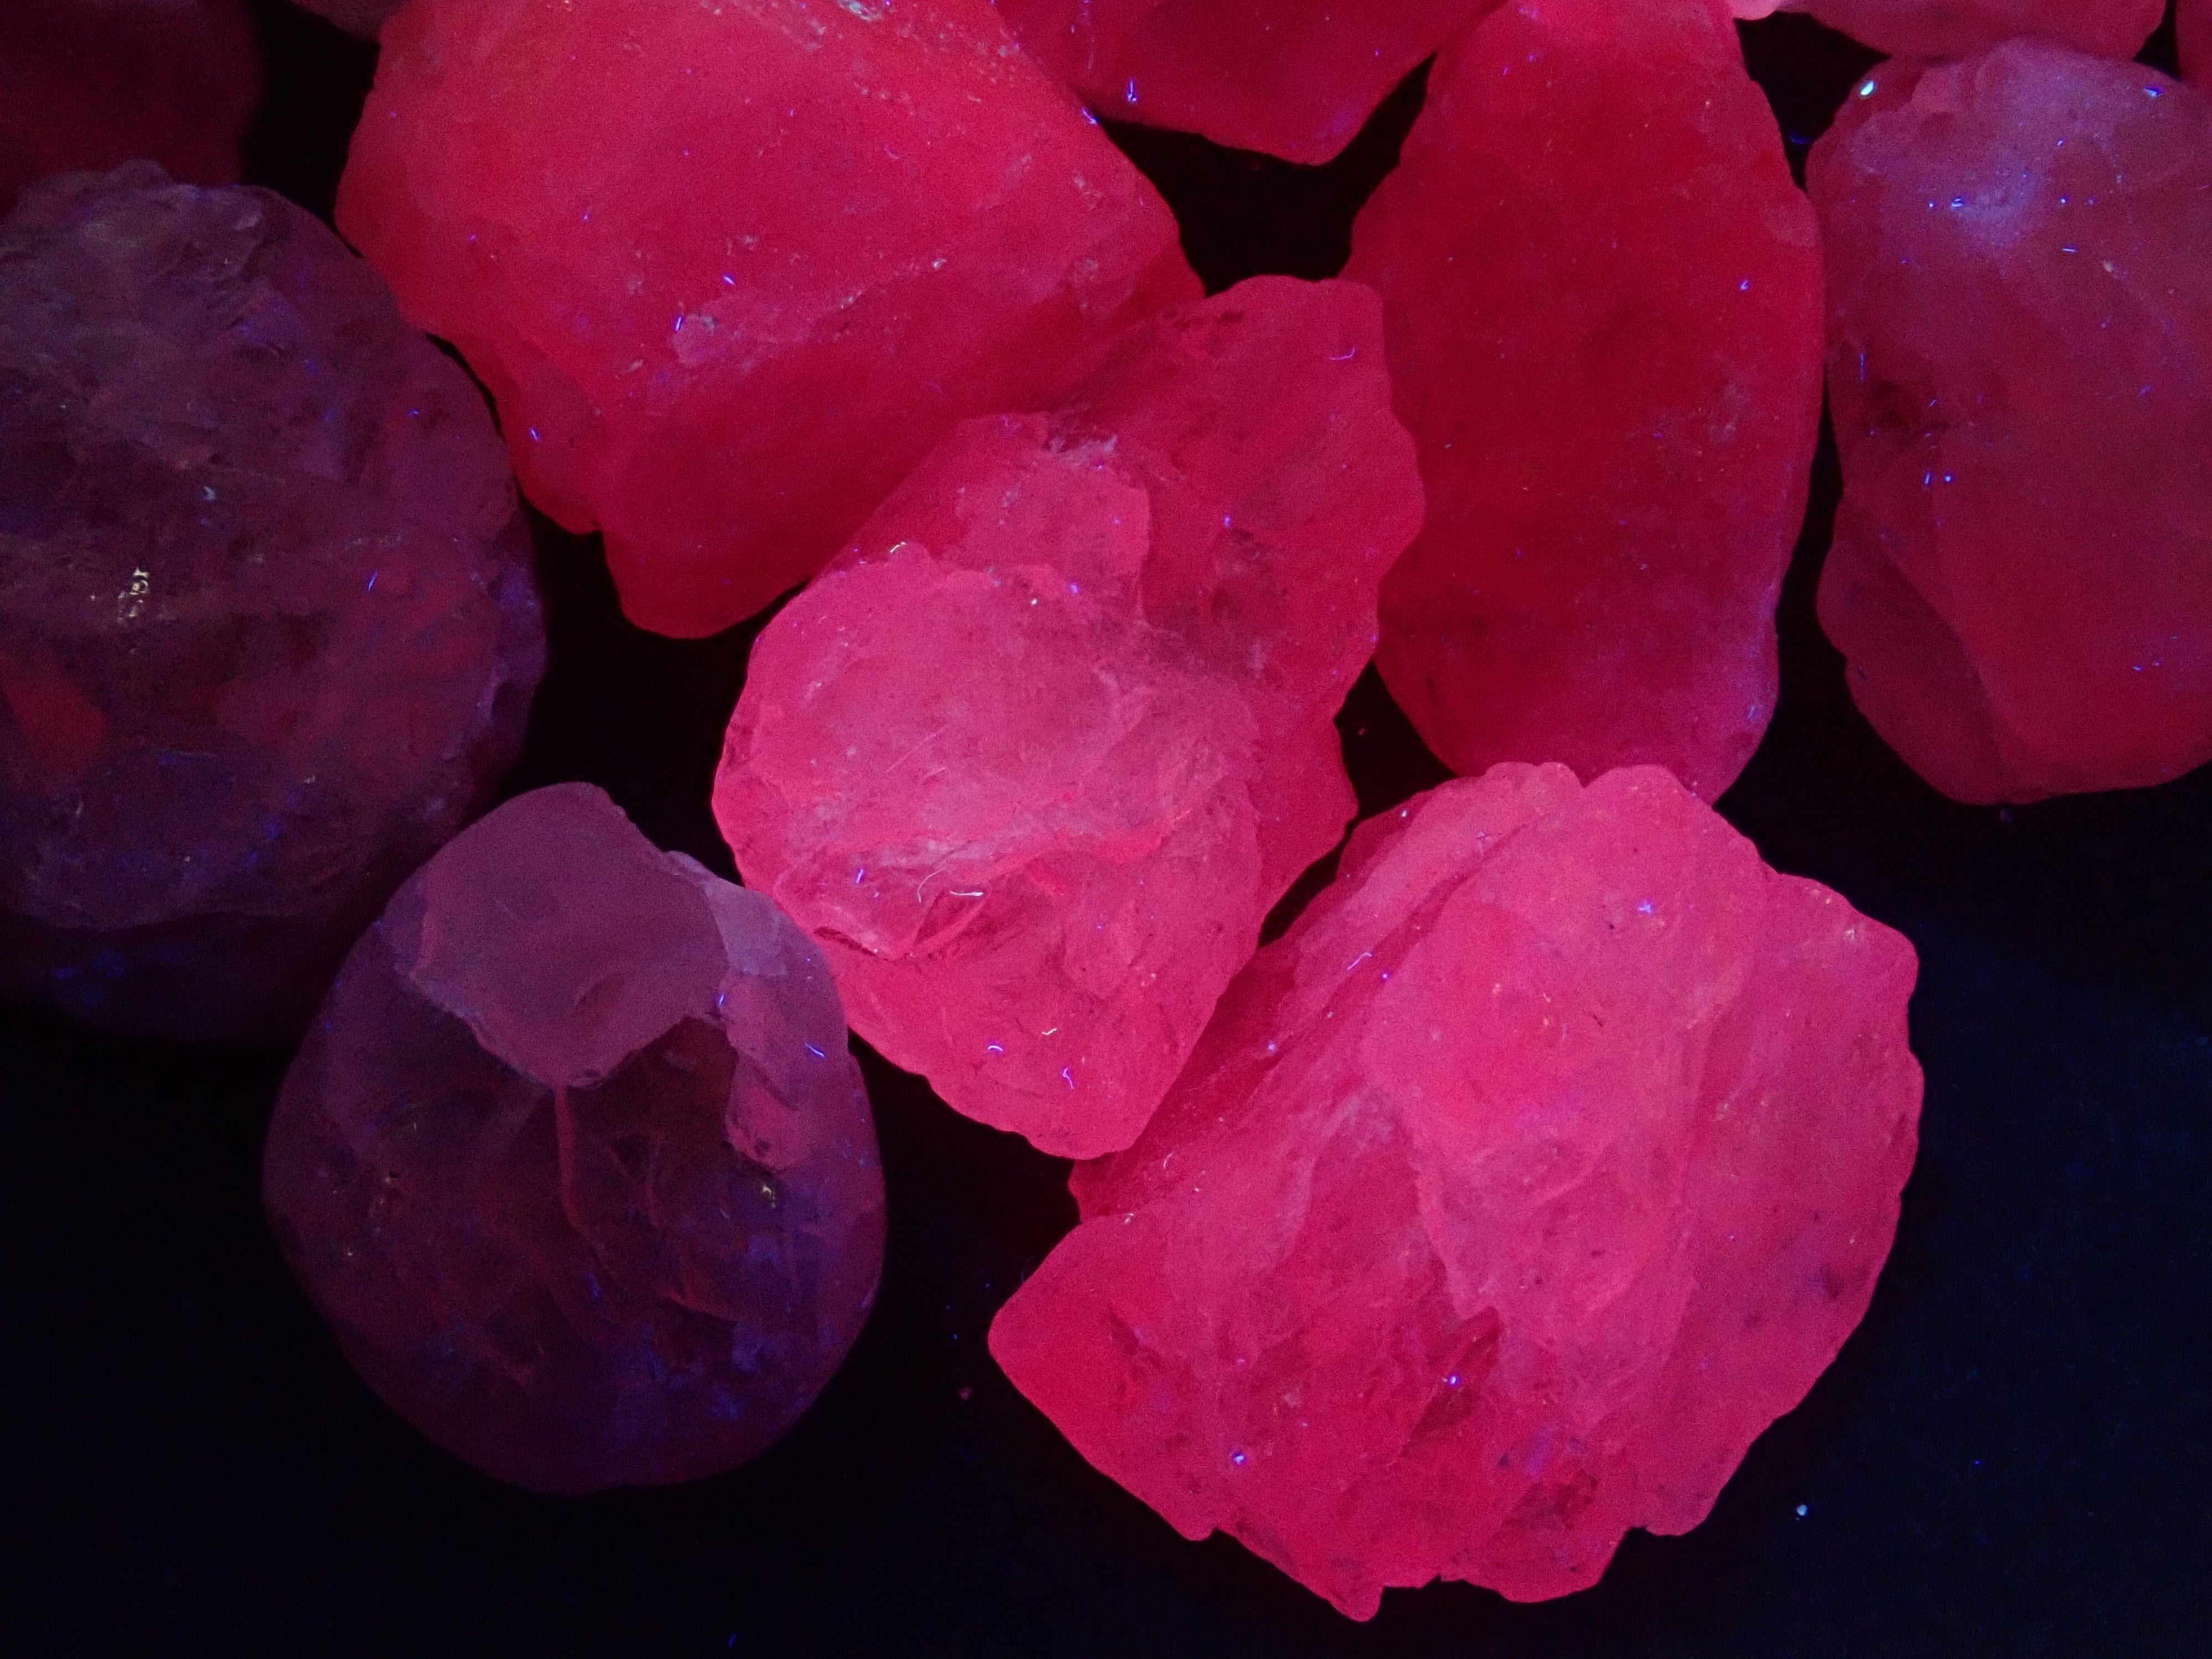
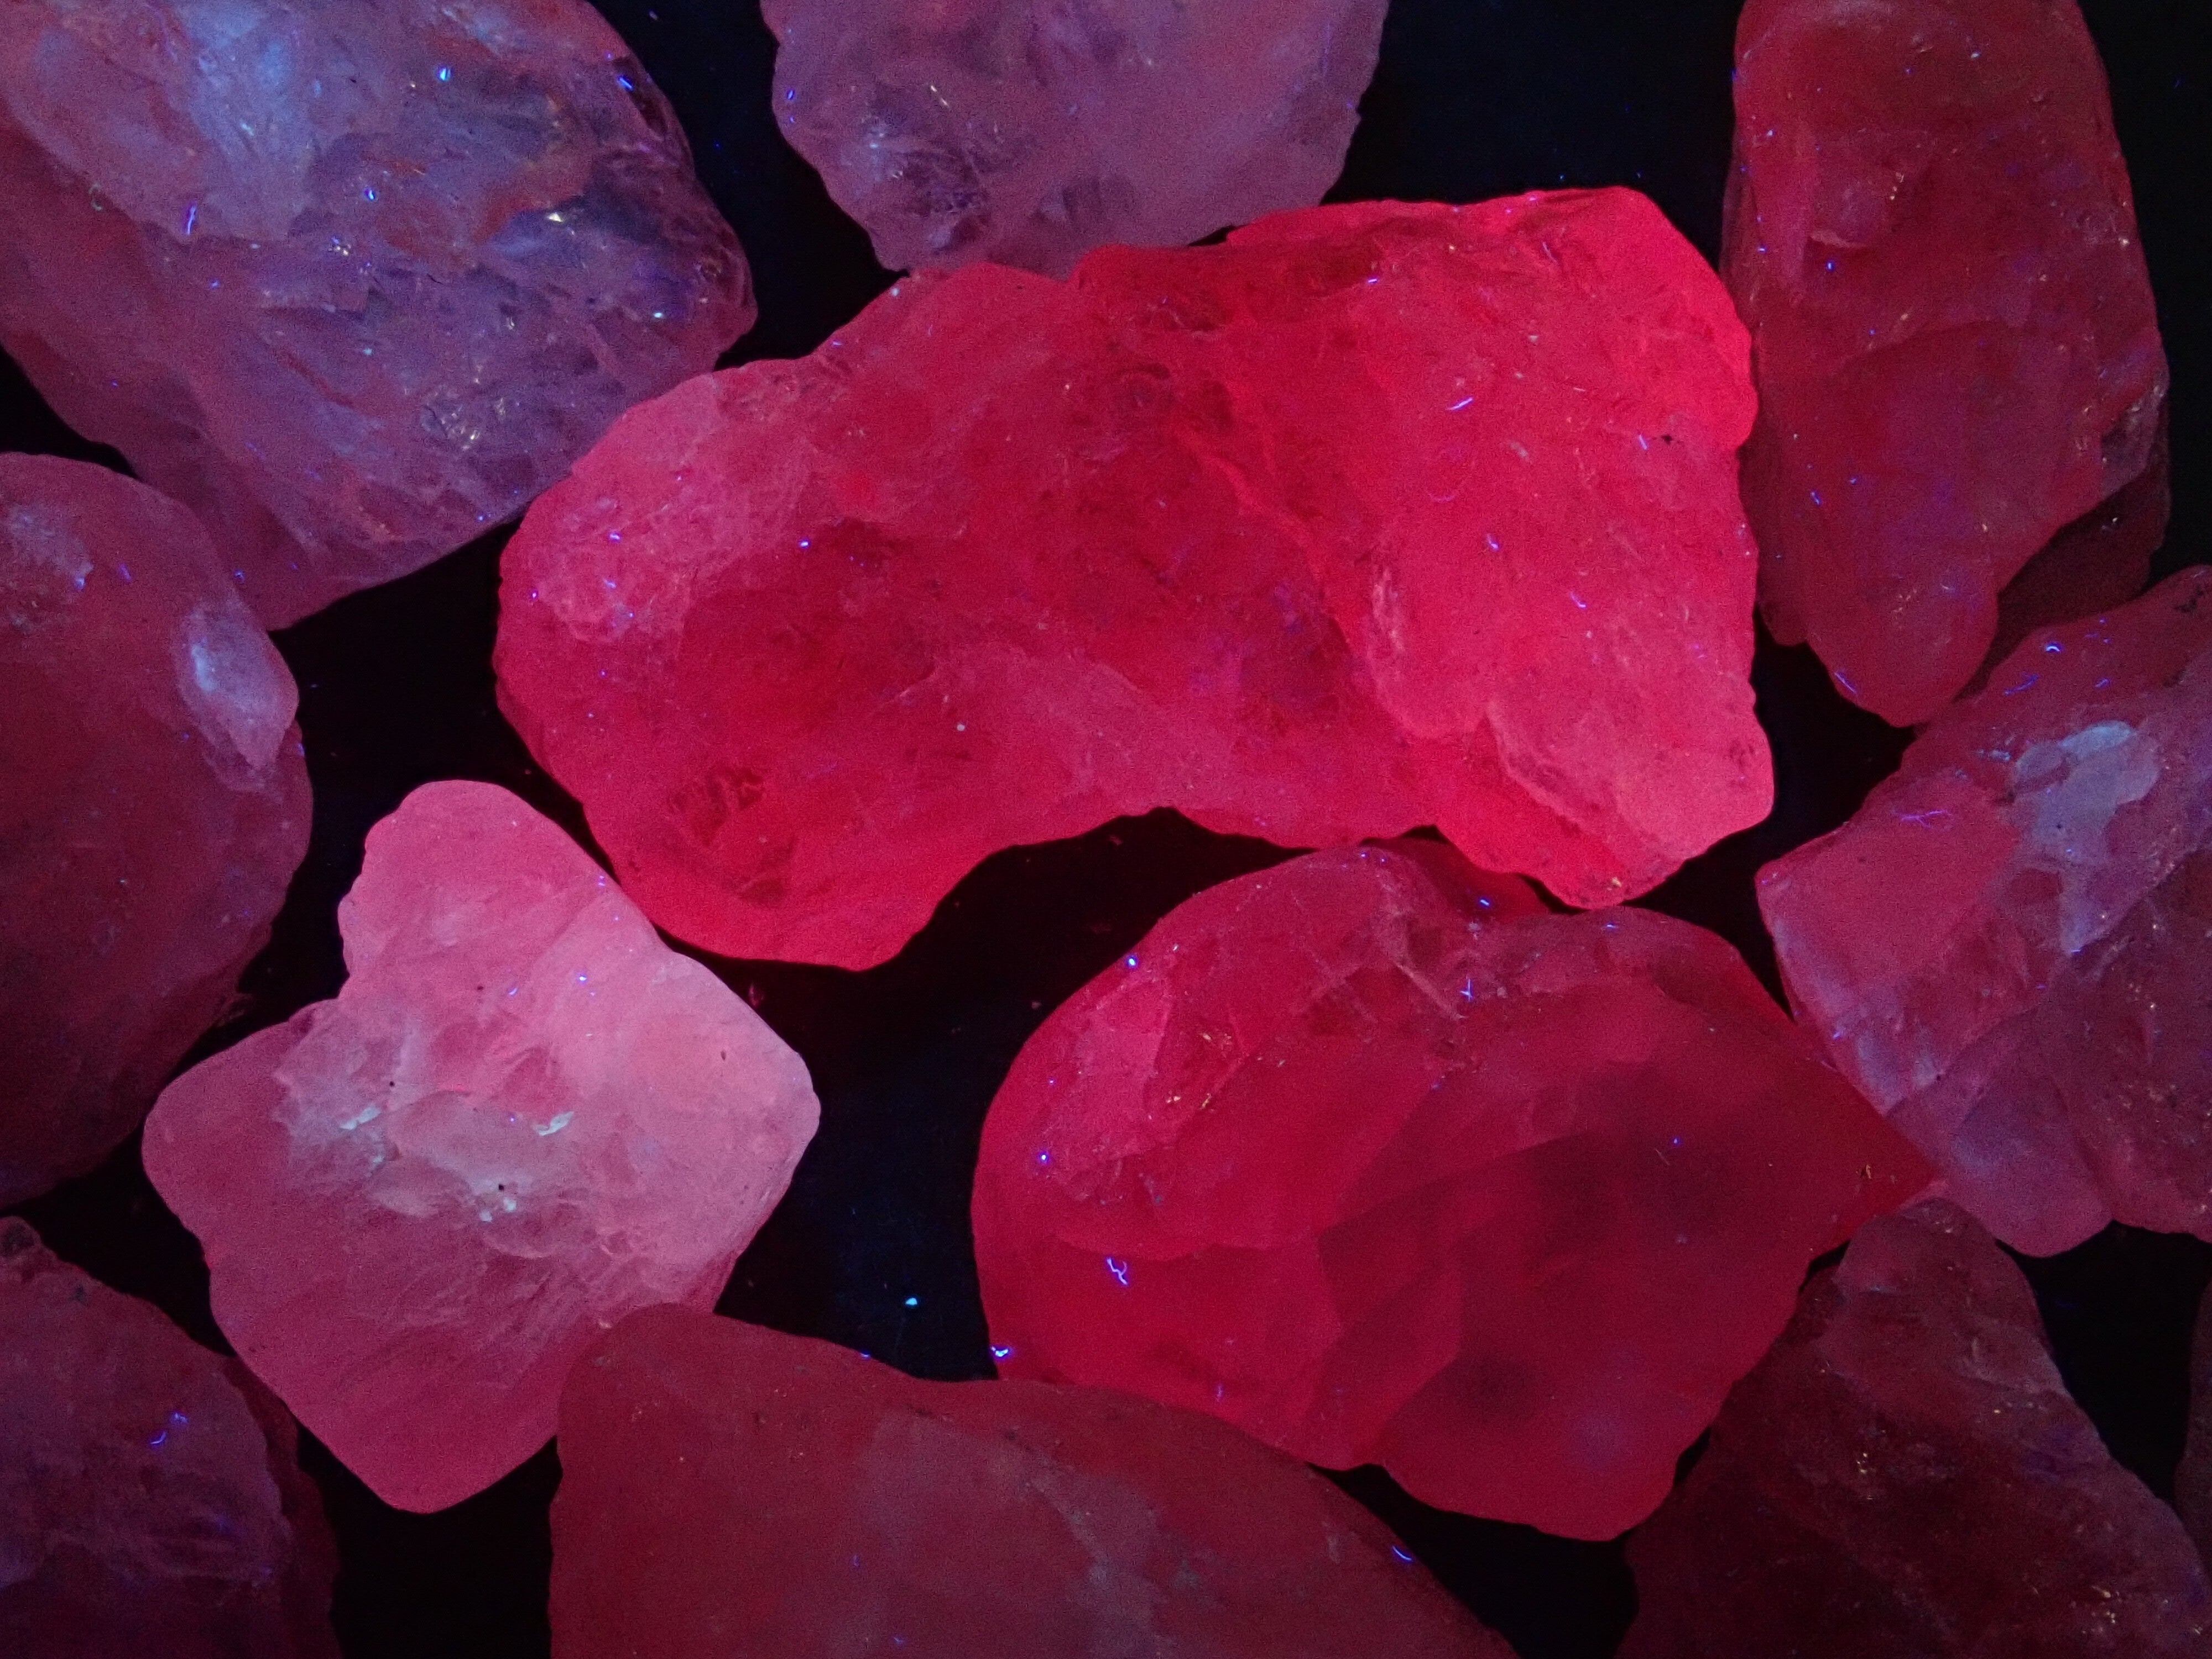
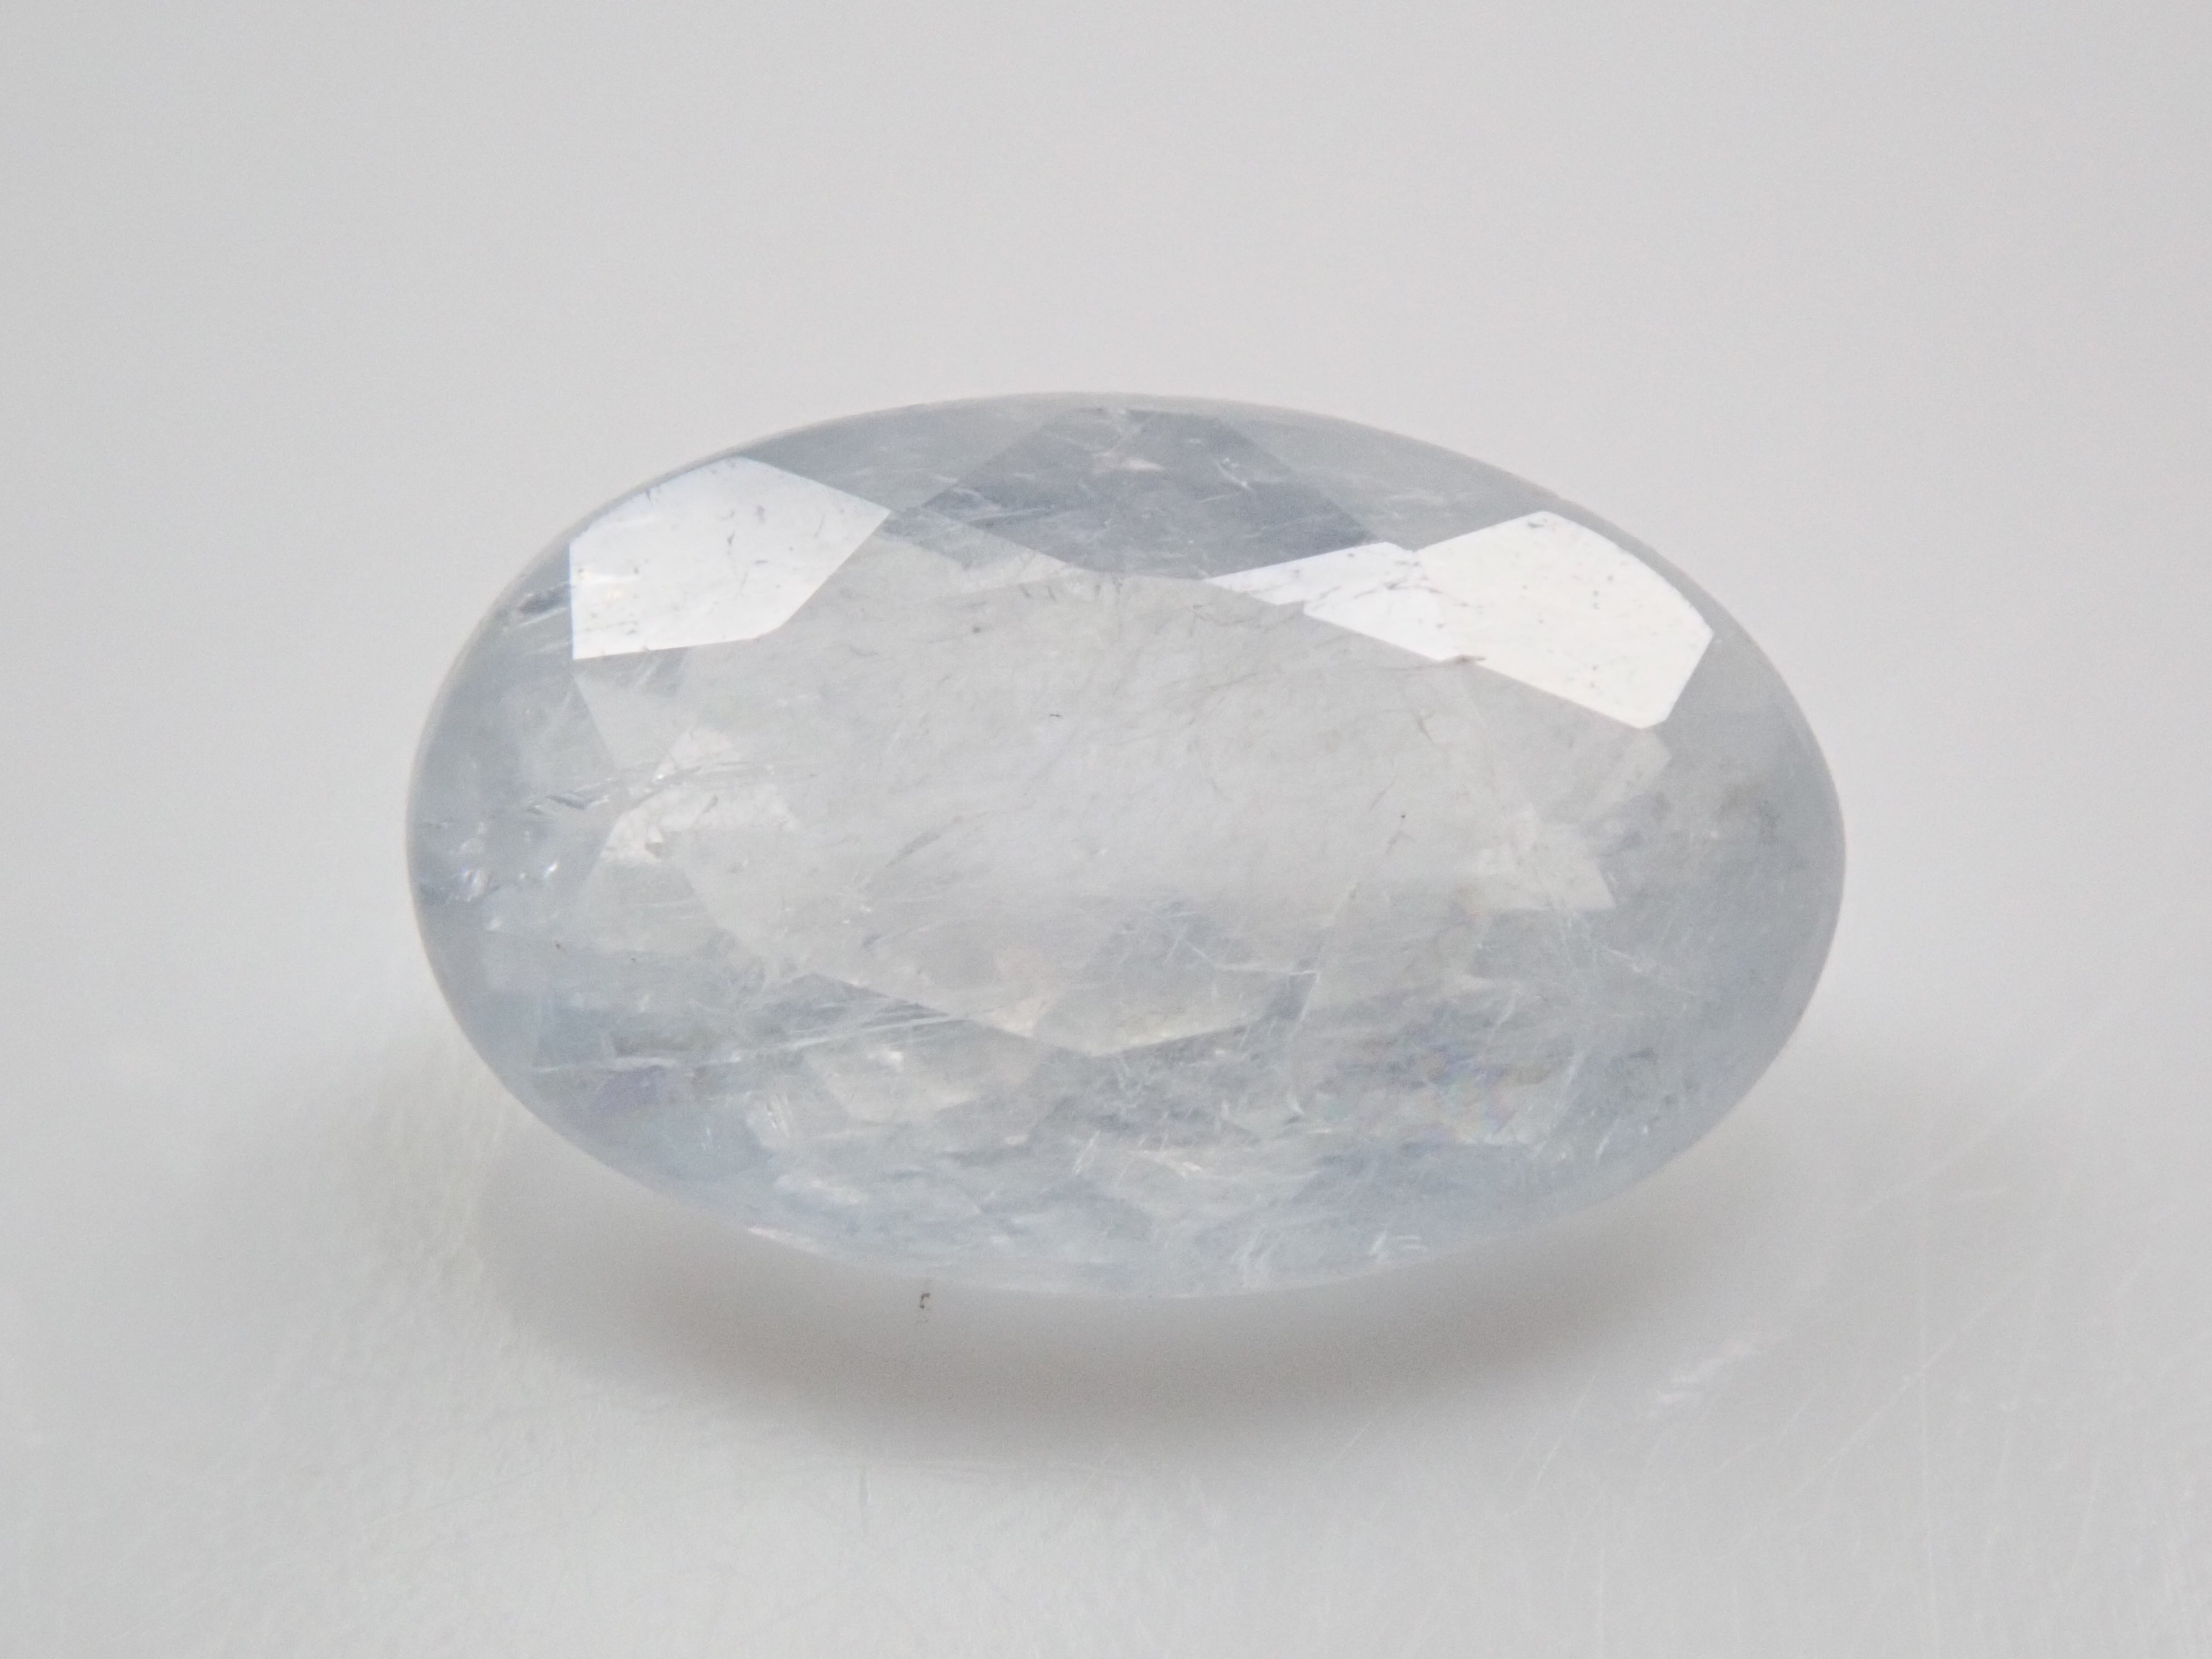
Compared to other rough stones, this rough stone has a higher hardness, so it is recommended for adults who want to take their time polishing it [for advanced users]. It is a large-sized, highly transparent Mozambican spinel suitable for polishing rough stones.
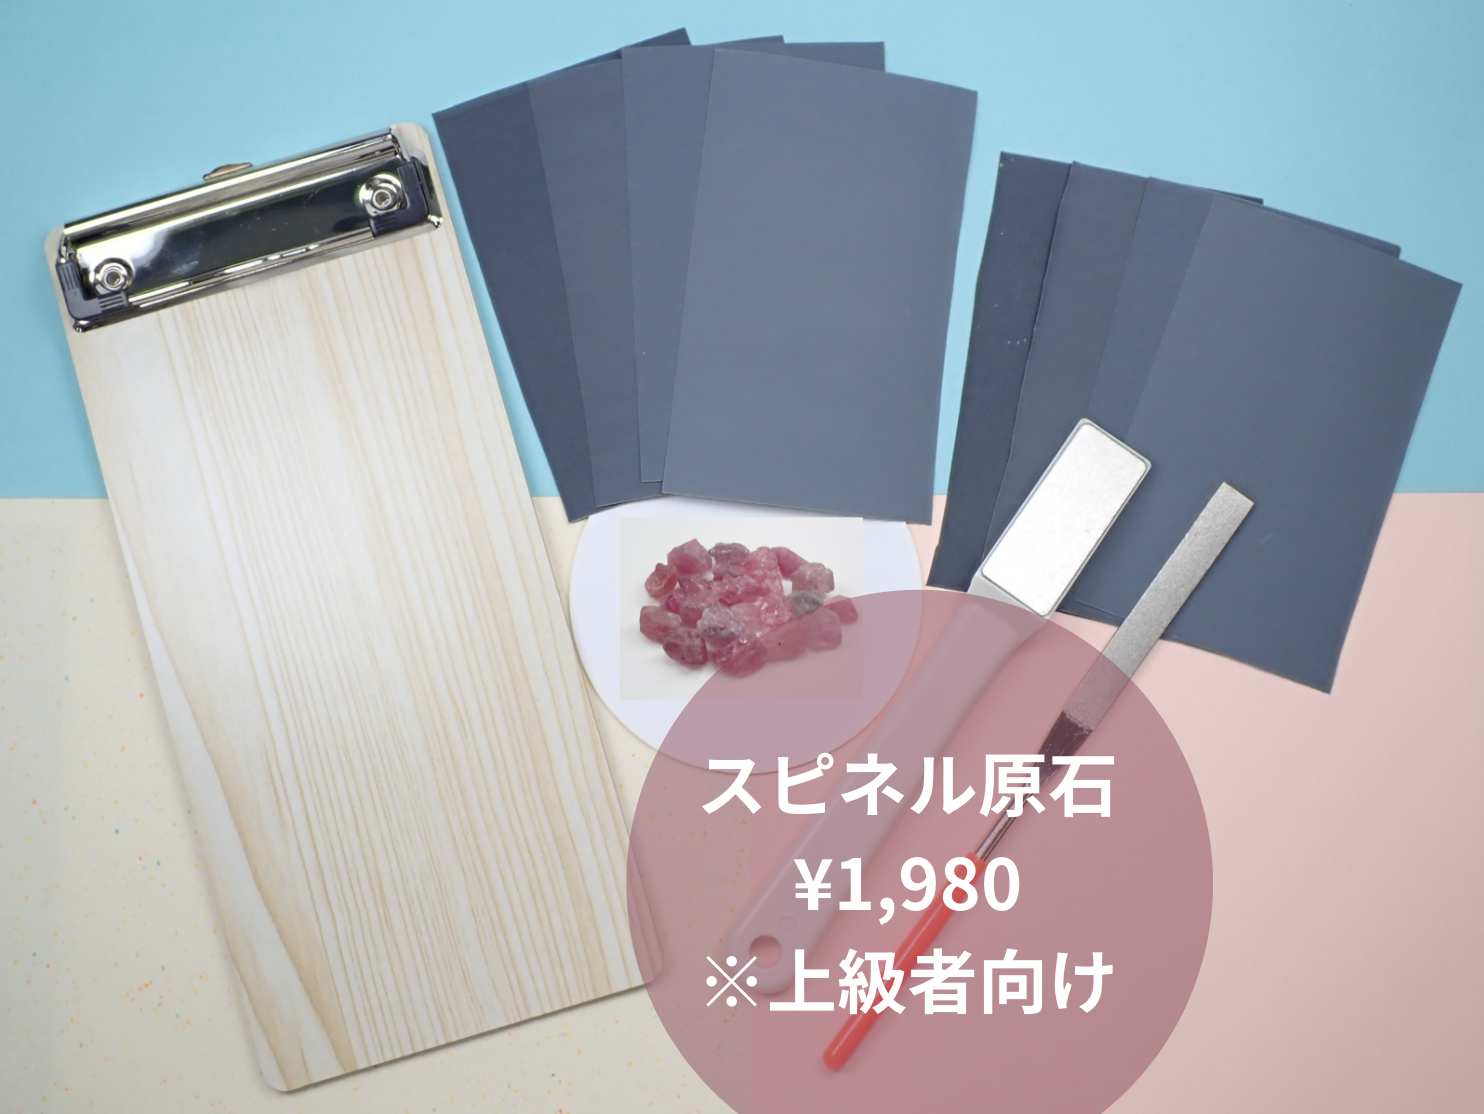
This is a set of tools used for polishing rough stones and a rough gemstone [Mozambican spinel].
With this set, you can immediately enjoy the rough stone polishing experience at home.
▶Past Customers' Masterpieces
You can view the masterpieces of customers who have polished rough stones here. Please take a look at everything from cute pieces polished by children to works that look like professional creations.
*These are entries from the KARATZ Rough Stone Polishing Contest, held regularly on Twitter.
▶Reference video
This video shows dendritic yellow opal, but for spinel, each step takes more time to polish.
▶Rough Stone Polishing (Advanced: Cabochon Cut)
【Contents】
▷Rough Stone: Total 1 piece
・Mozambican spinel rough stone [Hardness: 8]
▷Waterproof sandpaper: 2 sheets × 4 types
600 grit: 2 sheets
1200 grit: 2 sheets
1500 grit: 2 sheets
2000 grit: 2 sheets
▷Board: Total 1 piece
▷Diamond file: Total 2 pieces
・(White): 1 piece
・(Red): 1 piece
【Polishing Instructions】
*For a more detailed and easy-to-understand explanation, please watch the video.
1. After soaking the stone in water,
first, polish it with a diamond file. There is no functional difference in the polishing surface between the diamond file (white) and (red). The (white) file has a wider surface, making it easier for children to use. Please use it when you want to remove a lot of material. The (red) file is recommended for polishing fine surfaces.
2. Secure the waterproof sandpaper to the wooden binder and polish the stone in a circular motion (like drawing the Japanese character "no") while wetting it with water. The smaller the number on the waterproof sandpaper, the coarser it is. Start with coarser sandpaper (smaller numbers) and gradually switch to finer sandpaper (larger numbers).
3. The process is complete when you have polished it to your desired extent.
【Precautions when polishing】
・There is a risk of cutting your hand while filing. Please polish with extreme caution.
・Occasionally rinse off the abrasive residue with water and wipe off any moisture with tissue paper or kitchen paper to check the polished surface. If you continue polishing without rinsing, the abrasive residue remaining on the surface may scratch the gemstone. Change the water as needed.
※One rough stone will be delivered. The photos are examples, and you cannot choose the color or shape, so please be aware of this in advance.
※While the quality and intended use will not change, some tools may have different colors or specifications.
※ For other frequently asked questions, please see here.
karatz_id: 90000290

Choose options
Today's new arrivals

![[On sale May 23rd at 10 PM] "Limited 9 Stones - Shinjuku Pop-Up Celebration" All stones with Central Gem Laboratory sorting (3.0-3.5mm, VS-SI clarity) "Multiple purchase discount available"](http://store.karatz.jp/cdn/shop/files/collage_54f1201f-a7d6-499e-81e2-40cbbbfb1f86.png?v=1789795072&width=2000)
![[Calafri] K18 Blood Coral 9.9mm Diamond Pendant Top (Necklace Top) with Certificate of Authenticity](http://store.karatz.jp/cdn/shop/files/P5010184_2e0f4100-be3a-4e4e-8354-0fb58ddb3576.jpg?v=1789823540&width=3073)
【Calafuri】Pt900 Ice Blue Diamond (Treated) 1.00ct Ring
Sale price¥158,000
【9/22 22時販売】非加熱ピジョンブラッドルビー 0.310ctルース AIGS
Sale price¥49,800
【9/20 22時販売】【カラフリ】Pt950レッドベリル0.20ct・ダイヤモンド0.23ctリング鑑別書
Sale price¥98,000
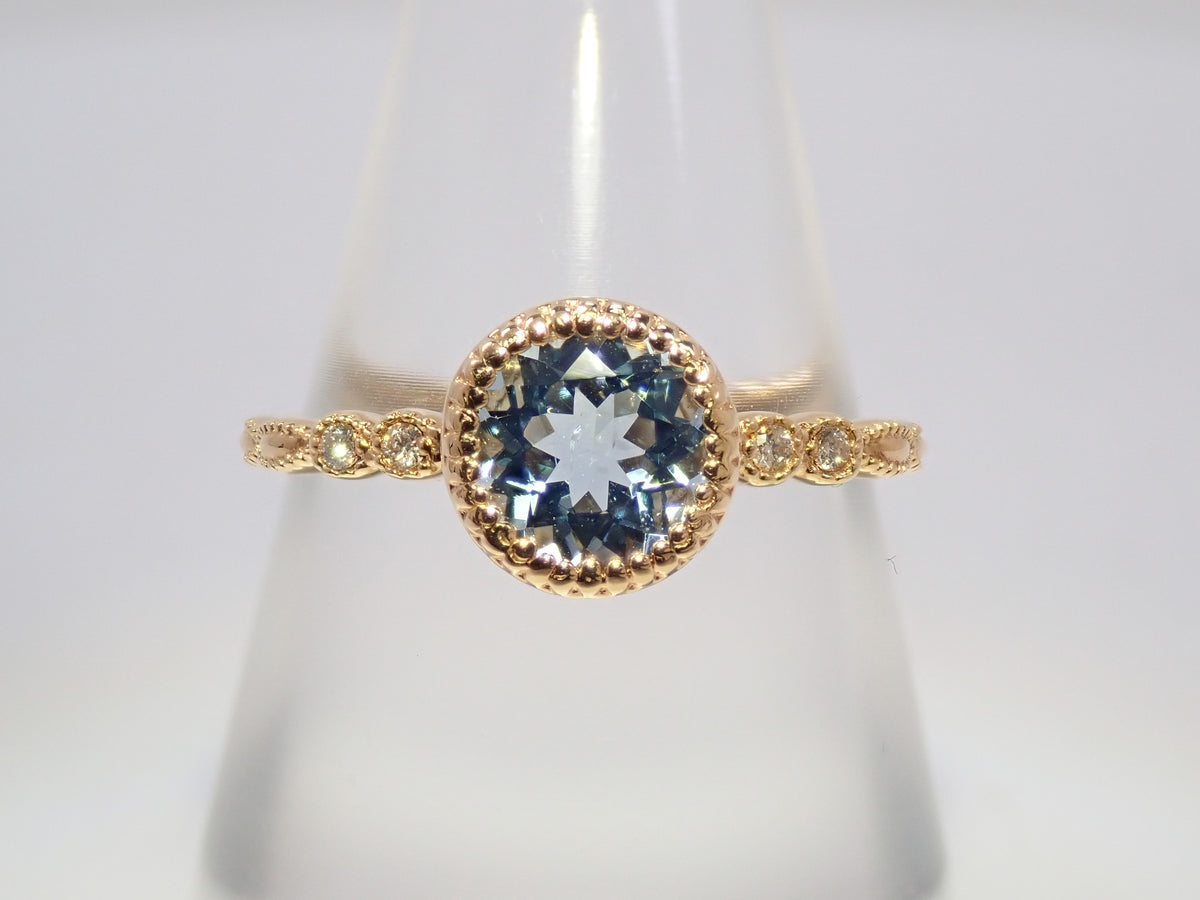
【9/20 22時販売】【カラフリ】K18 アクアマリン 0.65ct・ダイヤモンド0.02ctリング 鑑別カード
Sale price¥89,800
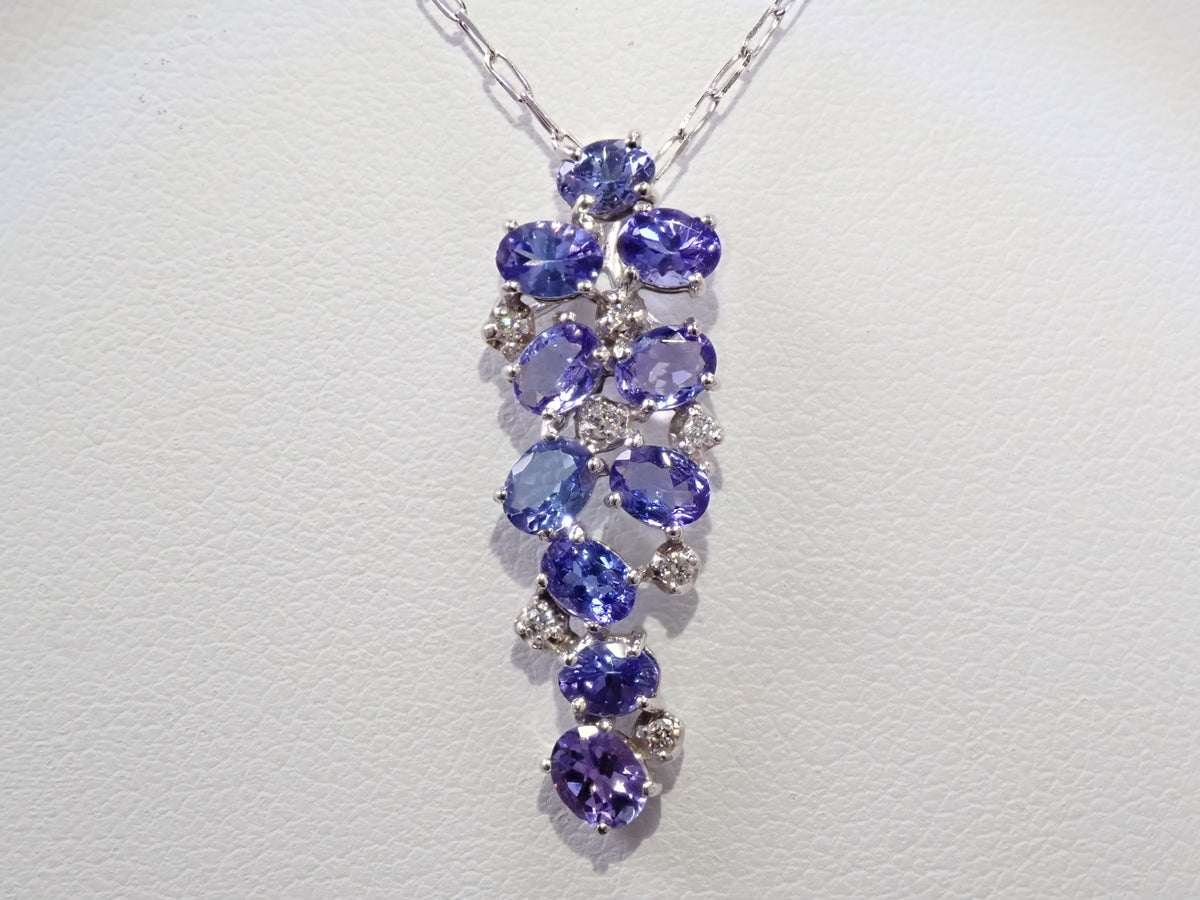
【9/20 22時販売】【カラフリ】K18WG タンザナイト1.79ct・ダイヤモンド0.07ctペンダント(ネックレス)
Sale price¥98,000
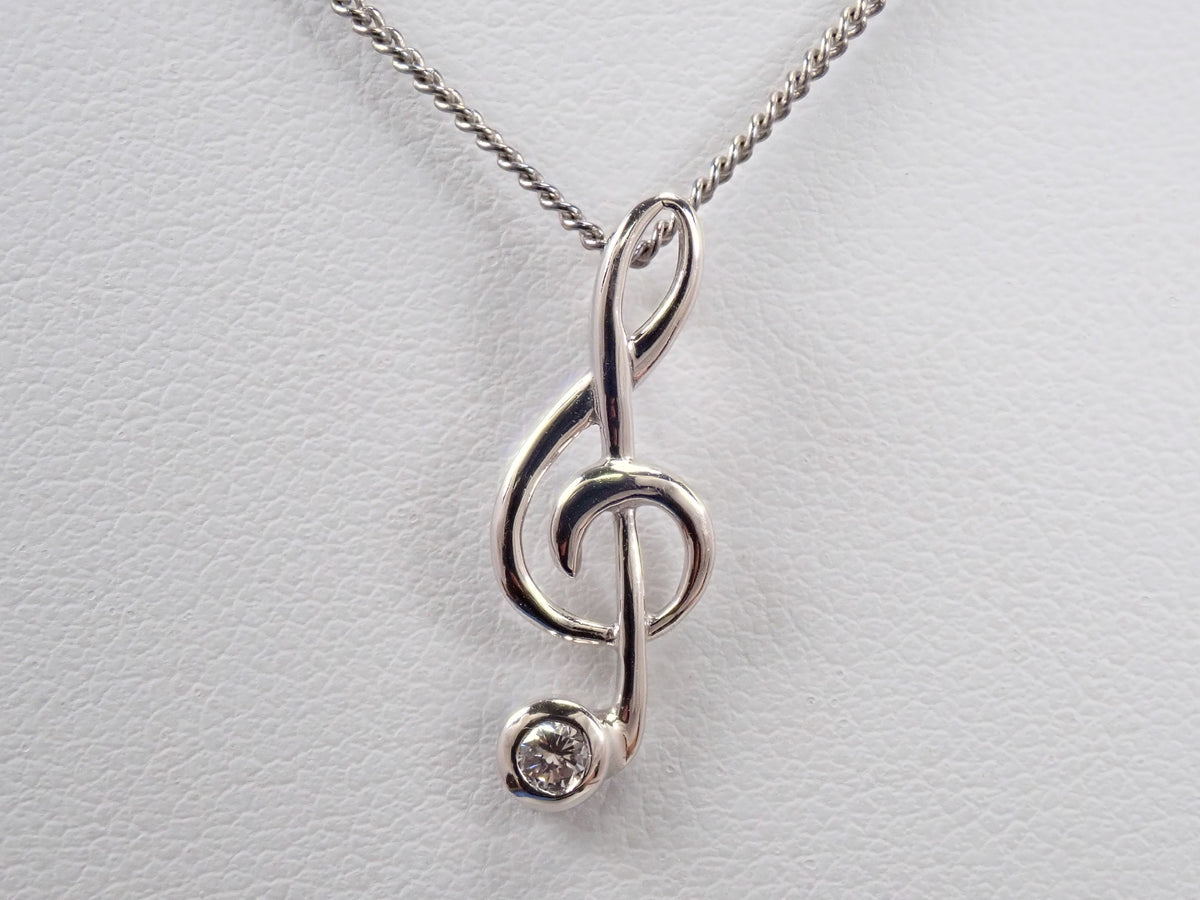
【9/20 22時販売】【カラフリ】 K18WGダイヤモンド 0.09ct ト音記号モチーフ ペンダントトップ(ネックレストップ)
Sale price¥39,800
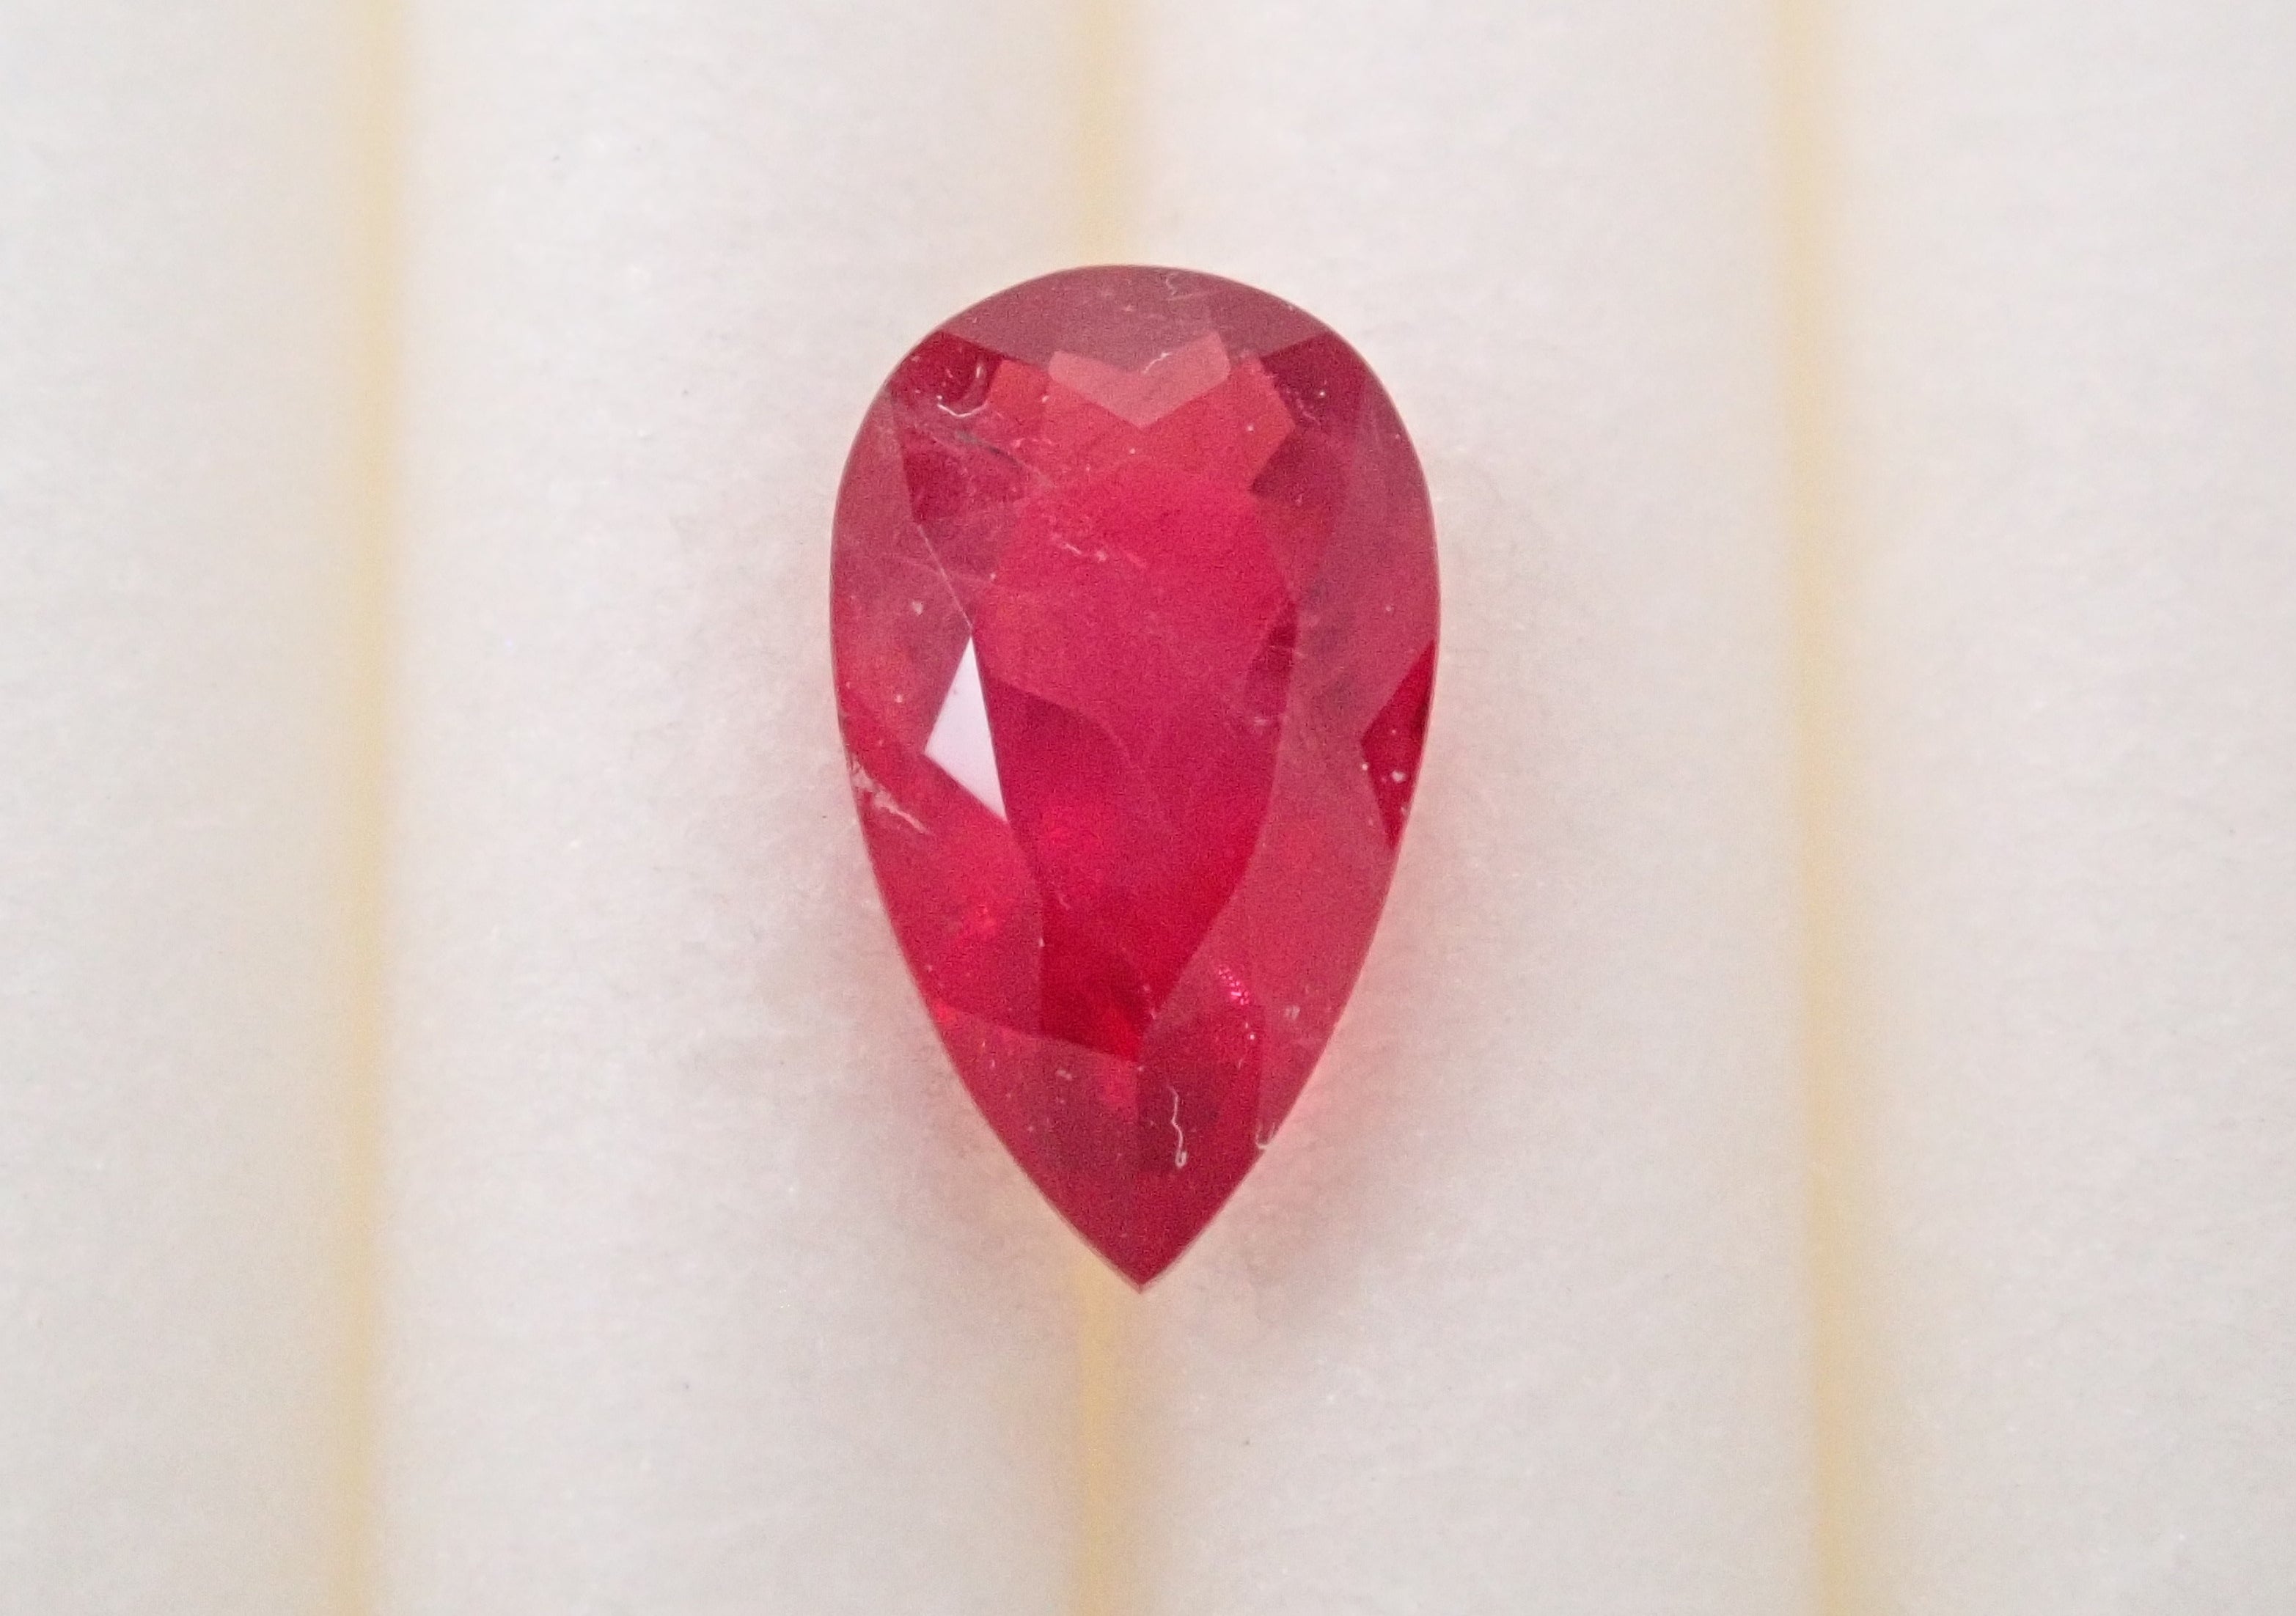
[Lottery Sale 0818_12] Loose 0.251ct Red Beryl (USA) with Certificate
Sale price¥98,000
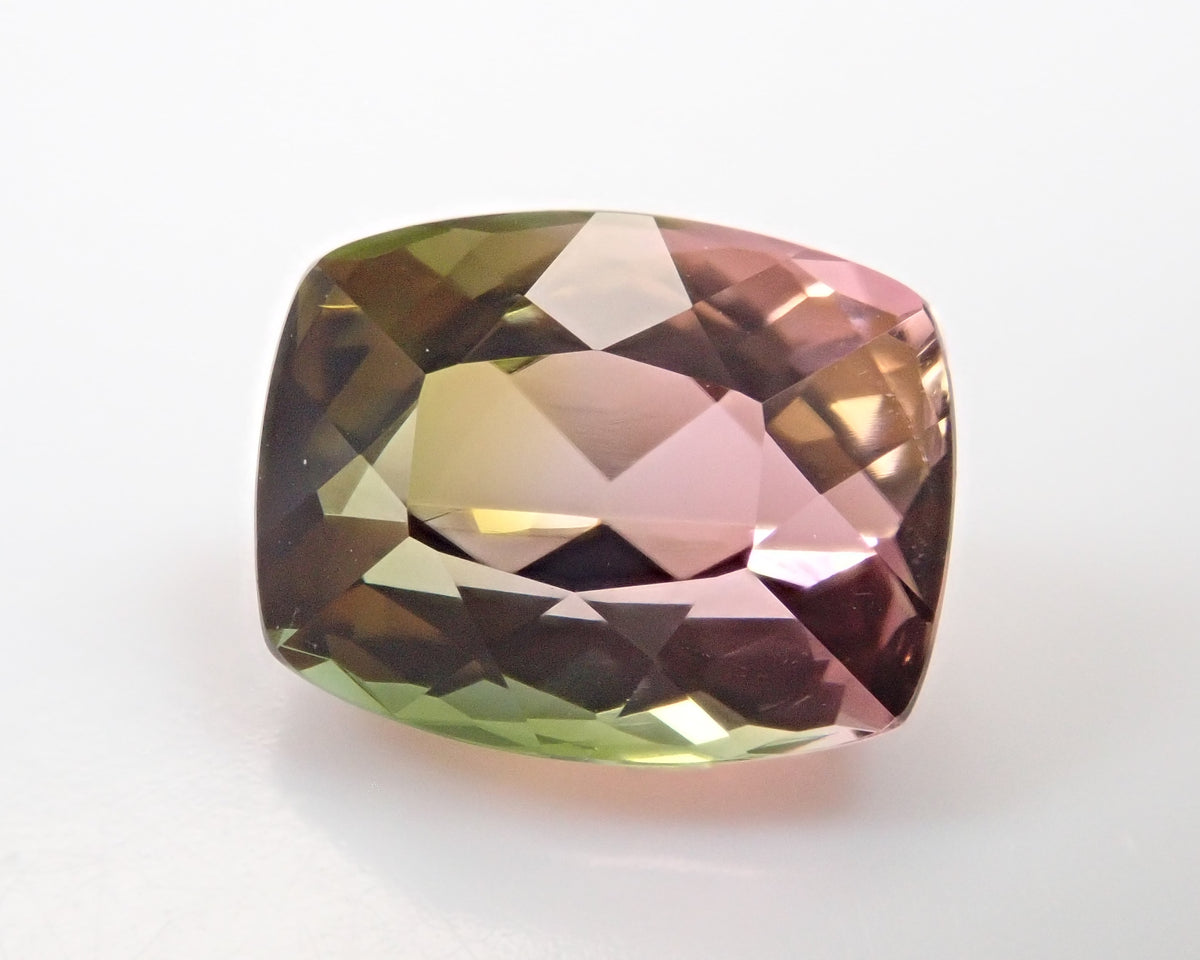

Brazilian unheated particolor Paraiba tourmaline 0.84ct loose GIA
Sale price¥2,580,000

Brazilian Paraiba tourmaline 0.275ct loose (CuO:1.5%.MnO:2.3%)
Sale price¥398,000
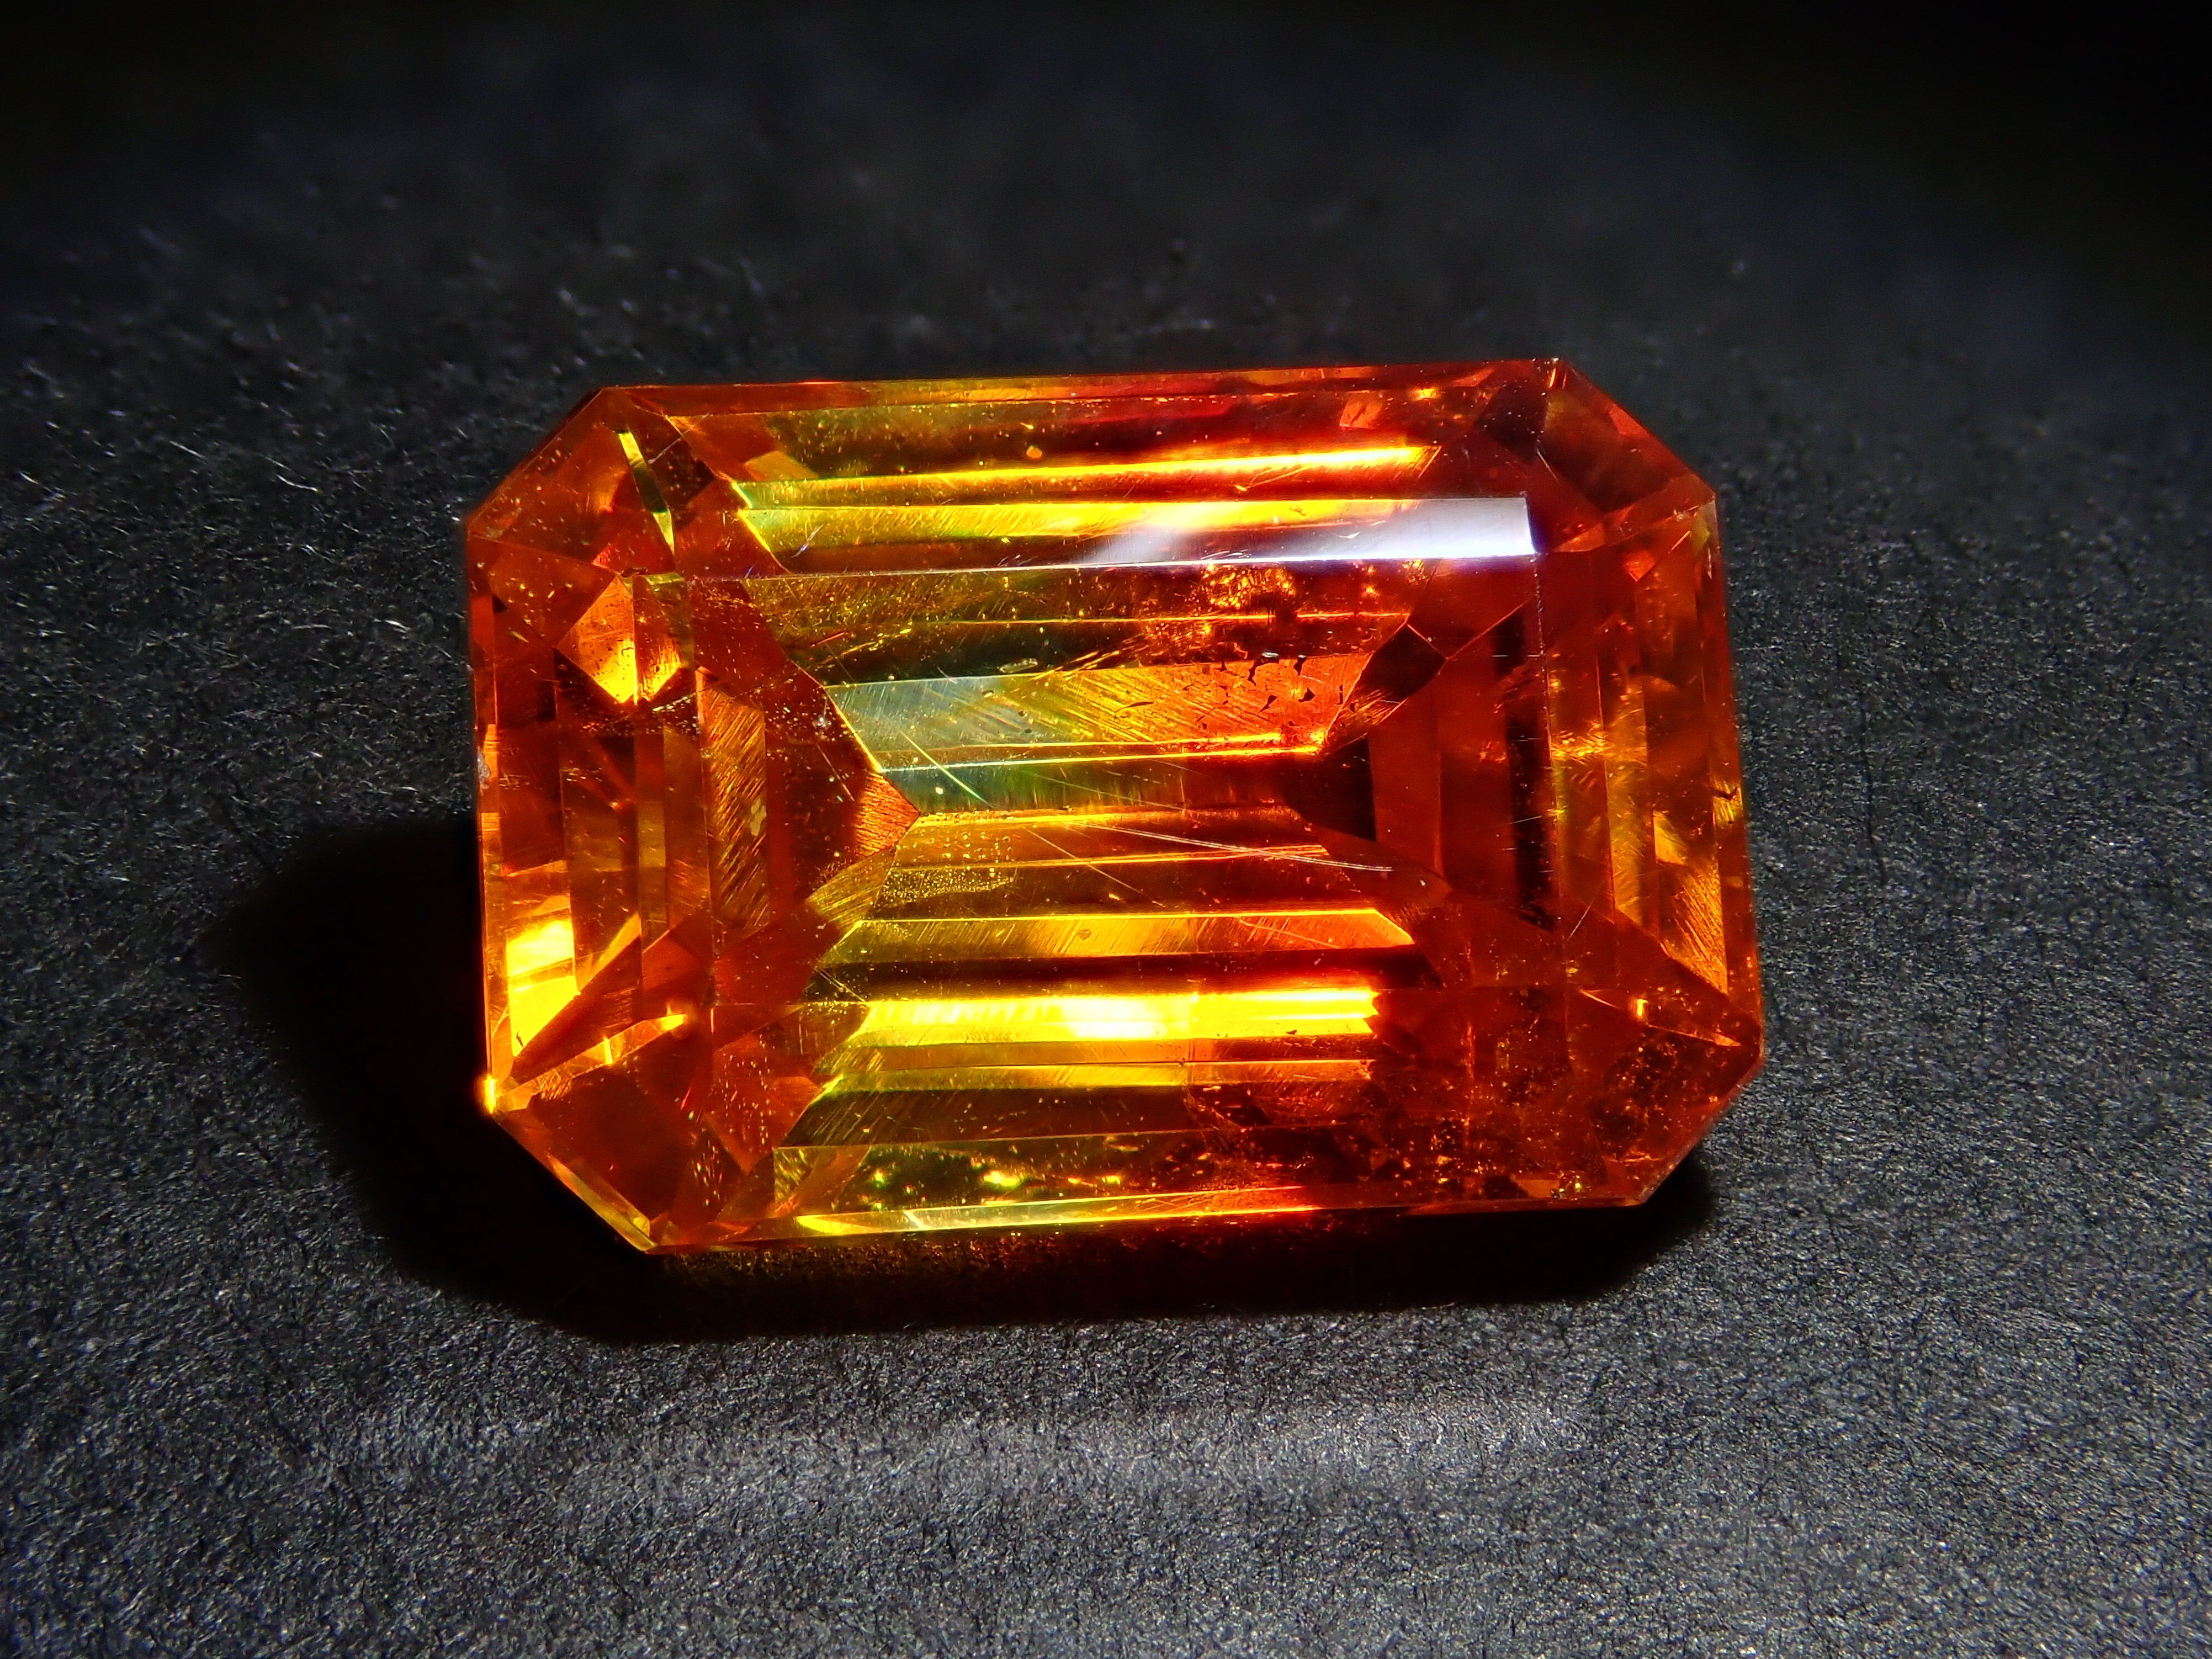
Spanish bicolor sphalerite 6.230ct loose
Sale price¥69,800
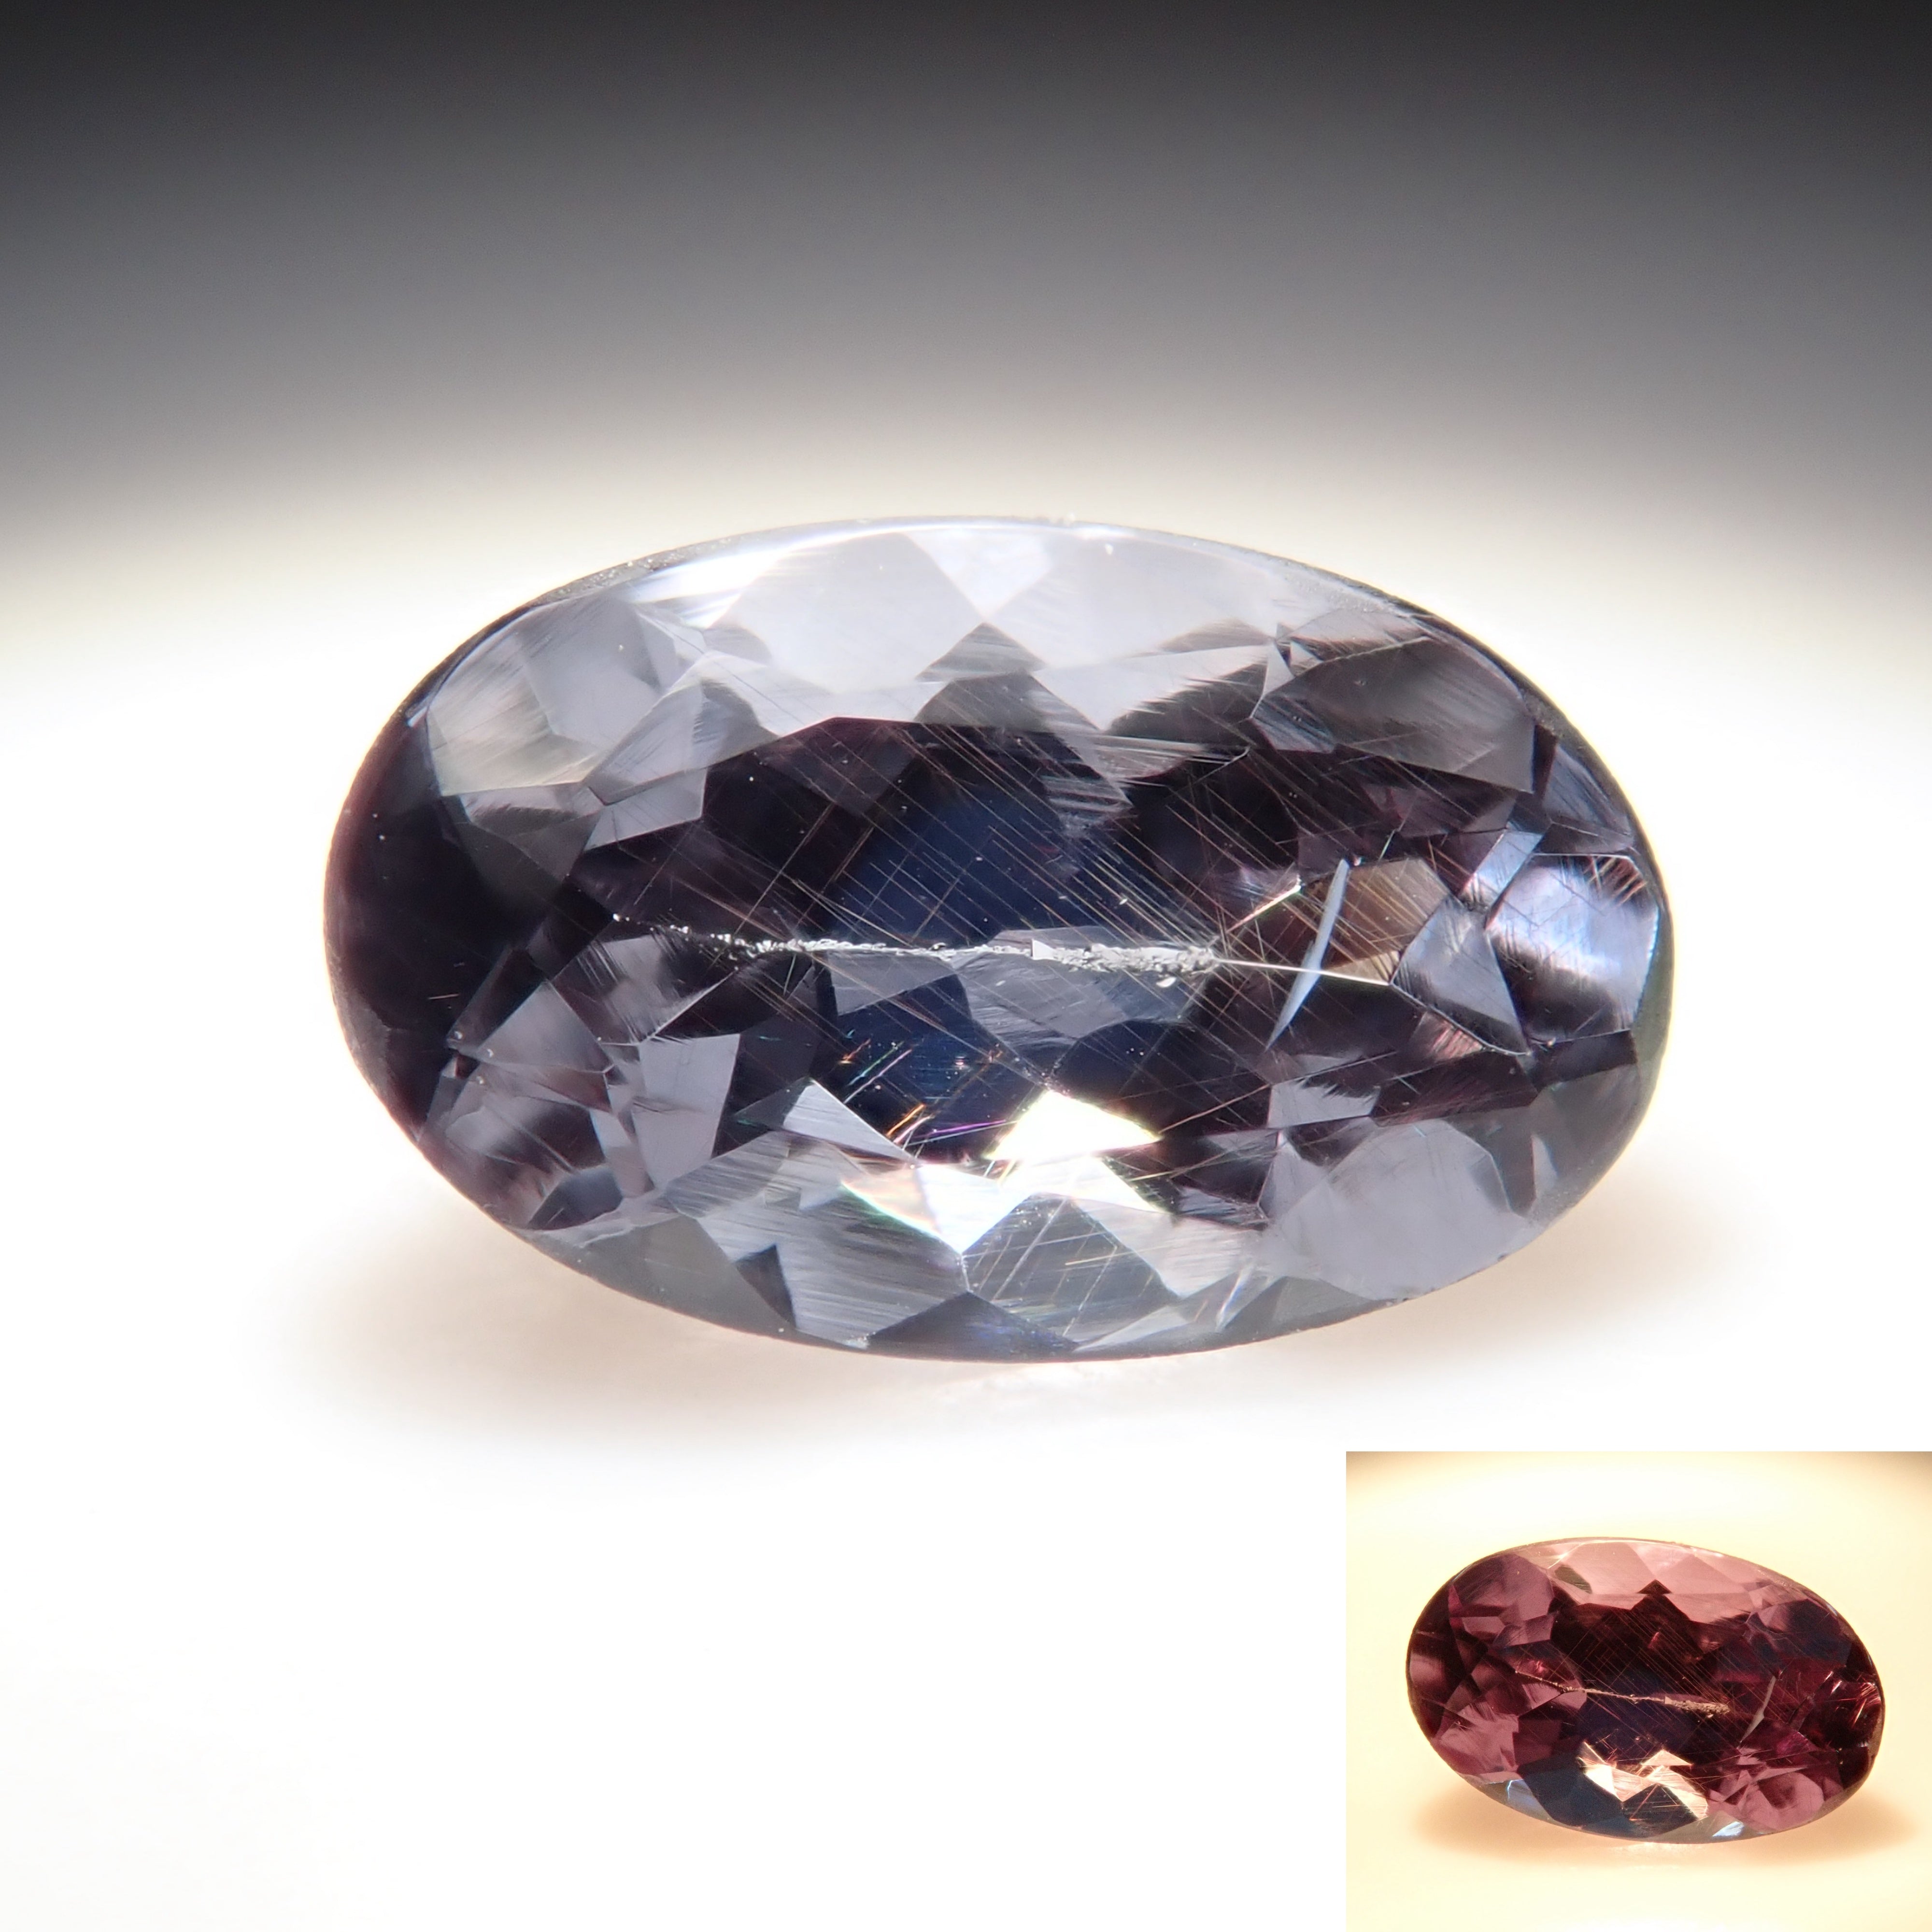
Bekily Blue Garnet from Madagascar (color change garnet) 0.297ct loose
Sale price¥19,800
Brazilian Euclase 0.610ct loose
Sale price¥14,800
![[Jeweler's tools] 4-piece set including loupe (10x magnification), tweezers, and 2 loose stones](http://store.karatz.jp/cdn/shop/files/P4130575.jpg?v=1776126091&width=4000)