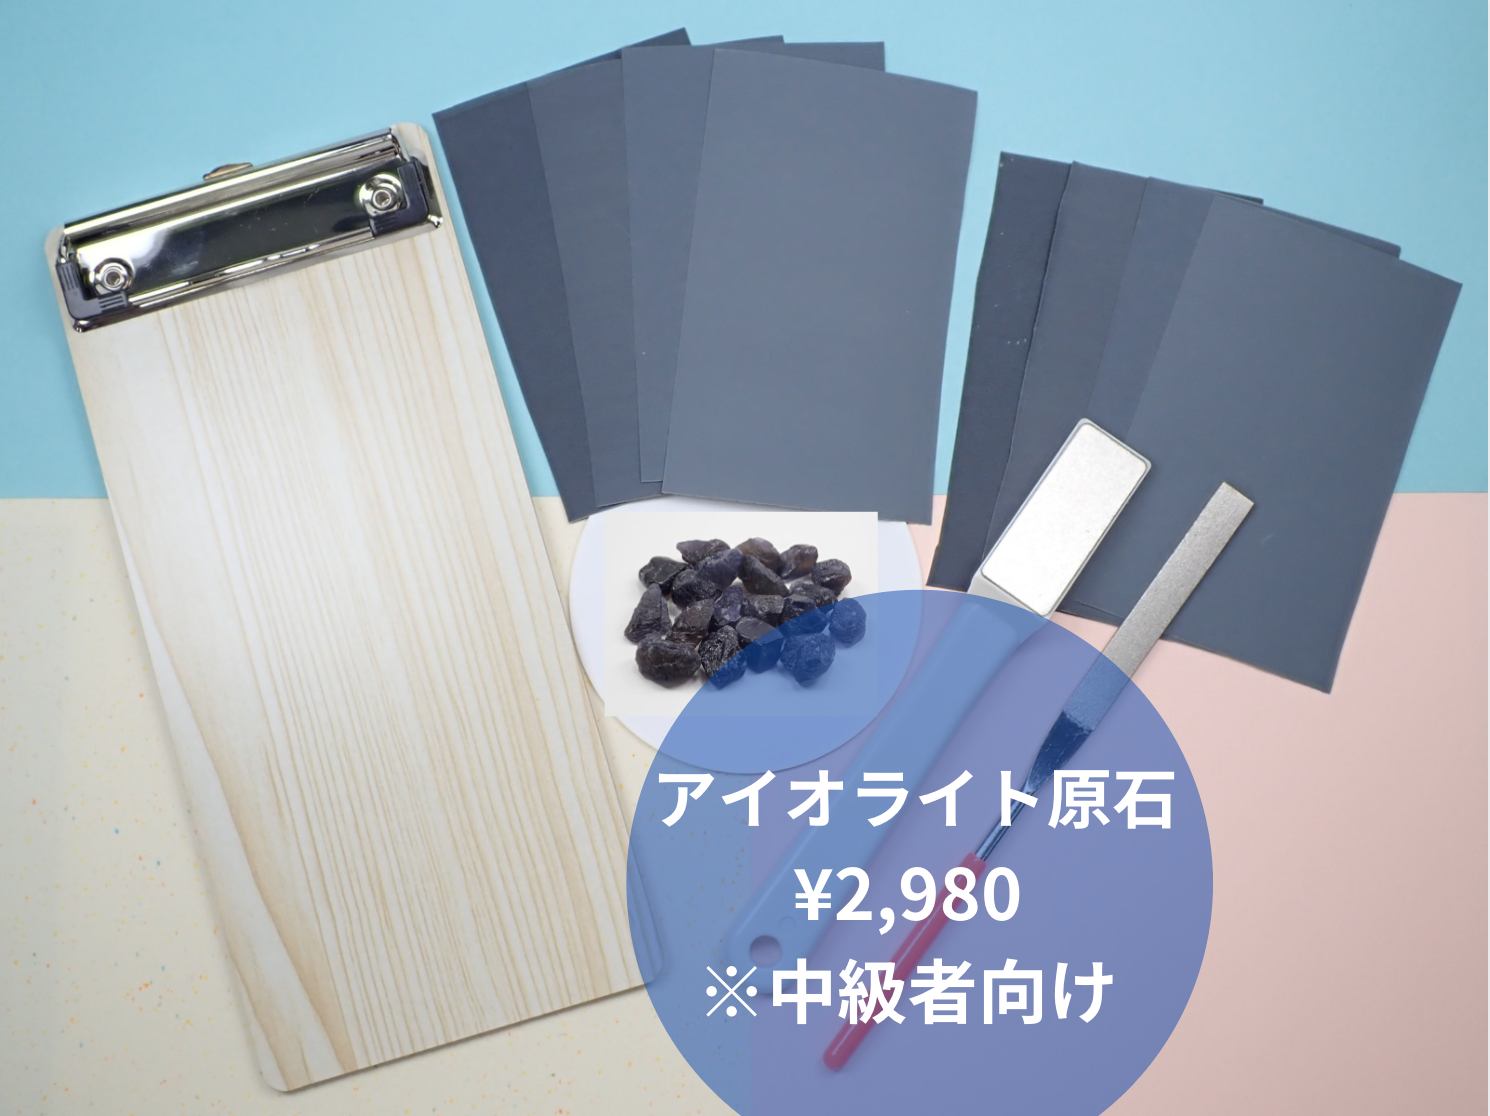

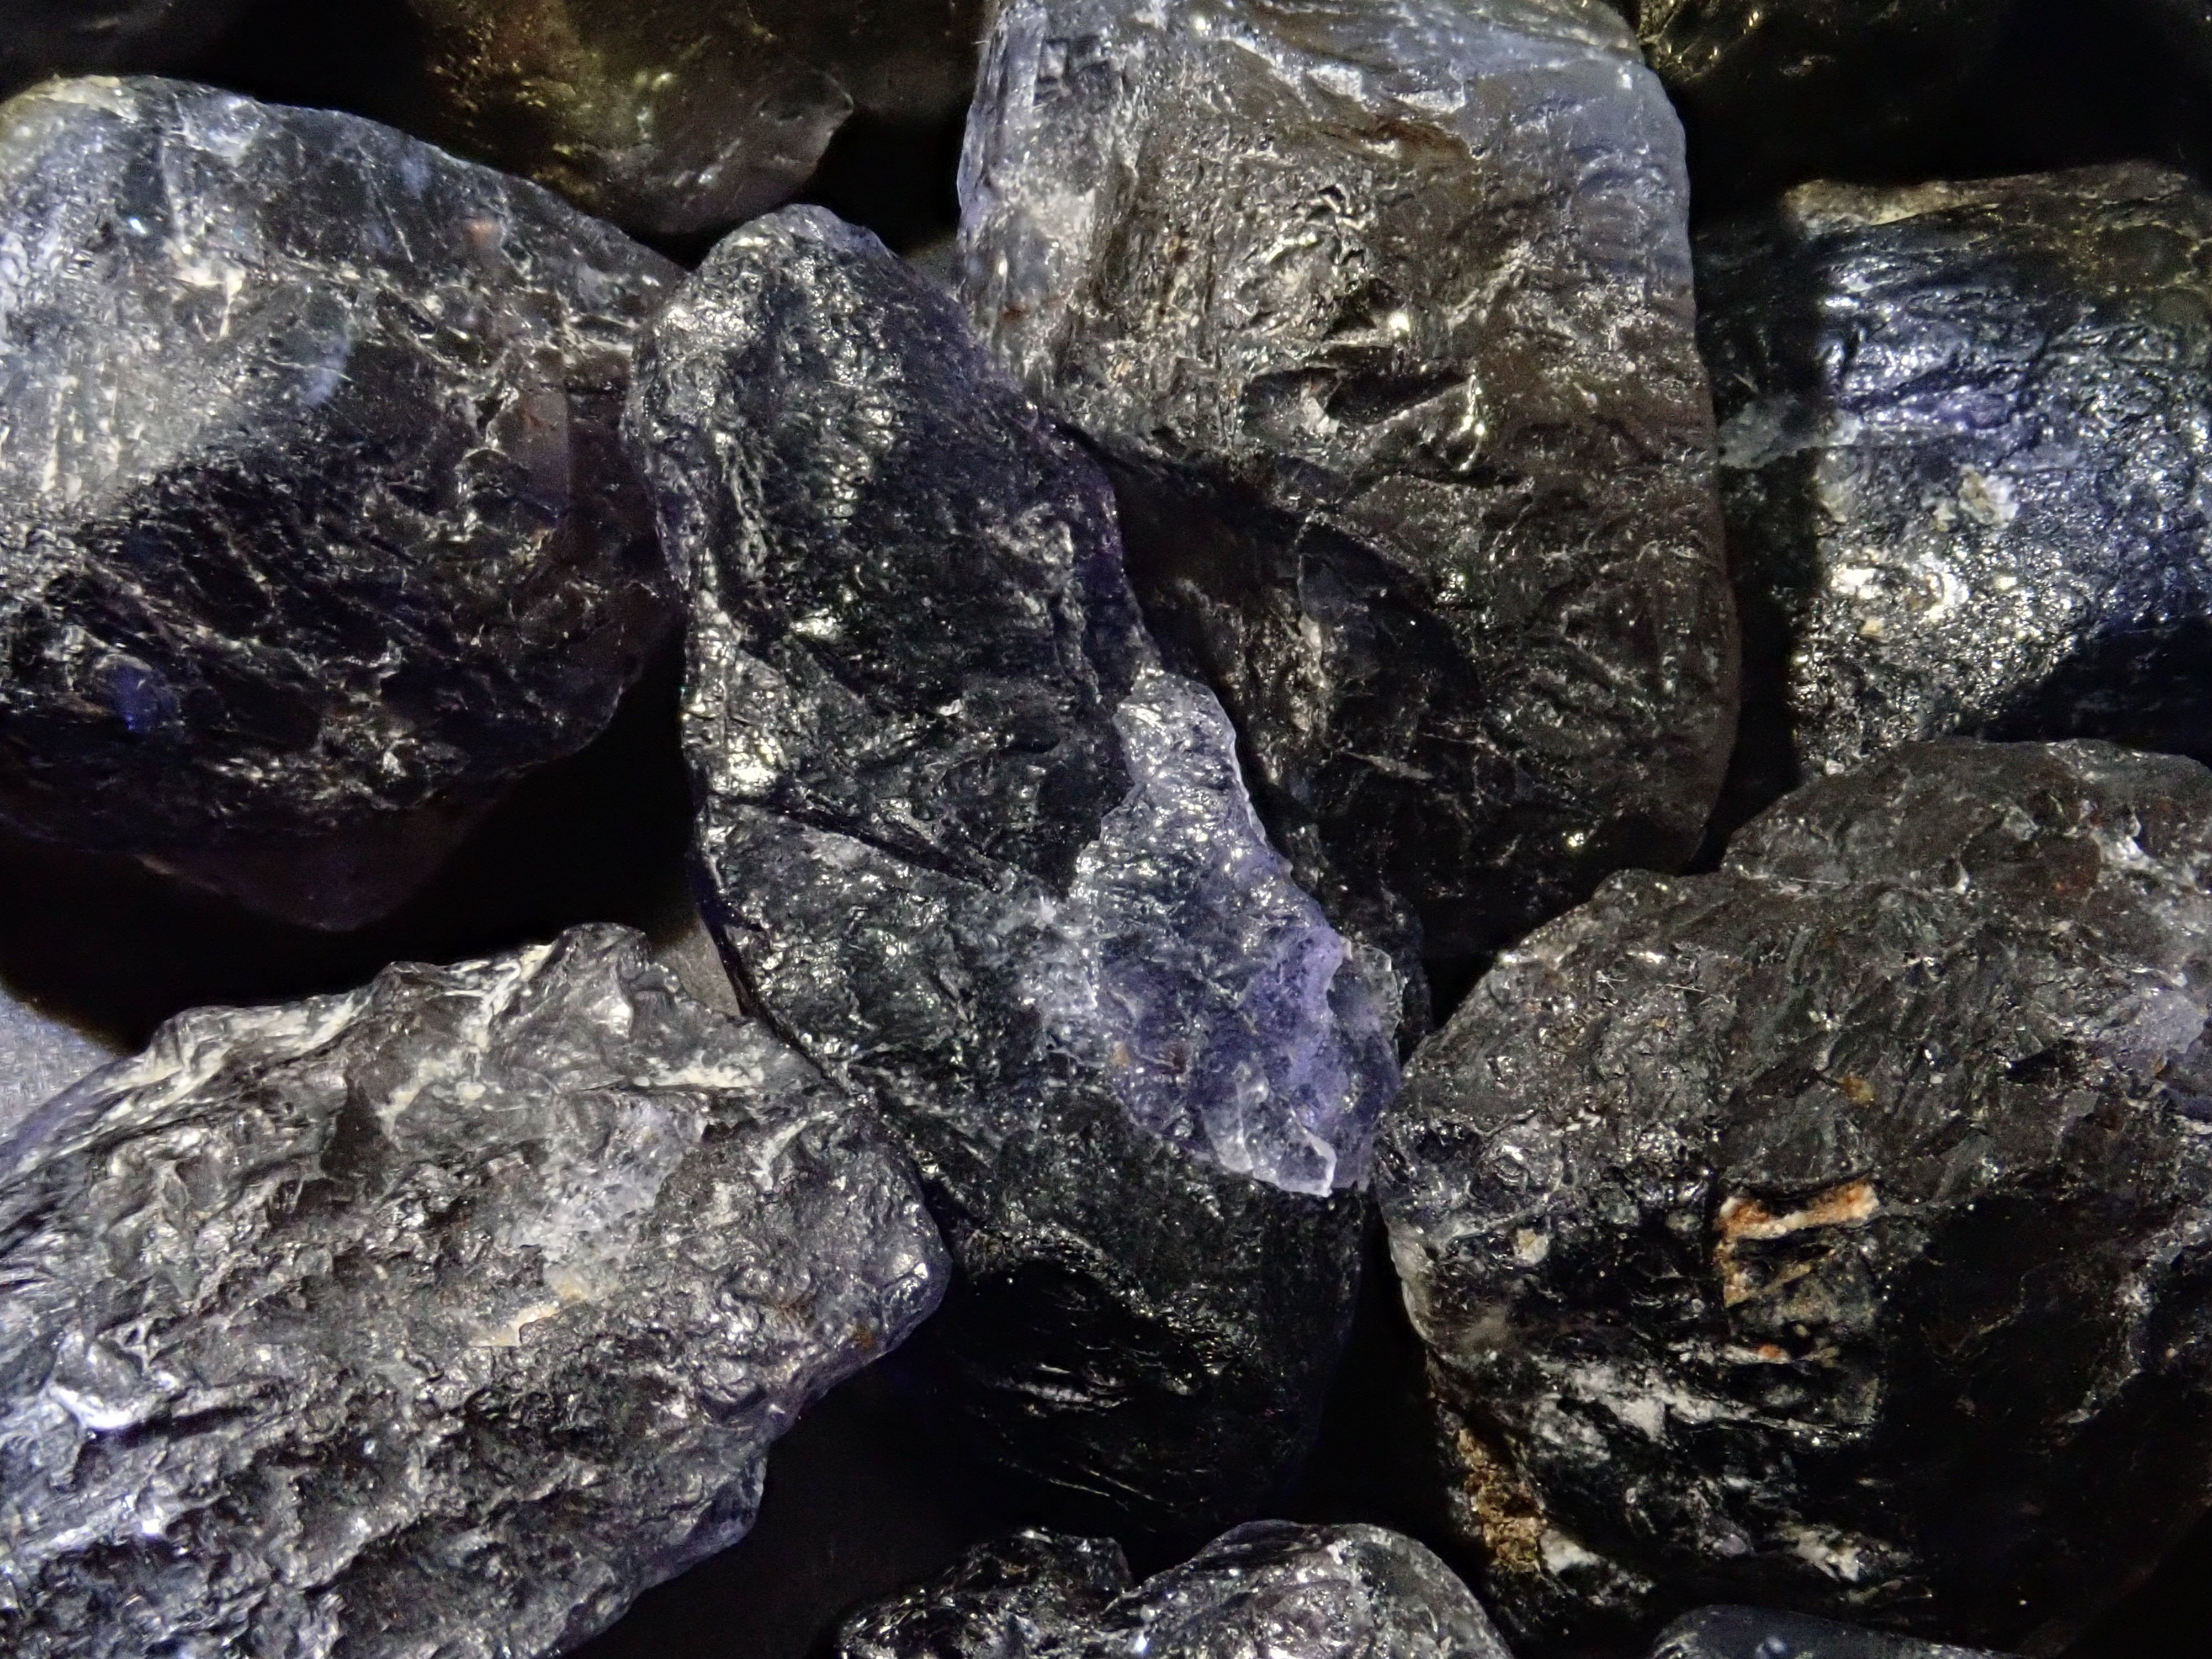


Let's try gemstone polishing "Do-it-yourself rough stone polishing set" (for intermediate users: iolite rough stone)
From requests like "I want to enjoy gemstones up close and touch them," and "Are there any experiences for parents and children?", we created the "DIY Rough Gemstone Polishing Kit".
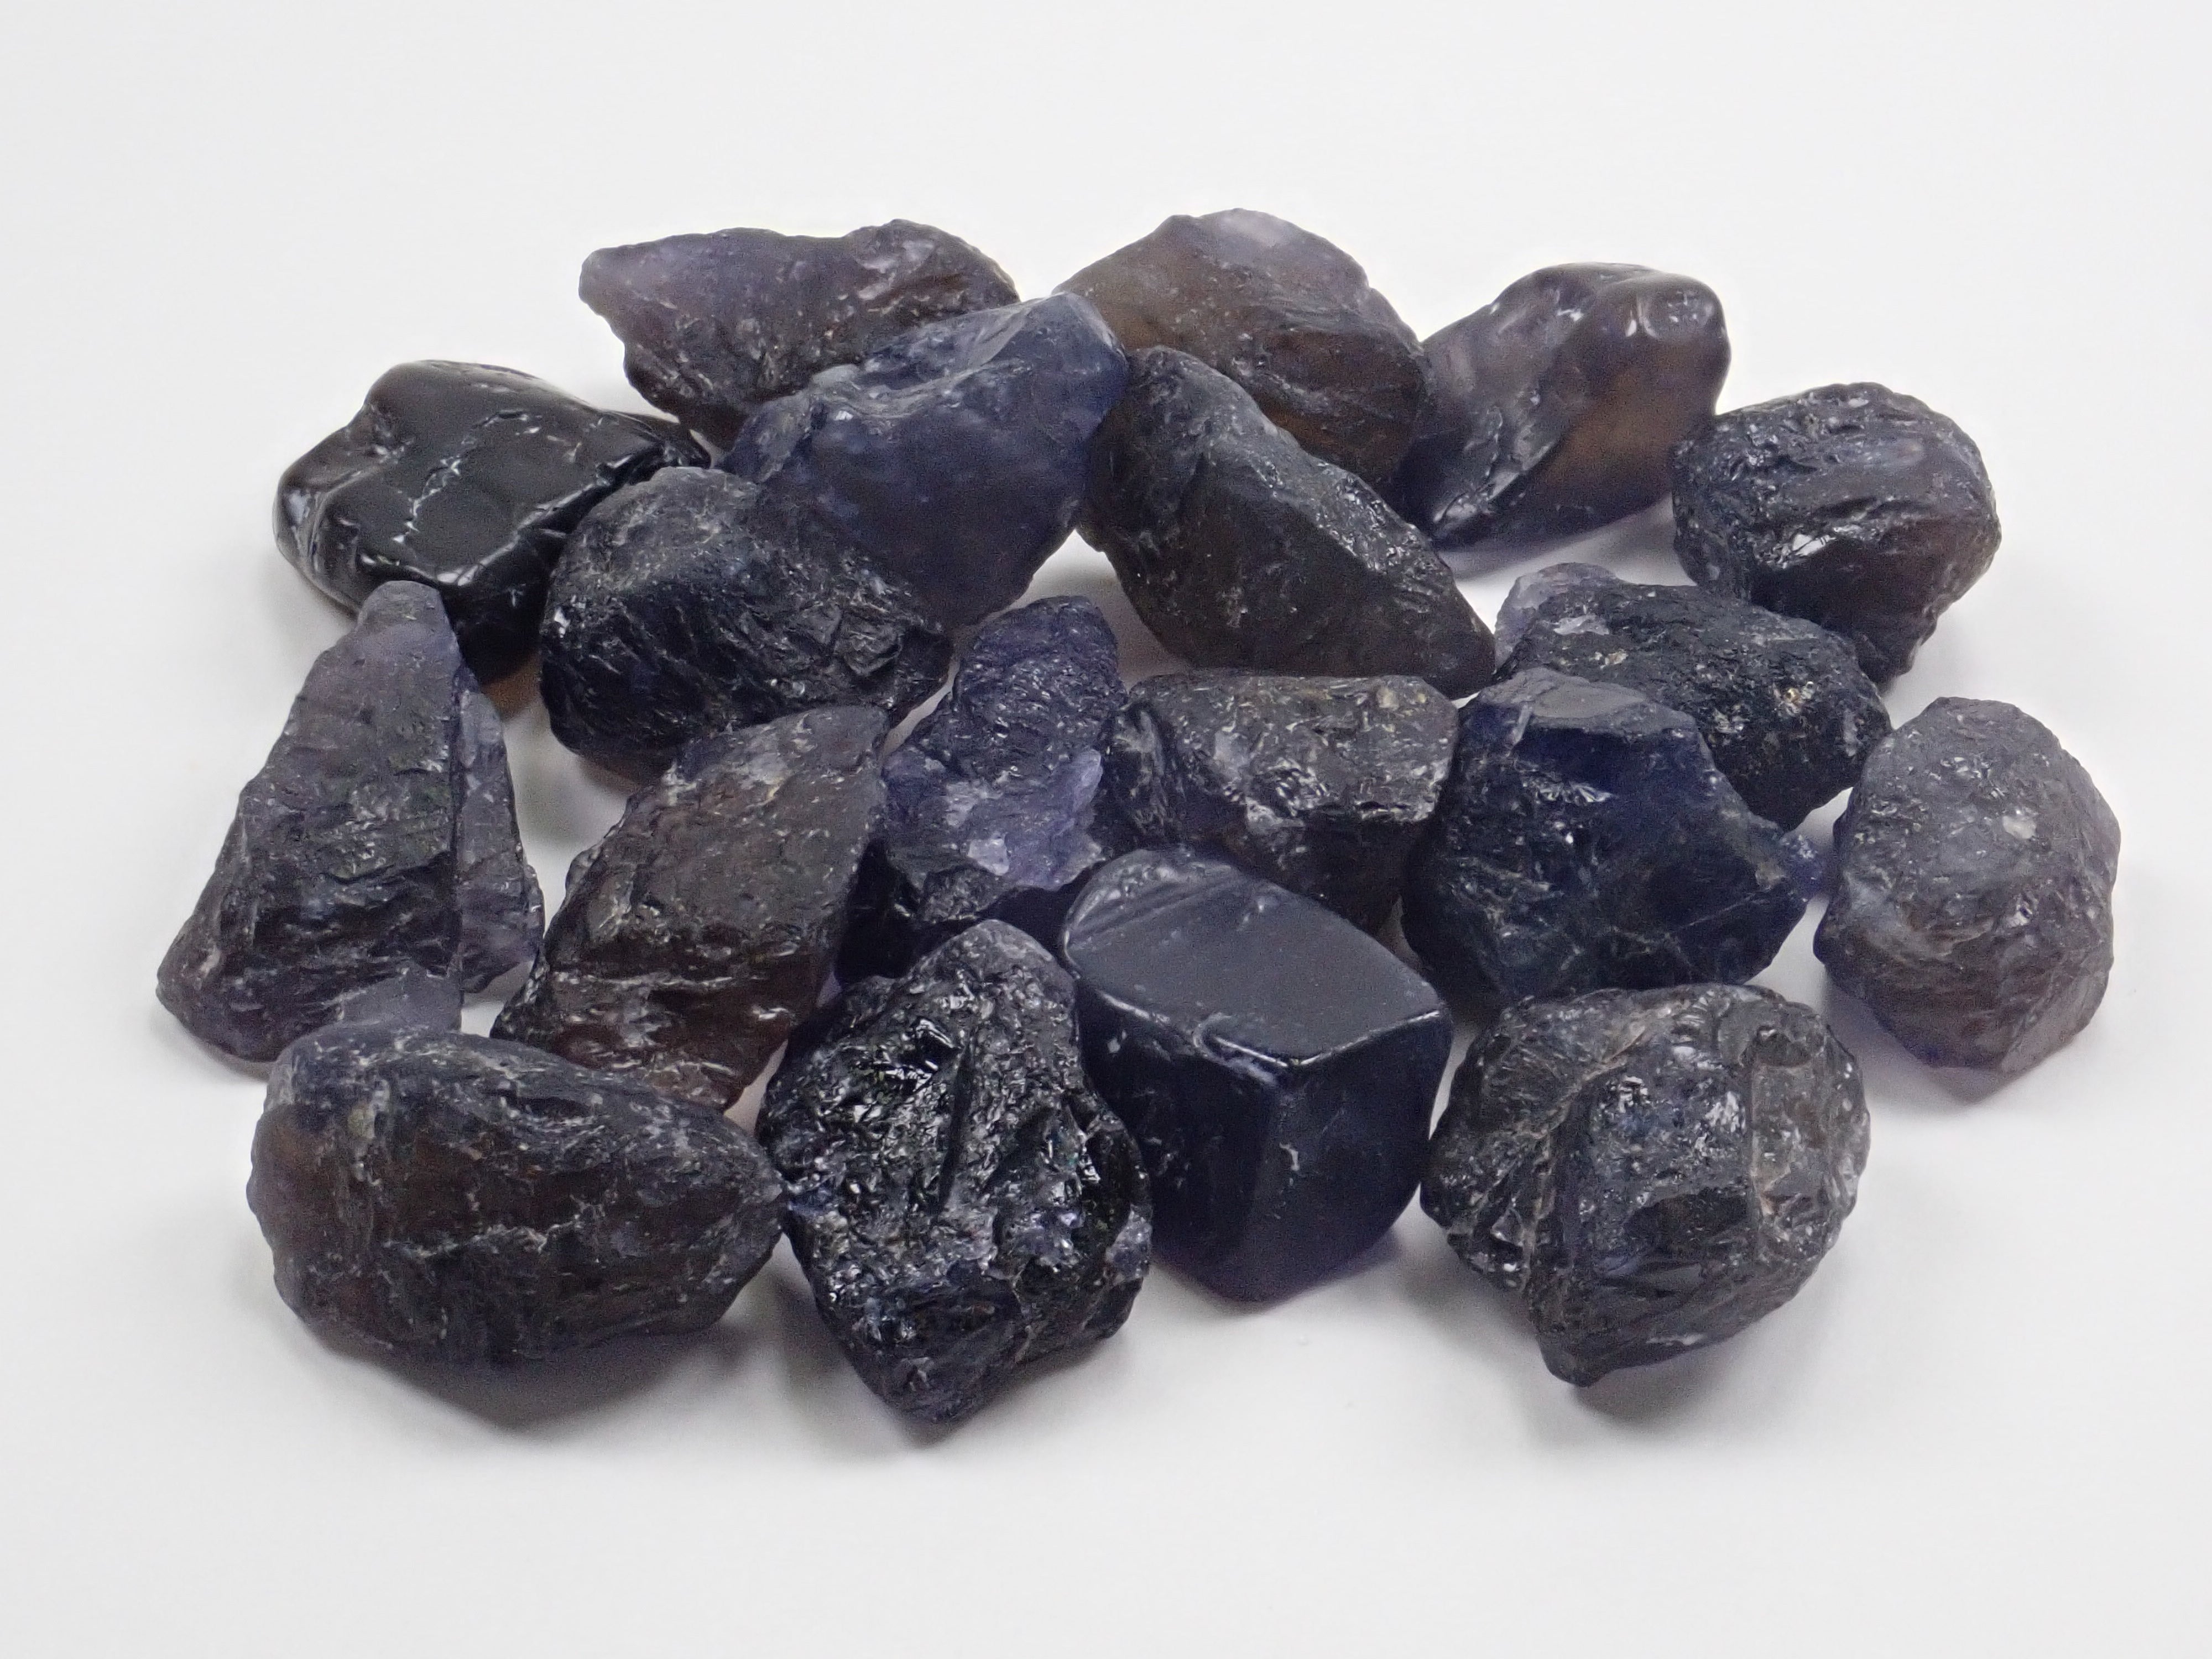
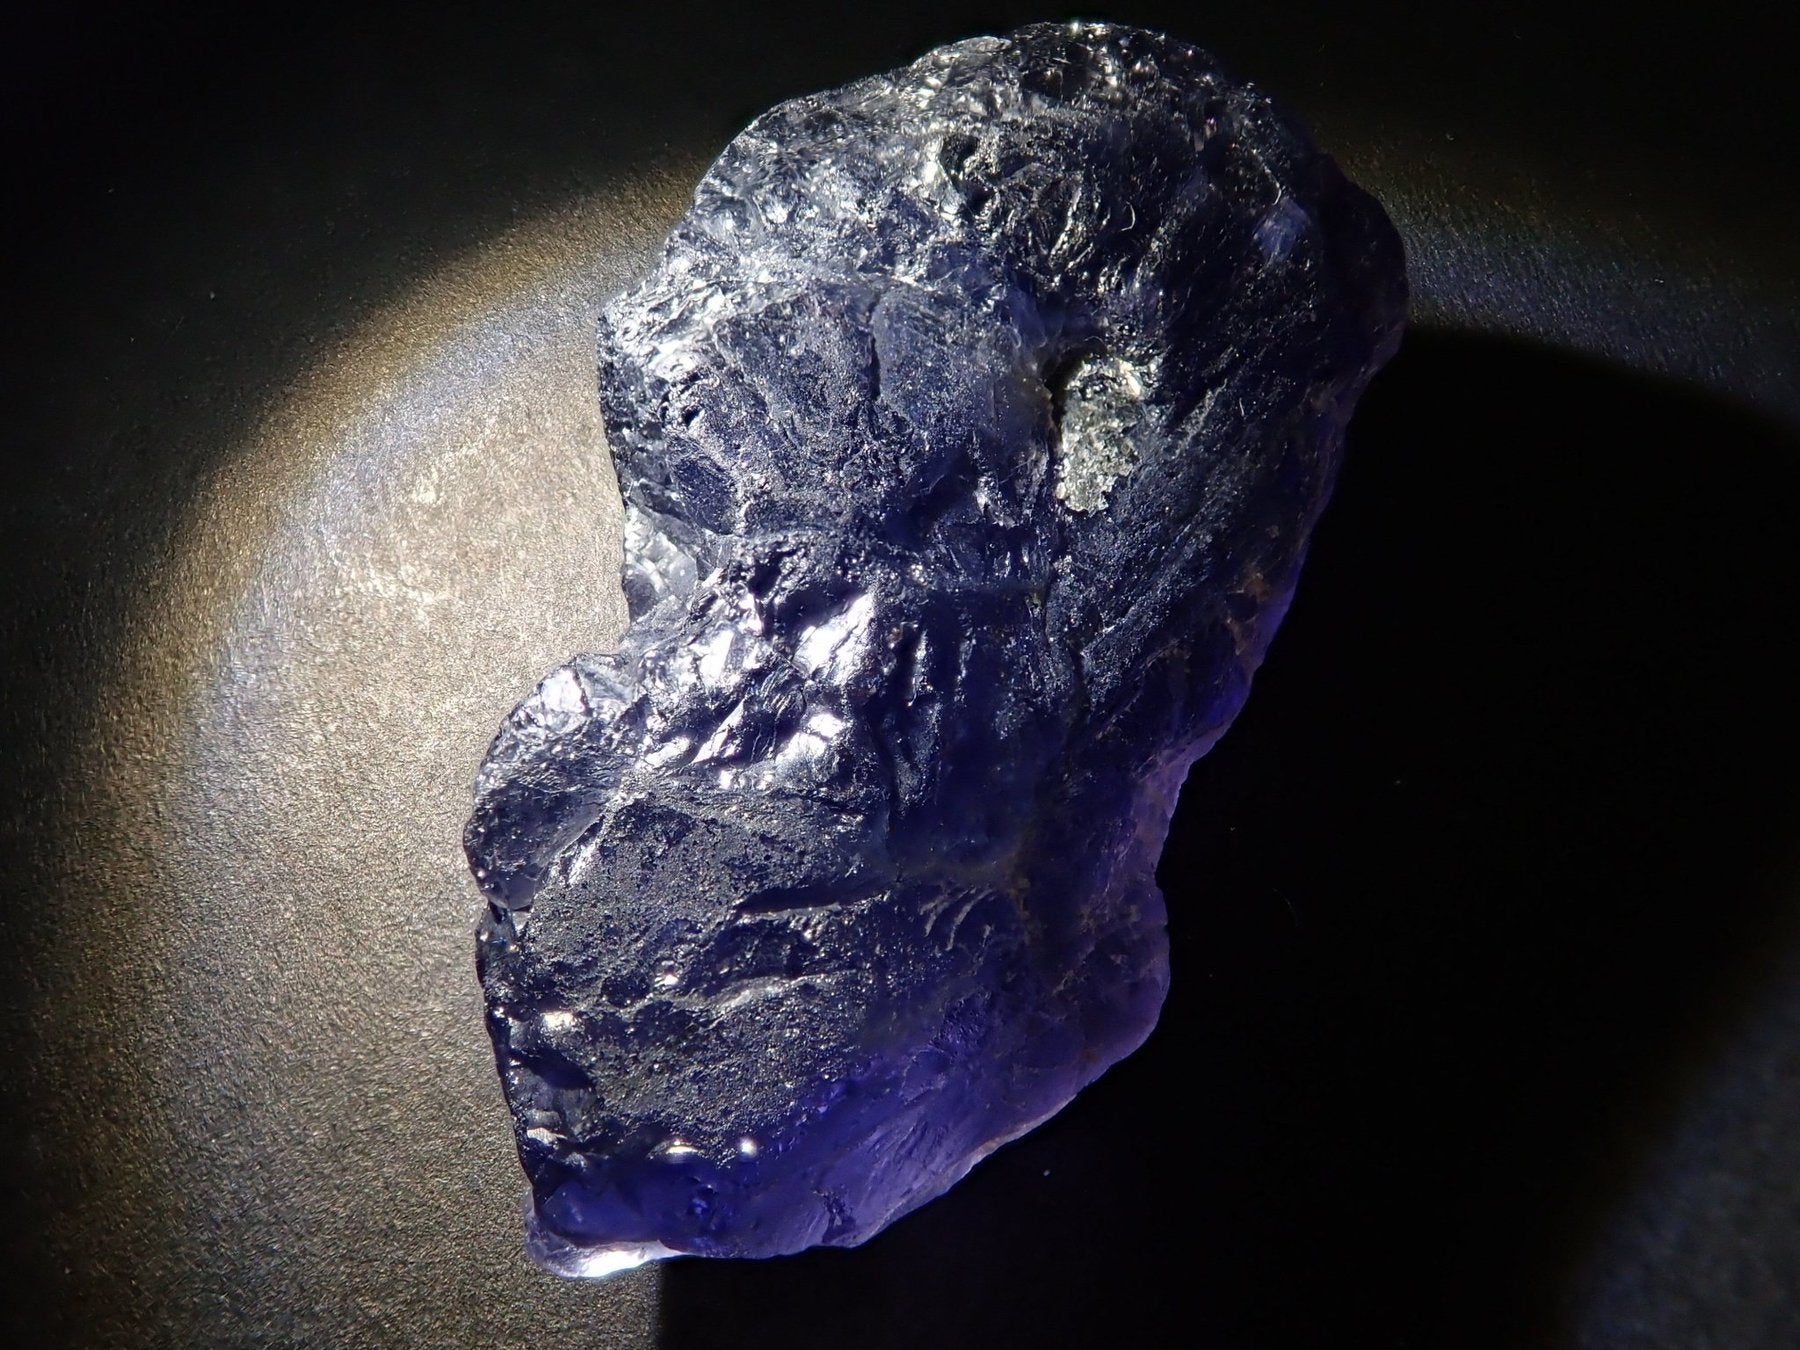
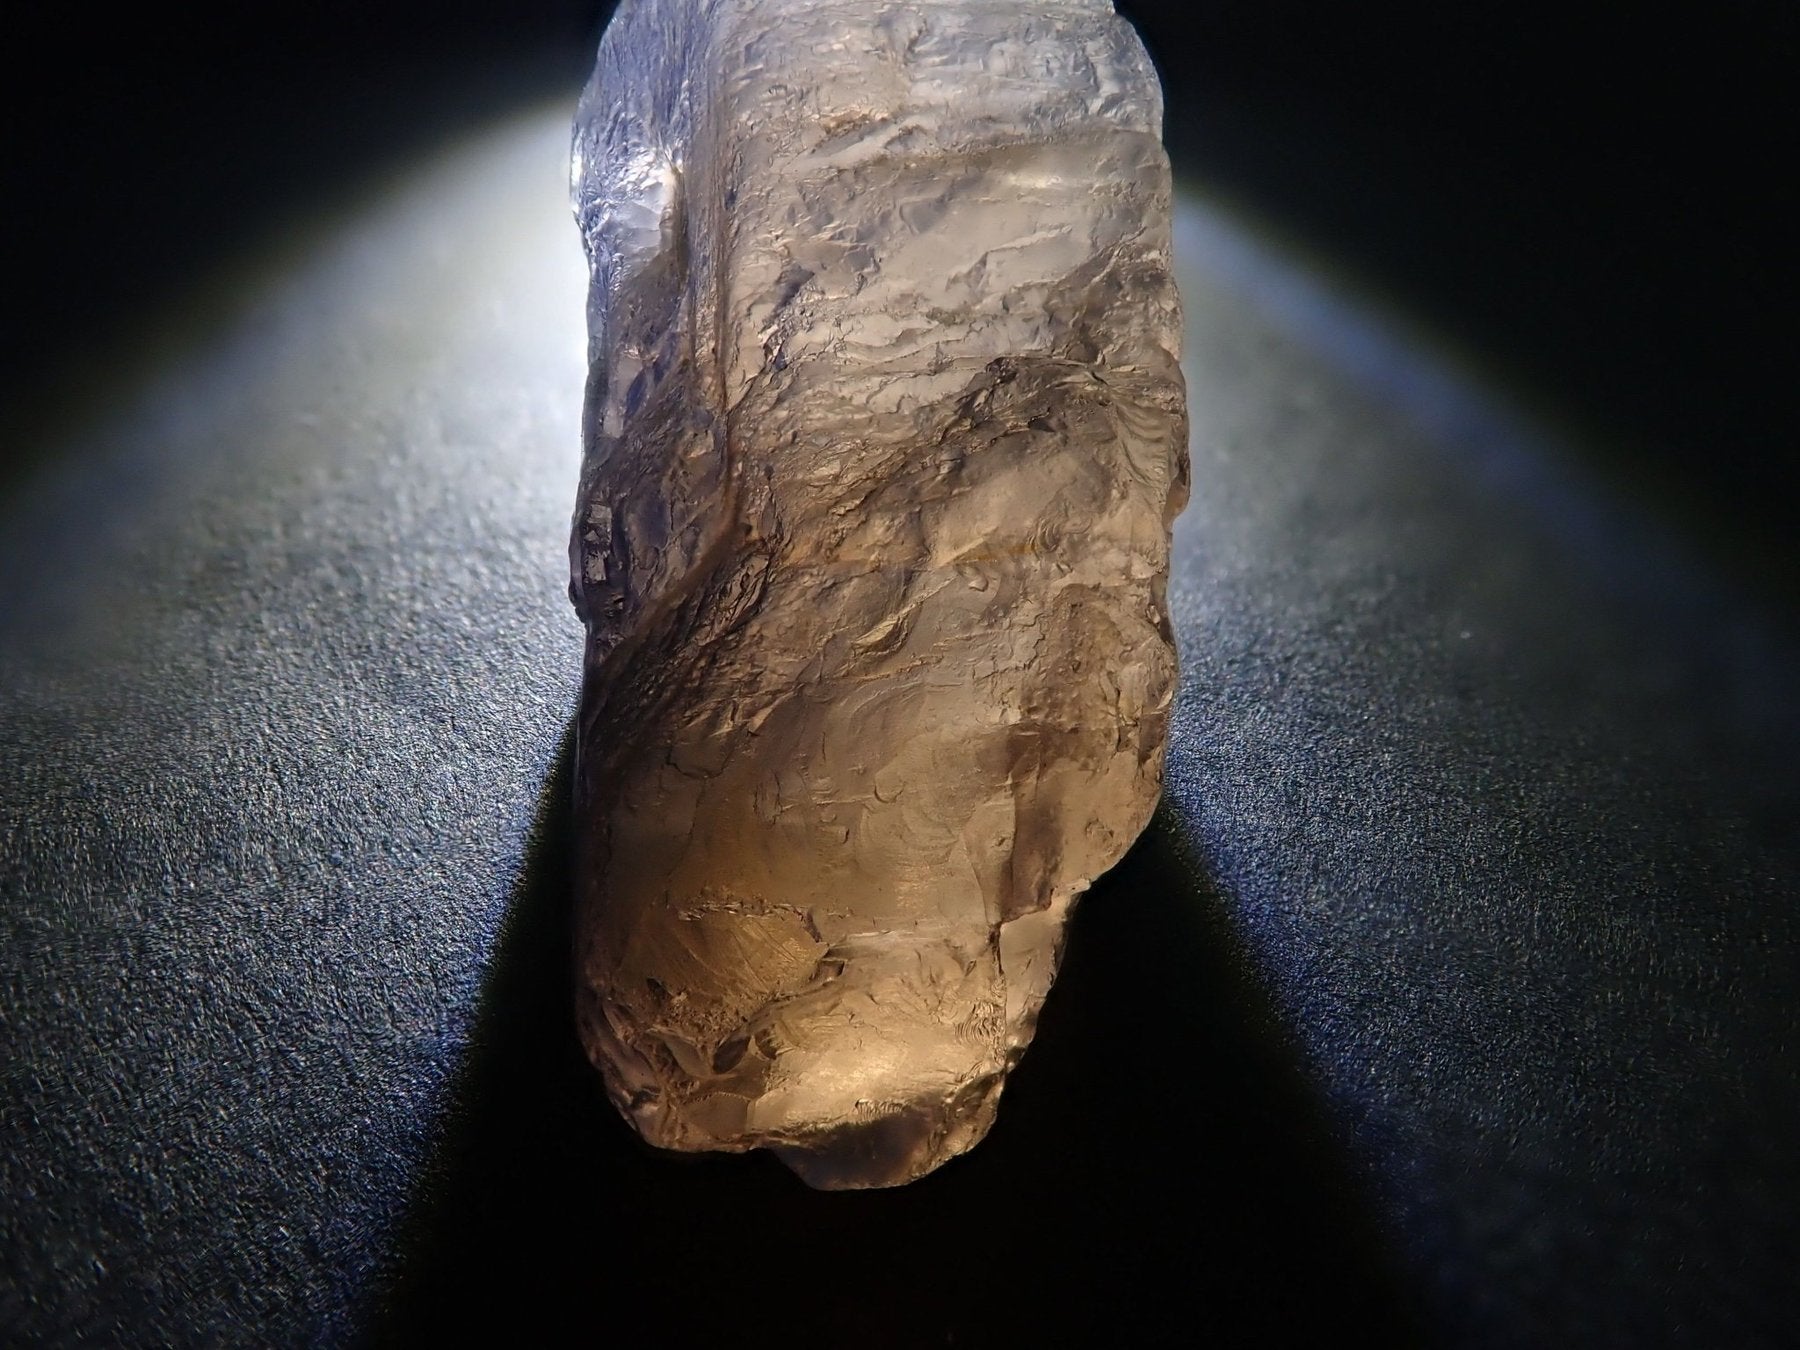
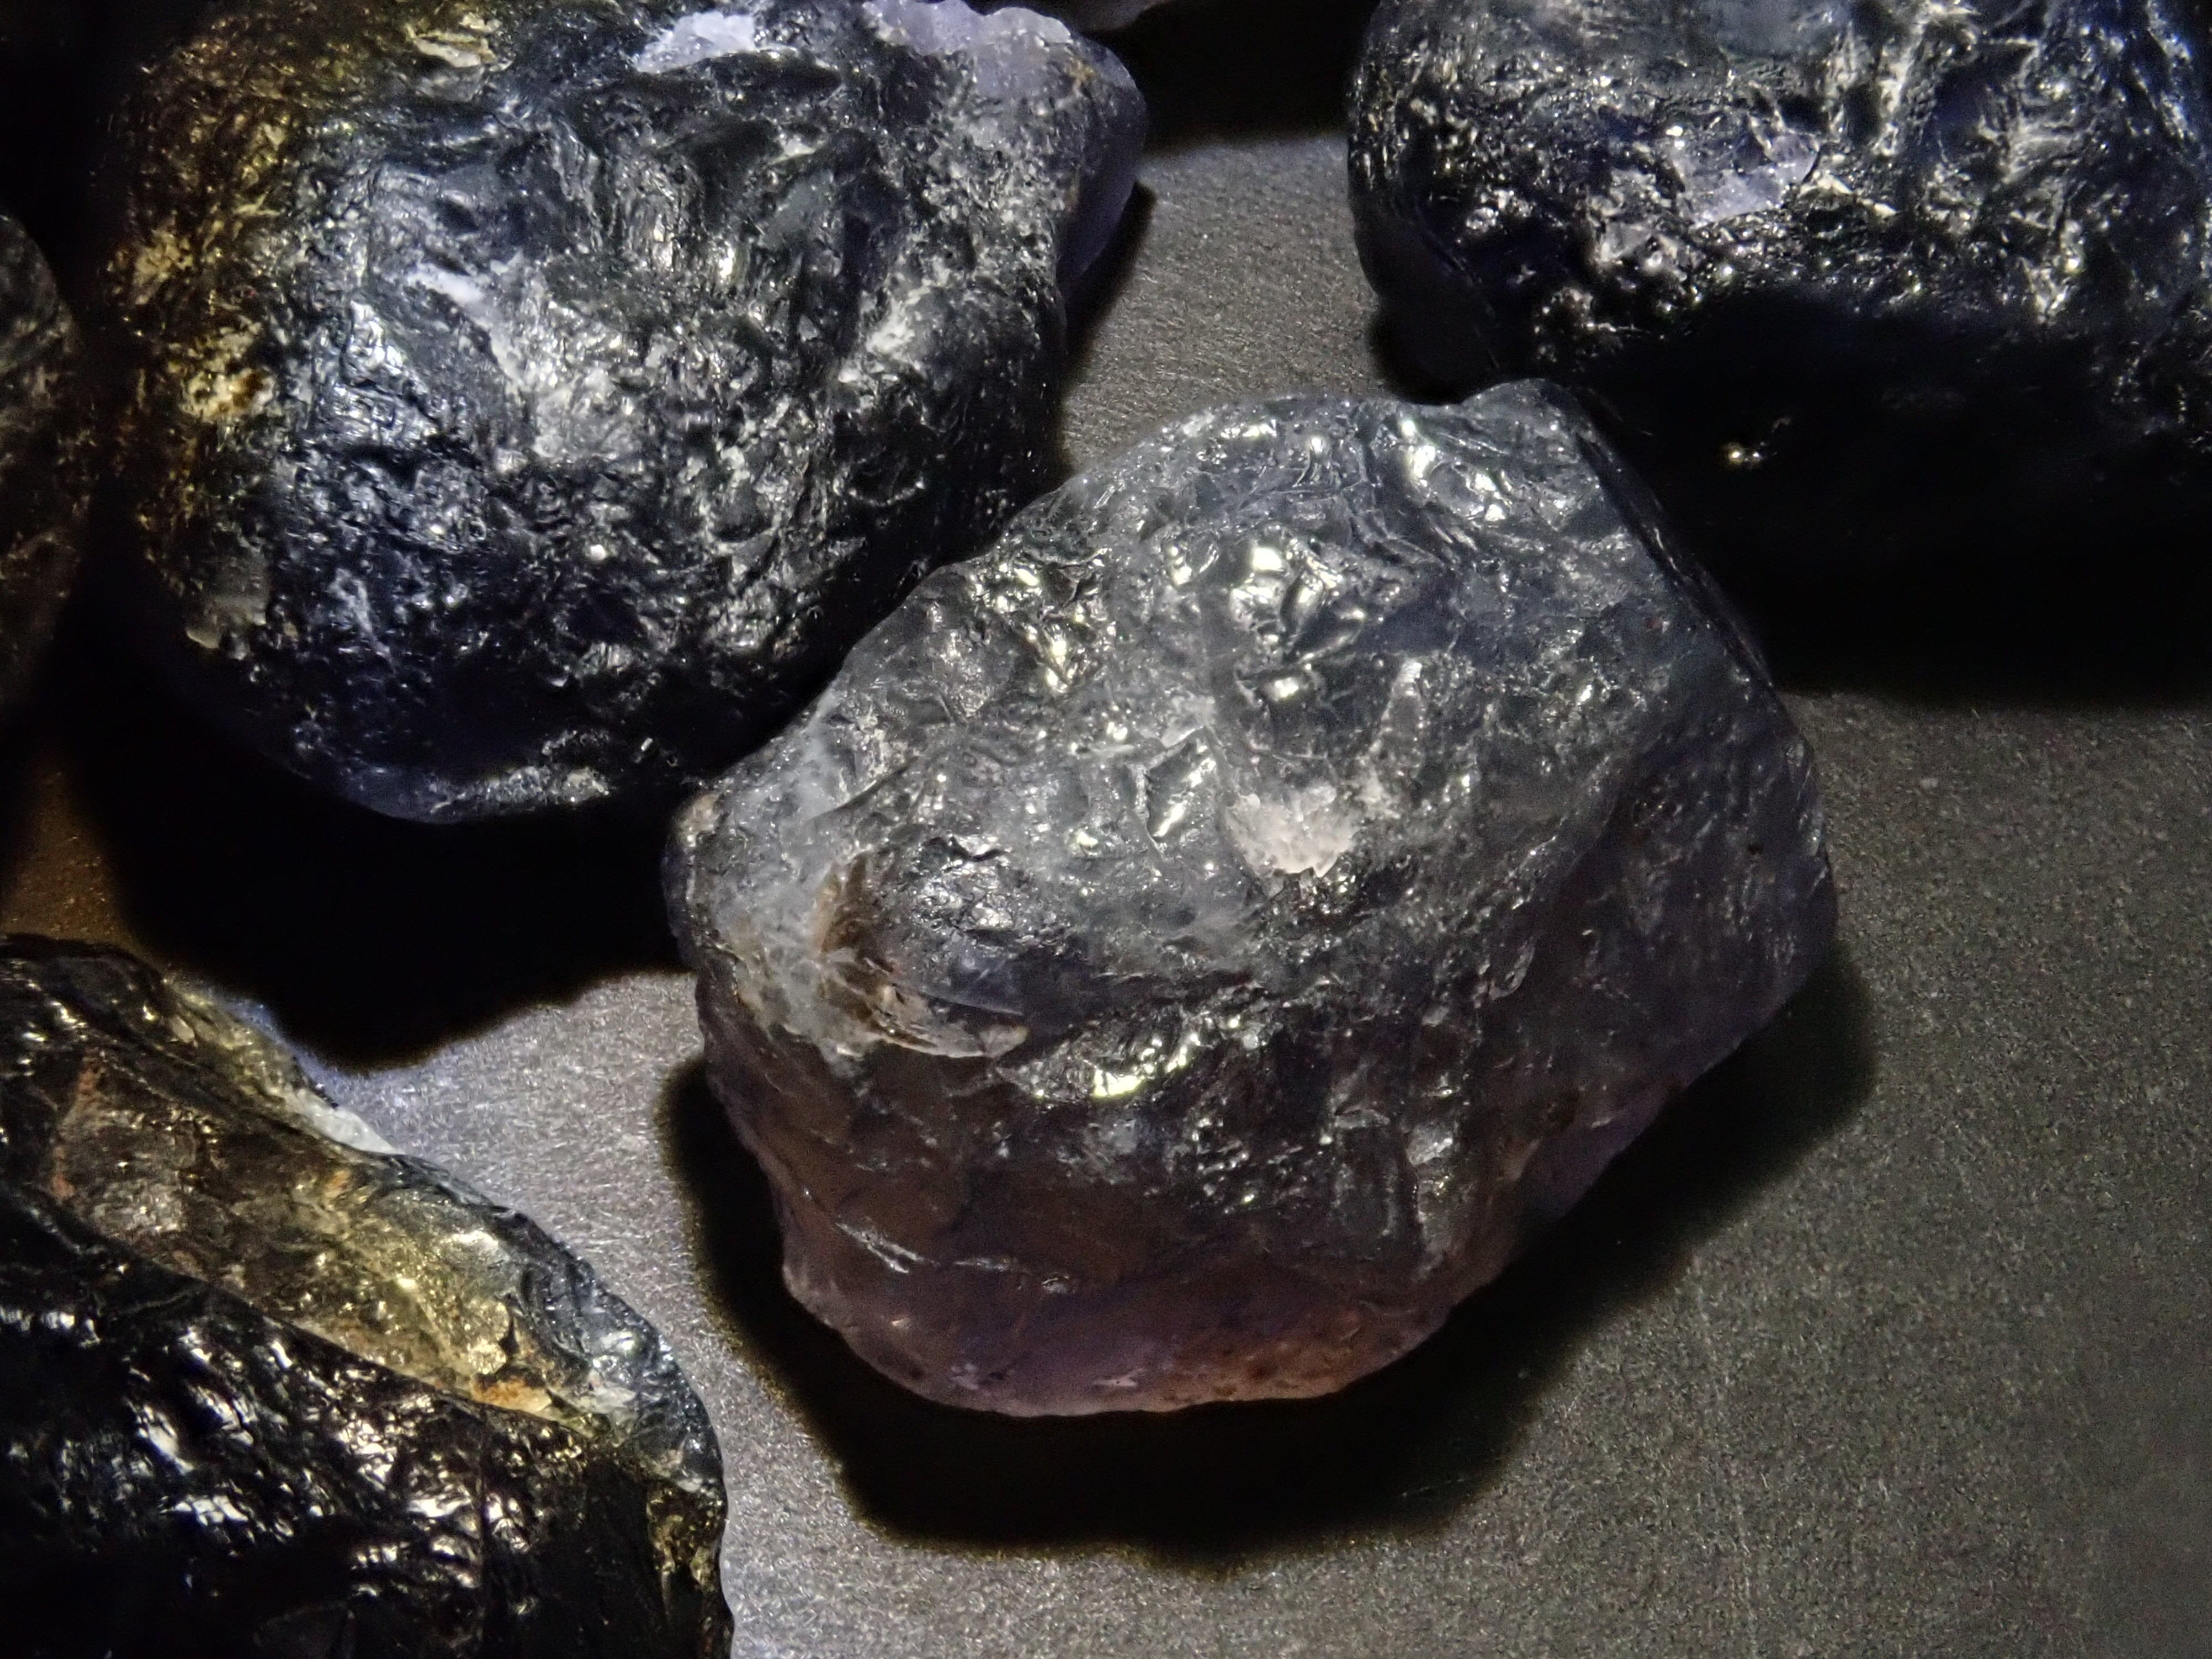
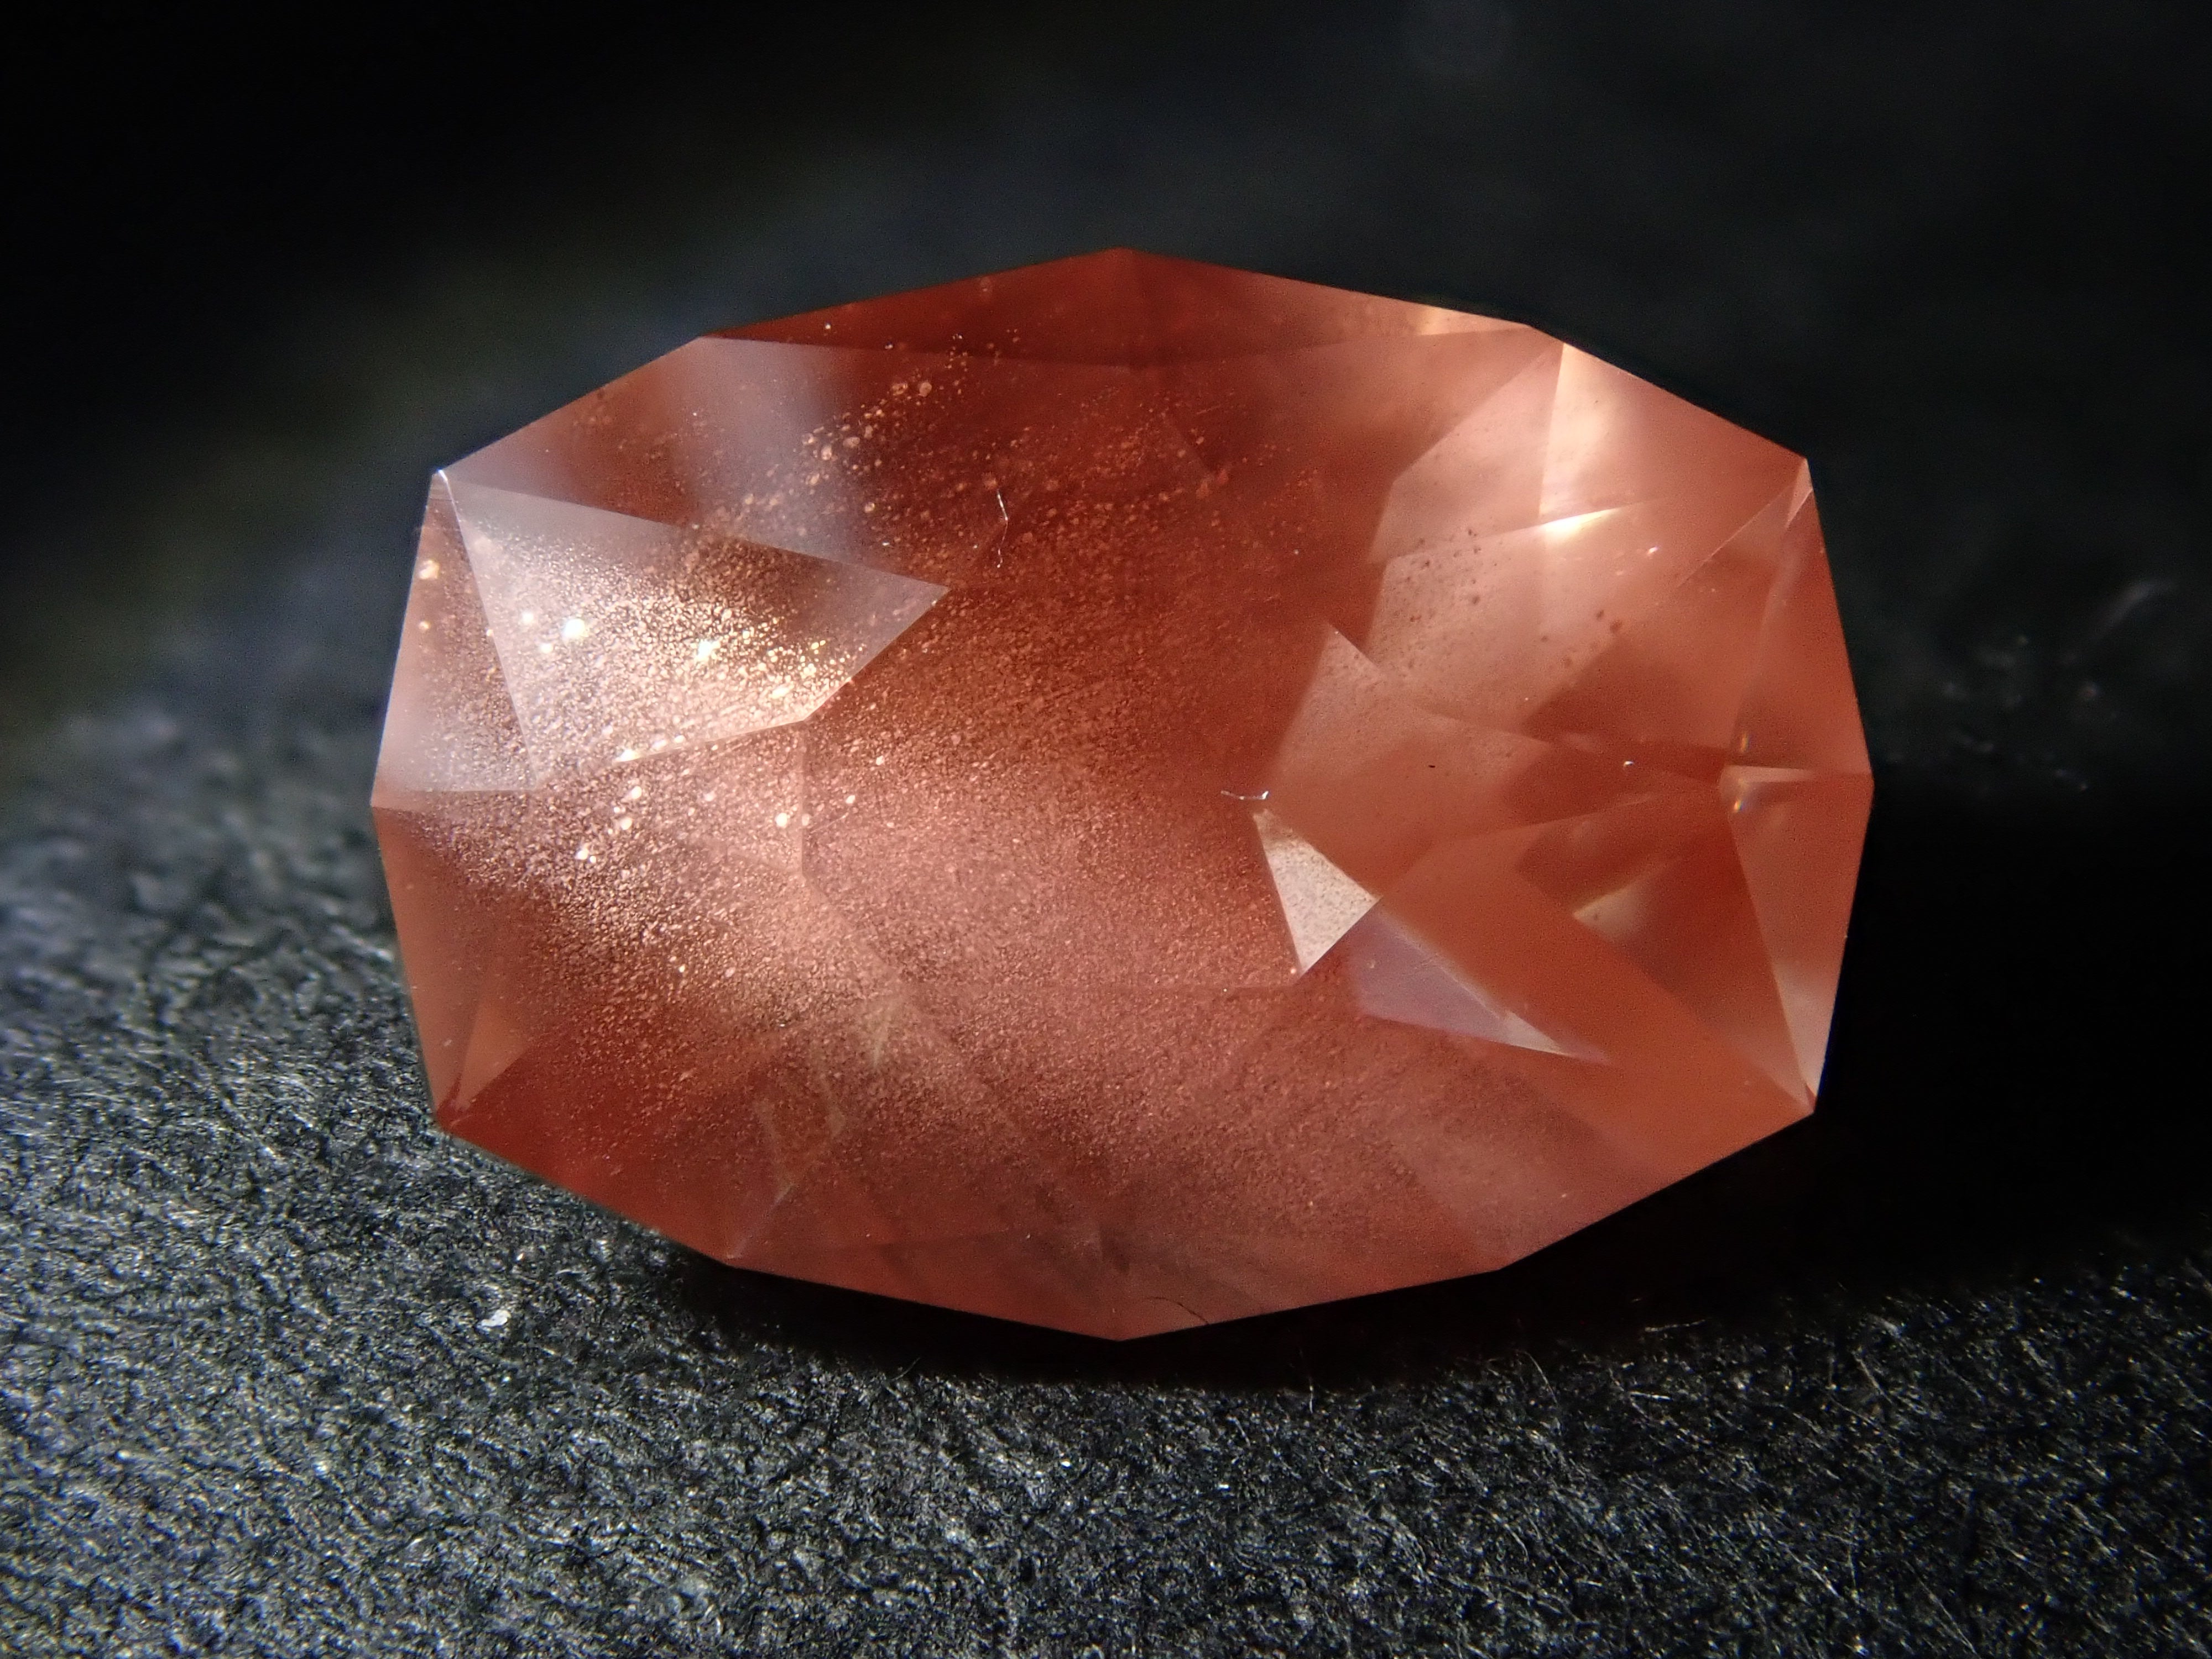
This rough gemstone has a higher hardness compared to others, making it recommended for those who want to take their time and polish carefully [intermediate level]. We have chosen iolite, which offers pleochroism, and is sized for gemstone polishing. Enjoy the pleochroism from various angles after polishing!
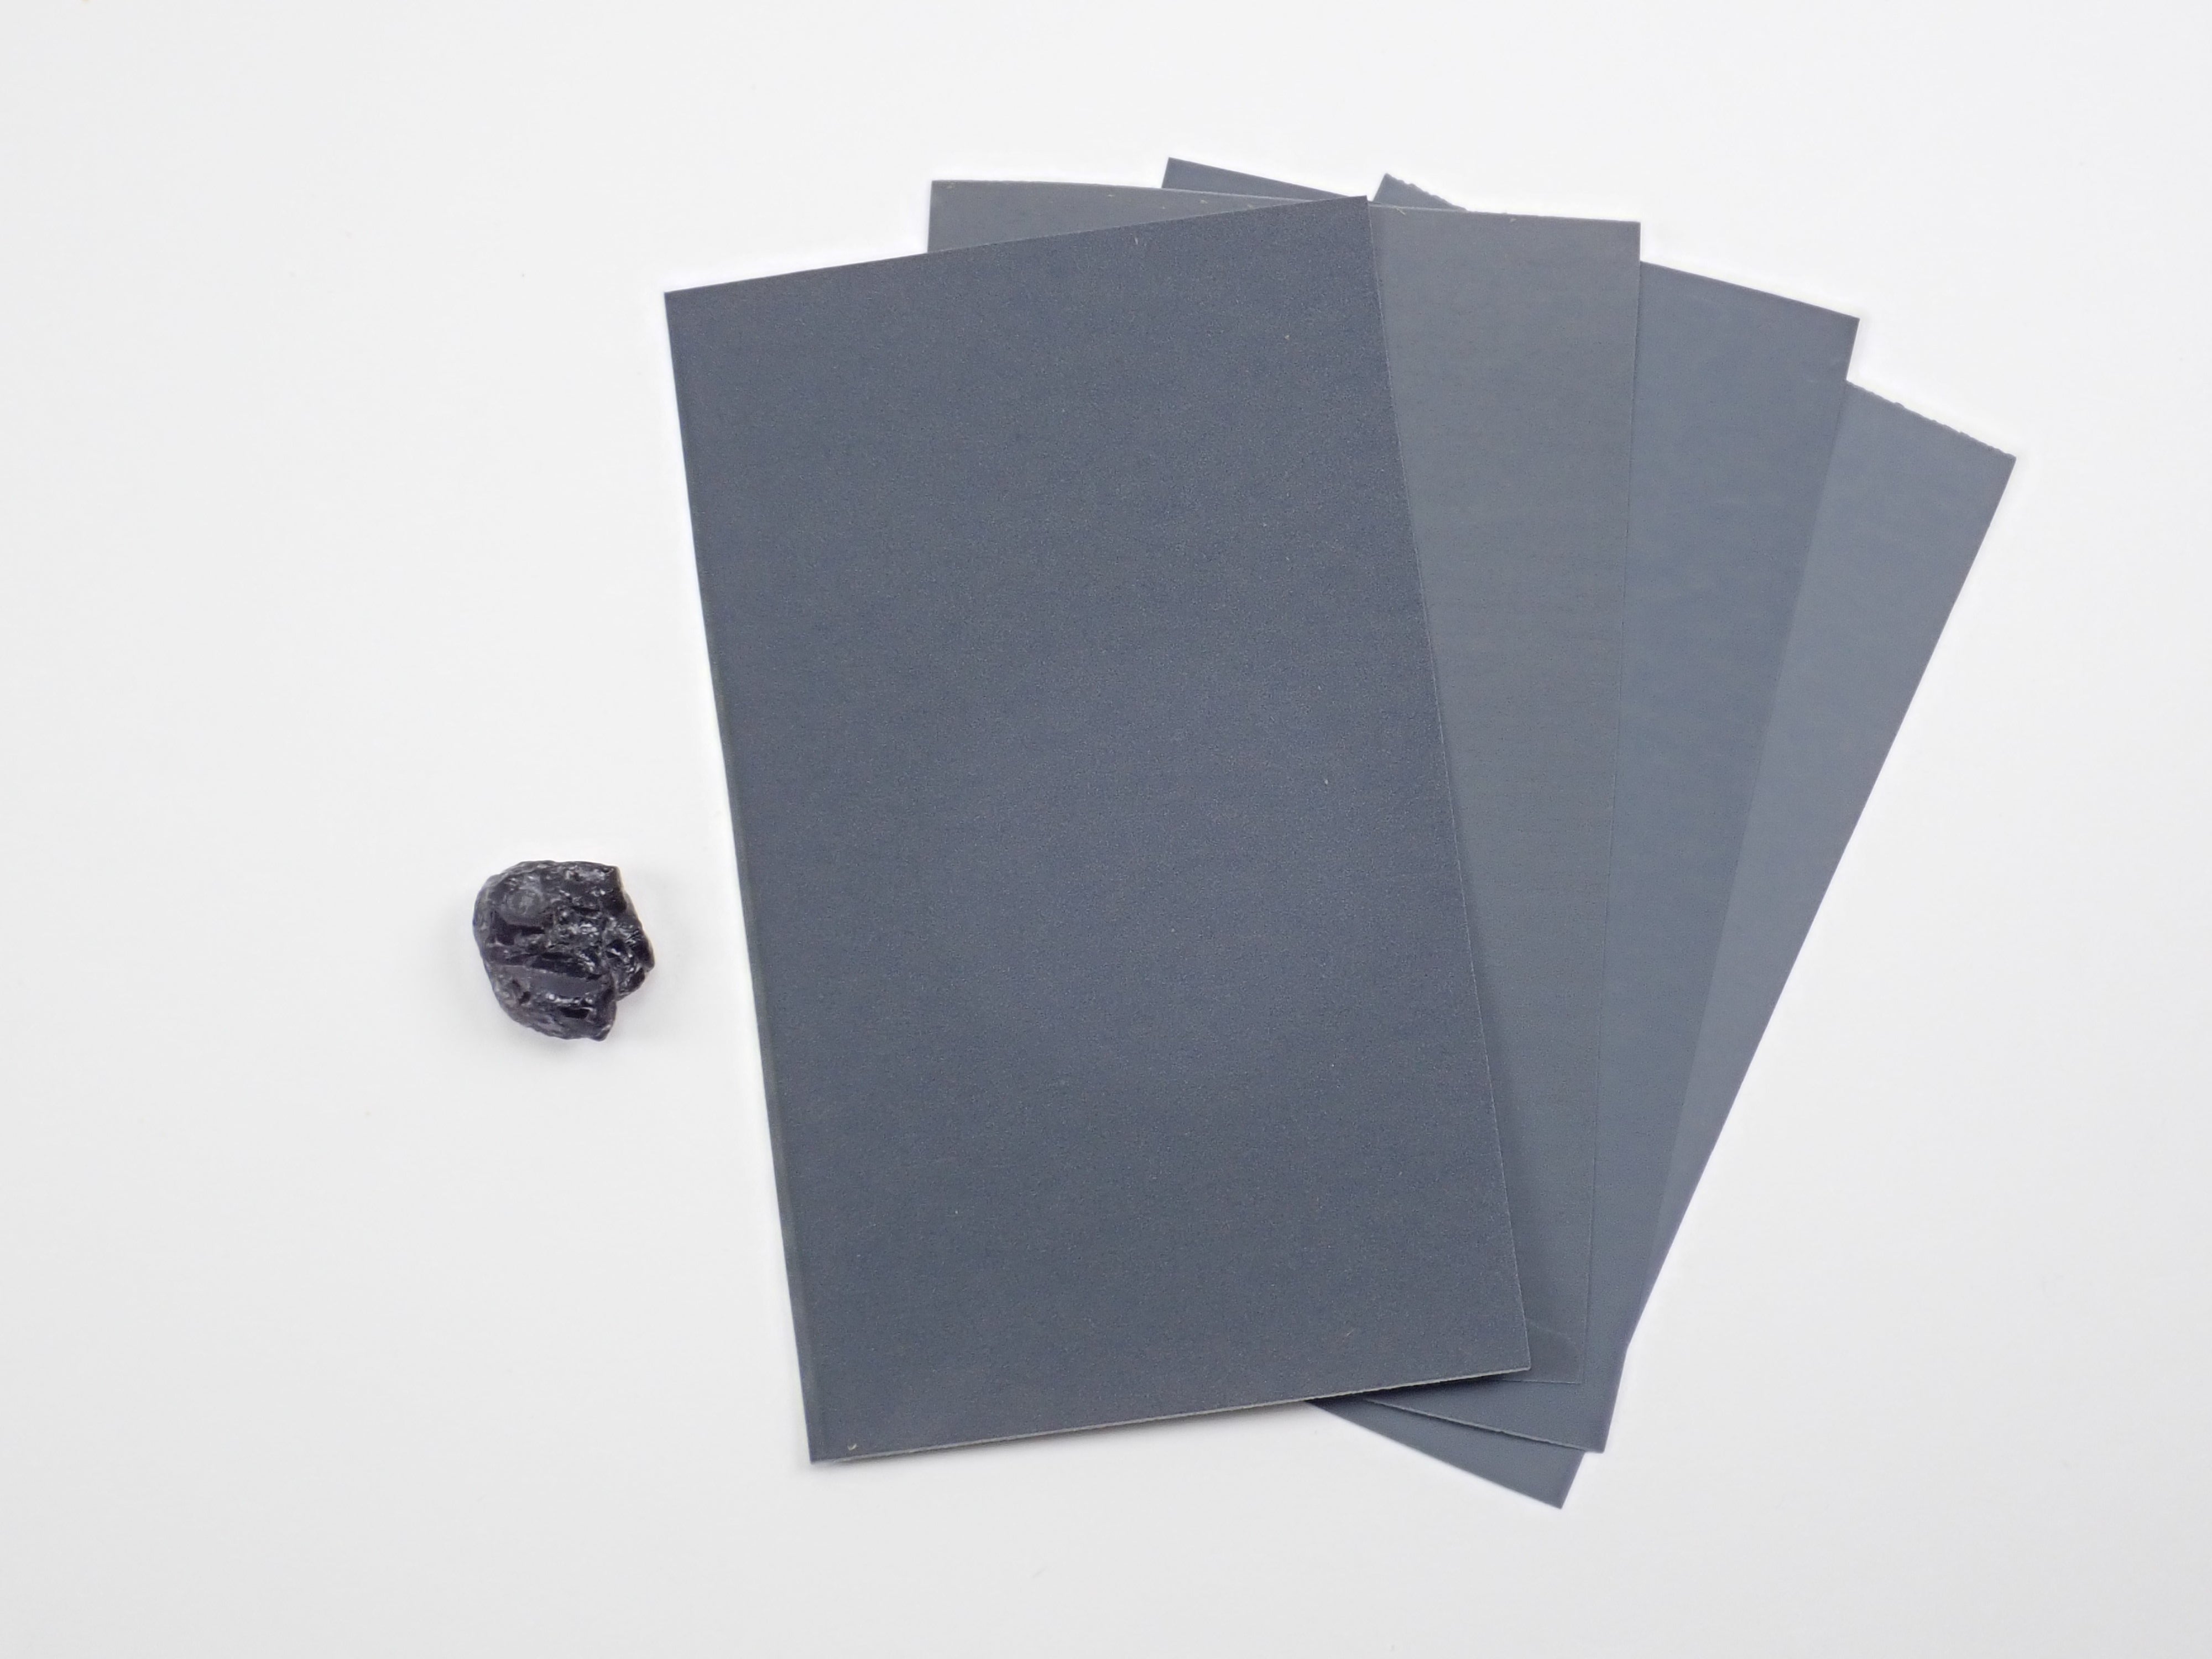
This is a set of tools for polishing rough gemstones and a rough gemstone [iolite].
With this set, you can enjoy the experience of polishing rough gemstones at home right away.
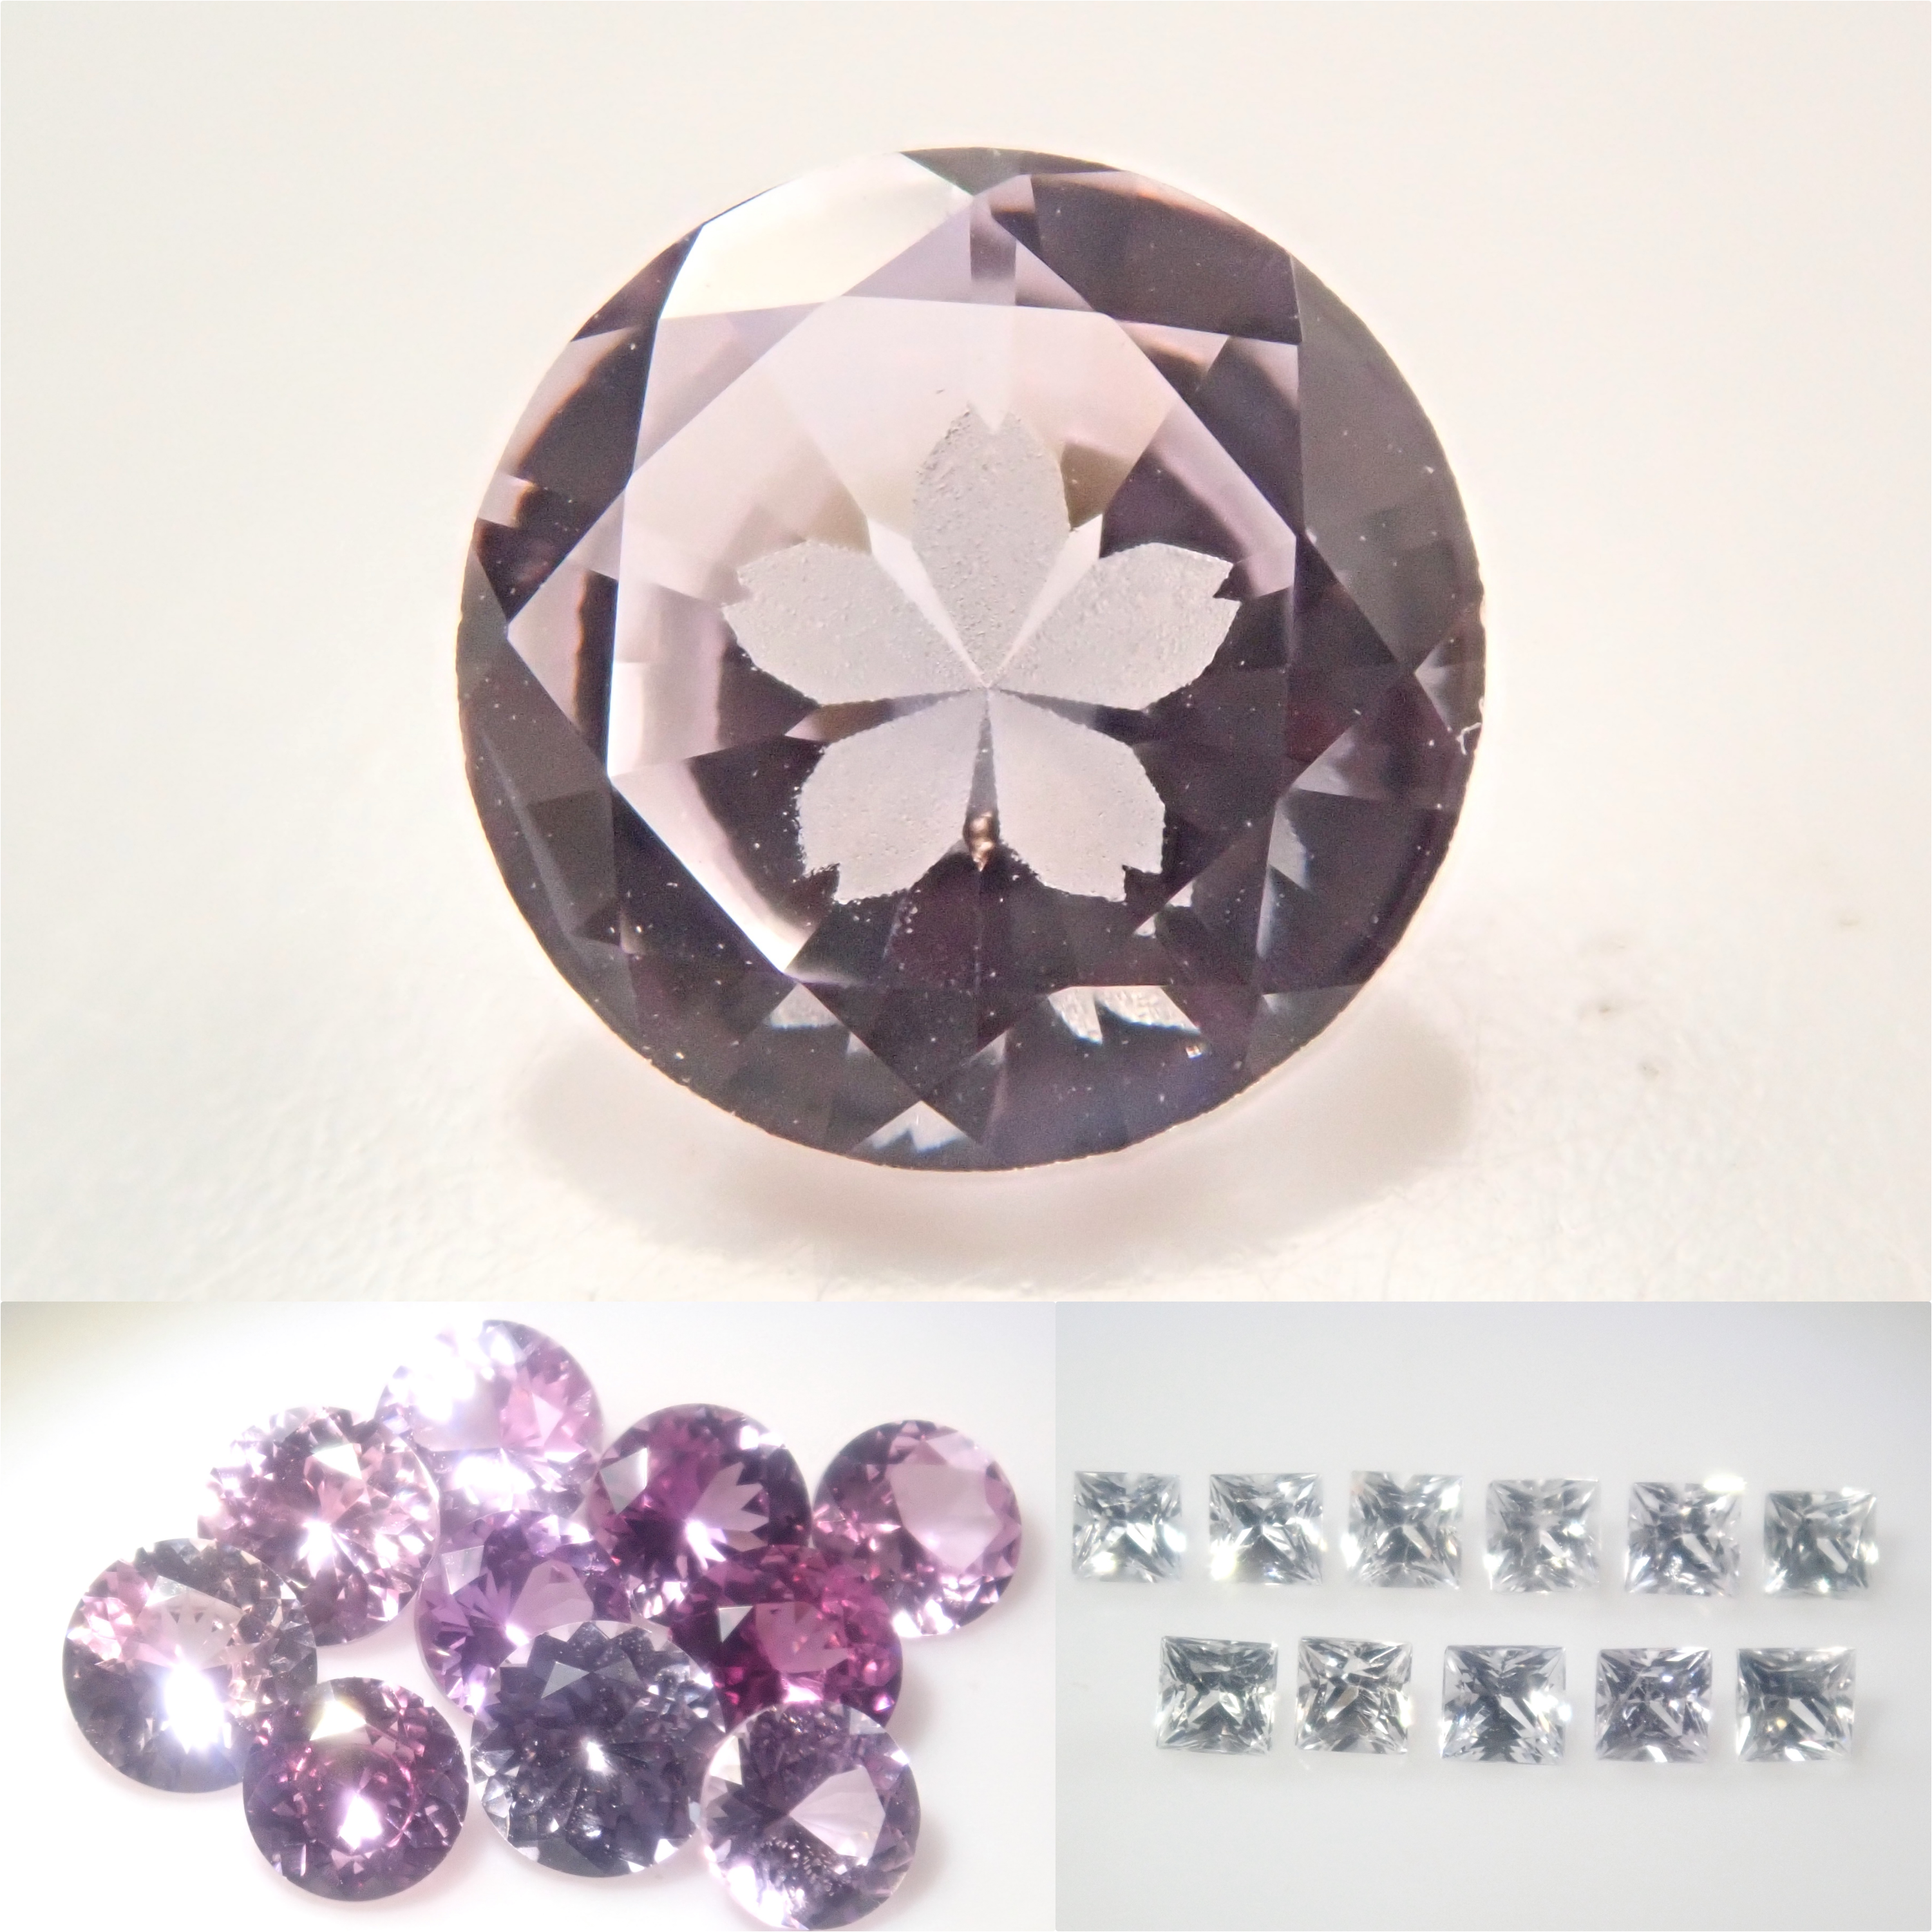
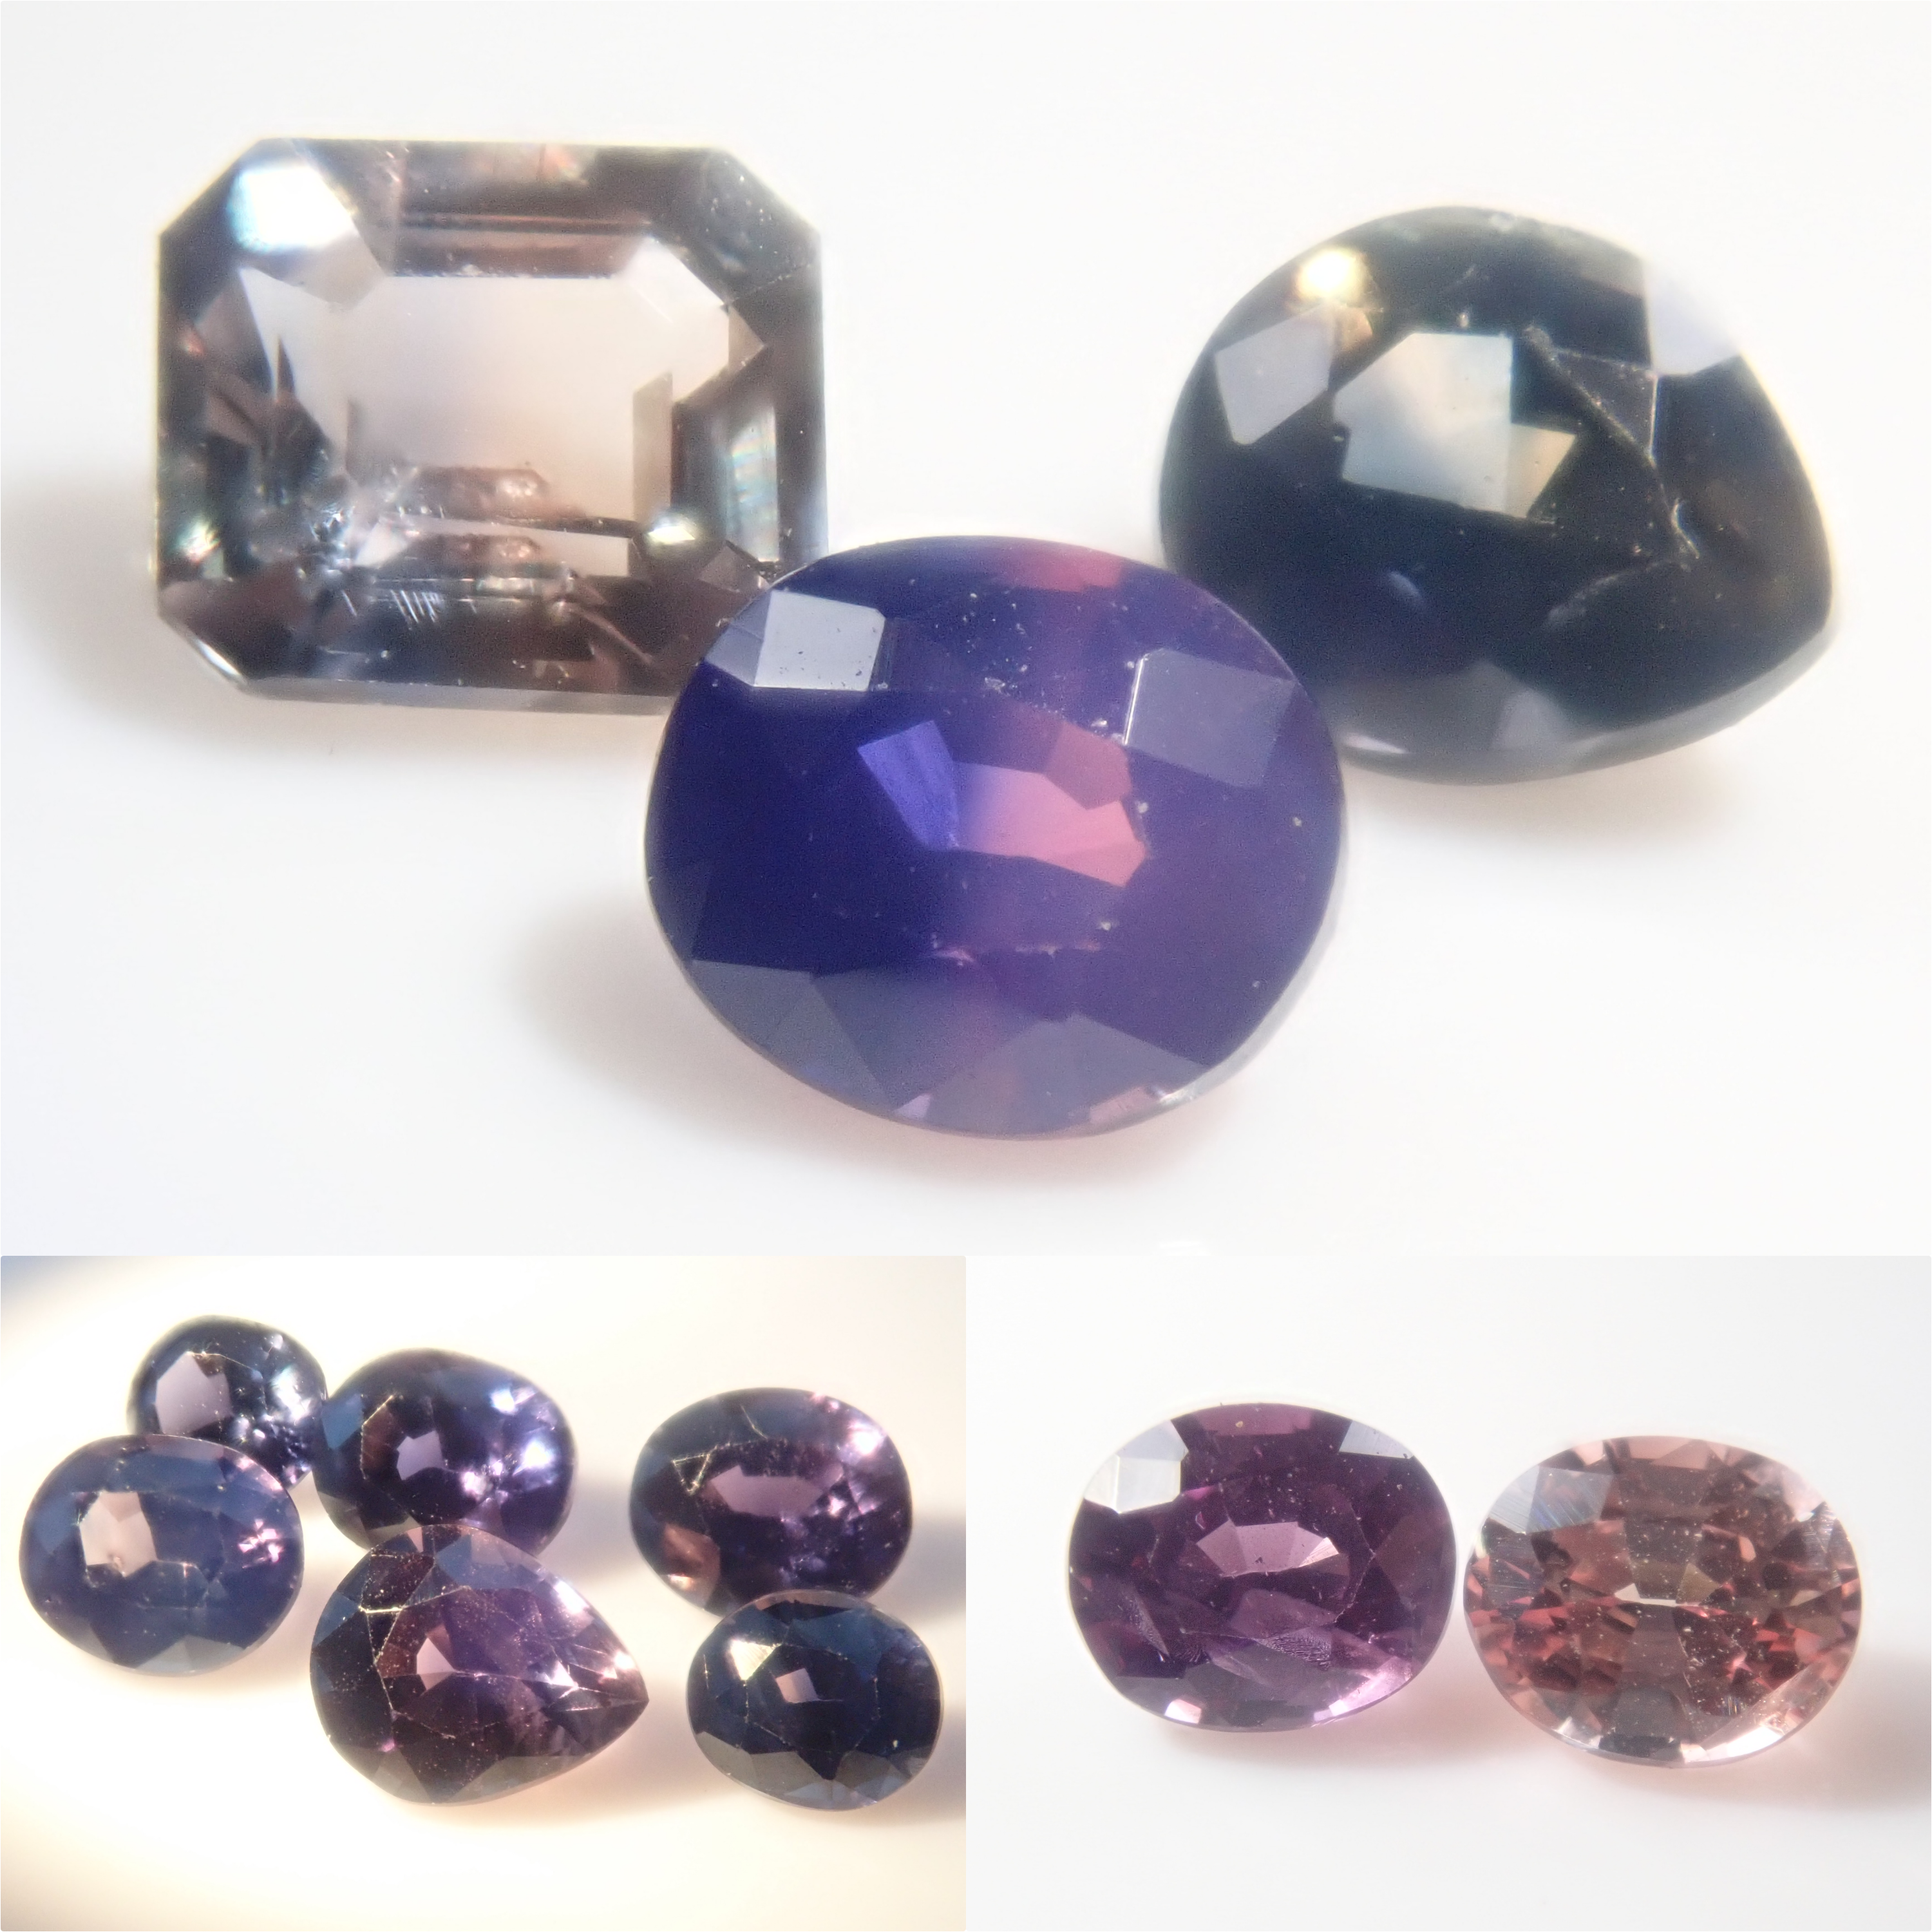
▶ Our Customers' Masterpieces
You can see the wonderful works of customers who have polished rough gemstones so far here. Please take a look, from adorable pieces polished by children to works that look professionally finished.
*These are entries from the Karatz Rough Gemstone Polishing Contest held regularly on Twitter.
【Reference Videos】
This video shows dendritic yellow opal, but for iolite, each step takes more time to polish.
▶ Rough Gemstone Polishing (Basic)
▶ Rough Gemstone Polishing (Advanced: Cabochon Cut)
【Contents】
▷ Rough Gemstone: 1 piece total
・Iolite 【Hardness: 7-7.5】
▷ Waterproof Sandpaper: 2 sheets x 4 types
600 grit: 2 sheets
1200 grit: 2 sheets
1500 grit: 2 sheets
2000 grit: 2 sheets
▷ Board: 1 piece total
▷ Diamond Files: 2 pieces total
・(White): 1 piece
・(Red): 1 piece
【Polishing Instructions】
※For more detailed and easy-to-understand explanations, please refer to the video.
1. After wetting the stone, begin by polishing it with a diamond file. There is no functional difference in the polishing surface between the diamond files (white) and (red). The (white) file has a wider surface, making it easier for children to use. Please use it when you want to remove a larger amount of material. The (red) file is recommended for polishing fine surfaces.
2. Secure the waterproof sandpaper to the wooden binder and polish the stone in a "no" shape (like drawing a circle) while keeping it wet. The smaller the number of the waterproof sandpaper, the coarser the grit. Please polish by switching from sandpaper with smaller numbers to larger numbers (from coarser grit to finer grit).
3. The process is complete when you have polished it to your desired extent.
【Precautions during polishing】
・There is a risk of cutting your hand while filing. Please polish with extreme caution.
・Periodically rinse off the abrasive residue with water and use a tissue or paper towel to remove moisture, then check the polished surface. If you continue polishing without rinsing with water, the abrasive residue remaining on the surface may scratch the gemstone. Please change the water as needed.
※One rough gemstone will be delivered. The photos are examples, and you cannot choose the color or shape. Please be aware of this beforehand.
※While the quality and intended use will not change, some tool colors and specifications may be subject to change.
※ For other frequently asked questions, please see here.
karatz_id: 90000289
Choose options
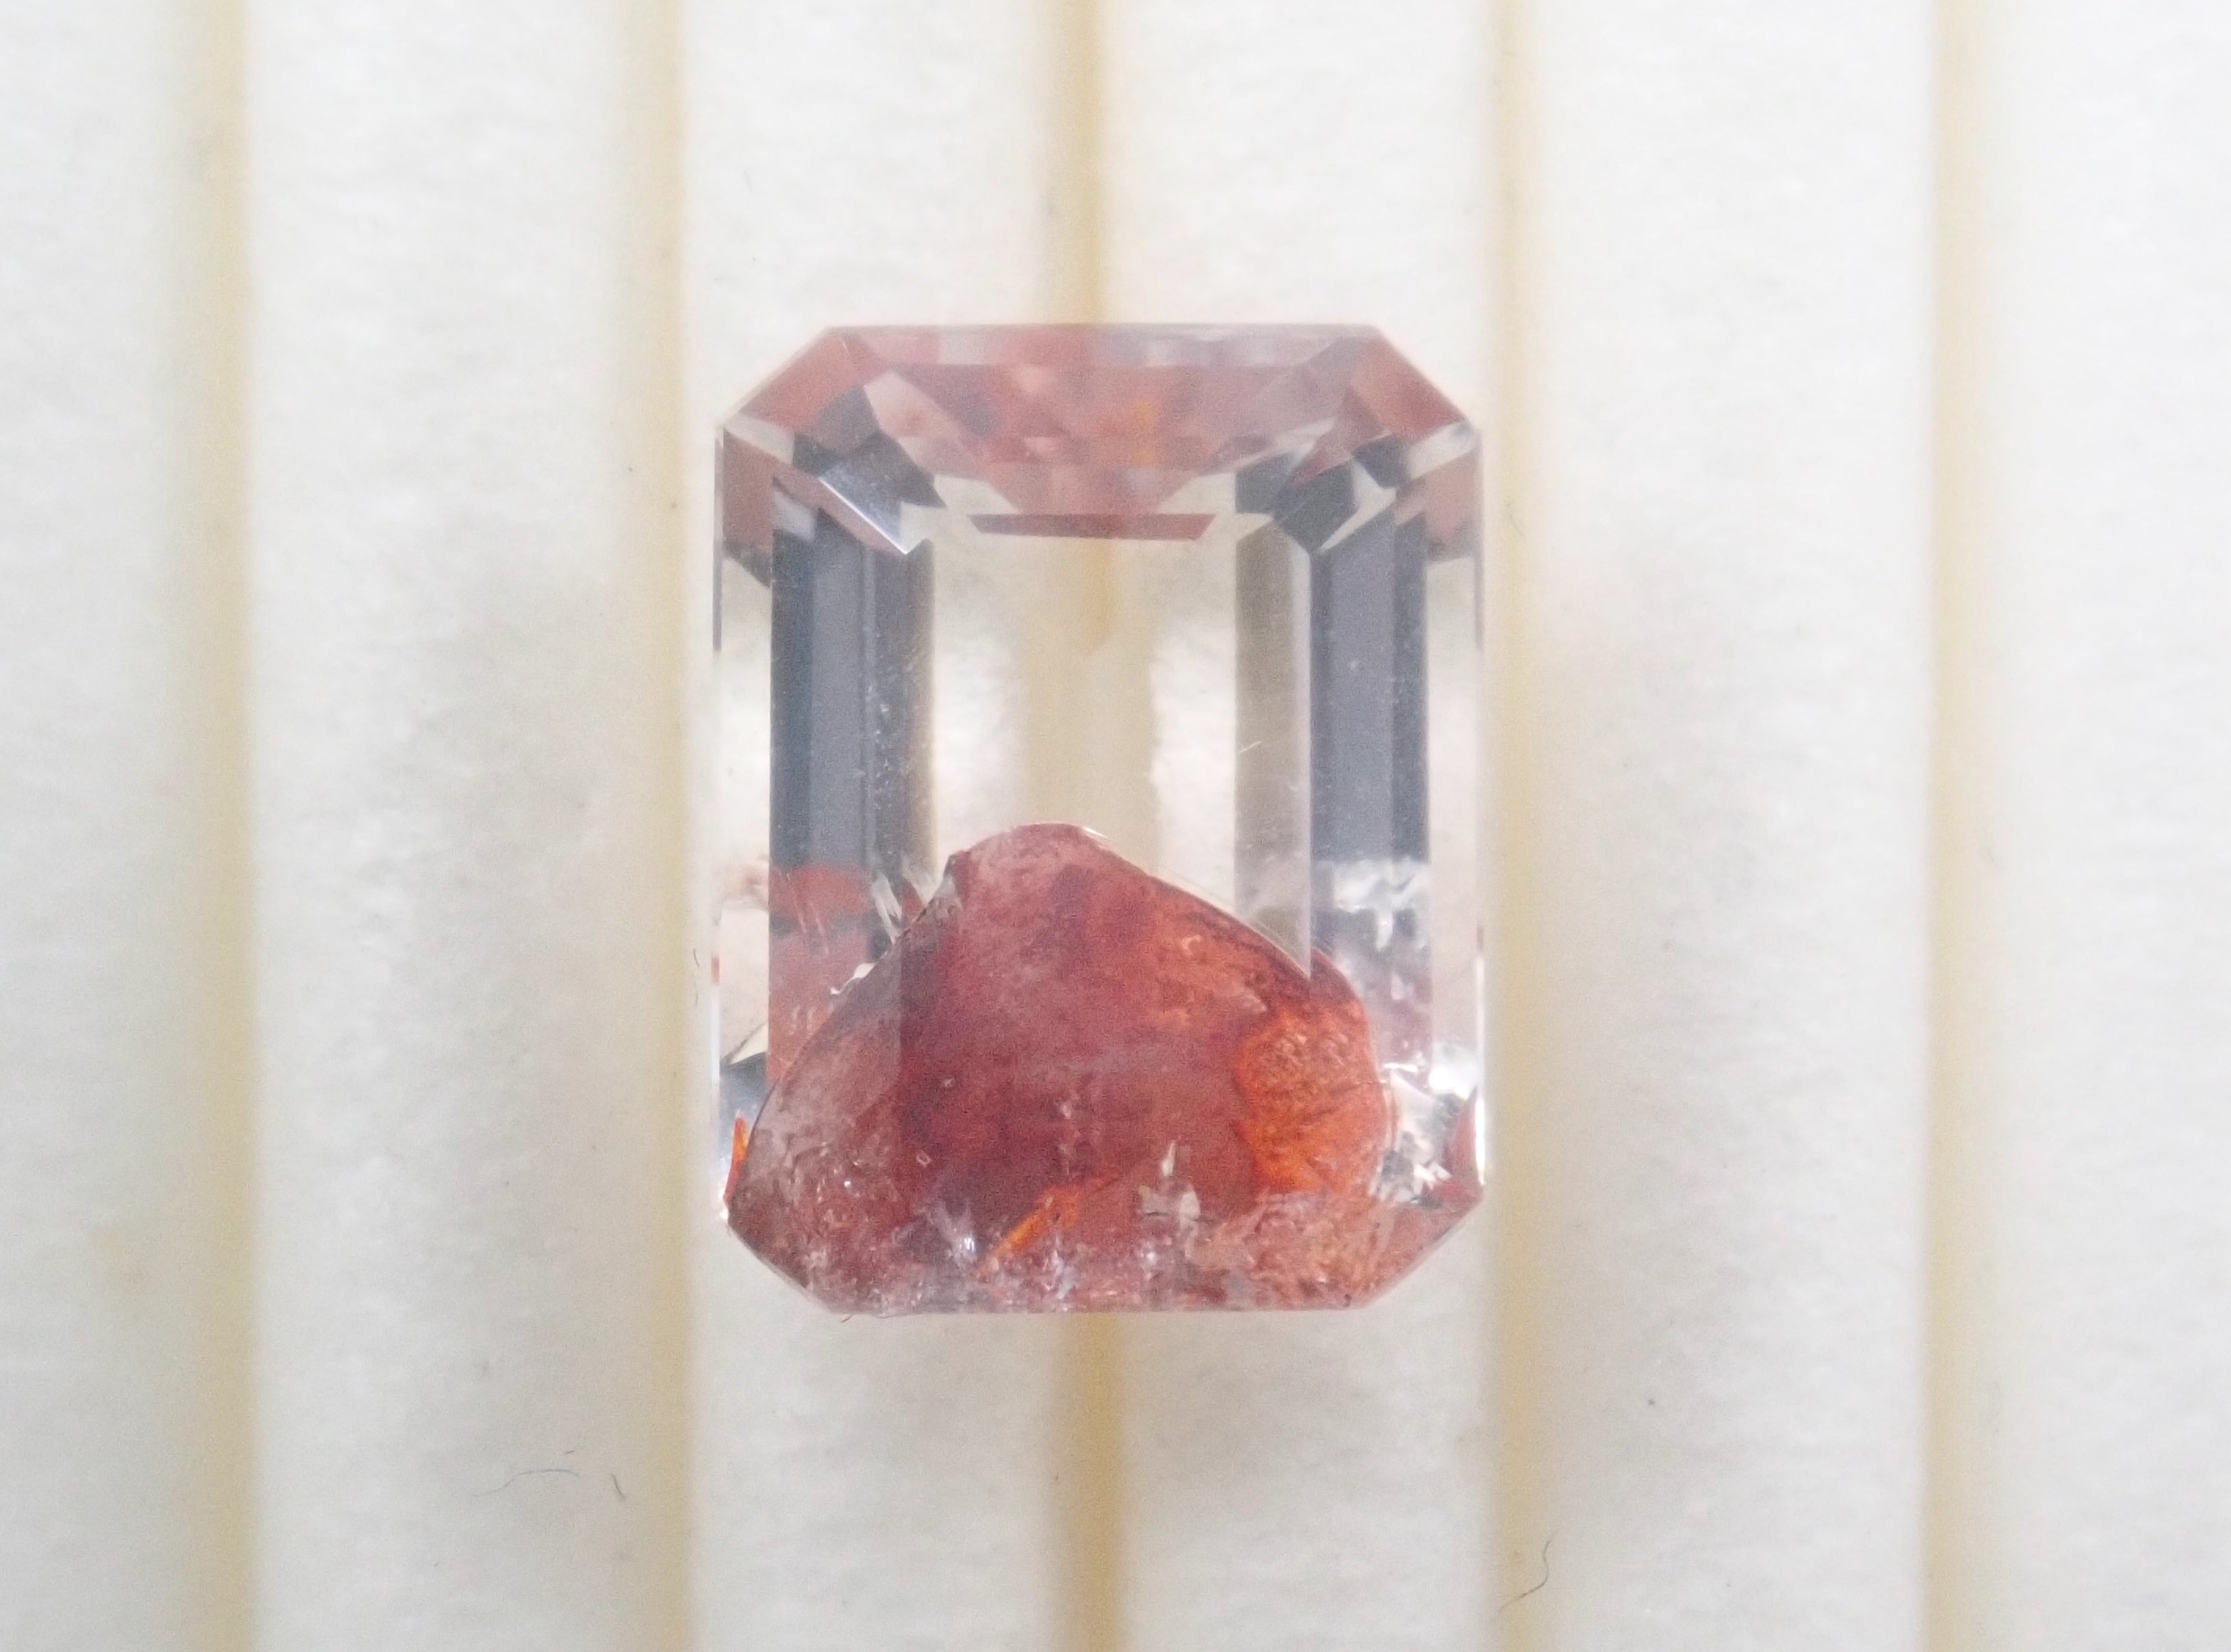
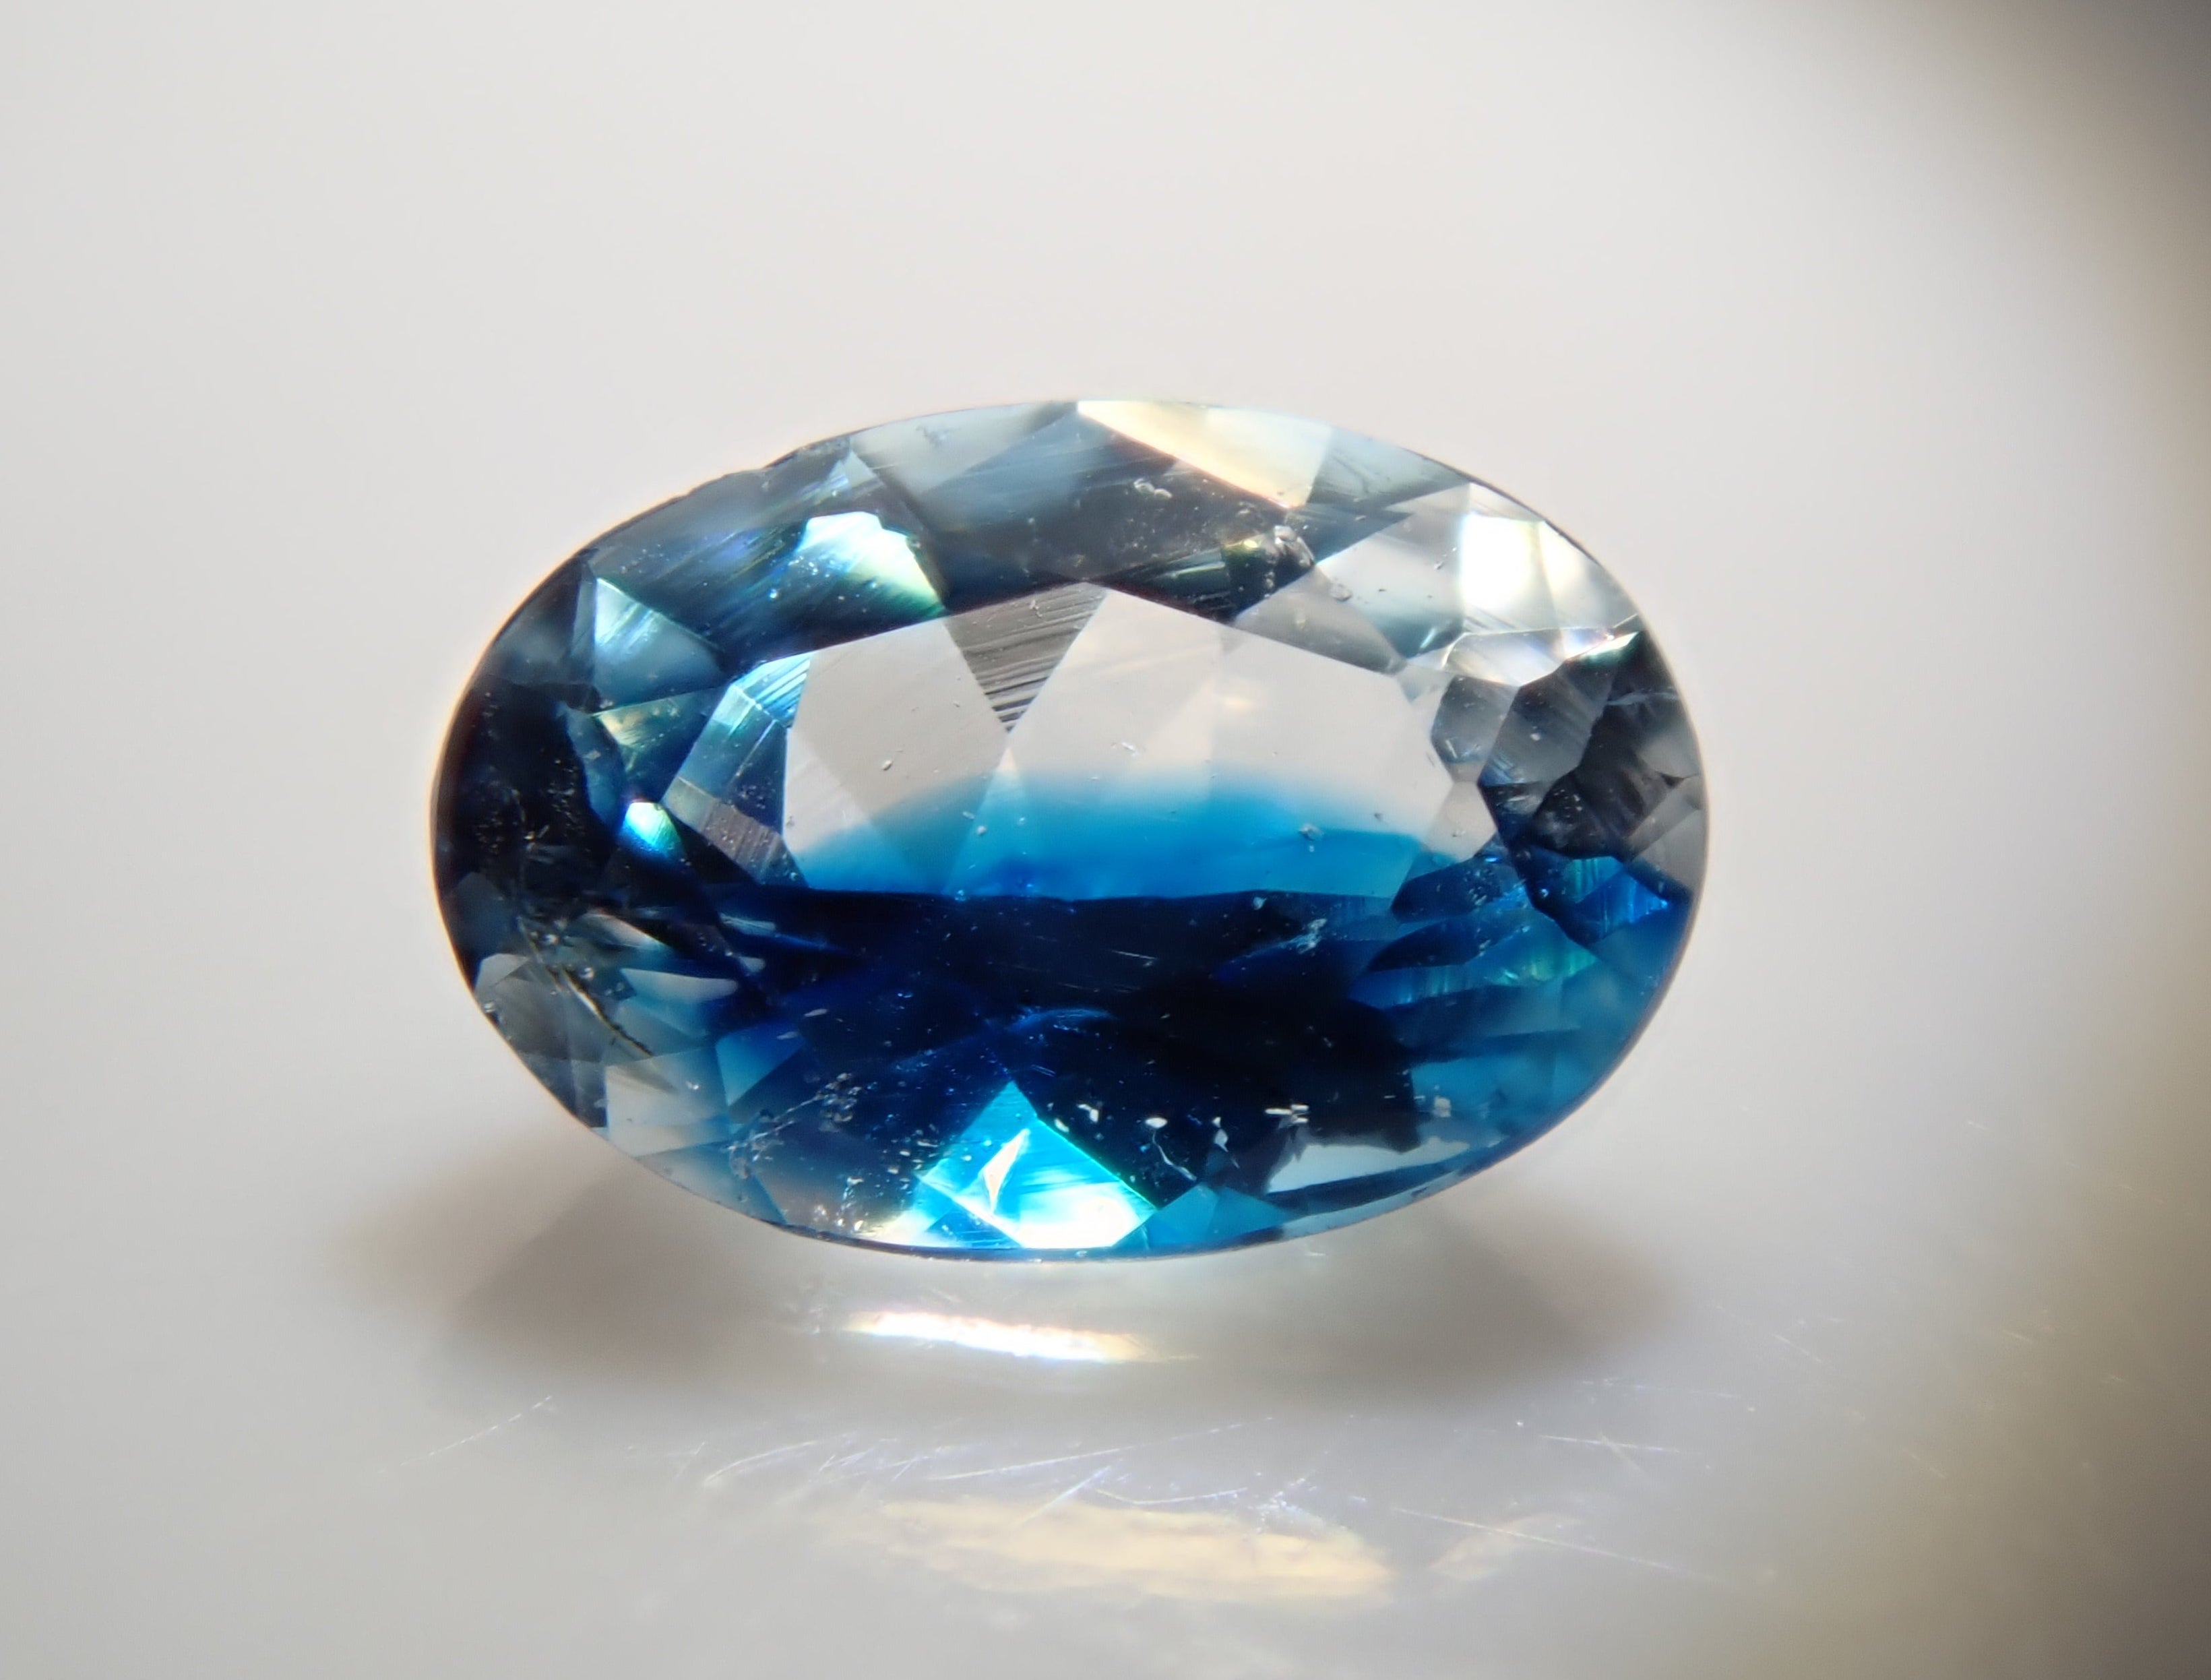
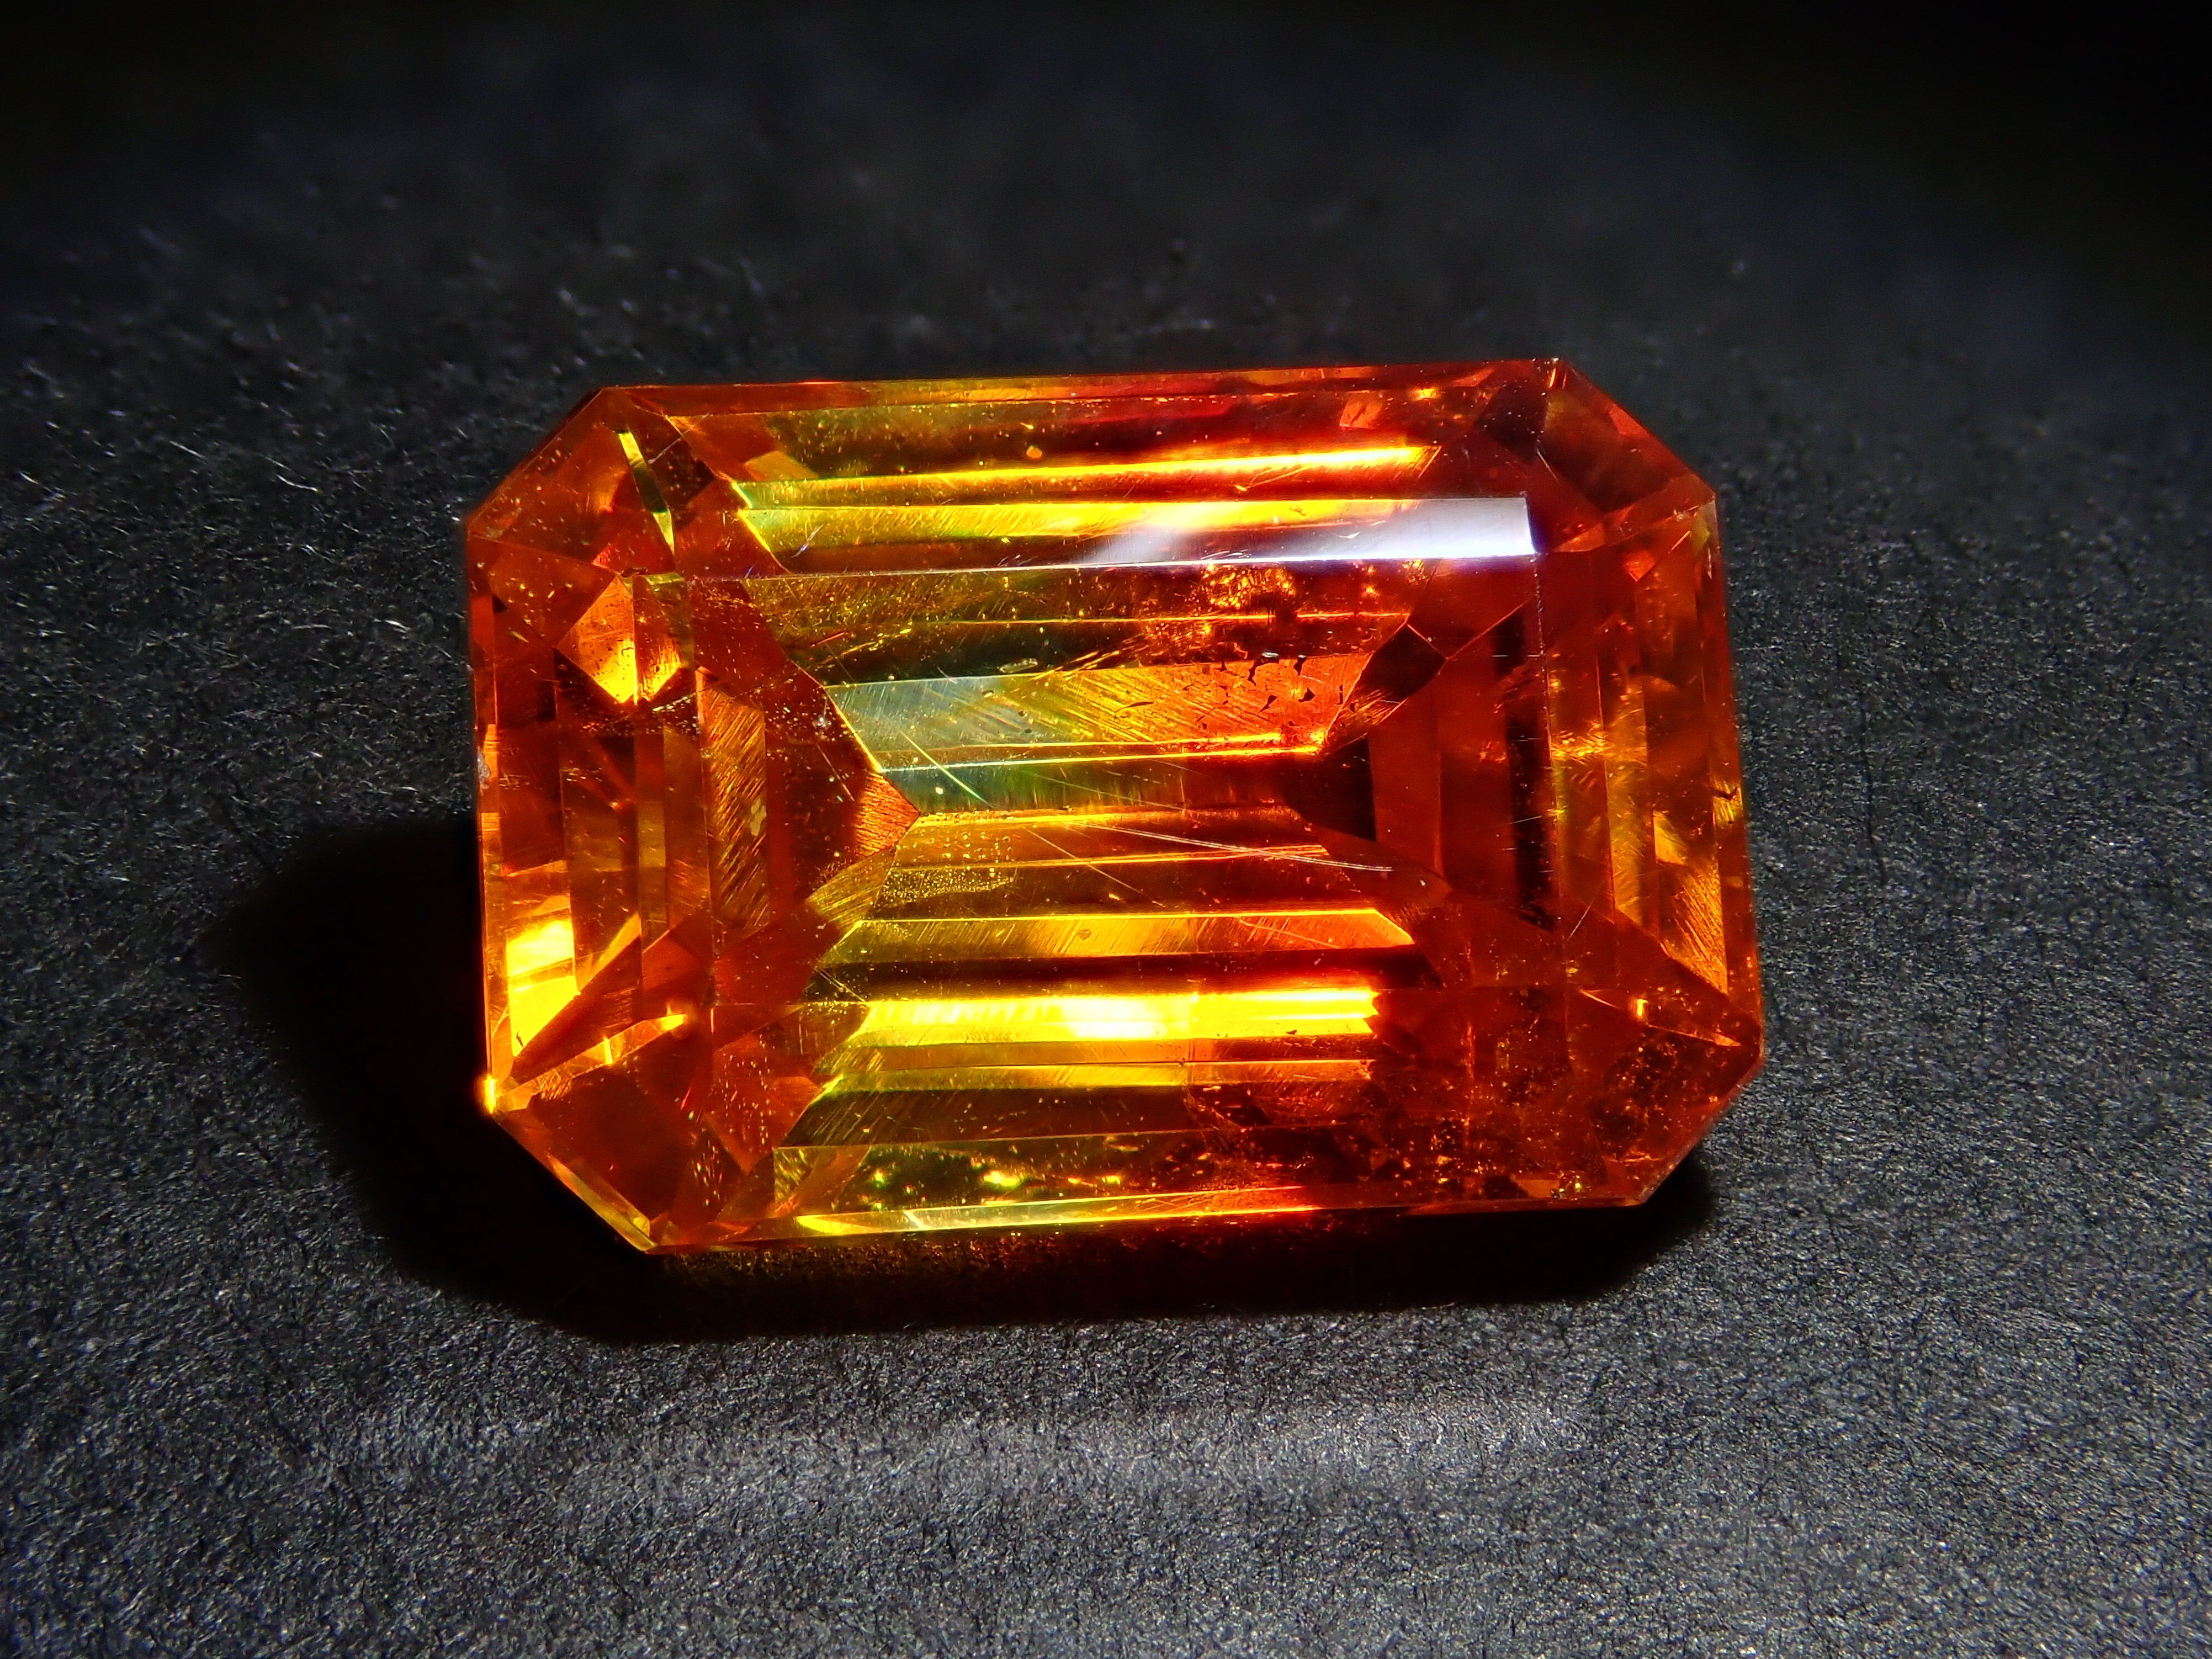
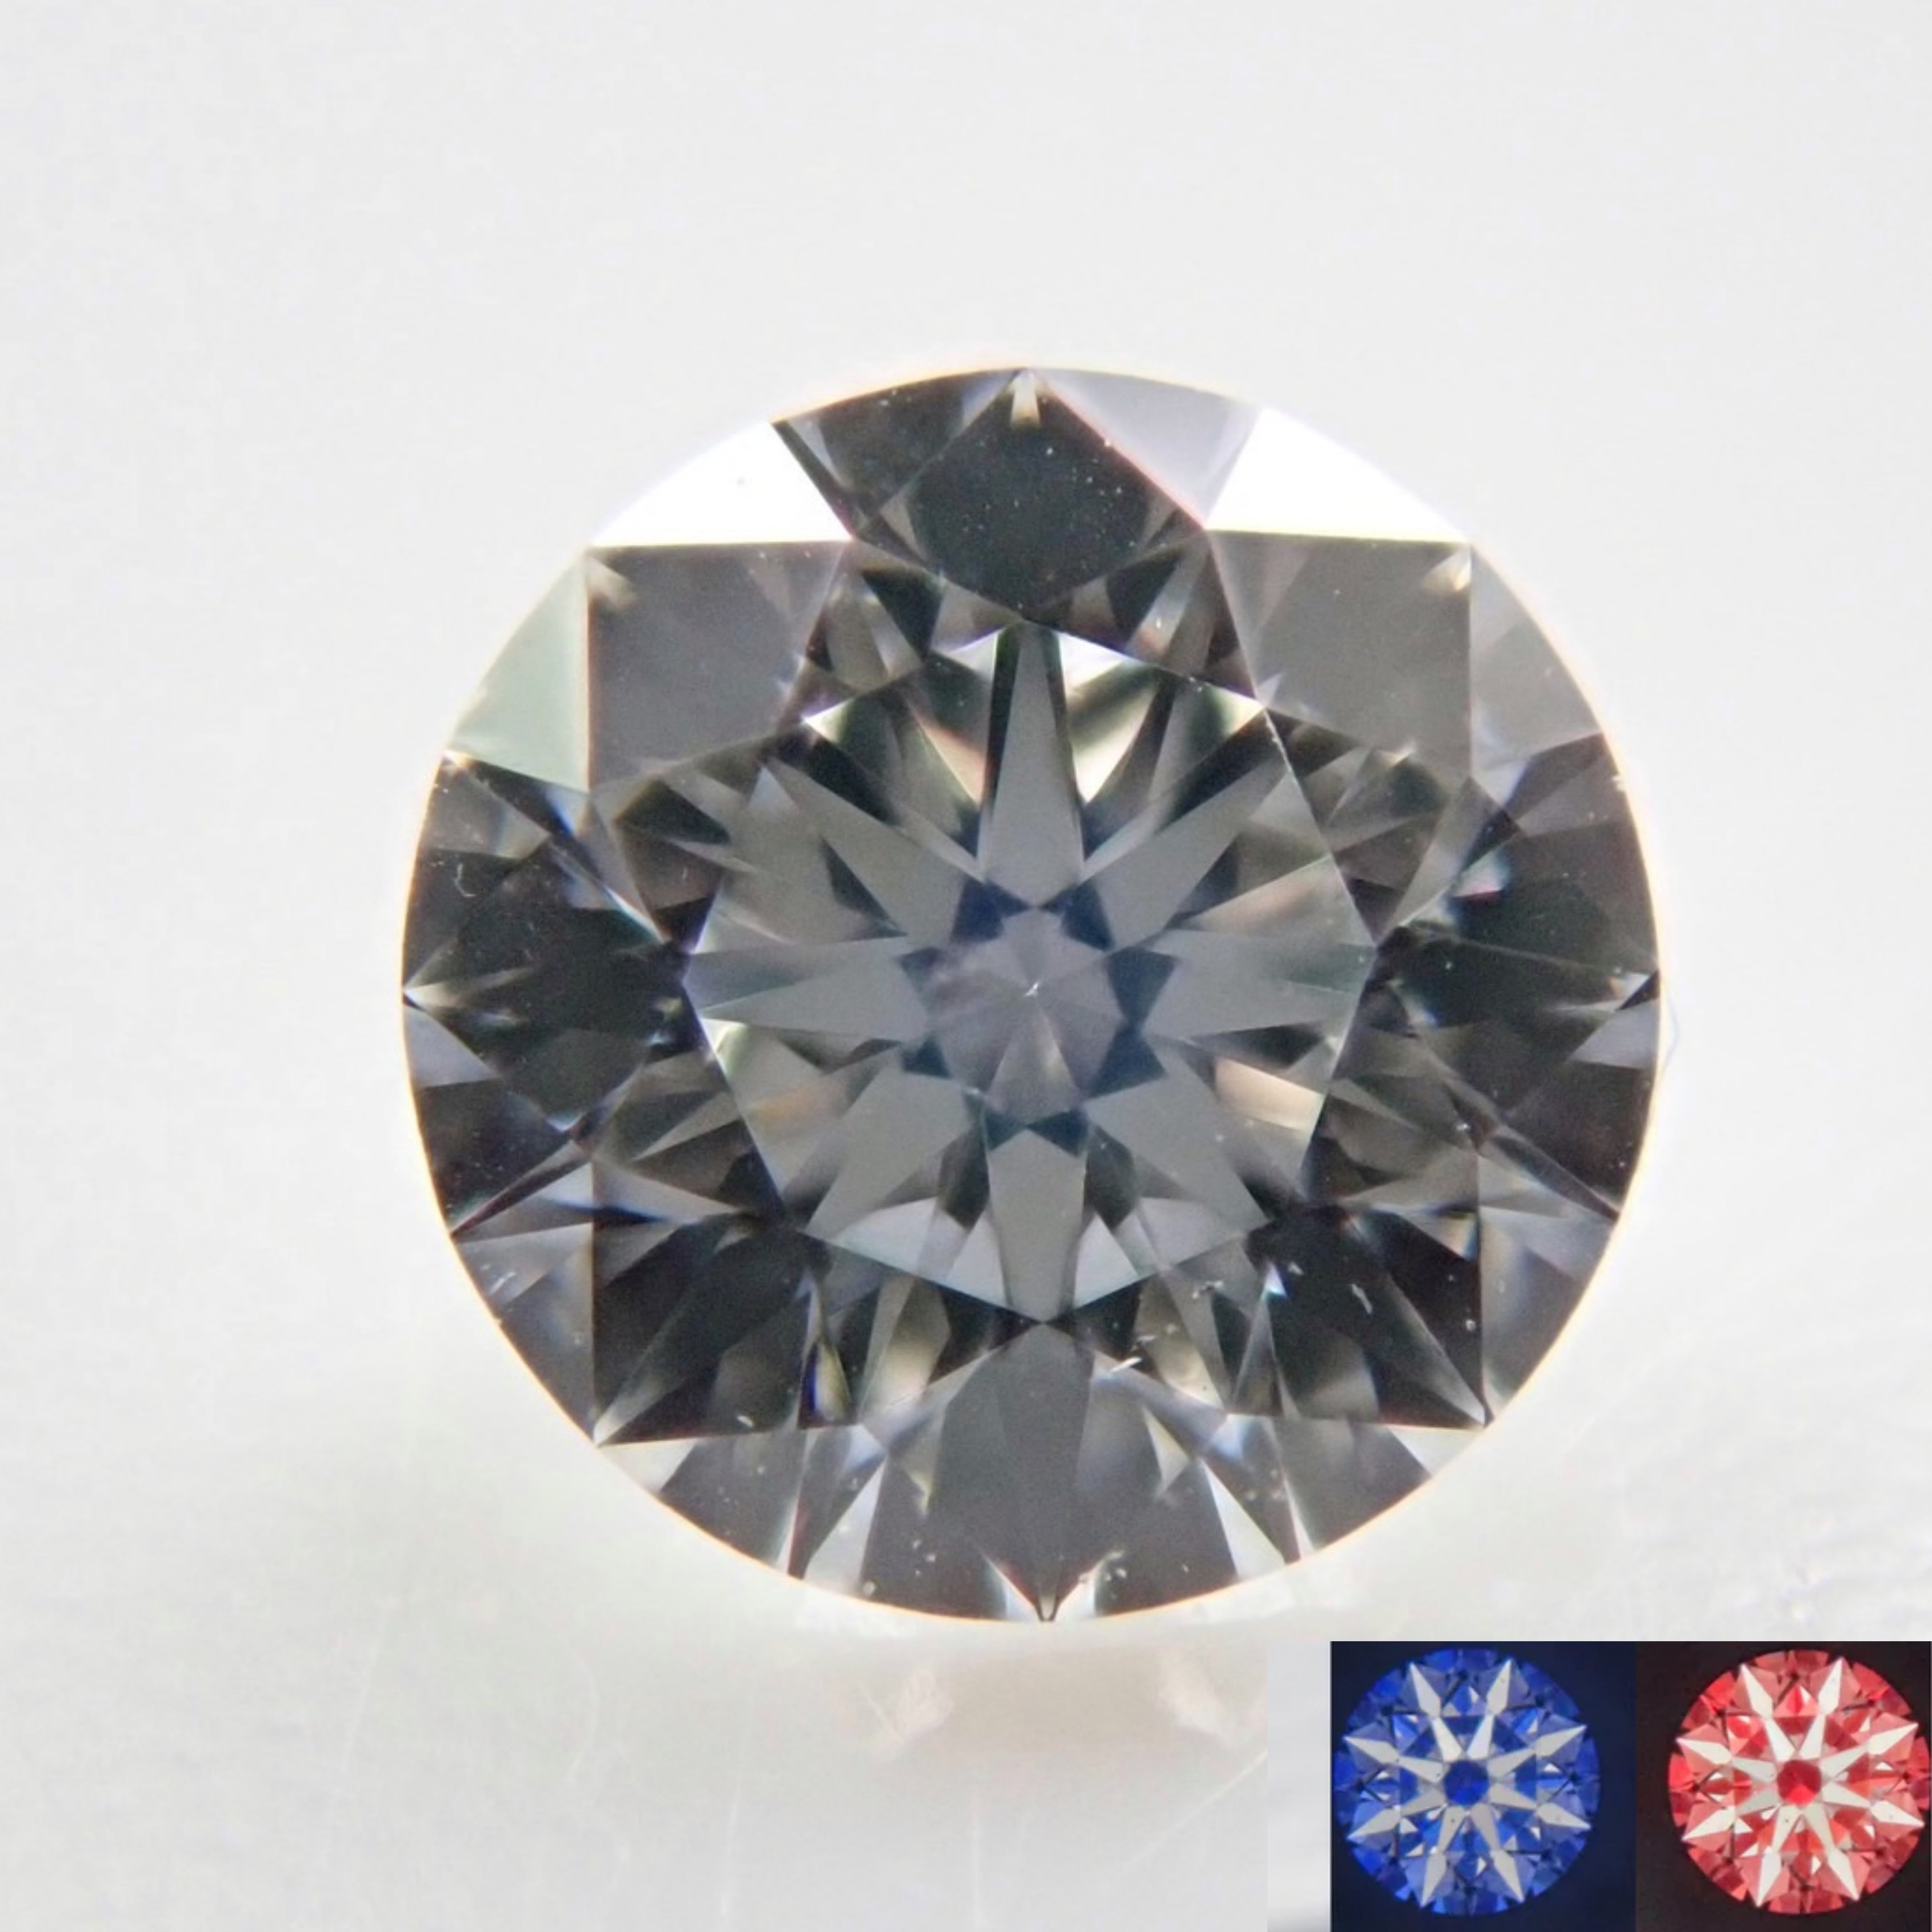
Today's new arrivals

【7/20 22時販売】《限定9石》ブラックオパール含むオパールガチャ(さらにおまけでファイアオパール1石)《複数購入割引有》
Sale price¥3,980
【7/20 22時販売】《限定12石》タンザニア産ピンクスピネル1石(約3×4mm,オーバルカット)《複数購入割引有》
Sale price¥5,980
【7/19 22時販売】《限定12石》スペイン産スファレライトガチャ1石ルース《複数購入割引有》
Sale price¥3,980
【7/19 22時販売】《限定12石》パキスタン産ヴェイリネナイトガチャ1石ルース(平均0.03ct)《複数購入割引有》
Sale price¥2,980
[Published on 22602652] [Colorful] K18 Synthetic Opal Pendant Top
Sale price¥19,800
[22602626 listed] [Kalafr] K18 Grossular Garnet 0.26ct Charm
Sale price¥39,800
[Lottery Sale 0707_02] Diamond 0.310ct Loose (D, VS1, Excellent) GIA
Sale price¥89,800
【7/18 22時販売】高知県産血赤珊瑚 1.001ctルース
Sale price¥12,800
【7/18 22時販売】高知県産血赤珊瑚 1.290ctルース
Sale price¥12,800
【7/18 22時販売】高知県産血赤珊瑚 1.348ctルース
Sale price¥12,800
【7/17 22時販売】高知県産血赤珊瑚 1.063ctルース
Sale price¥12,800
【7/16 22時販売】高知県産血赤珊瑚 1.087ctルース
Sale price¥12,800
【7/16 22時販売】ブラジル産ライモナイトインクォーツ(オーロラクォーツ) 2.094ctルース
Sale price¥8,800
【7/16 22時販売】ブラジル産ライモナイトインクォーツ(オーロラクォーツ) 2.291ctルース
Sale price¥9,800

Brazilian unheated particolor Paraiba tourmaline 0.84ct loose GIA
Sale price¥2,580,000

Brazilian Paraiba tourmaline 0.275ct loose (CuO:1.5%.MnO:2.3%)
Sale price¥398,000
Bicolor Euclase from Zimbabwe 0.084ct loose
Sale price¥98,000
Spanish bicolor sphalerite 6.230ct loose
Sale price¥69,800

Bekily Blue Garnet from Madagascar (color change garnet) 0.297ct loose
Sale price¥19,800
Oregon Sunstone 1.157ct loose
Sale price¥8,800
![[Jeweler's Tools] 3 black light loose pieces (ruby, red spinel rough, oil-in-quartz) with rechargeable battery](http://store.karatz.jp/cdn/shop/files/collage_c90ad5e1-b47a-49f9-b7d7-d75e04cd883a.png?v=1724920180&width=2000)
![[Jeweler's tools] 4-piece set including loupe (10x magnification), tweezers, and 2 loose stones](http://store.karatz.jp/cdn/shop/files/P4130575.jpg?v=1776126091&width=4000)