Let's try polishing gemstones with the "Do-it-yourself gemstone polishing kit" (for intermediate users: Andesine Labradorite from Madagascar)
This is the "DIY Rough Stone Polishing Set," created in response to requests from customers who wanted to experience the joy of touching and enjoying gemstones firsthand, with an activity that parents and children could do together.
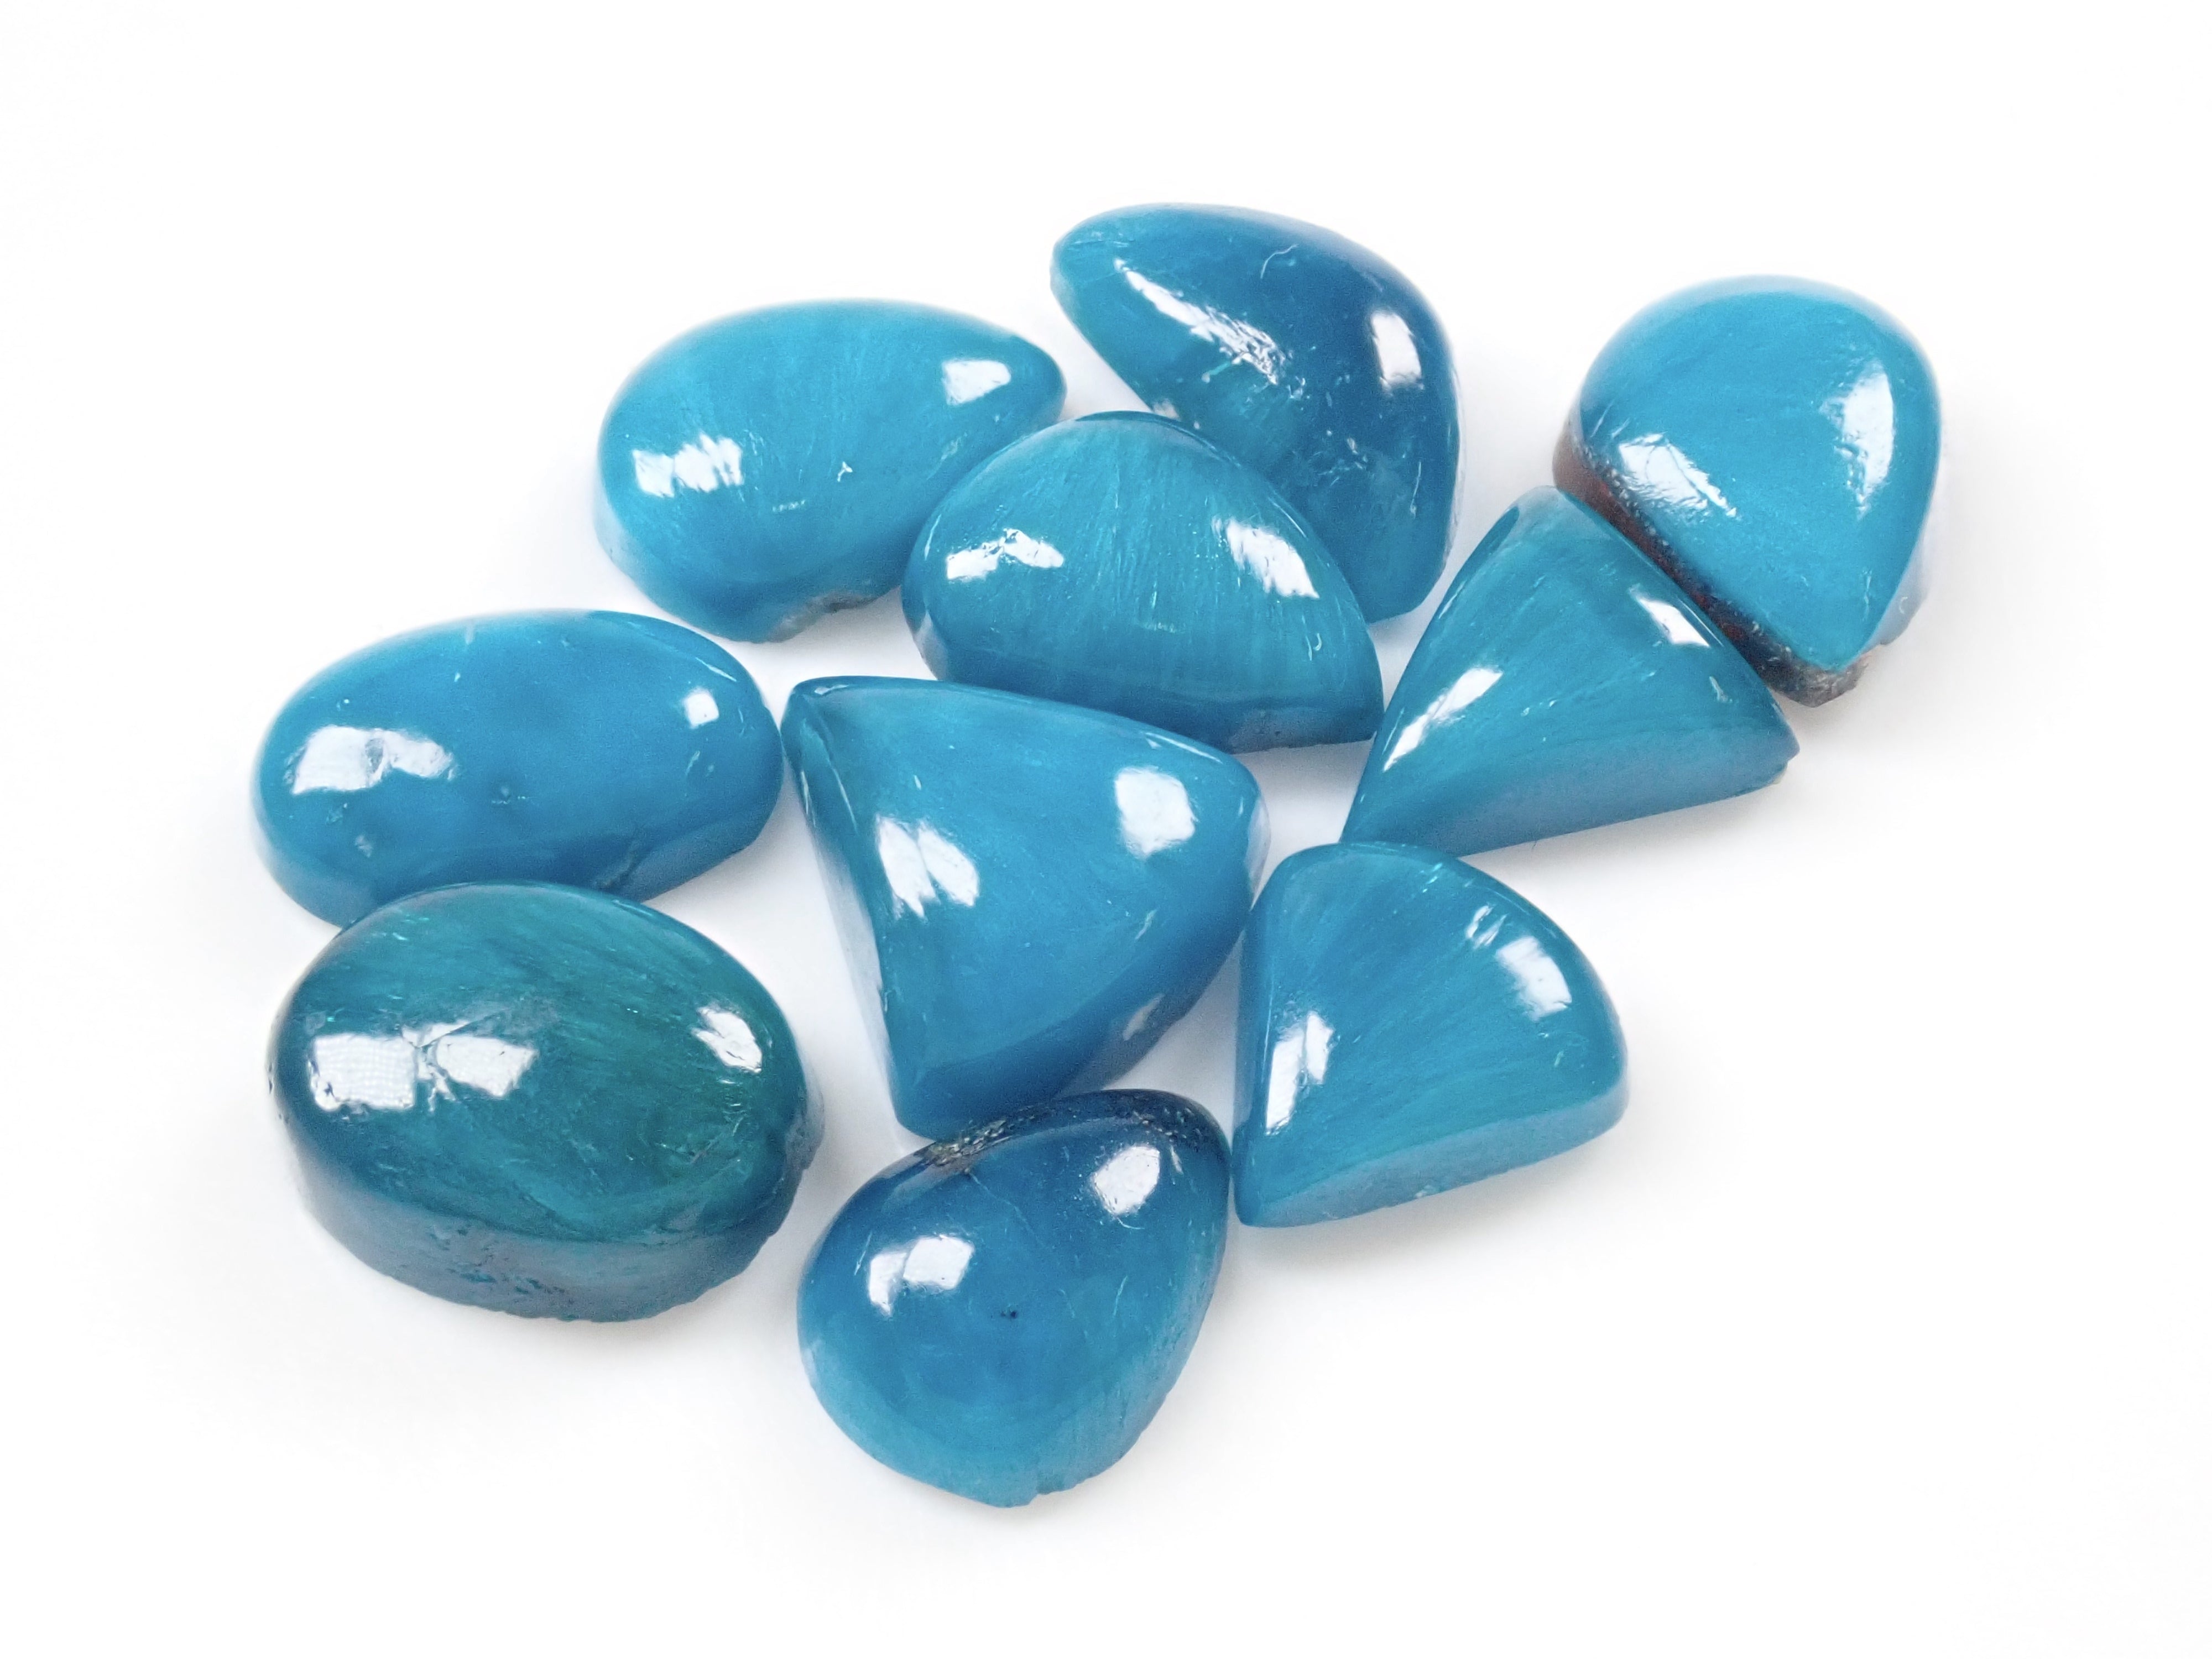
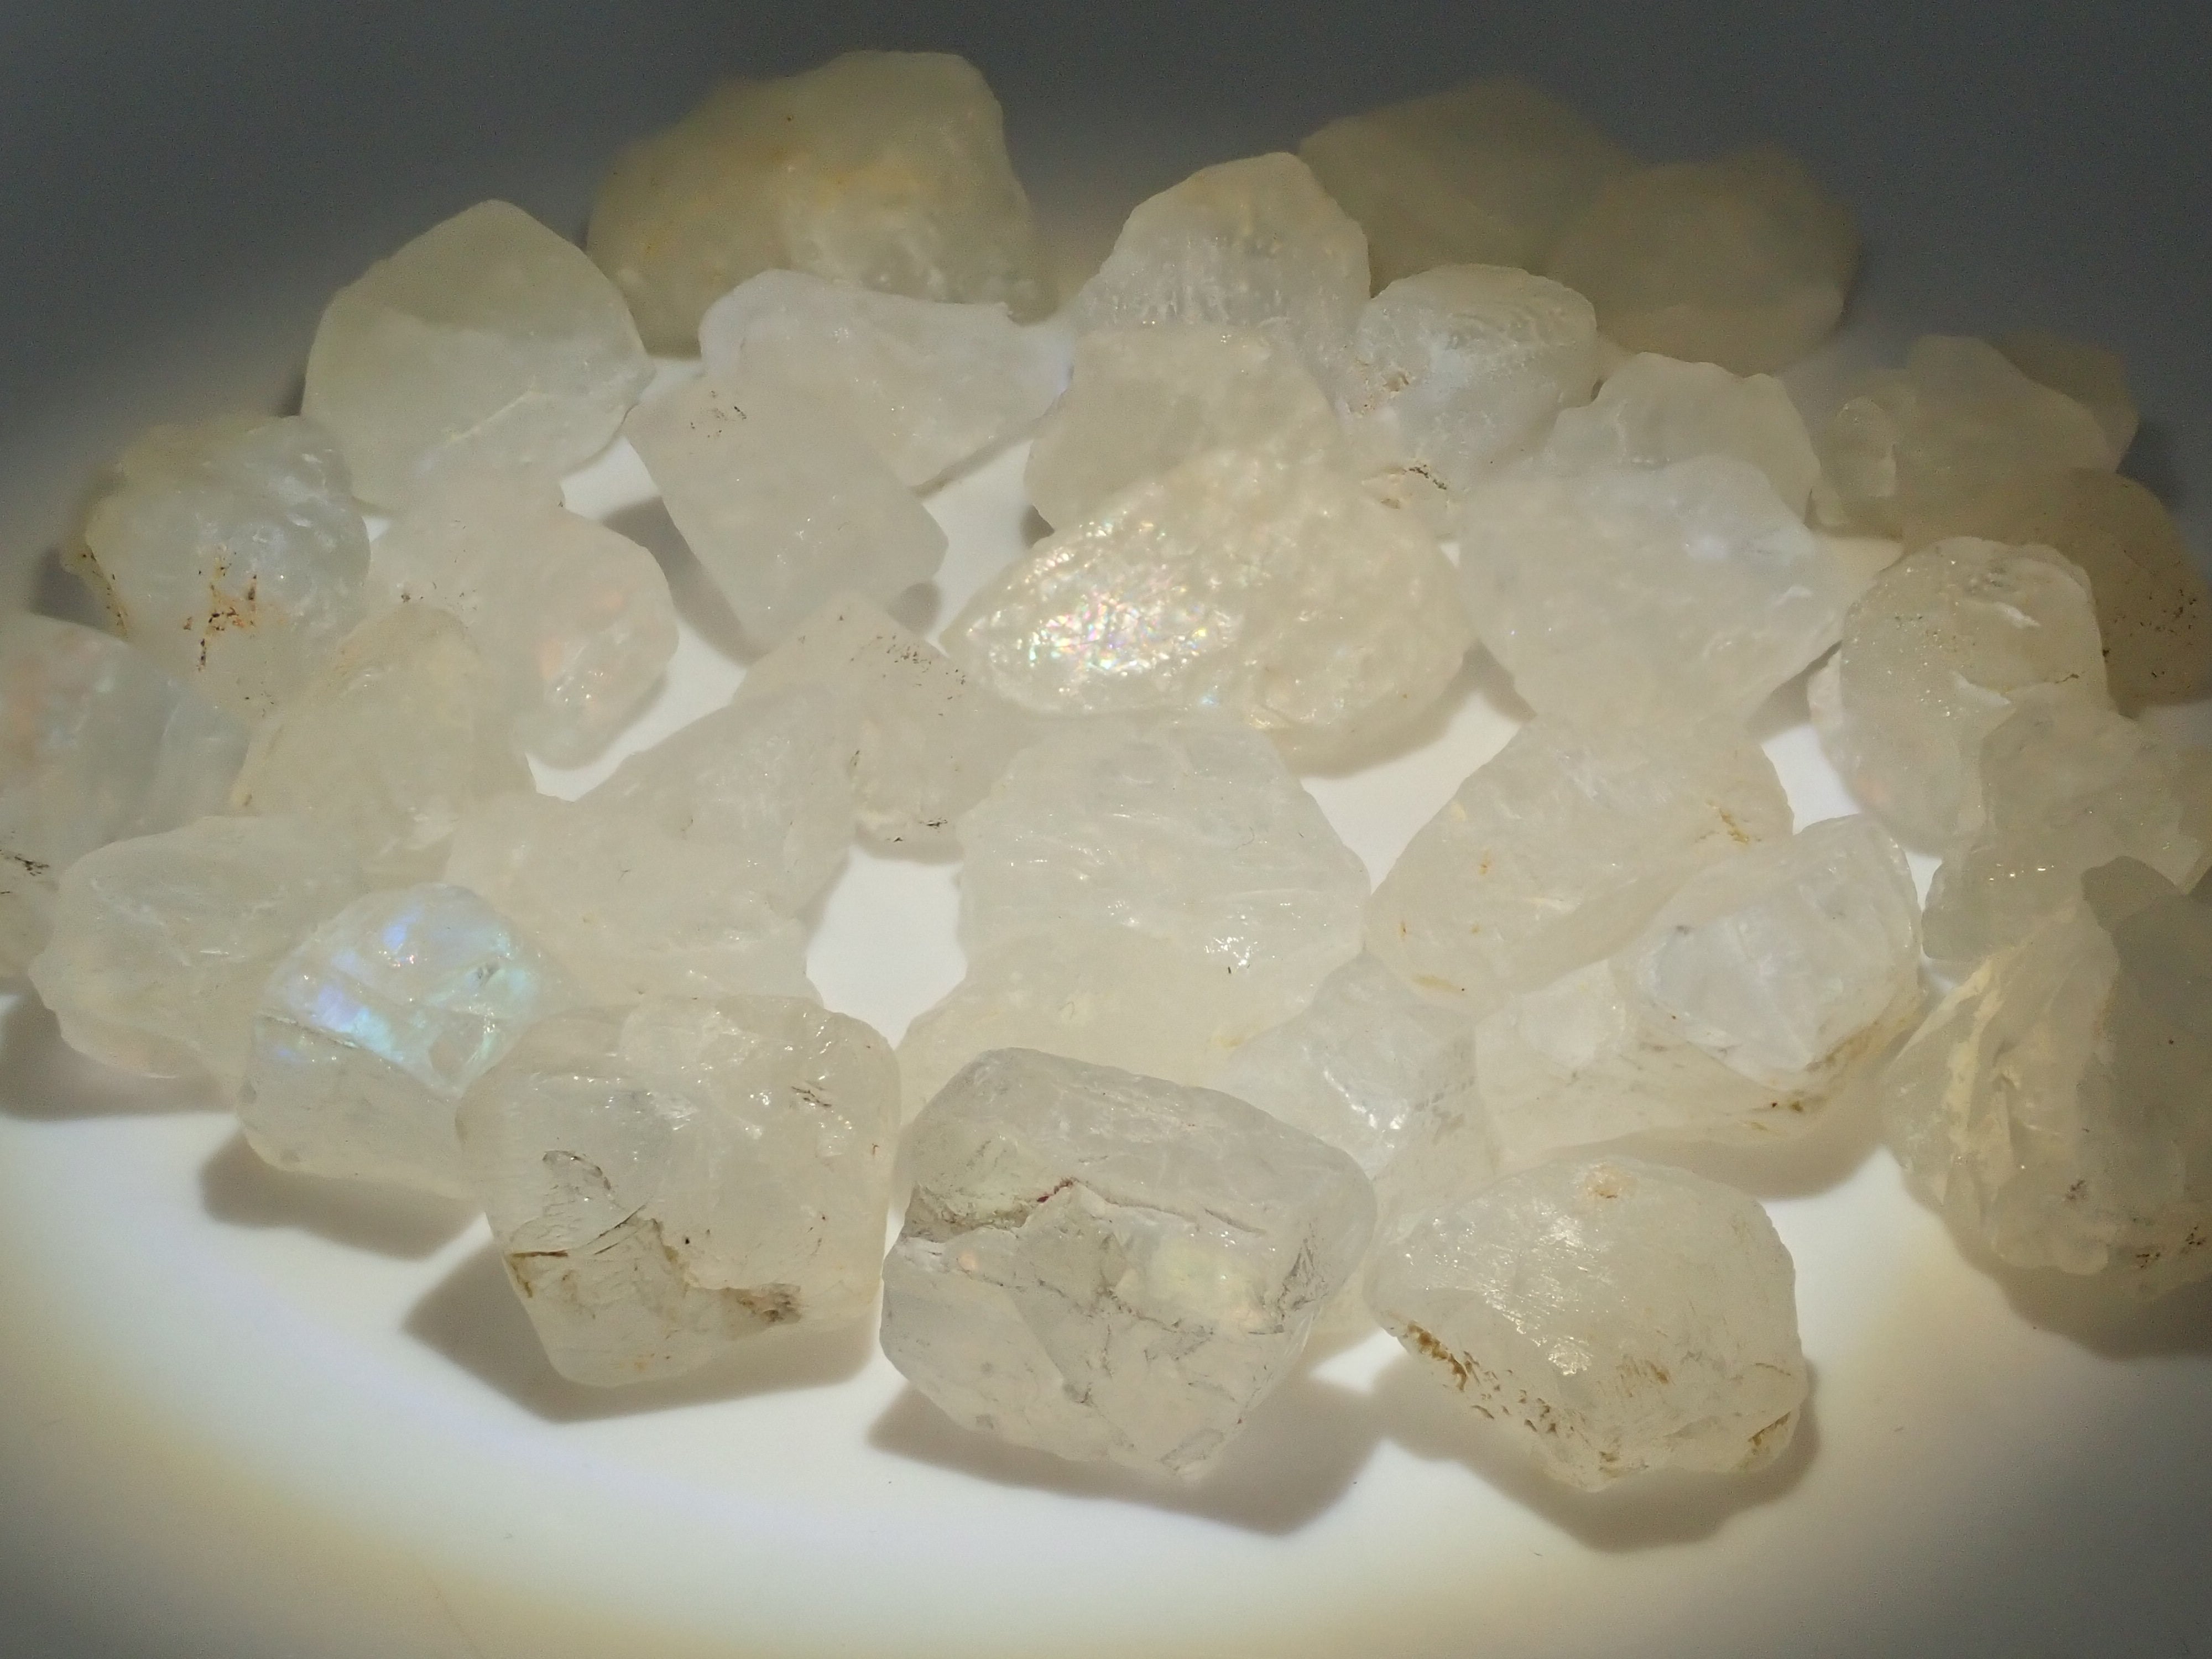
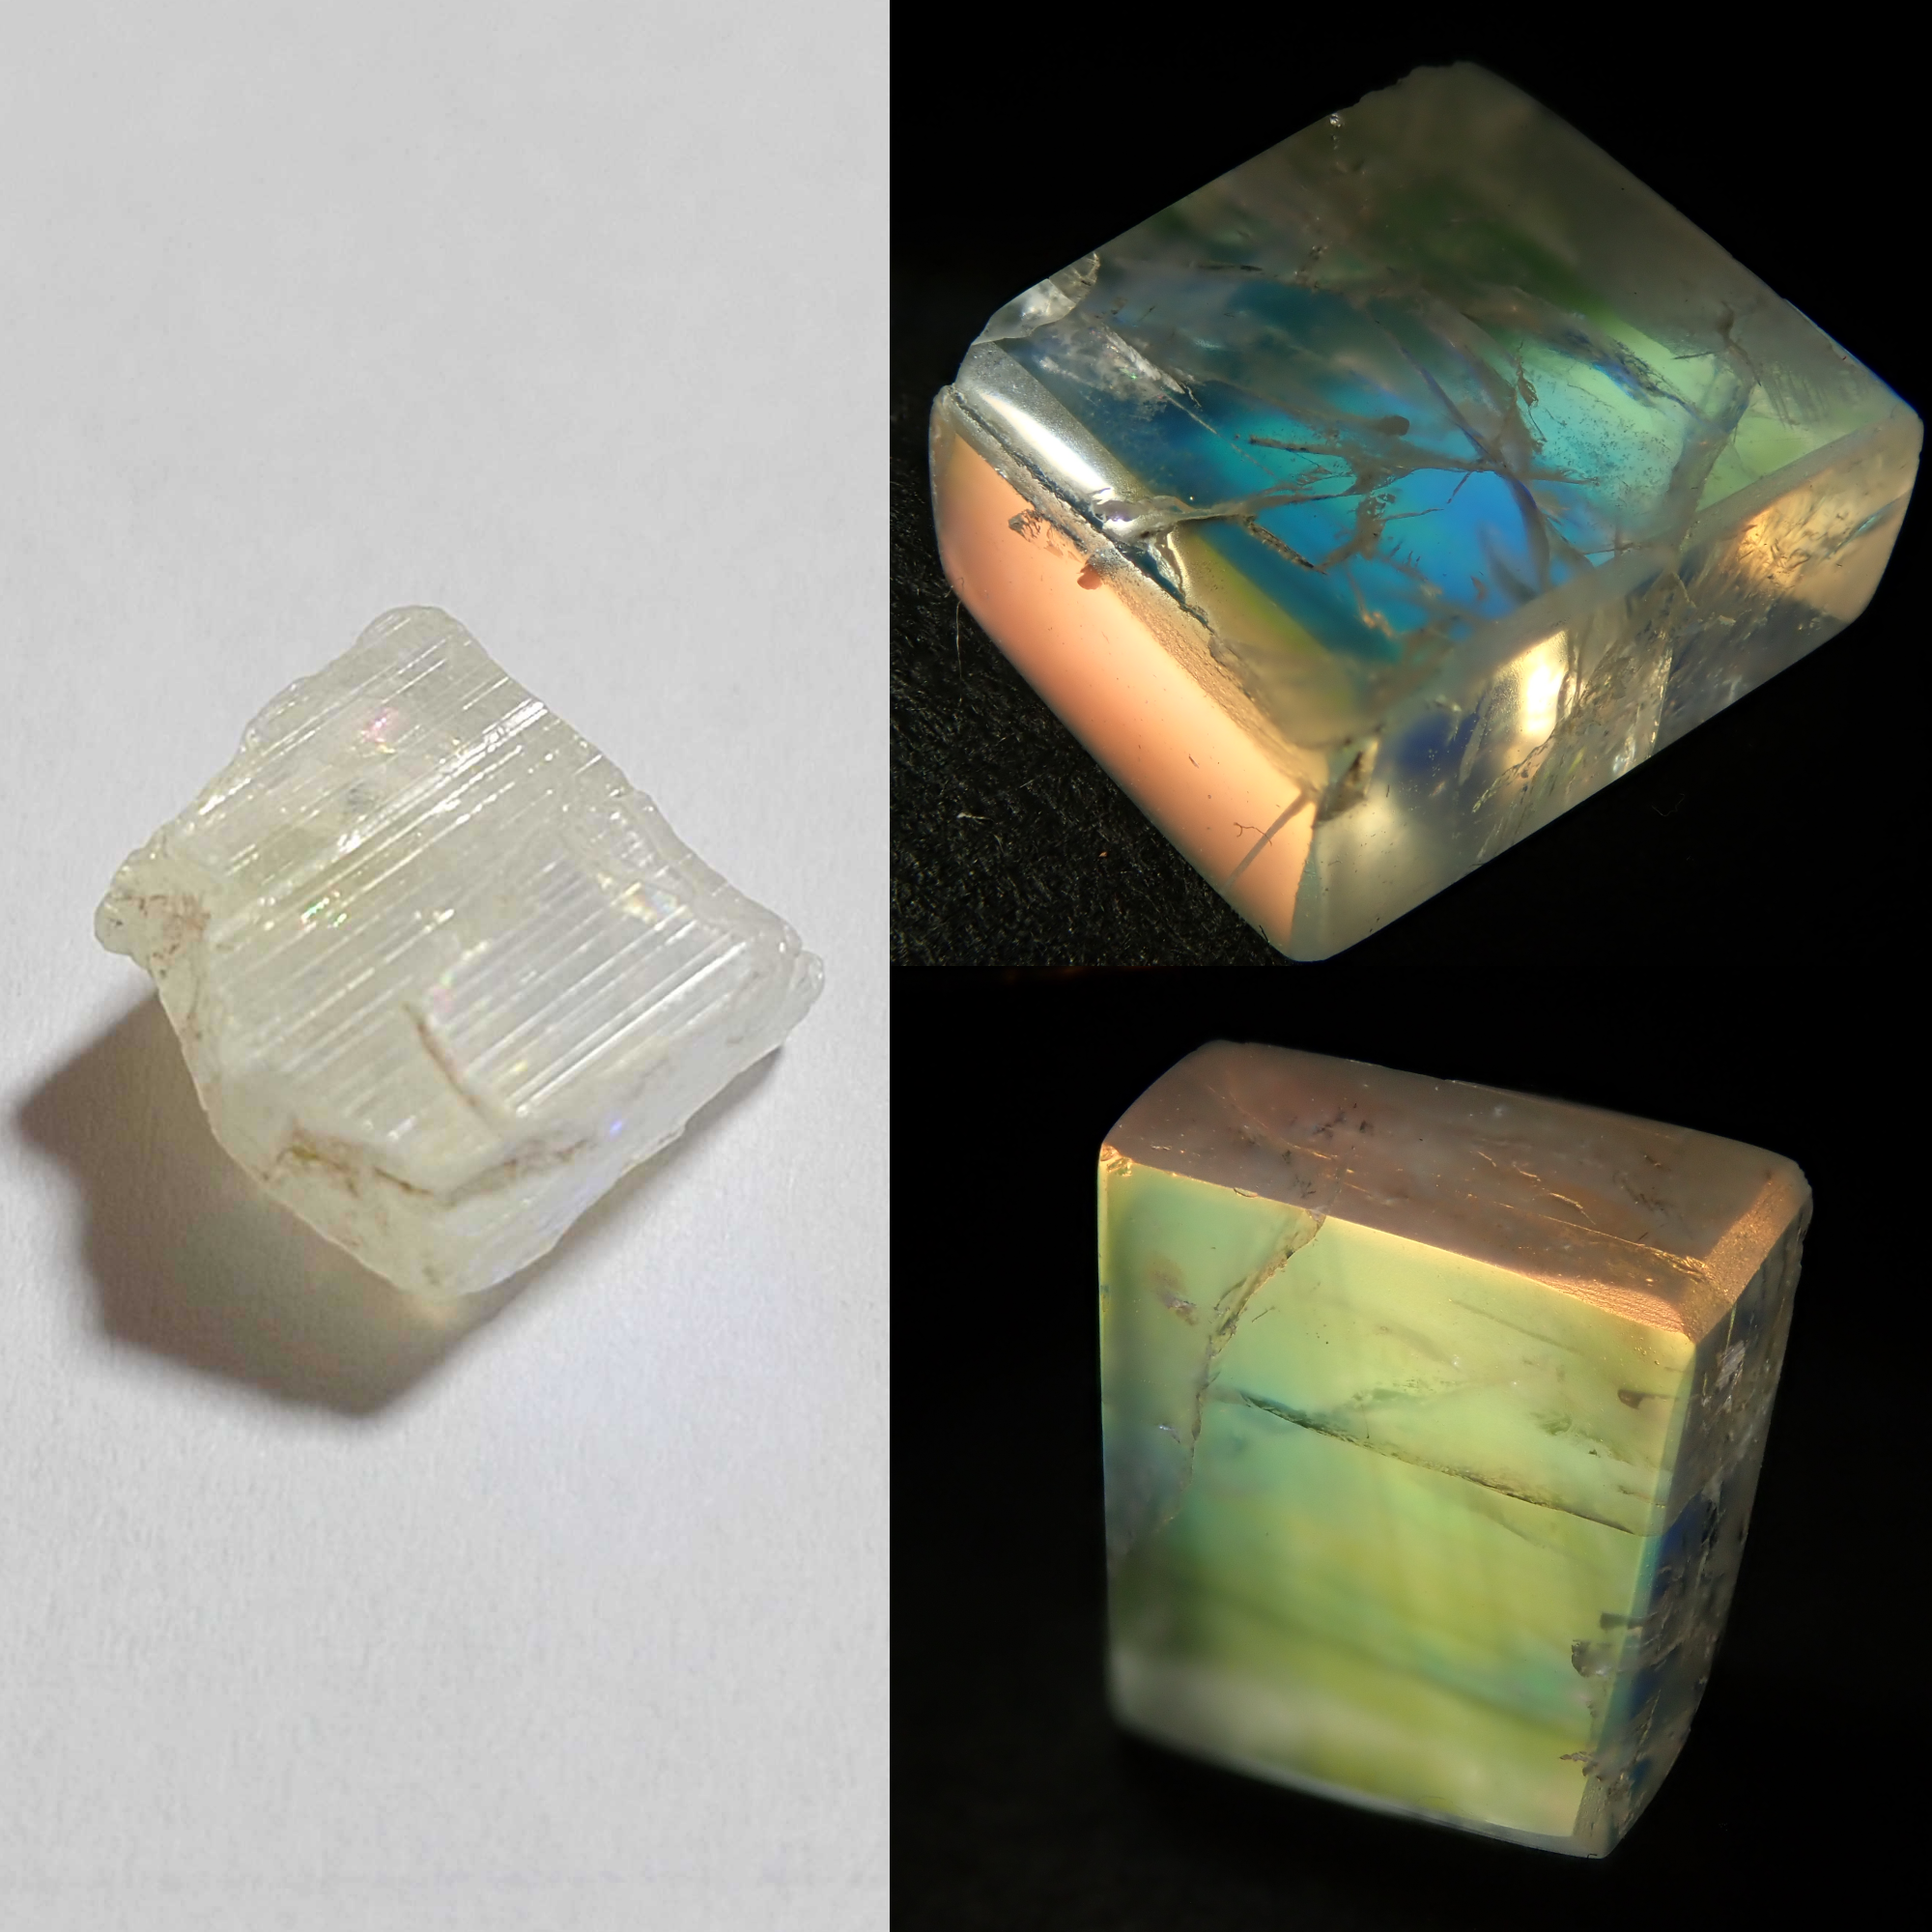
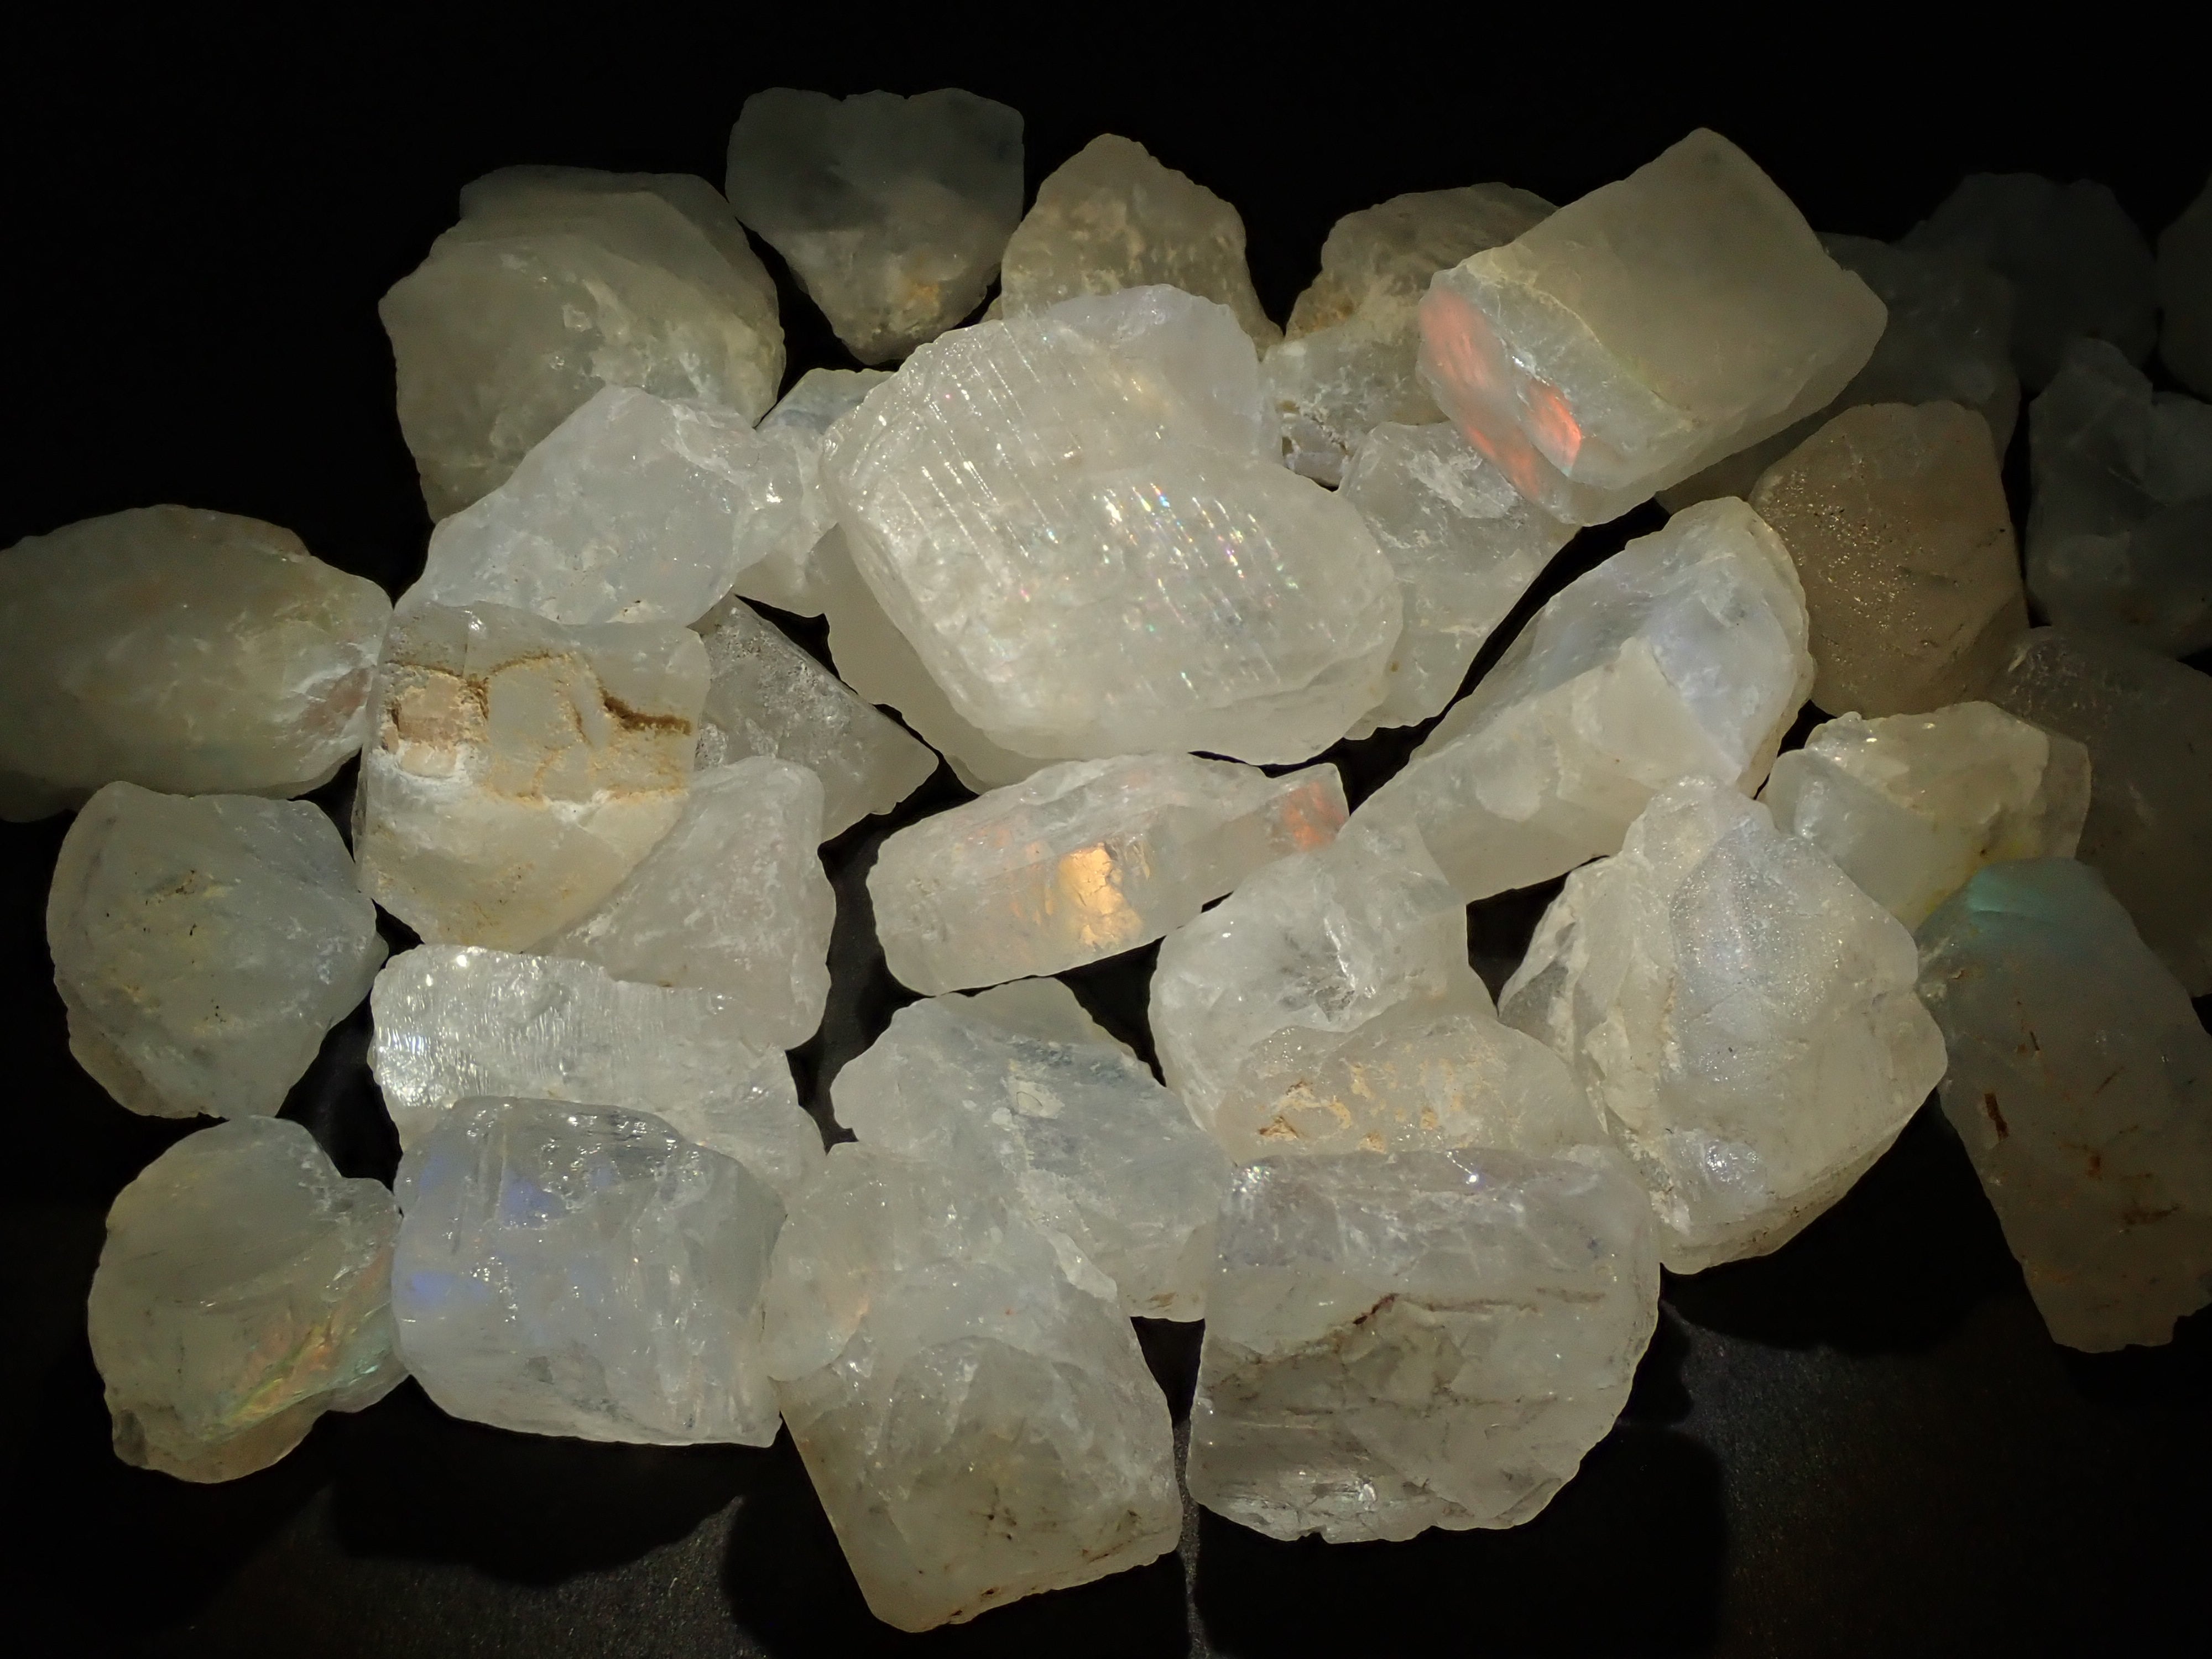
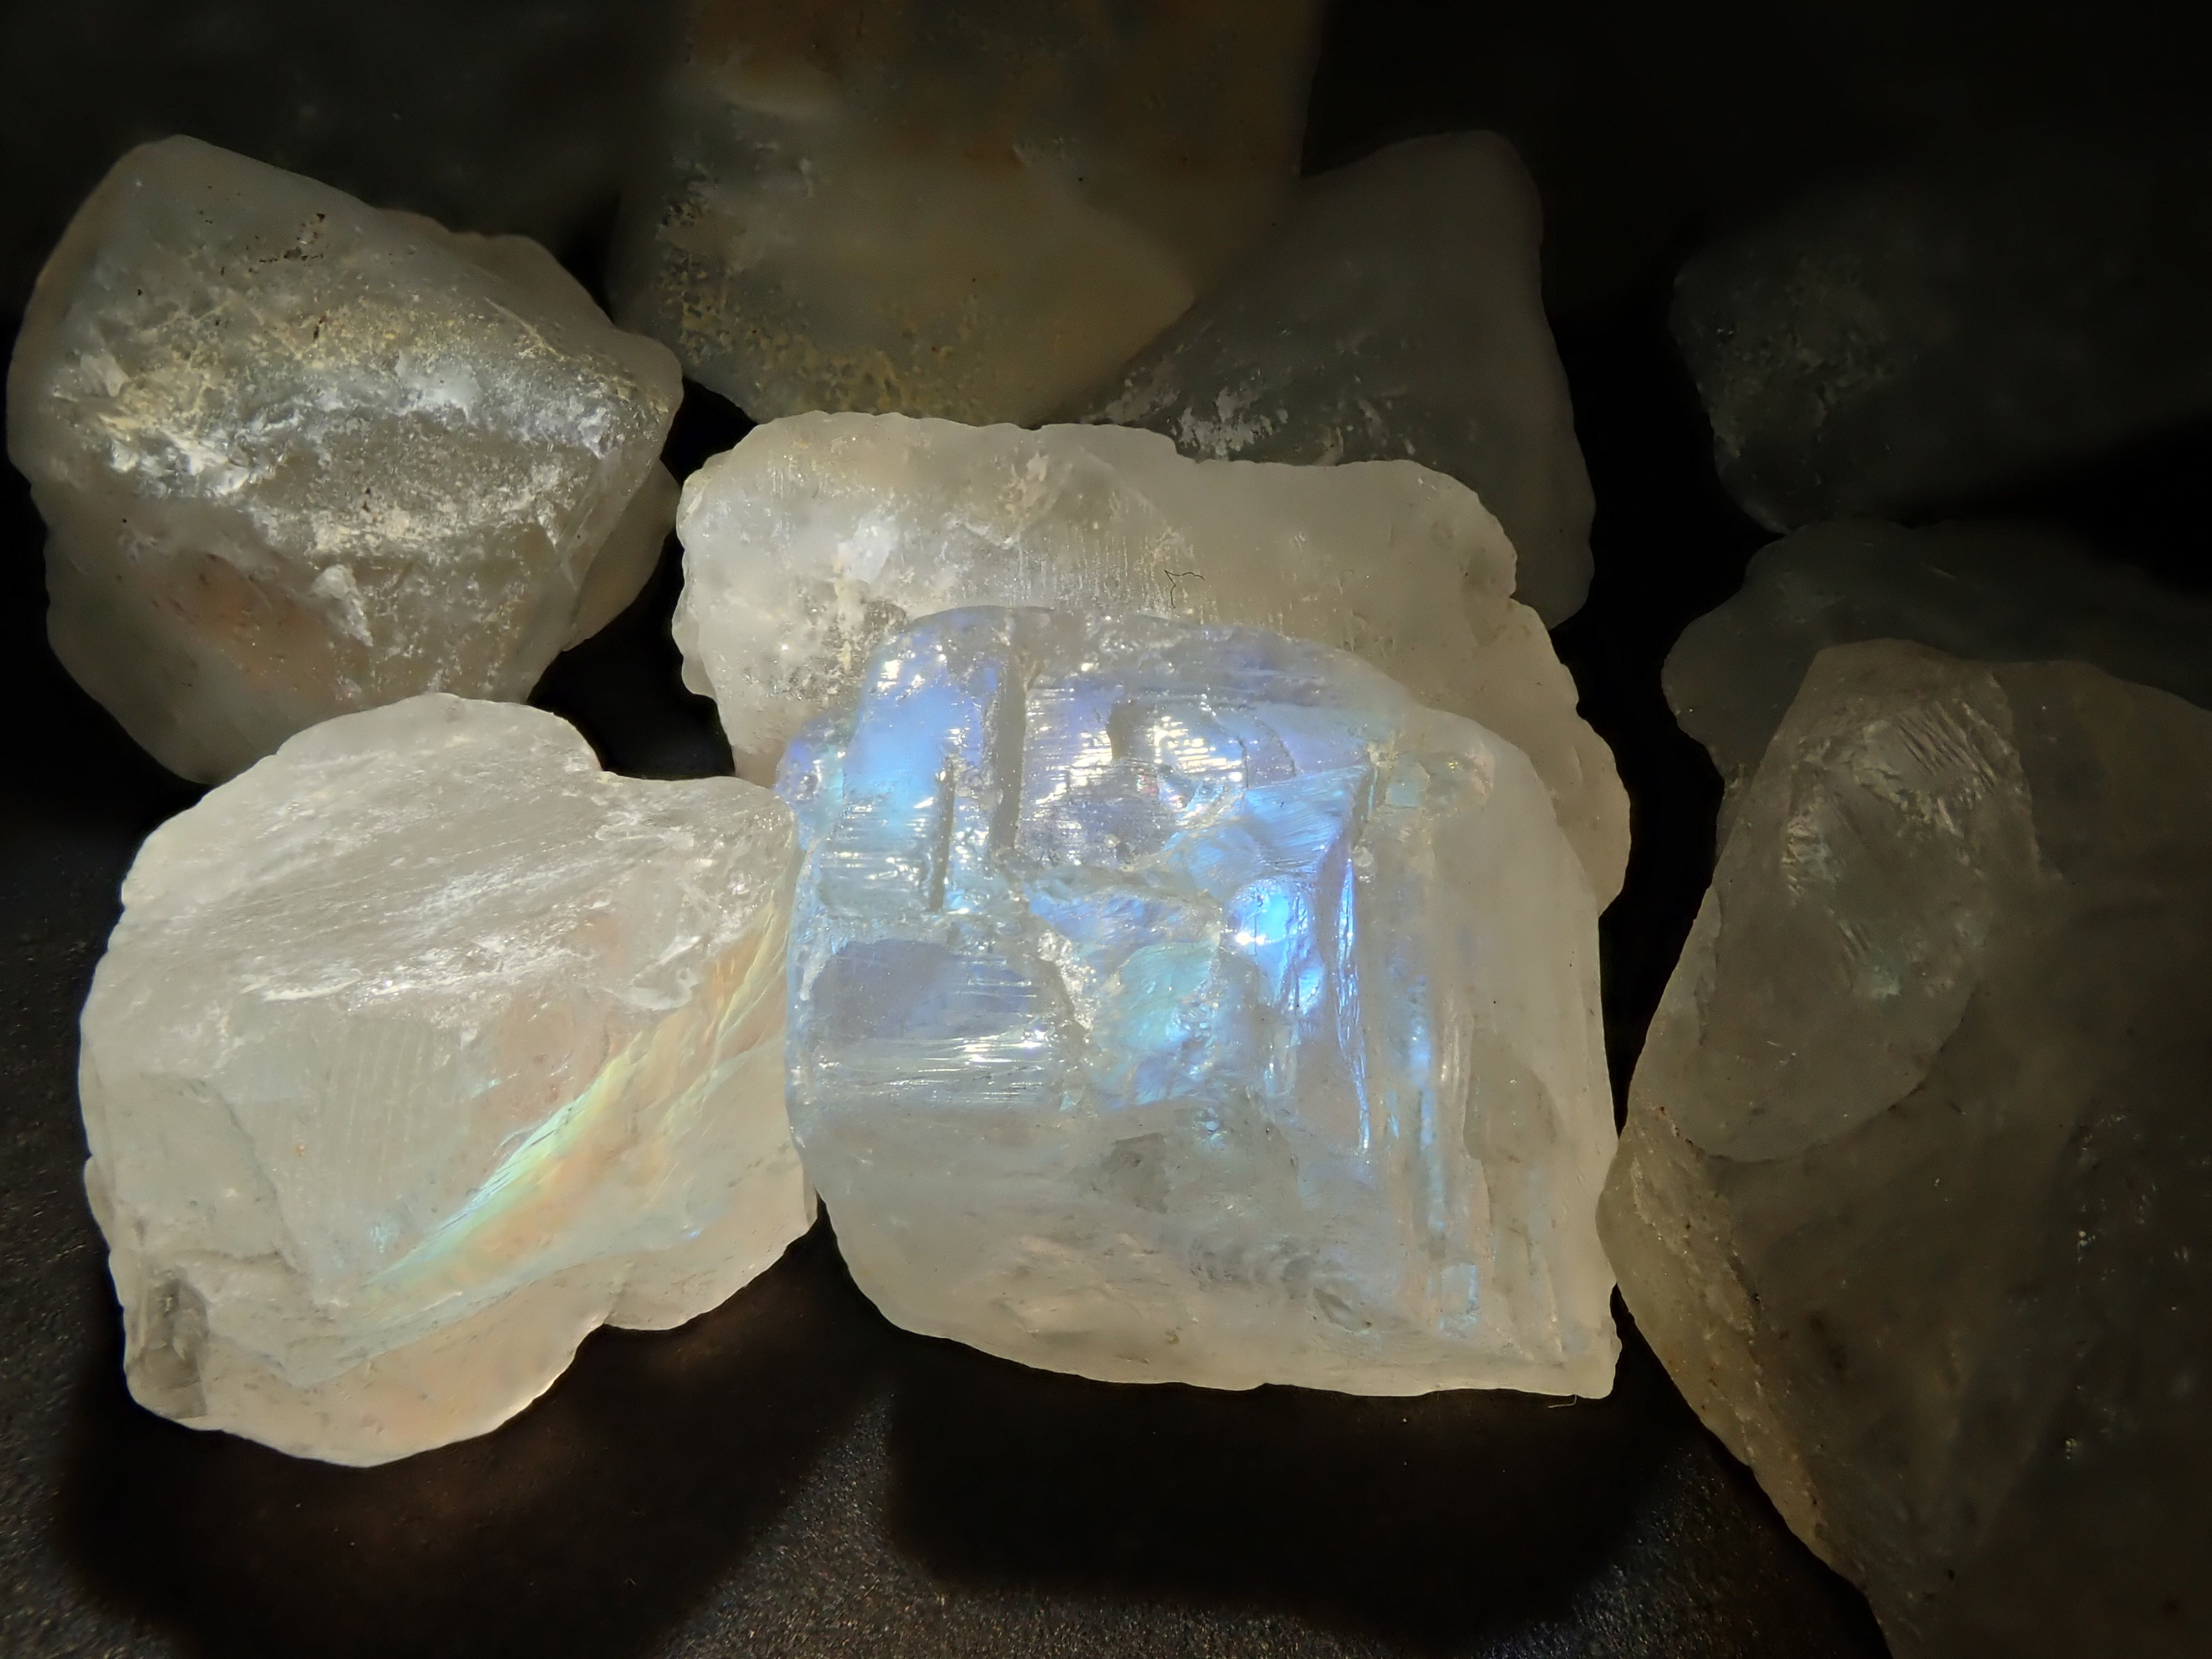
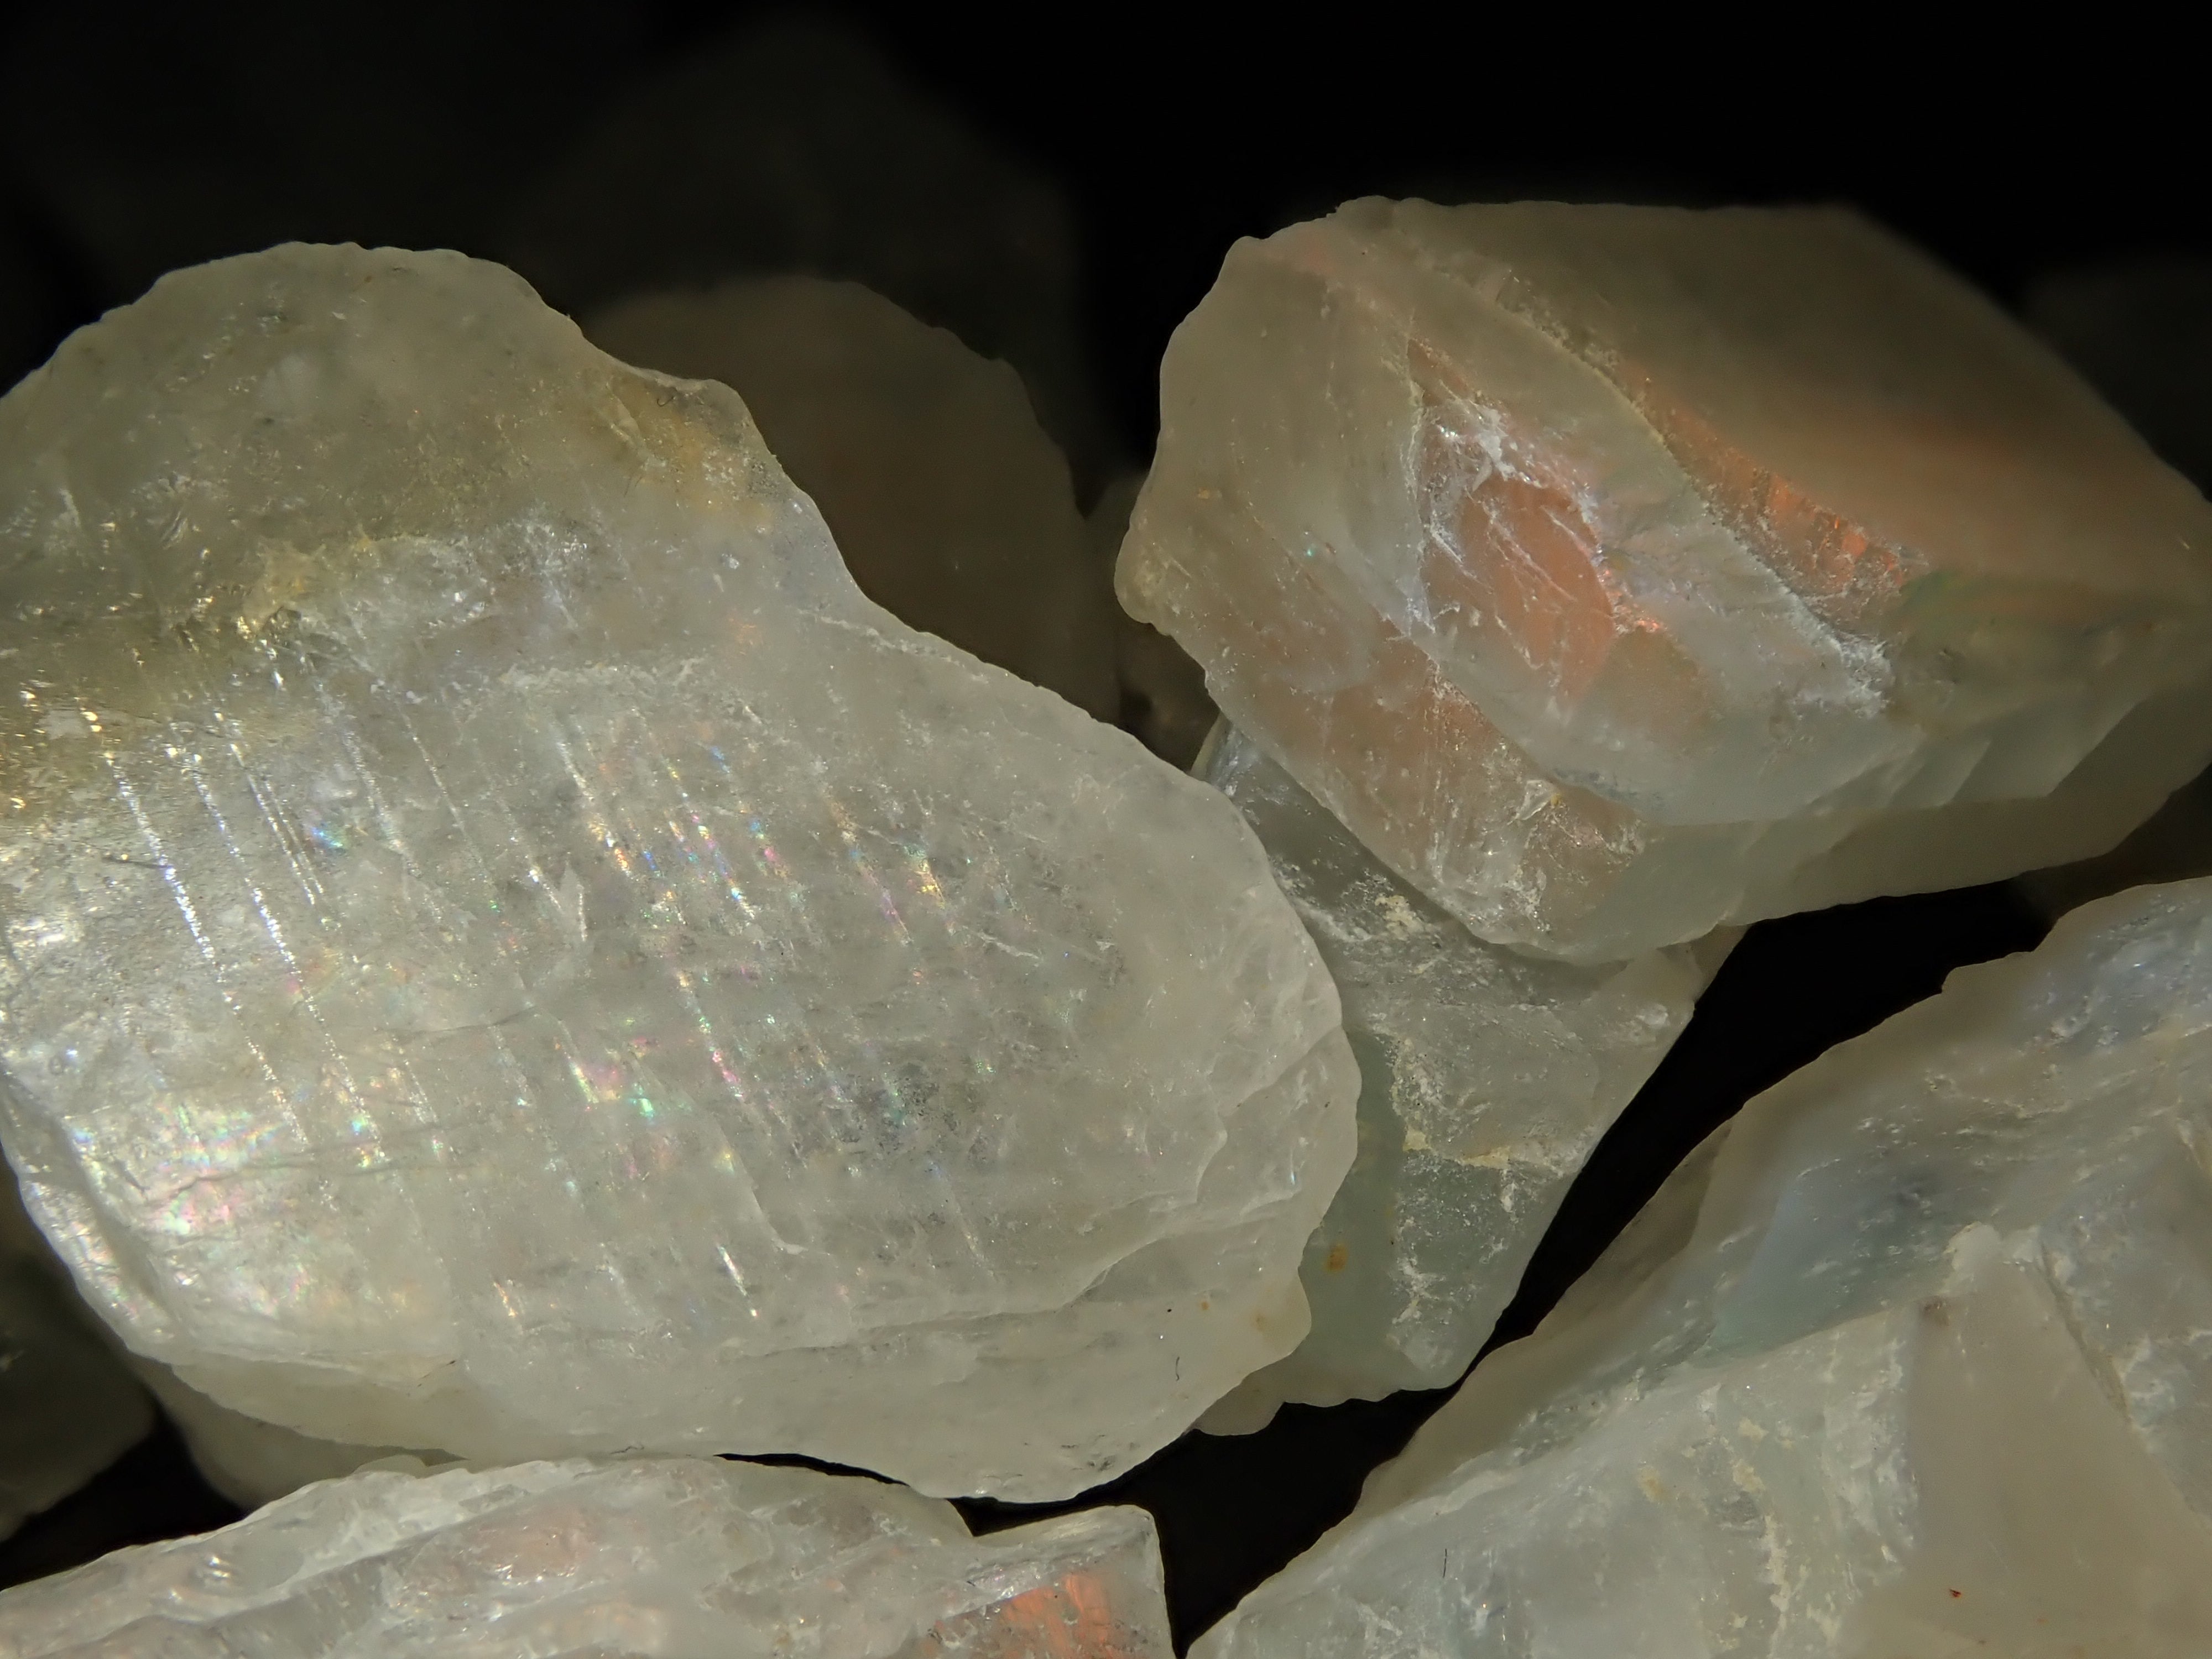
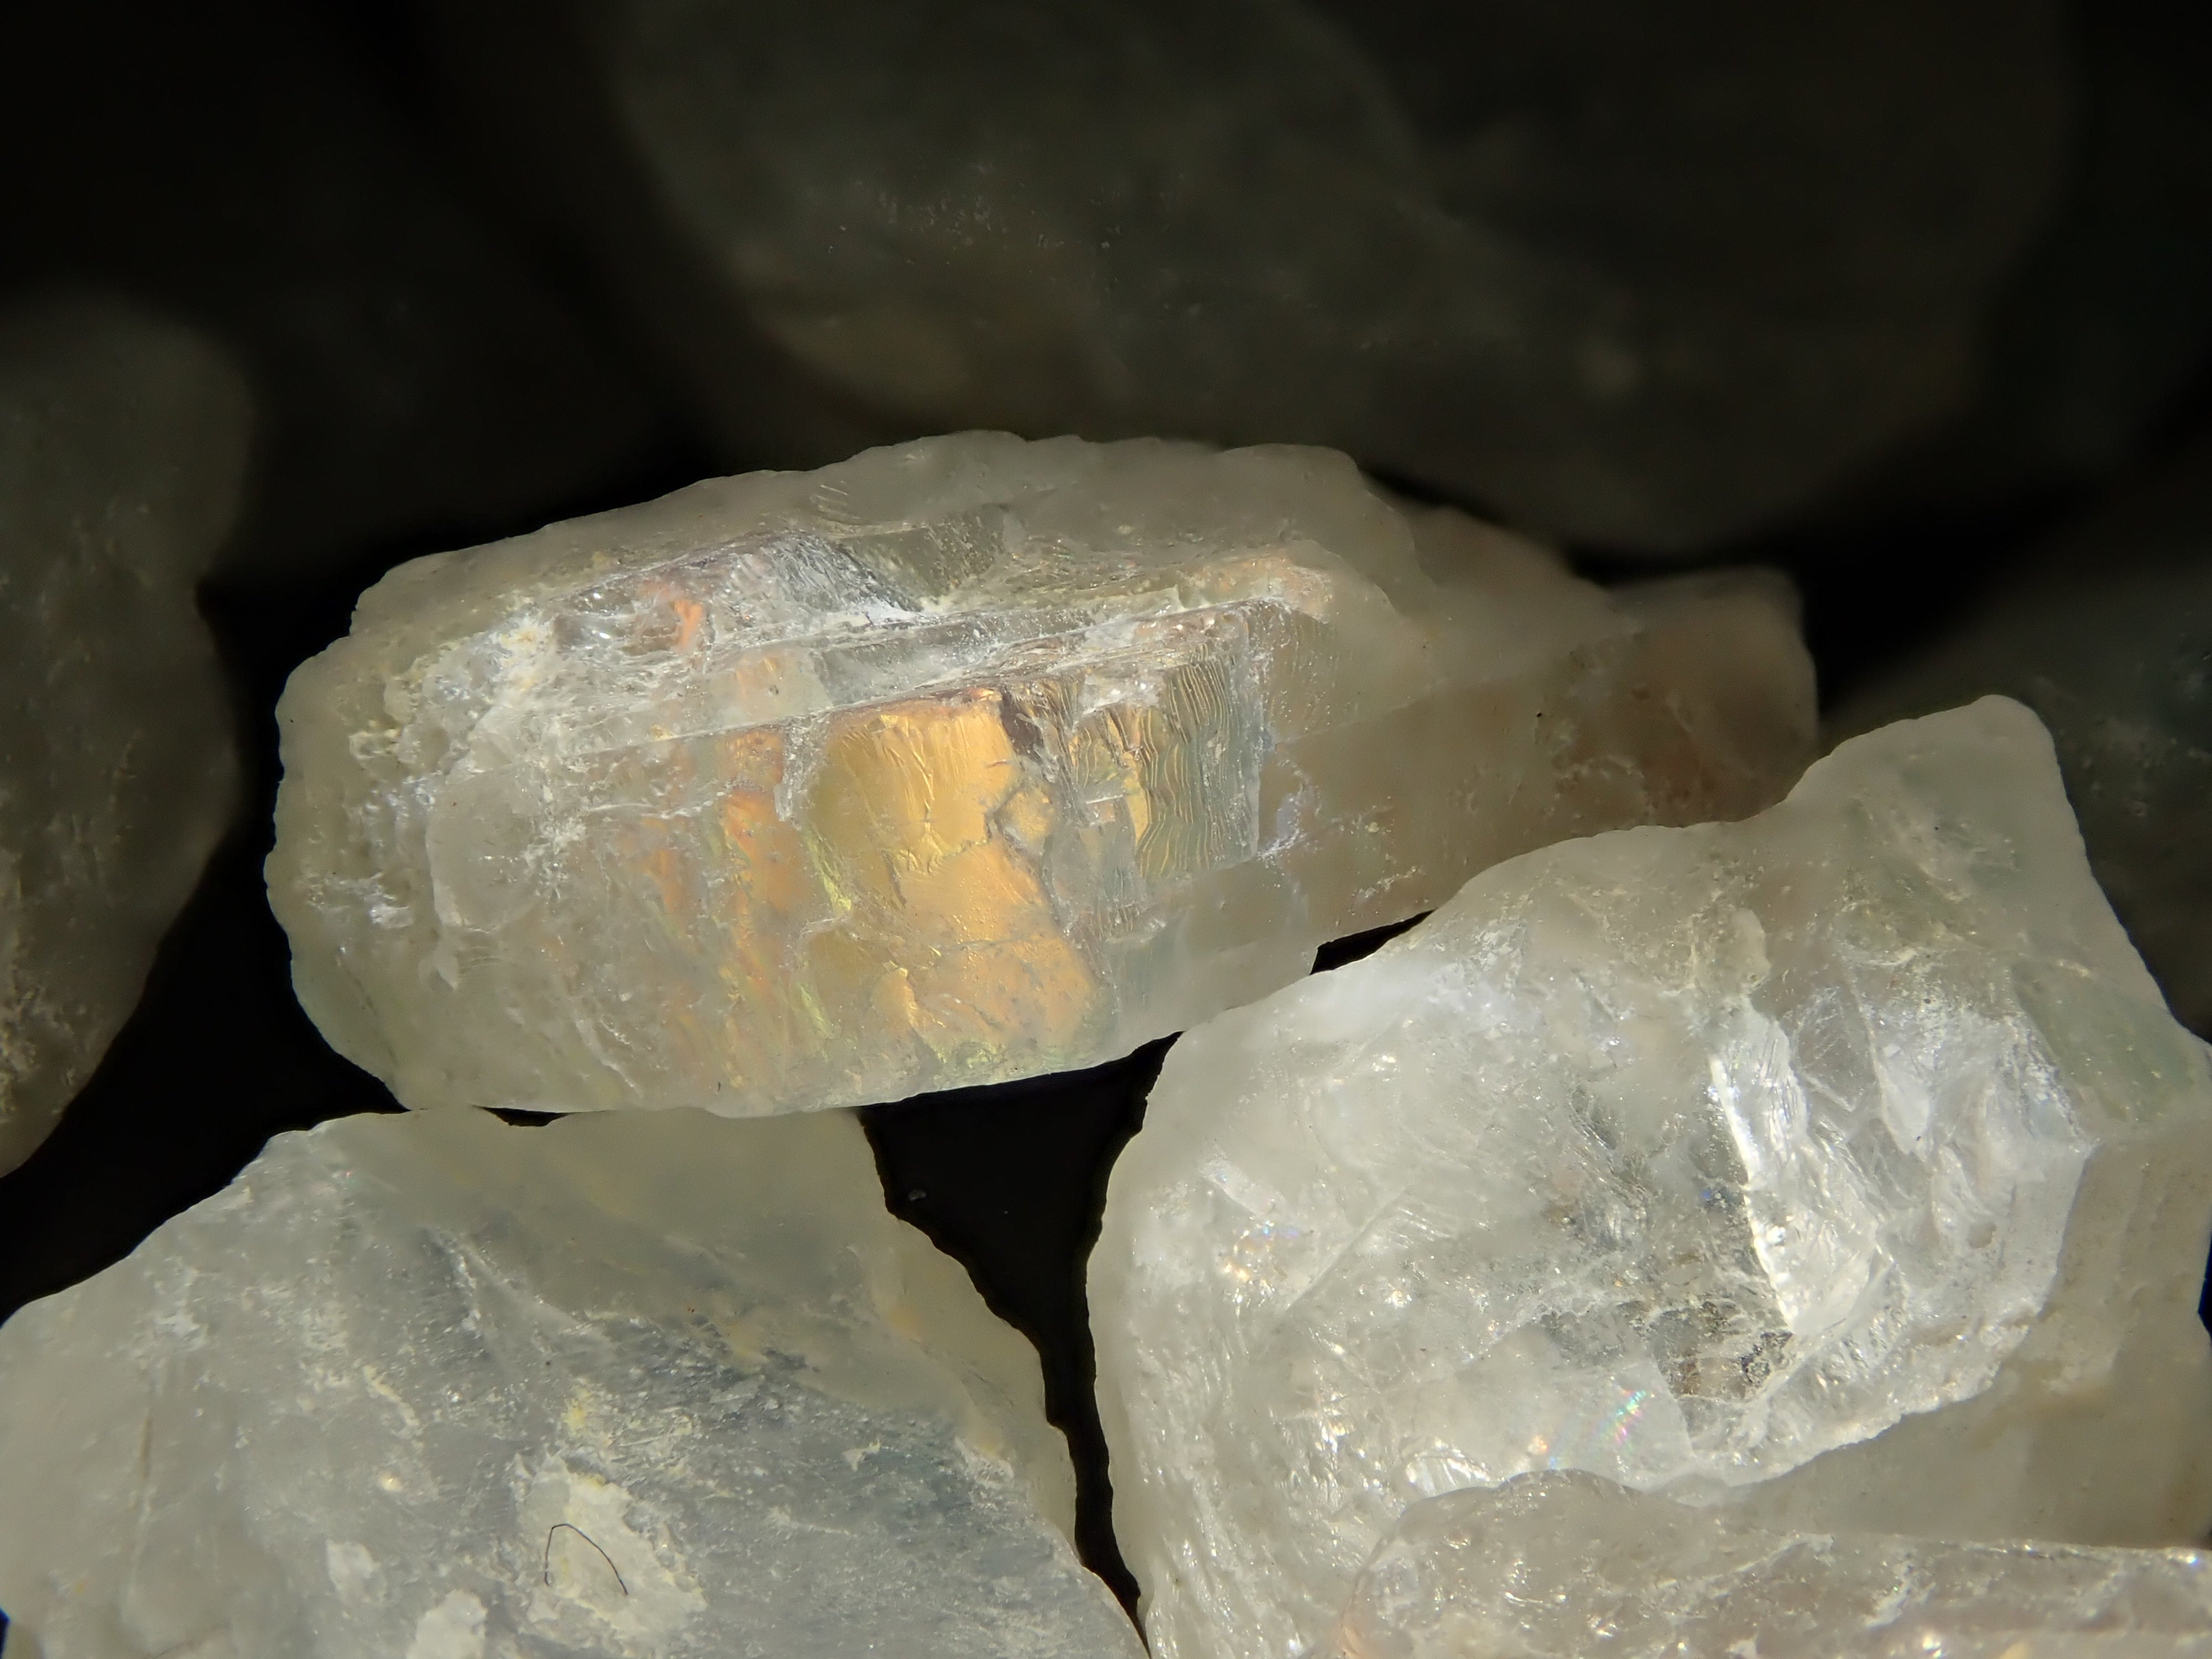
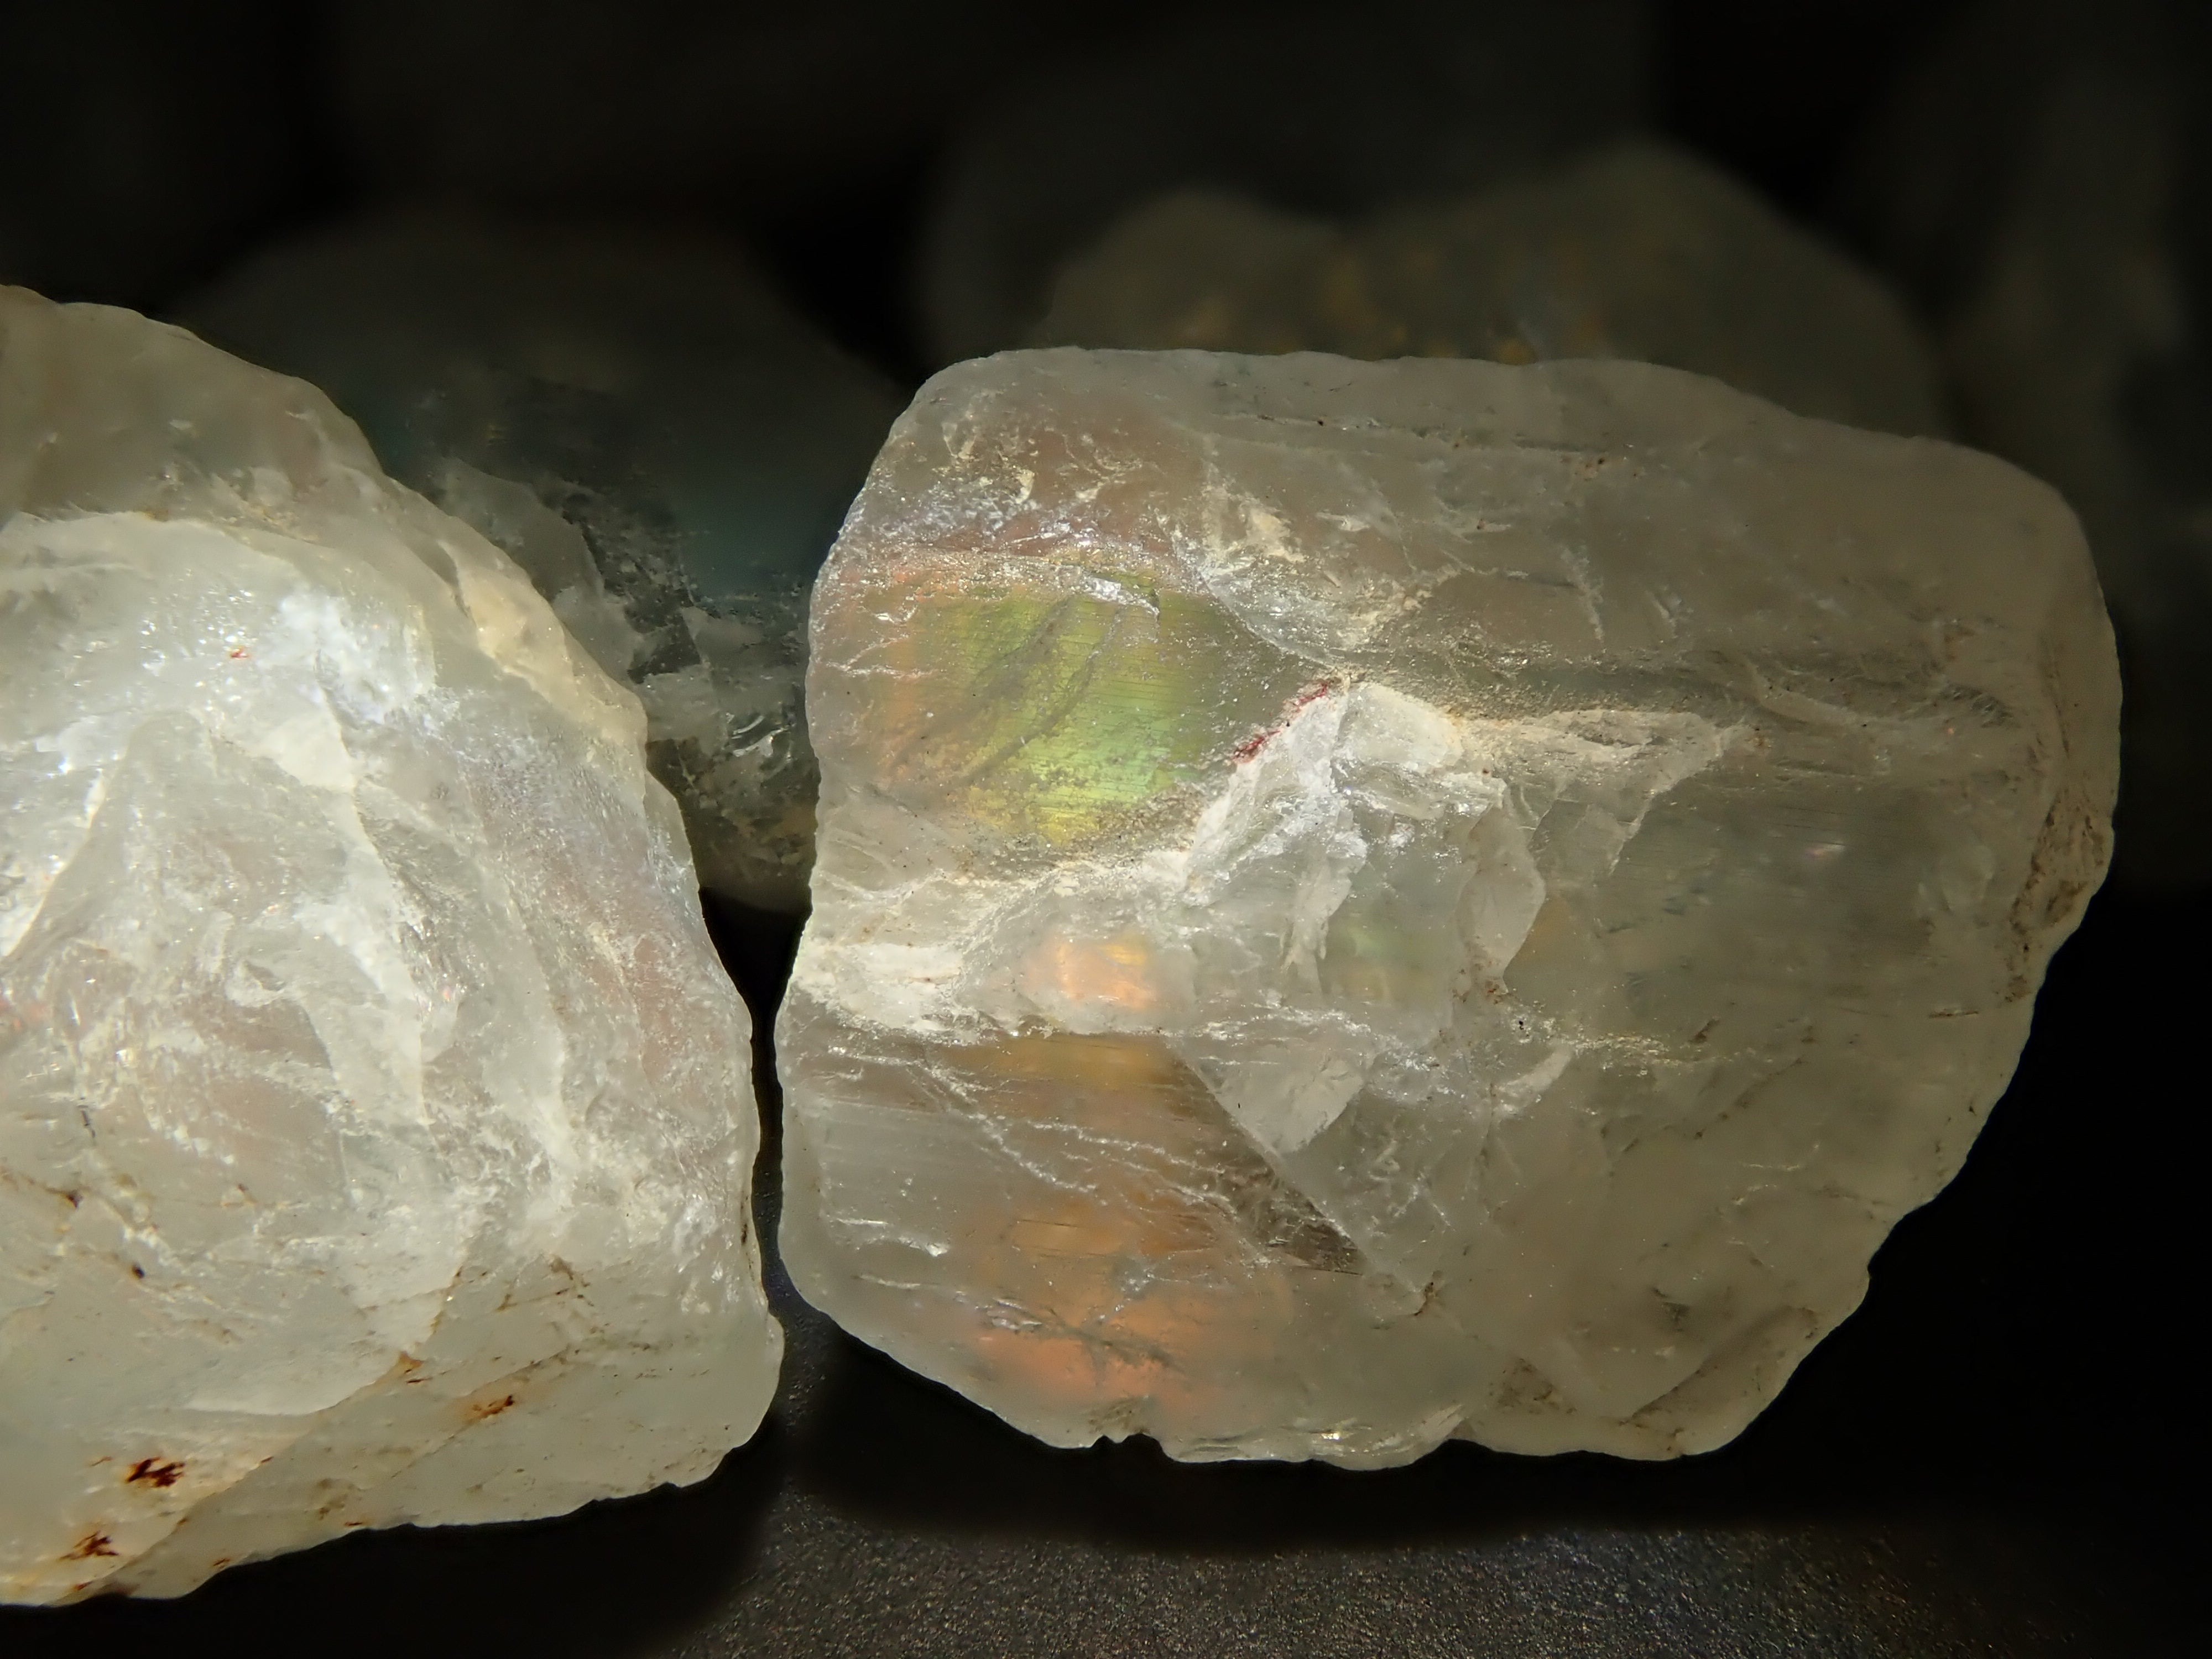
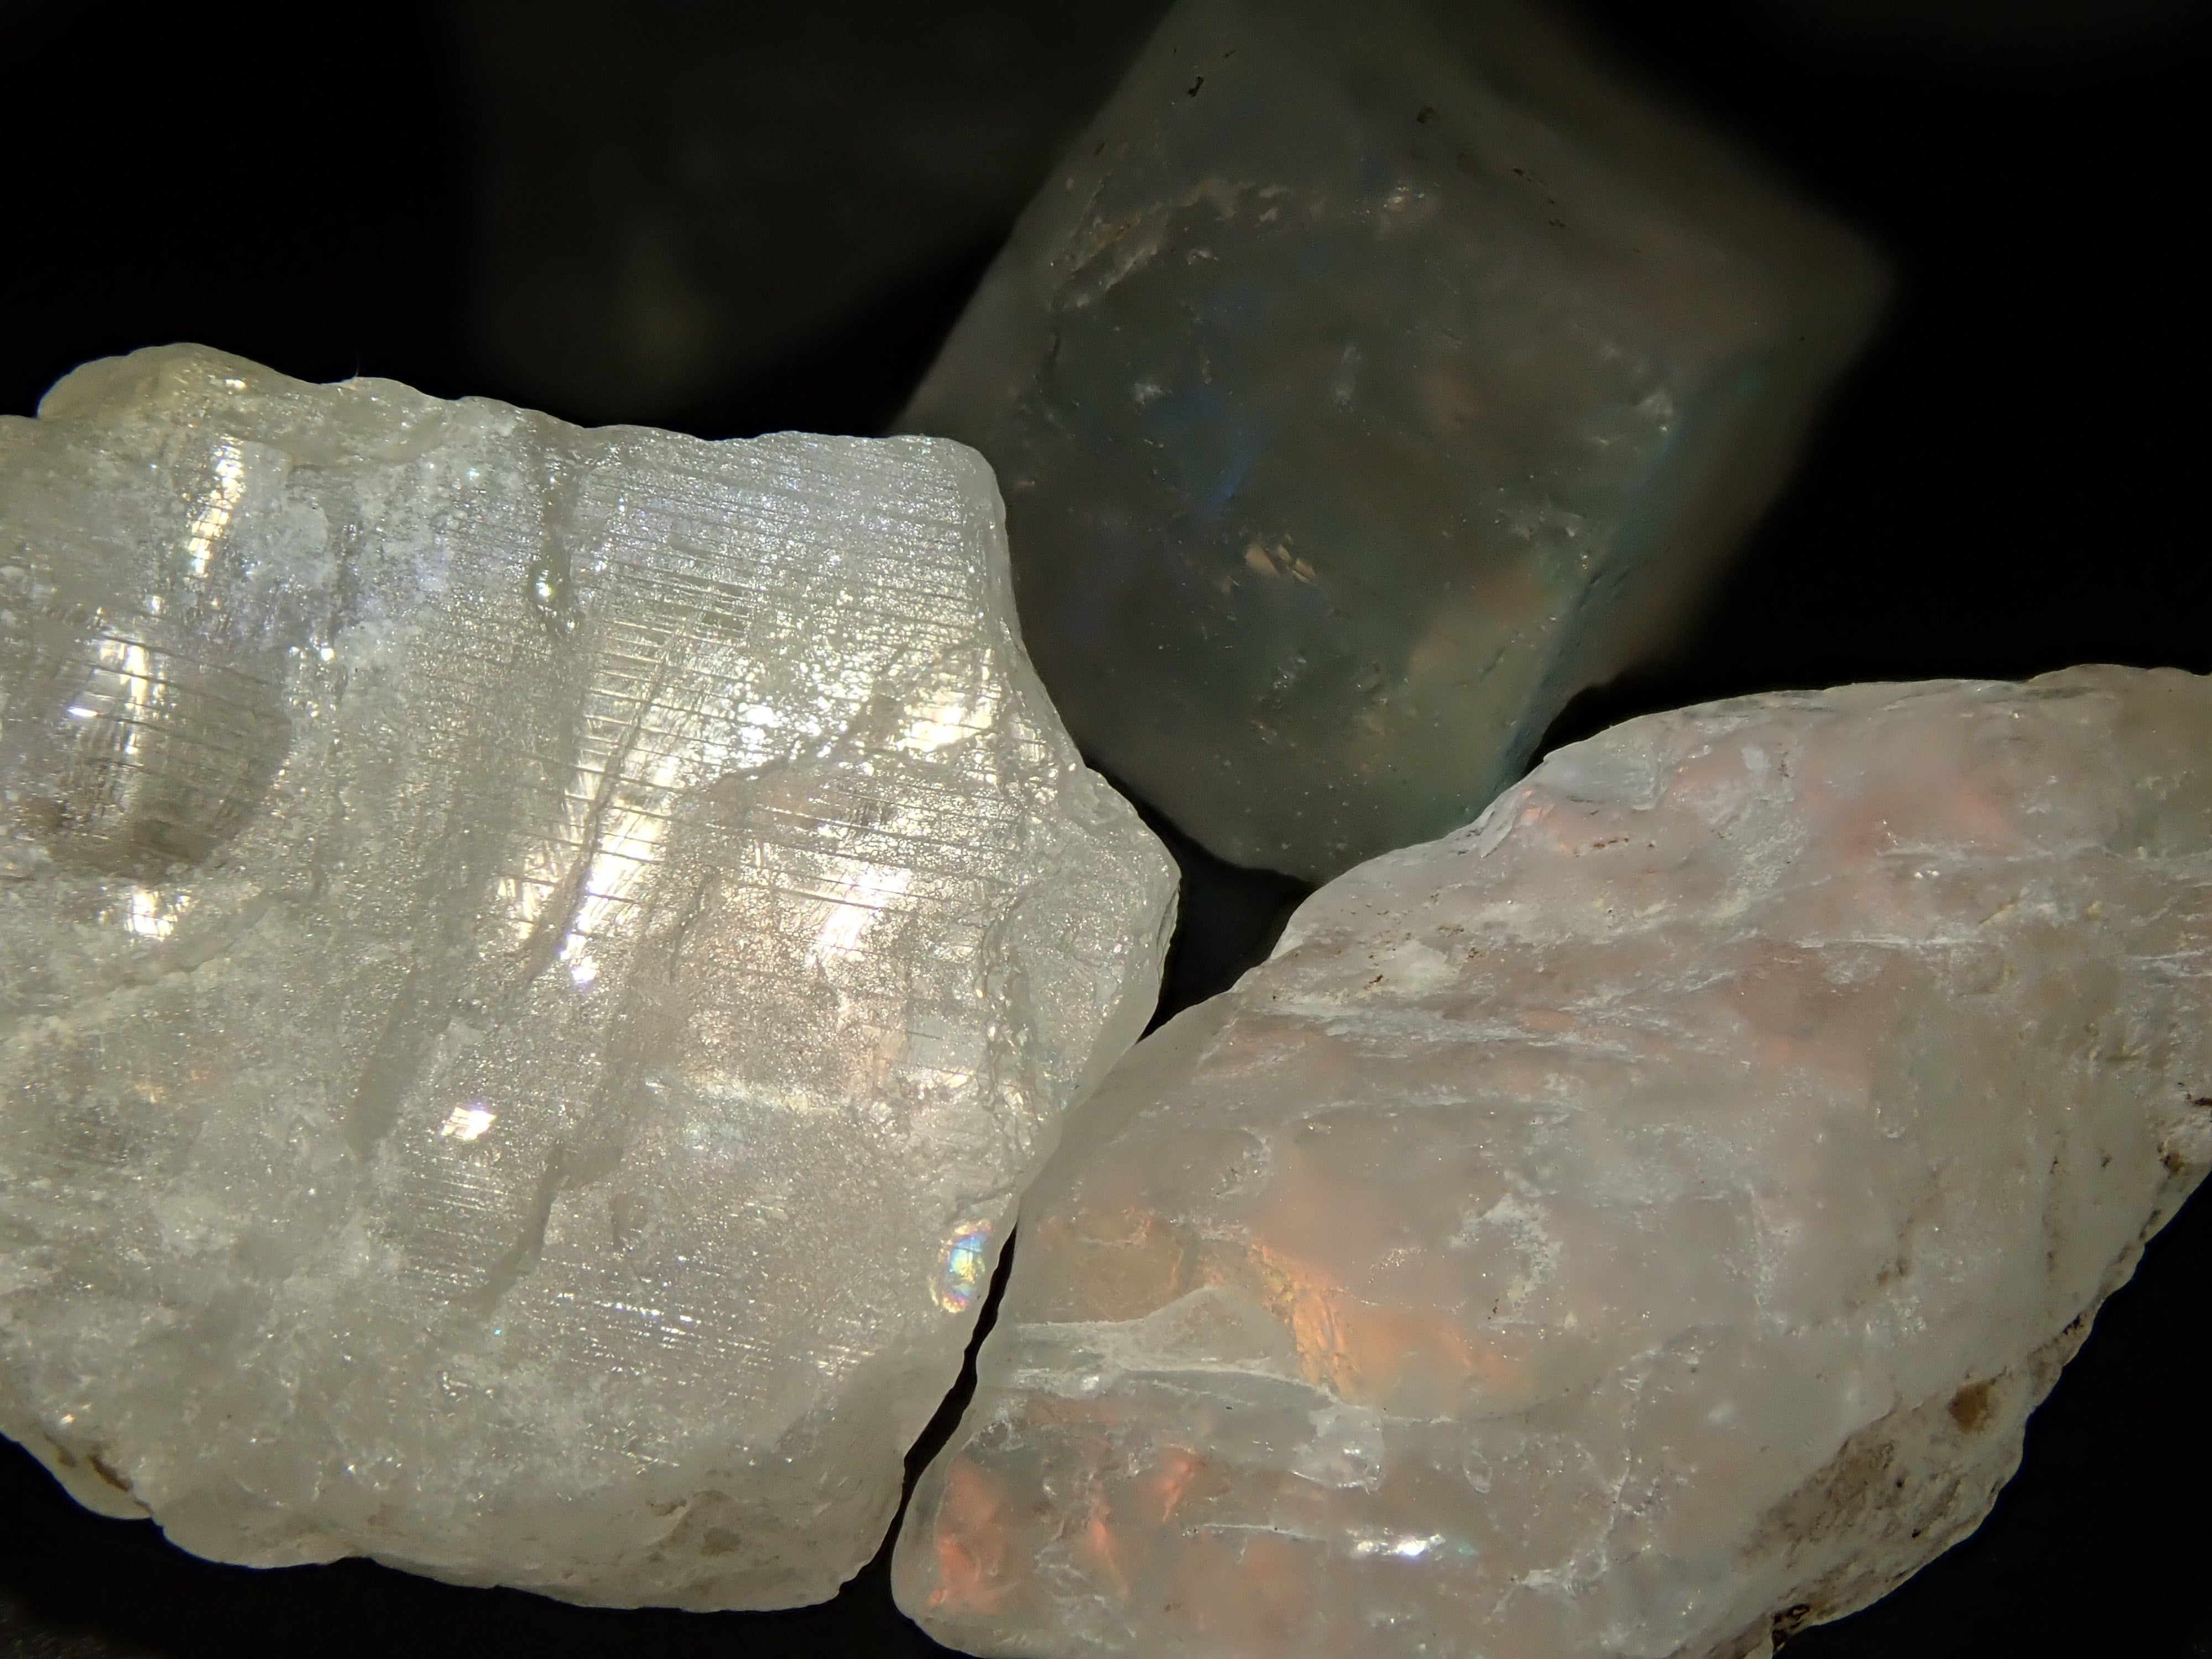
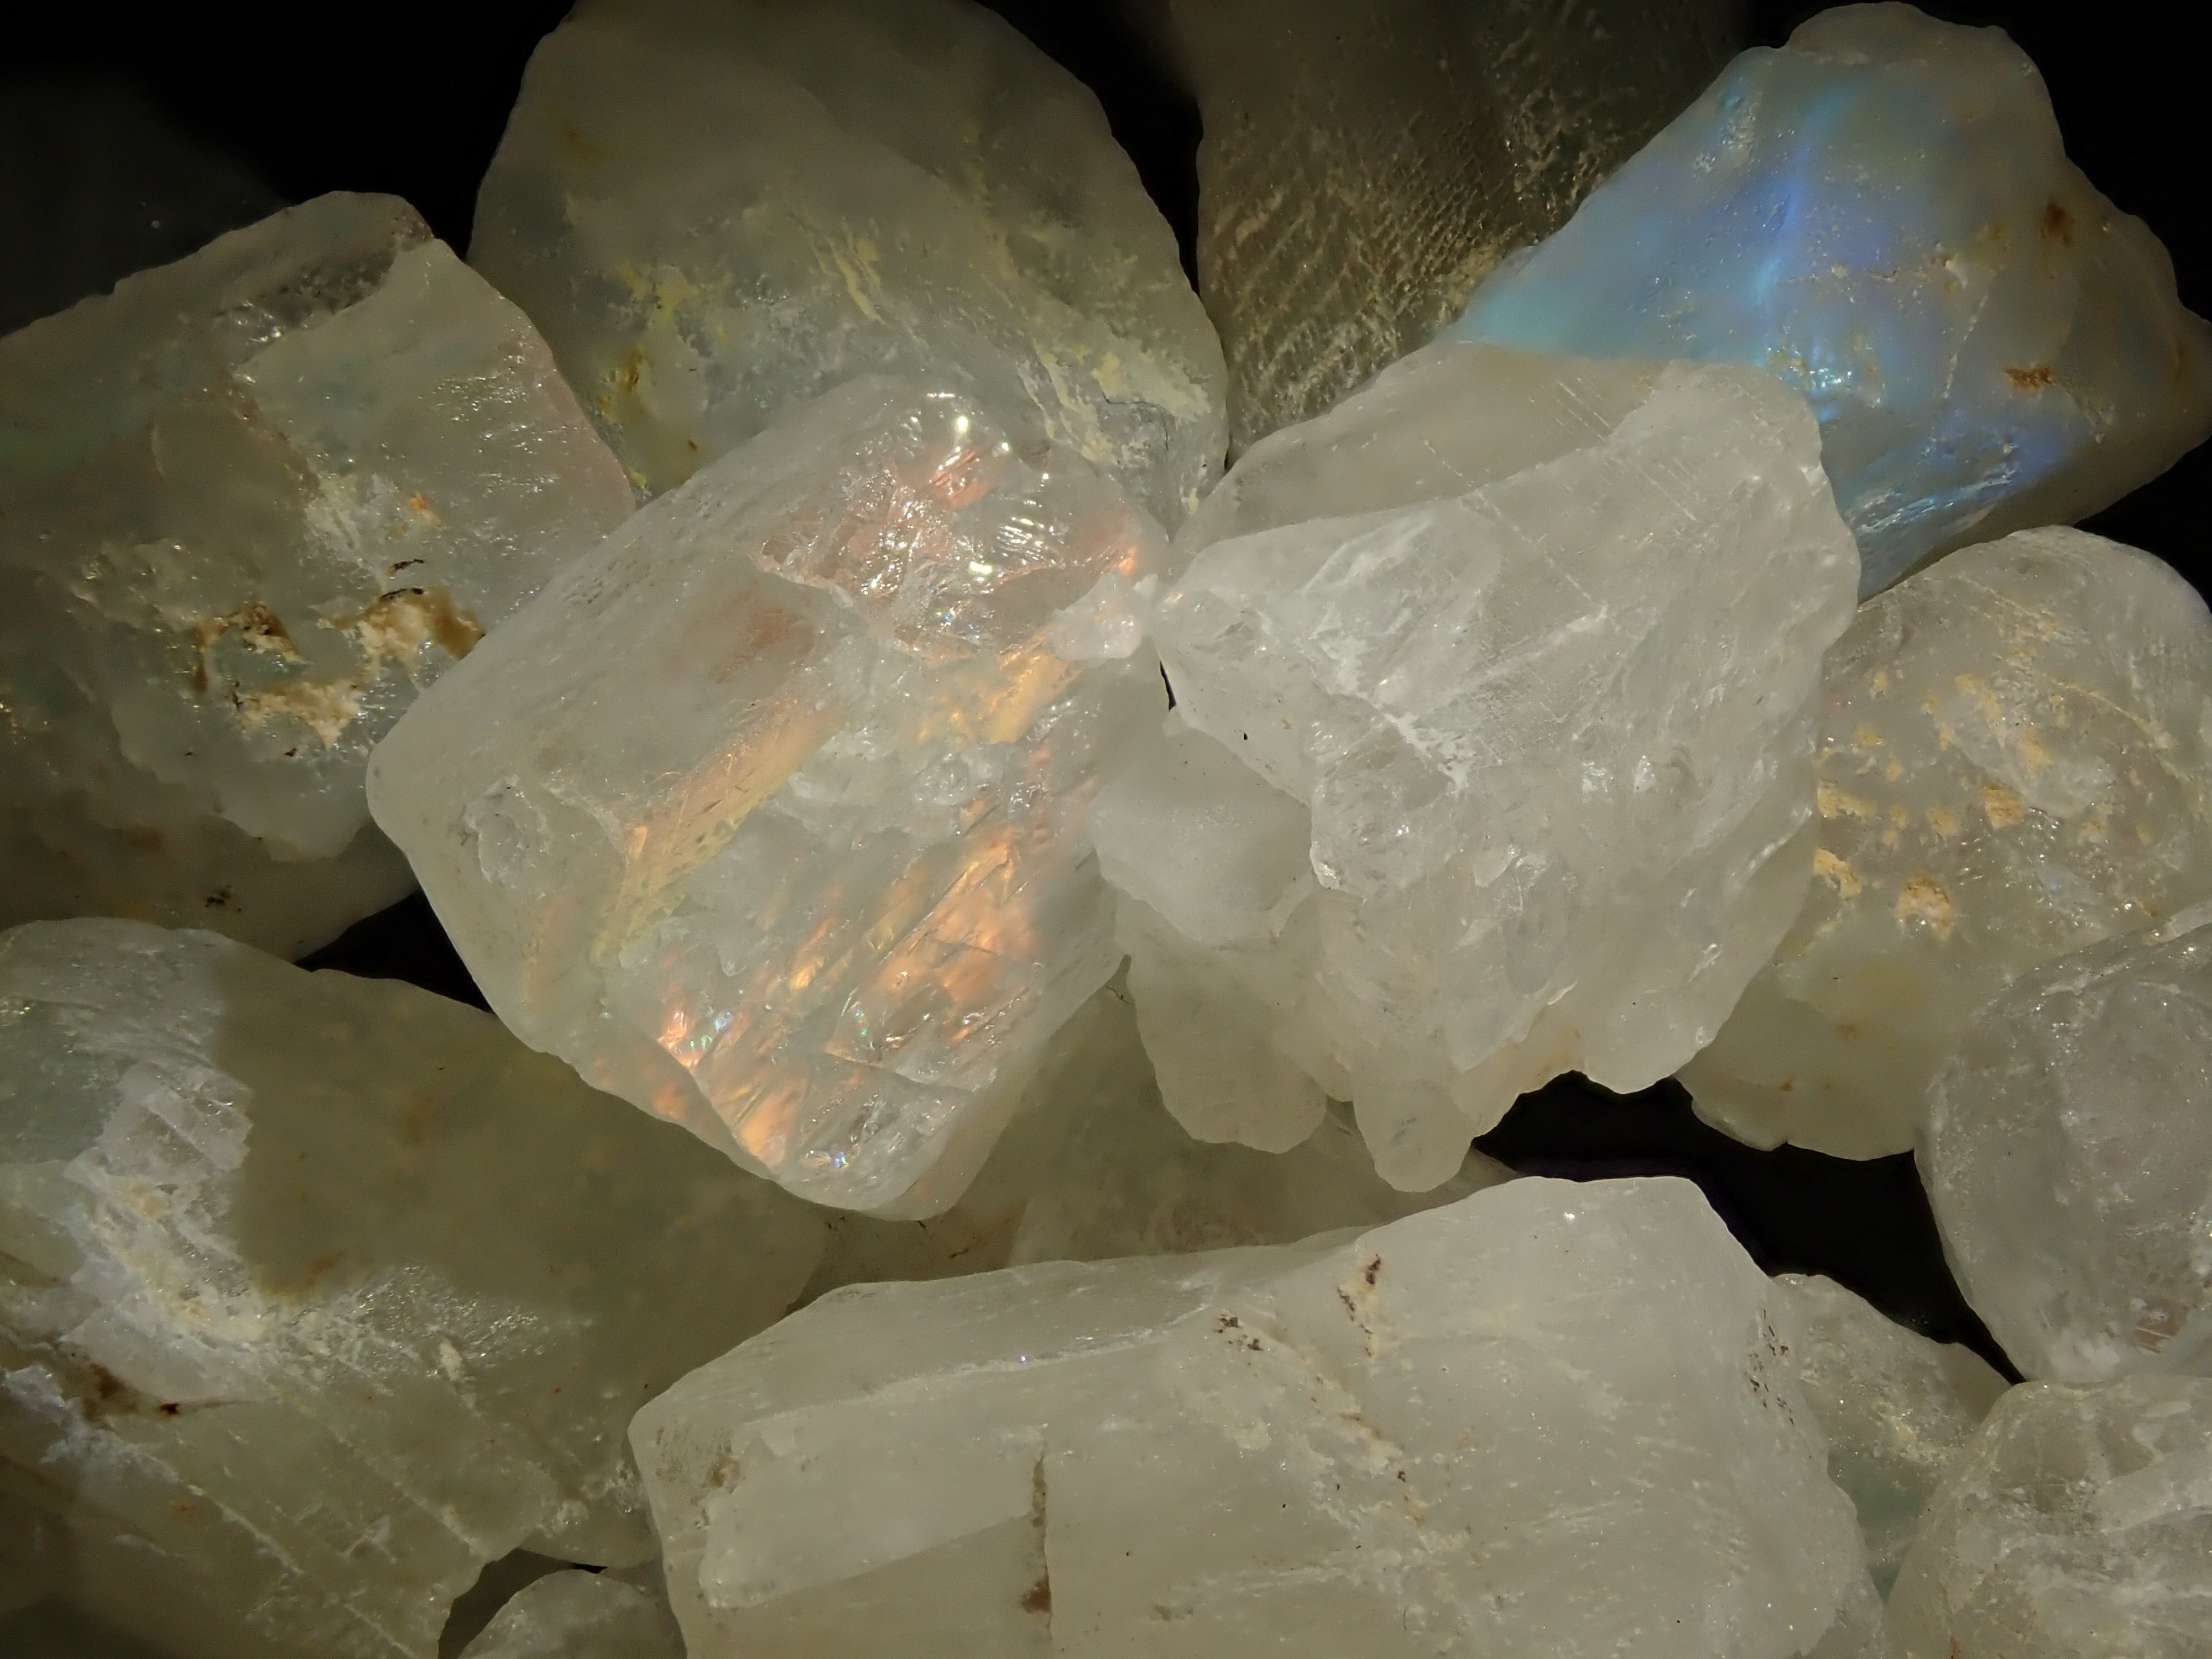
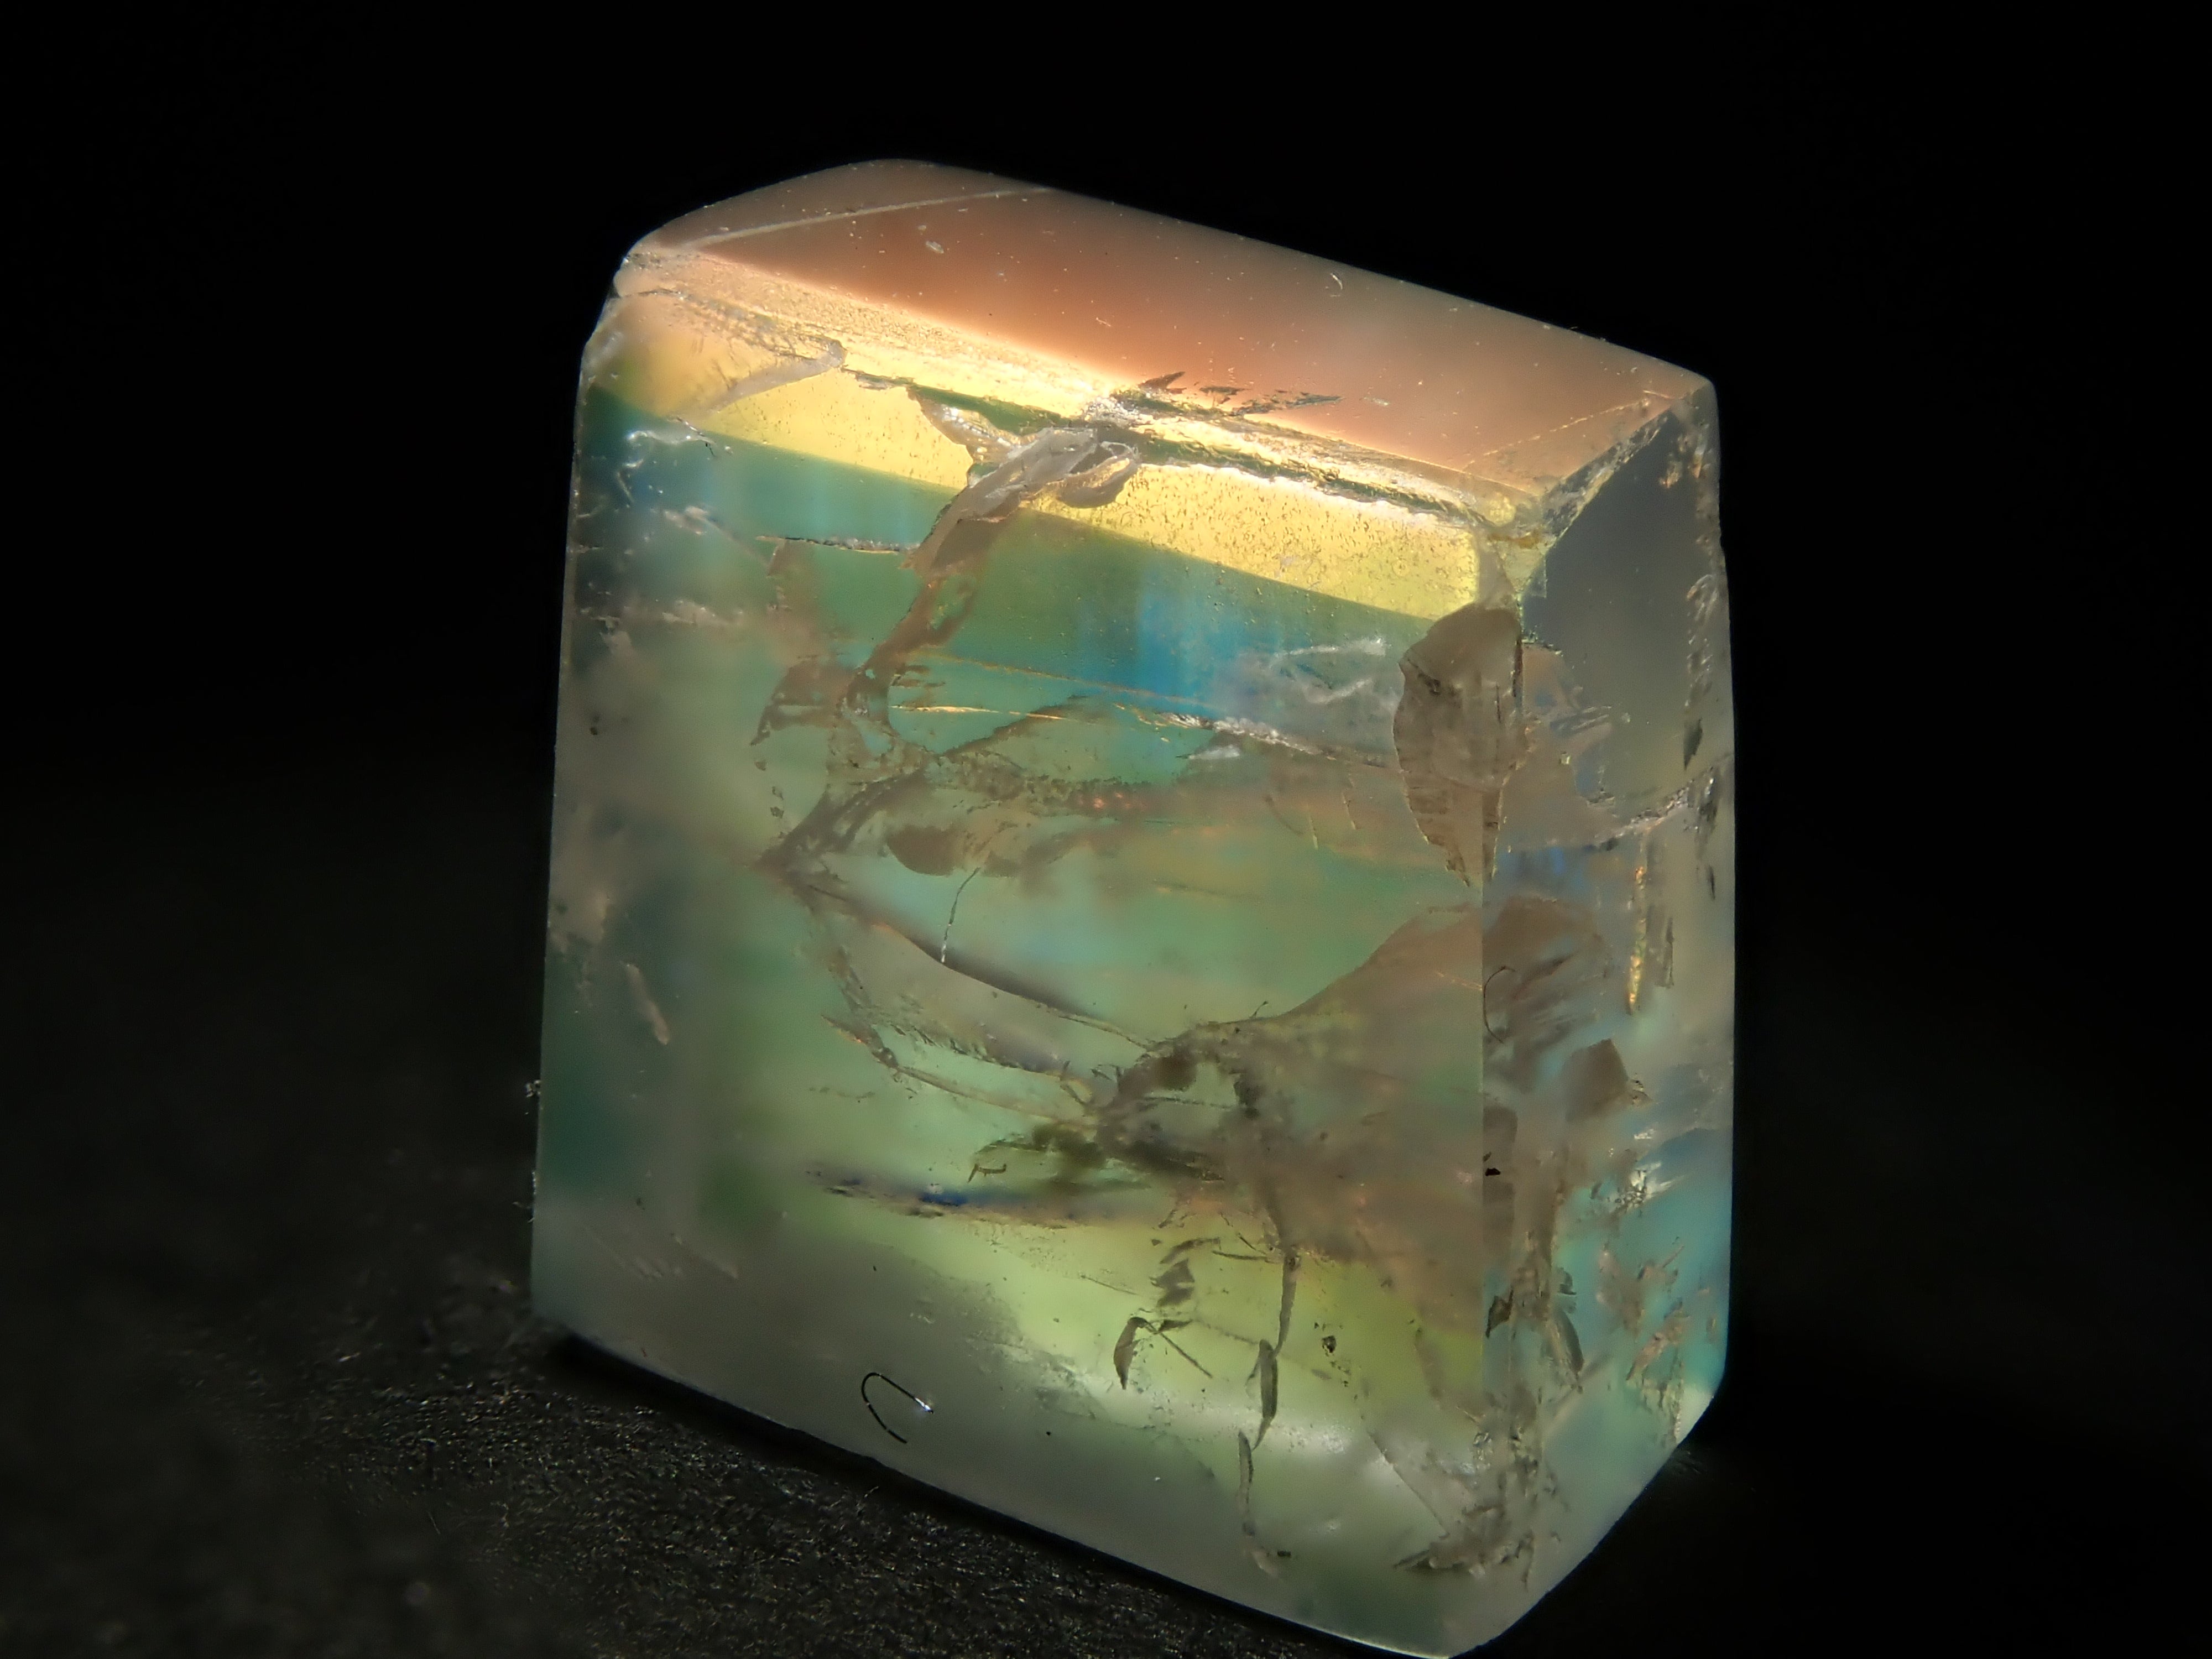
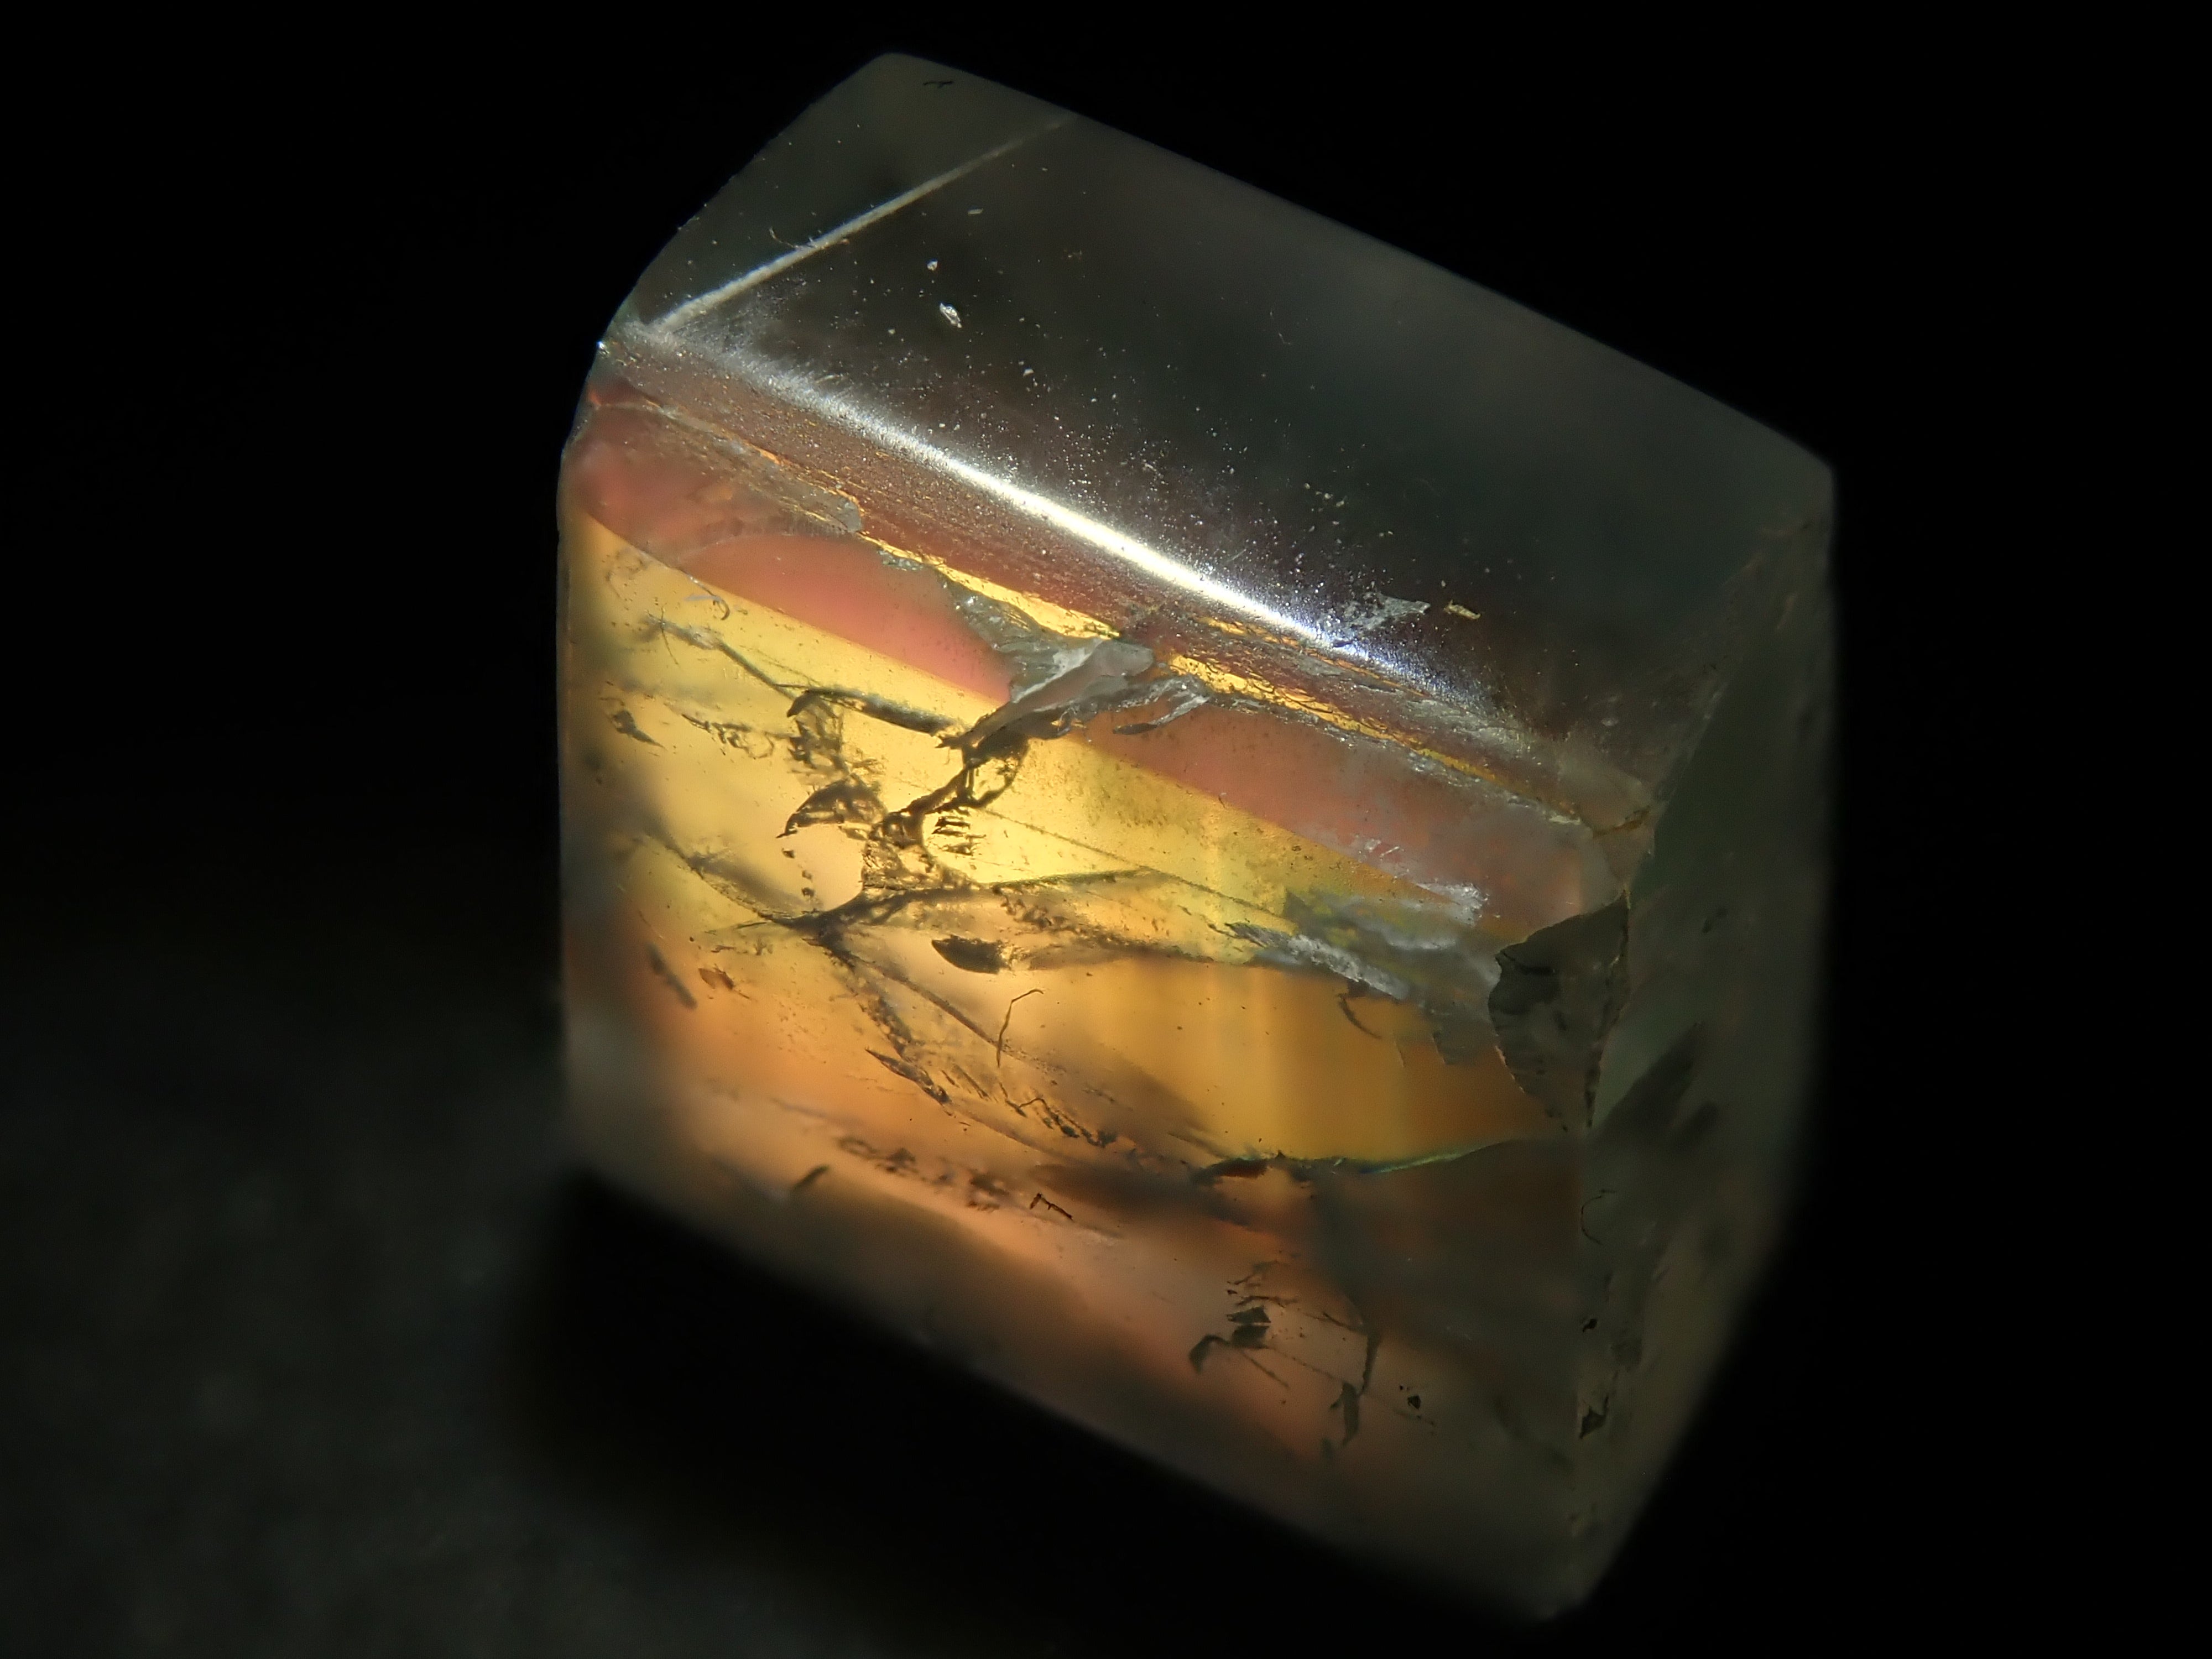
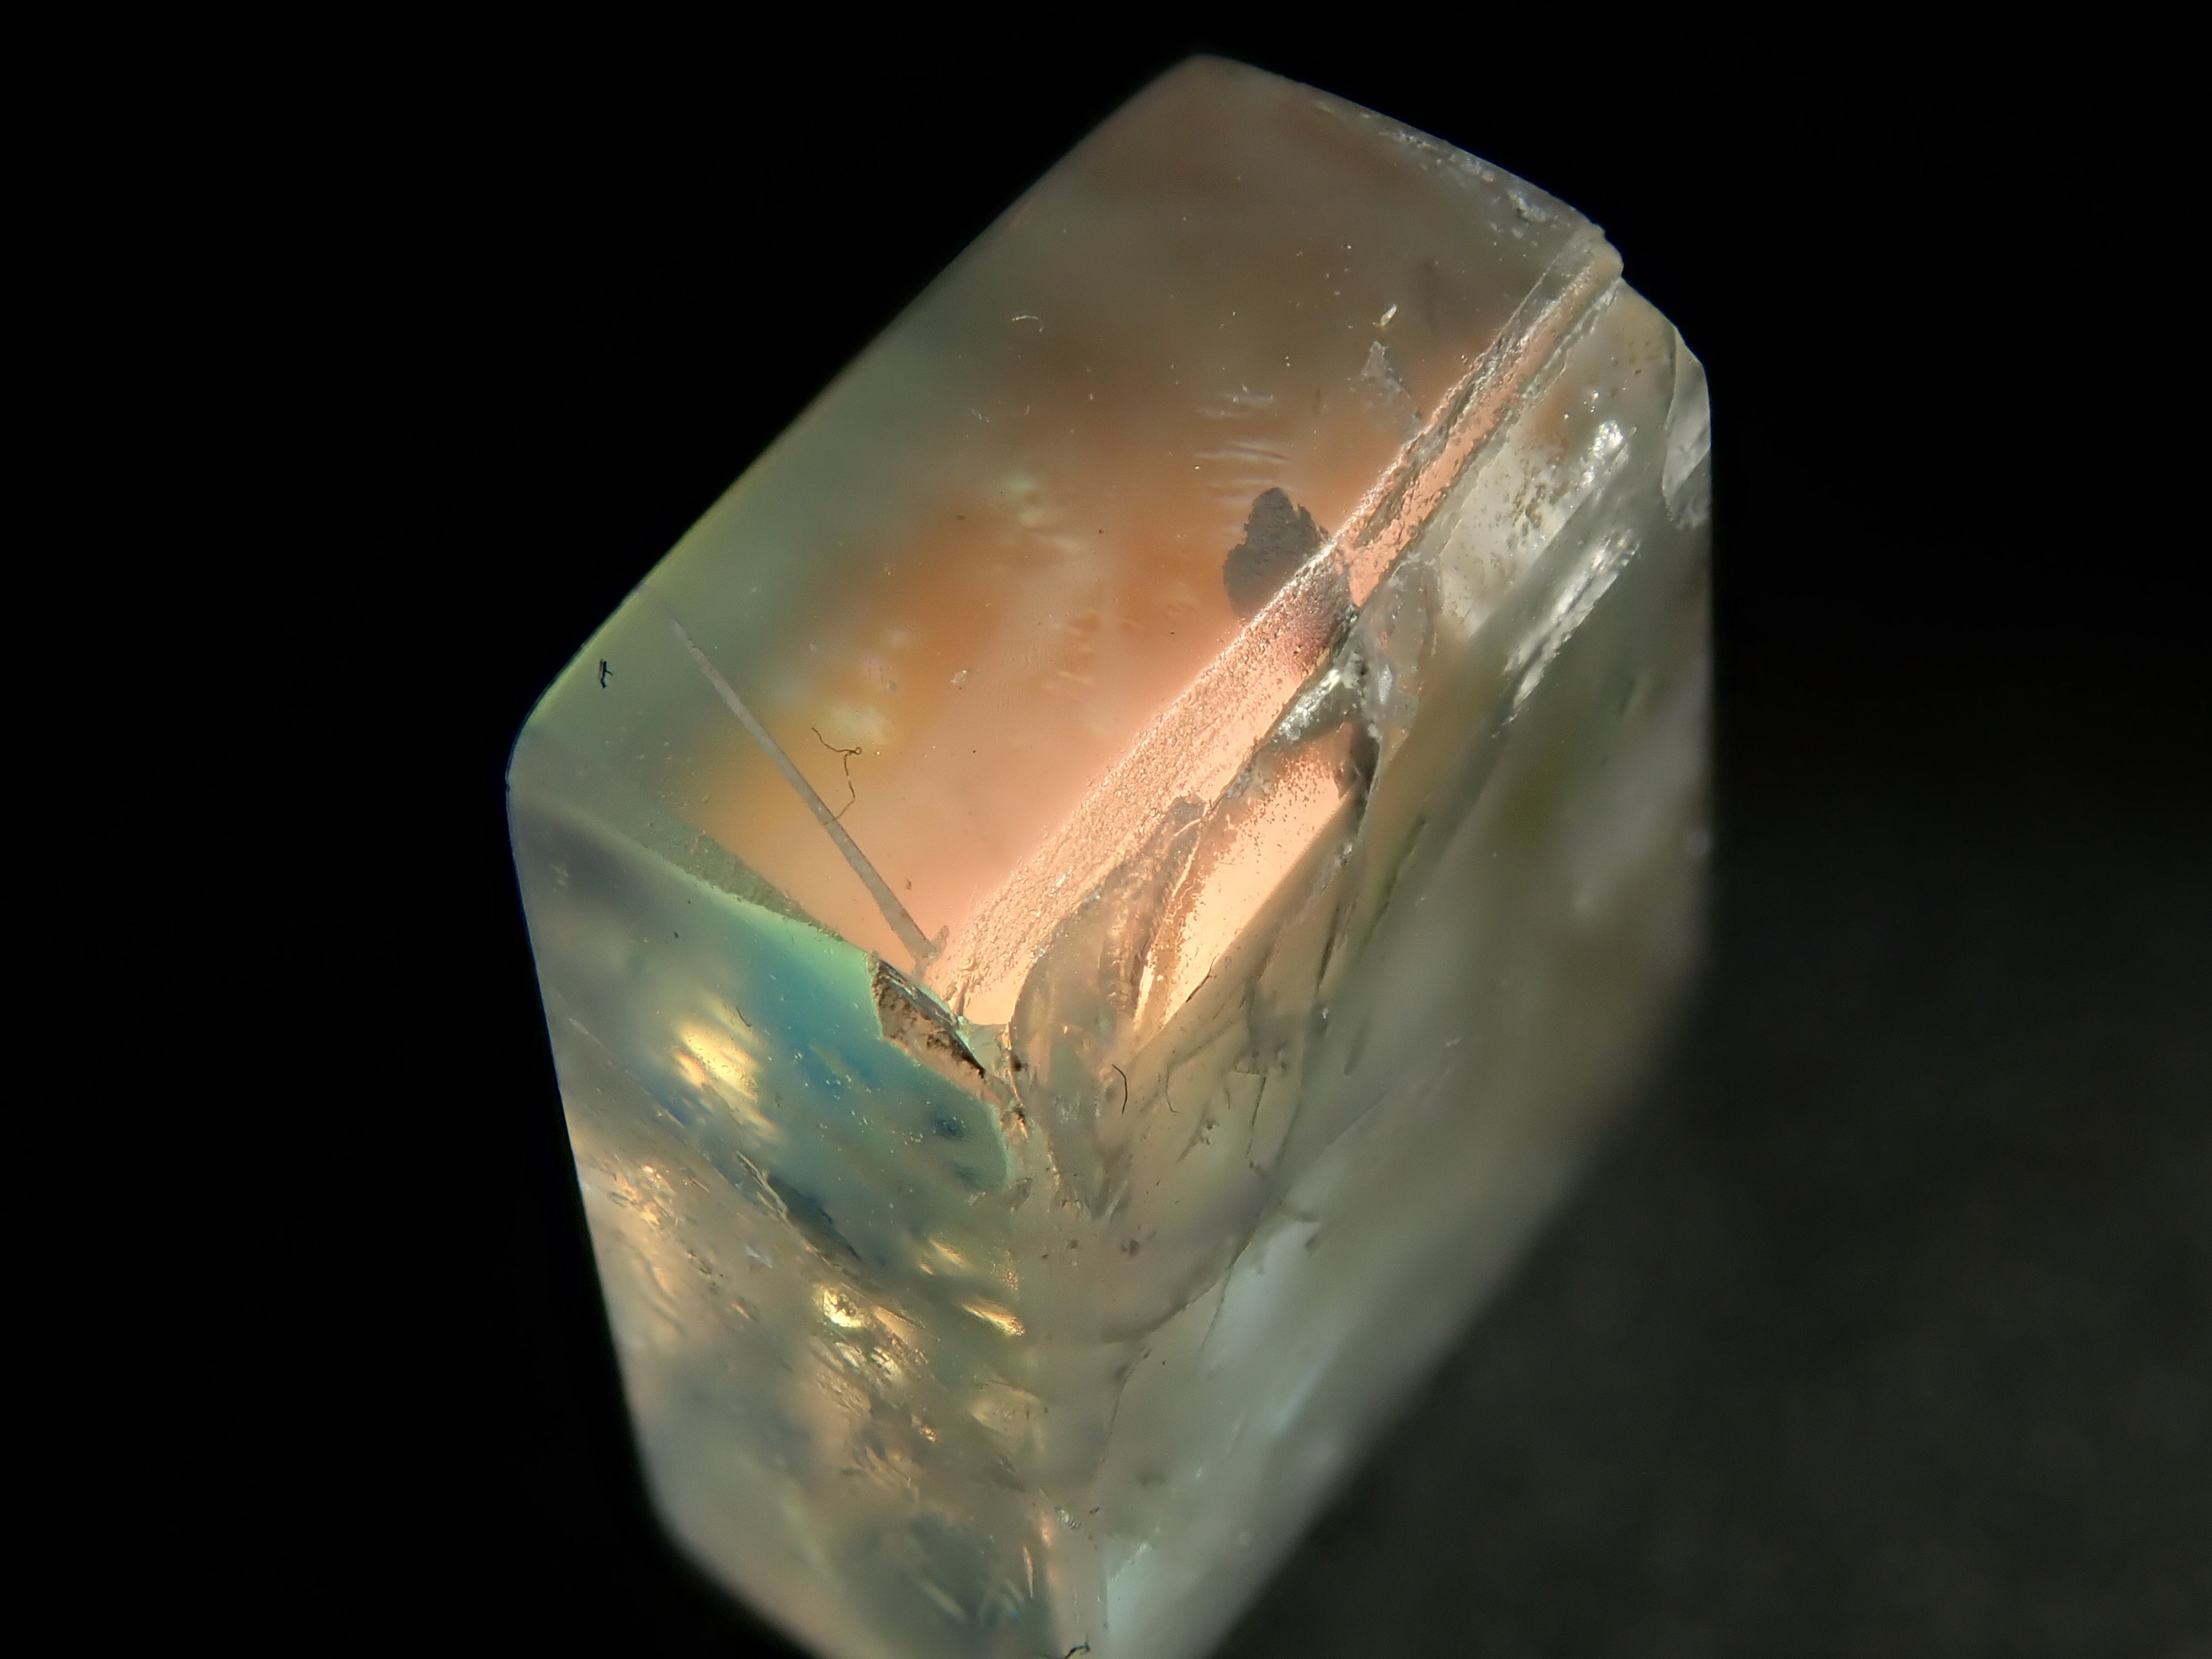
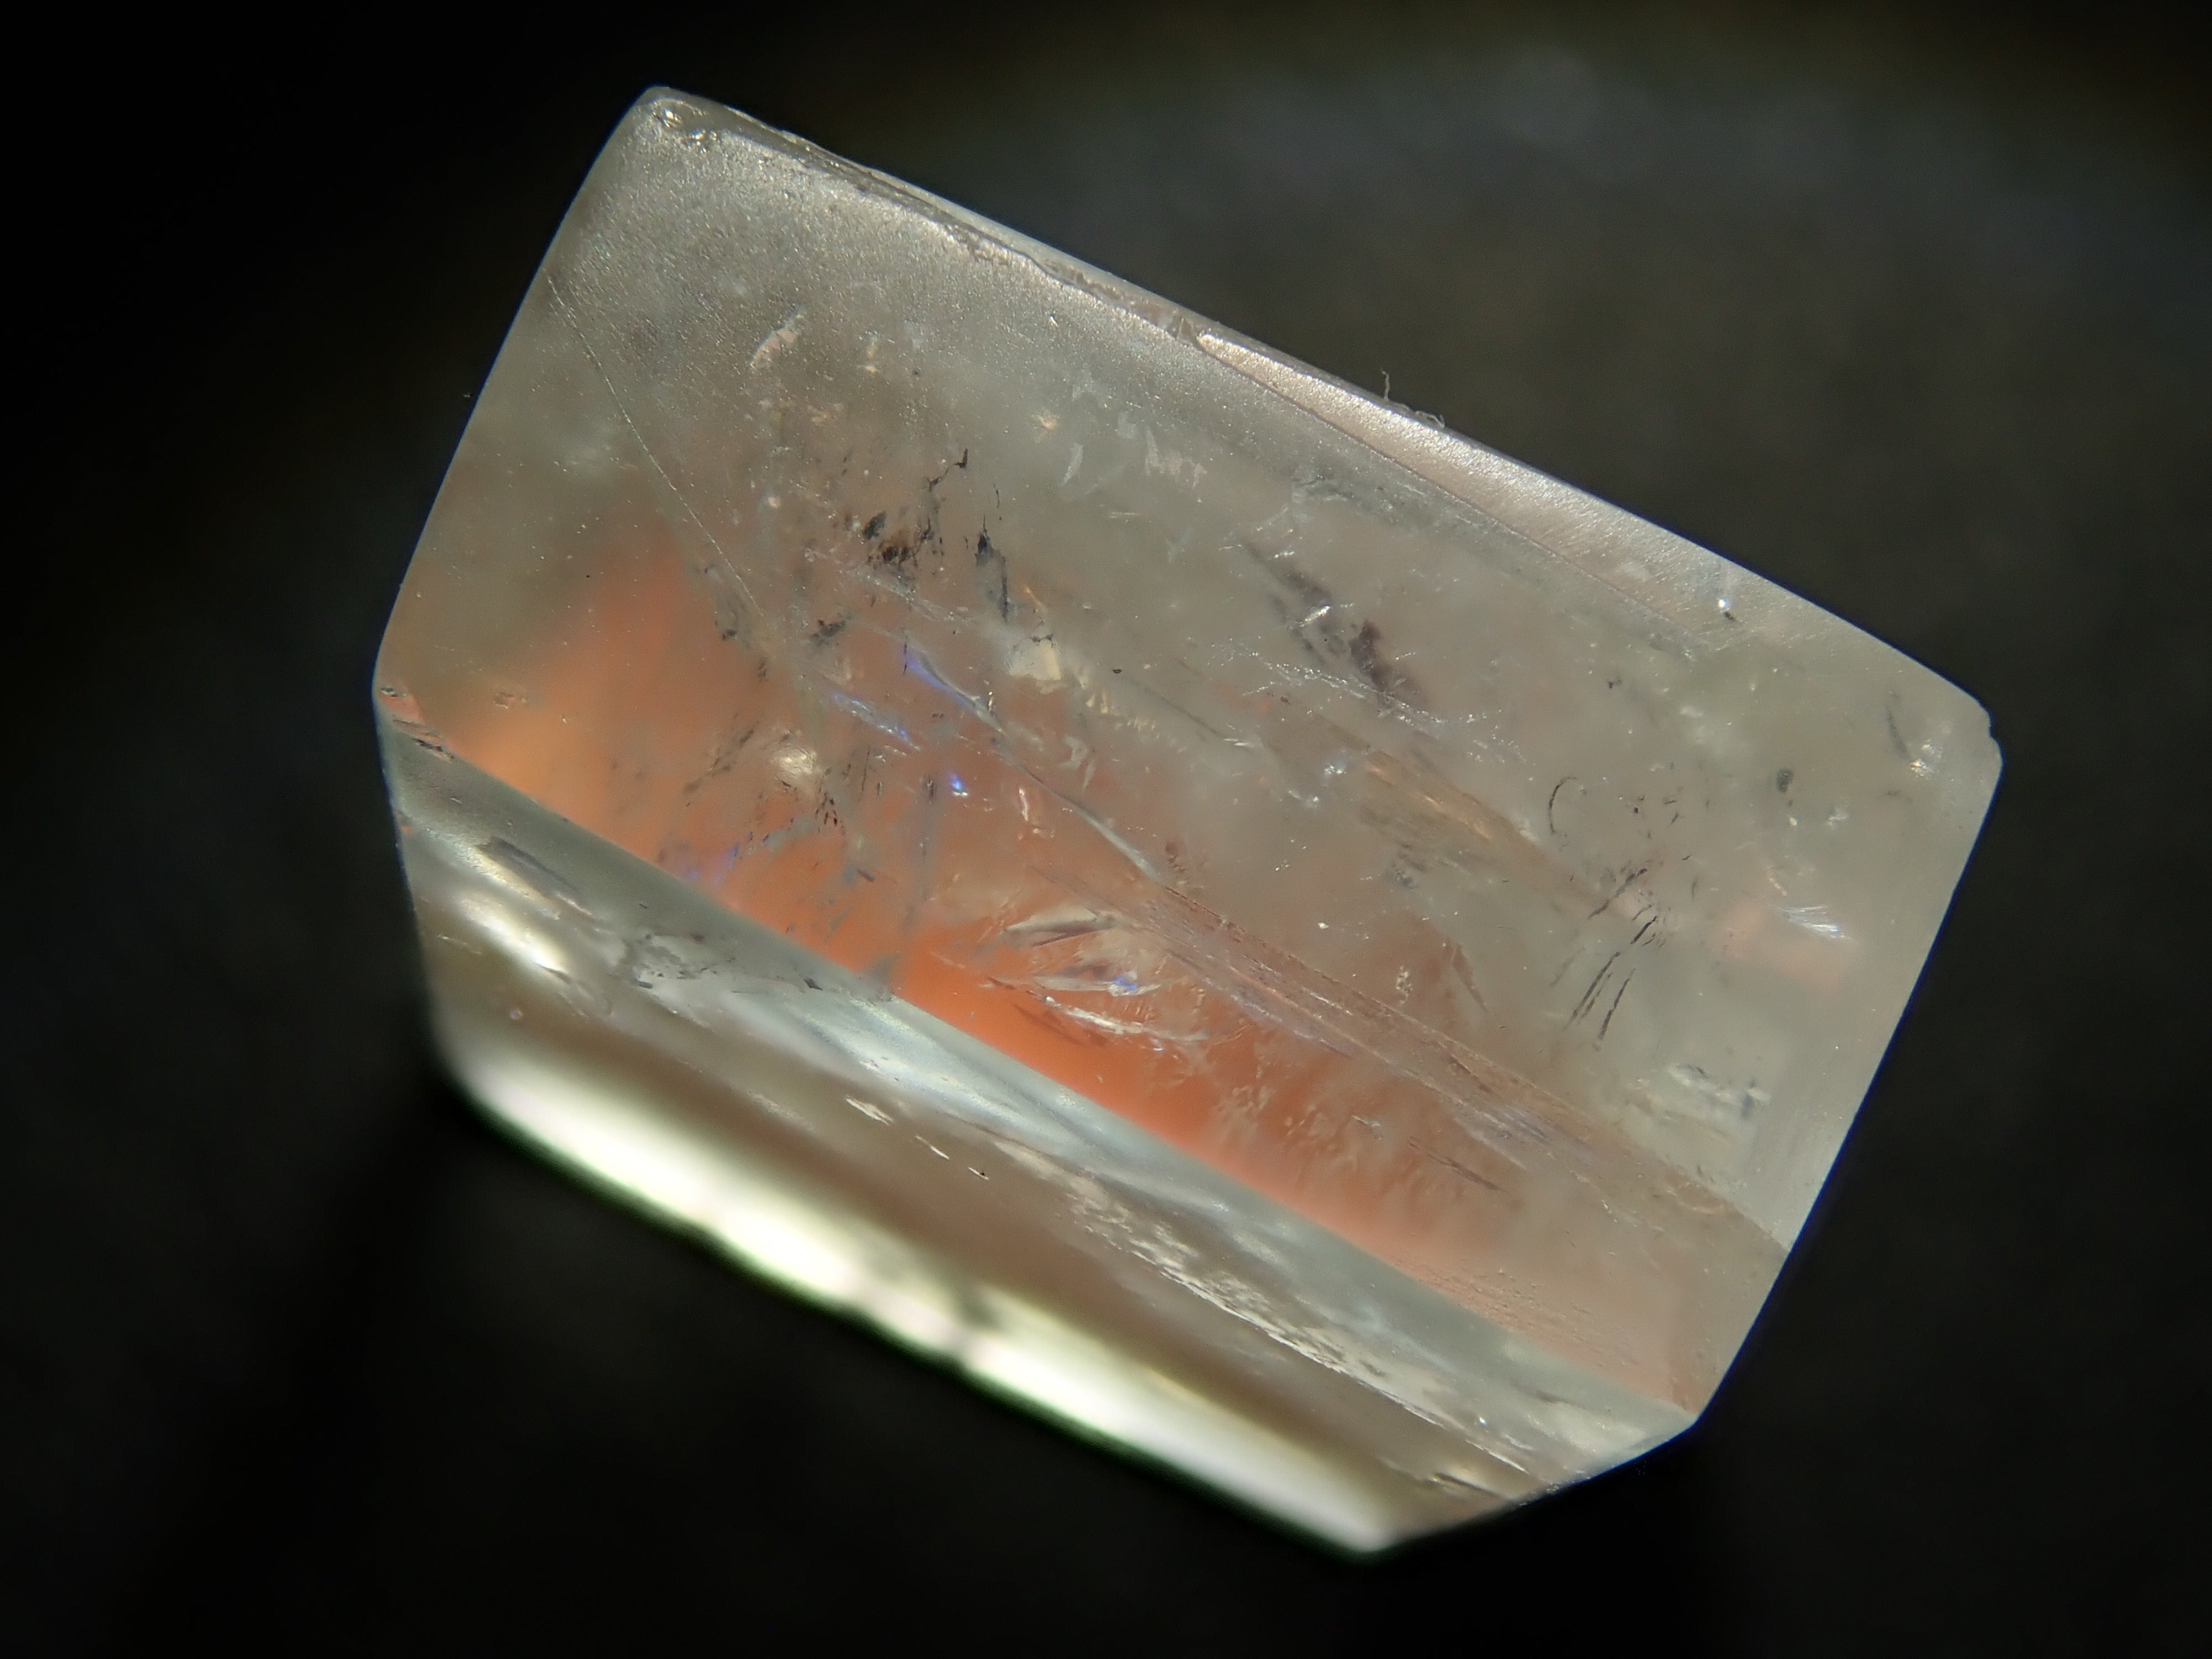
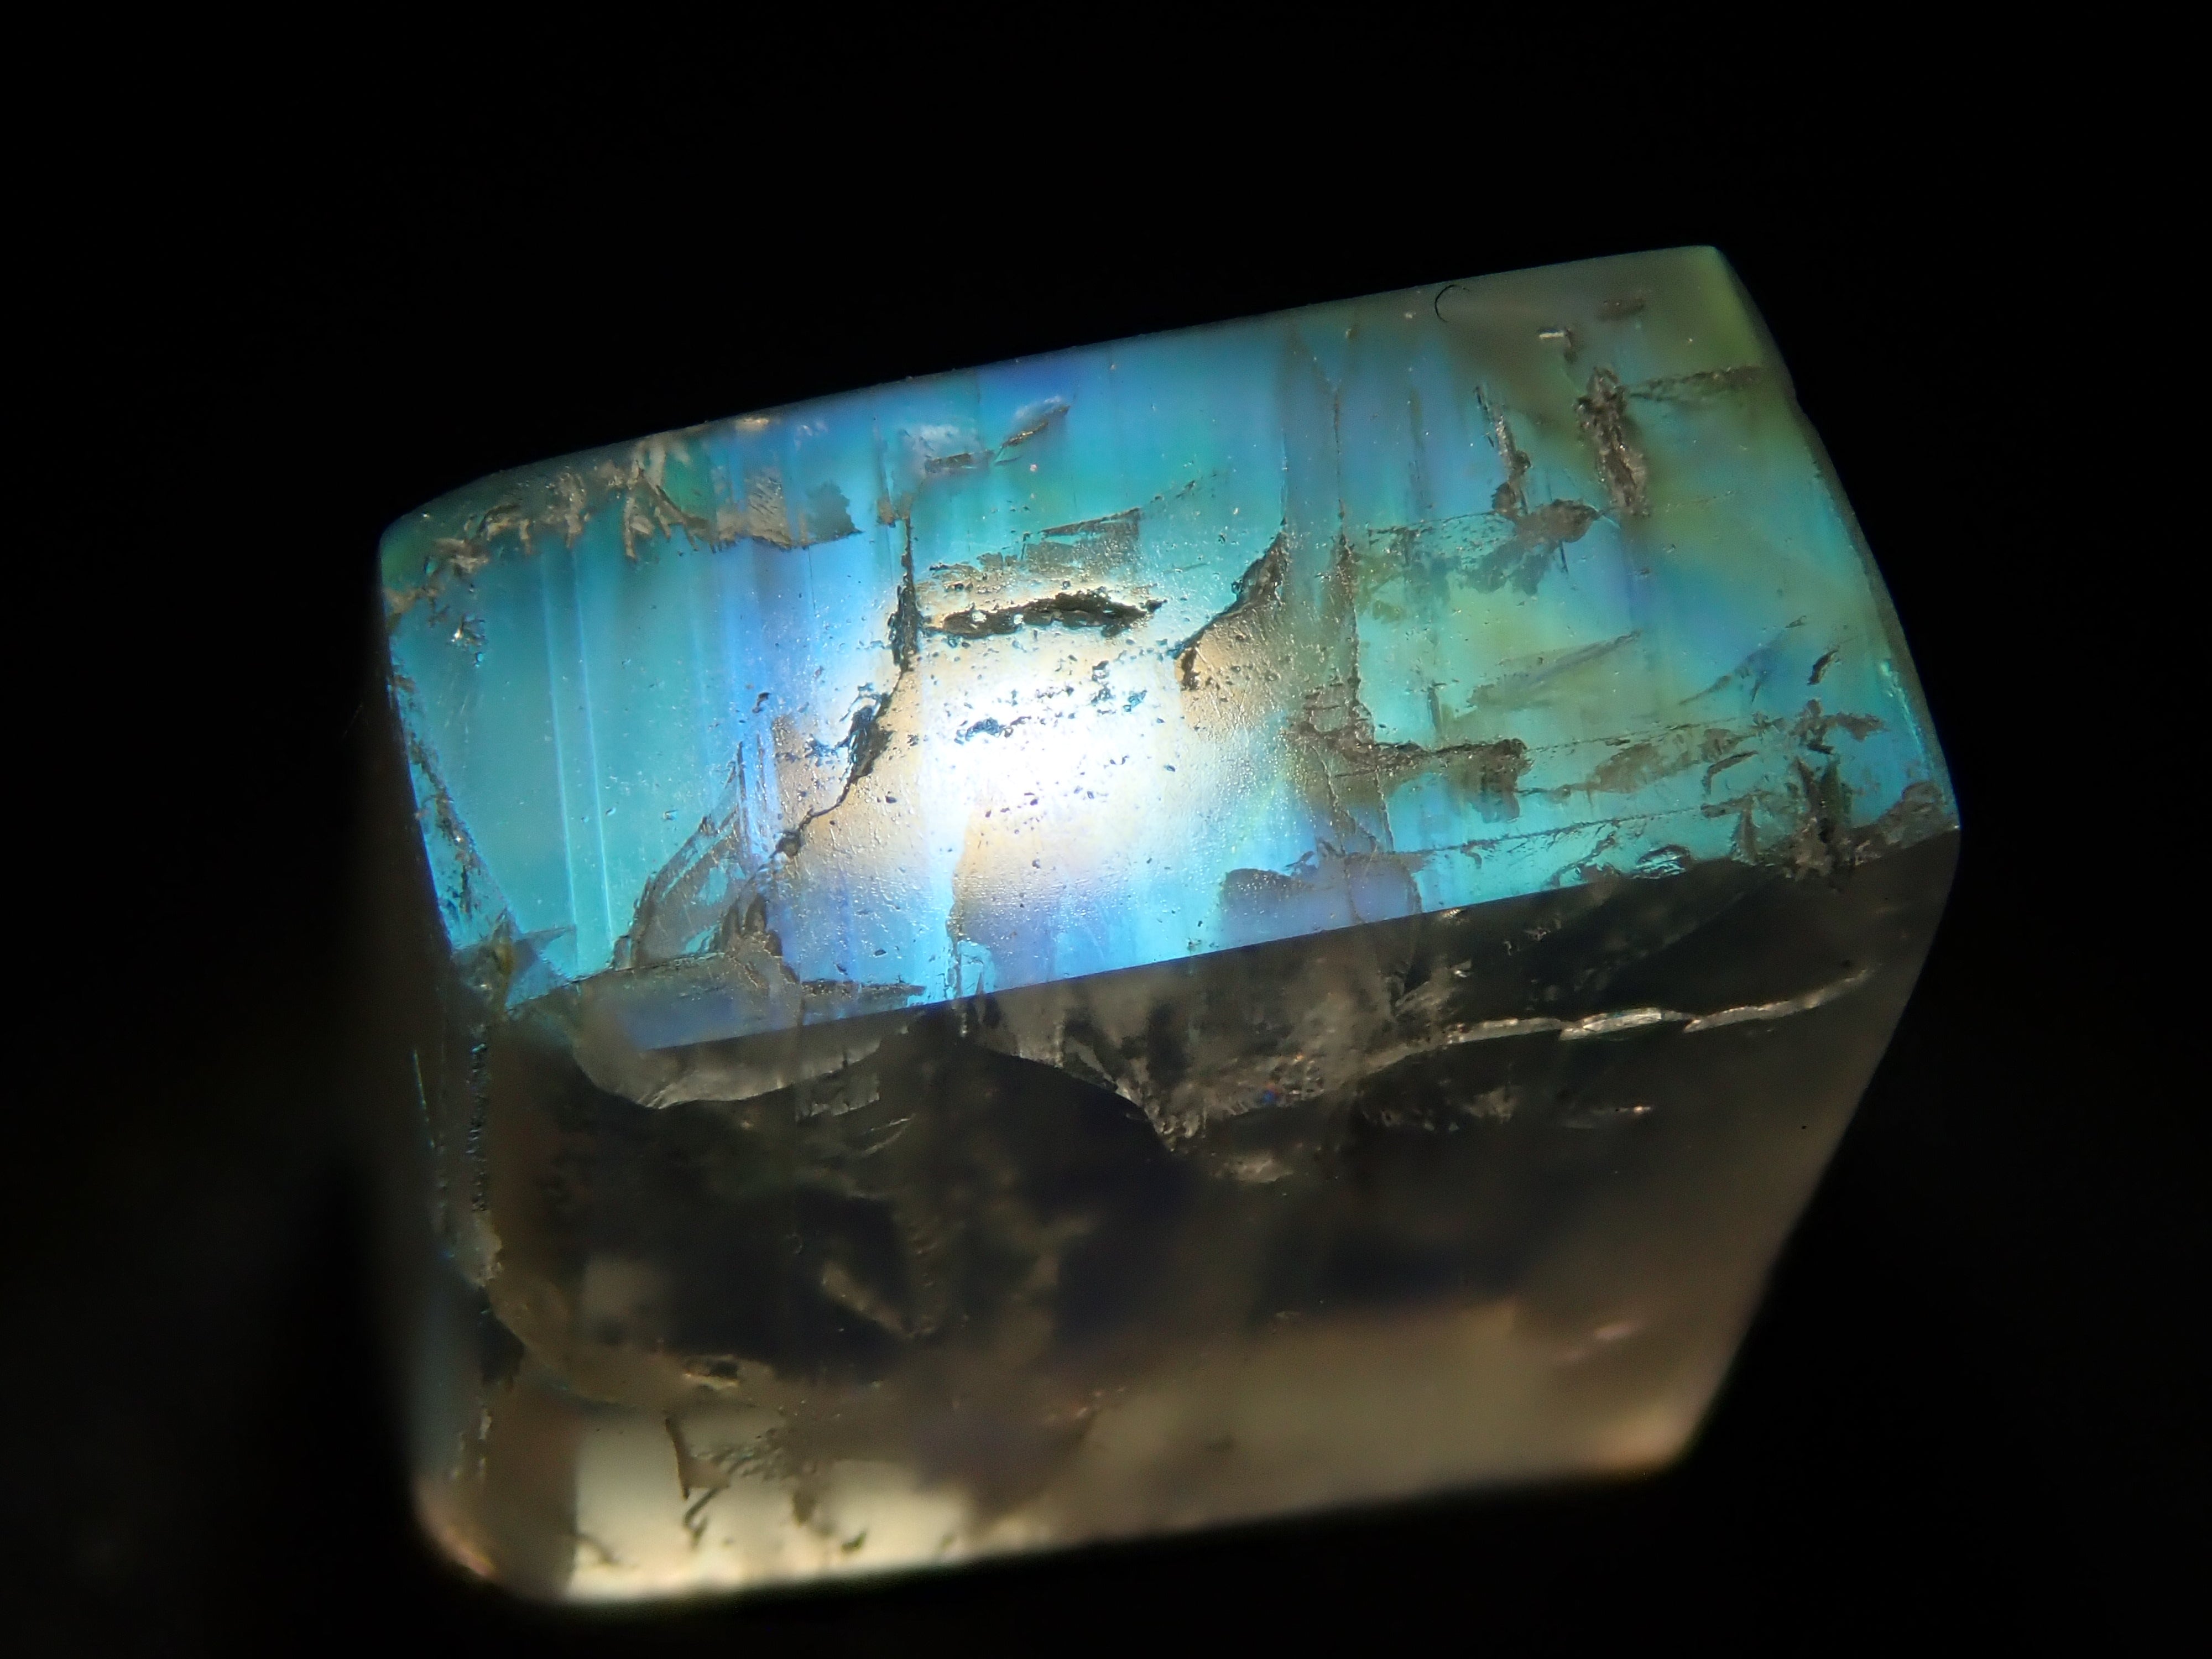
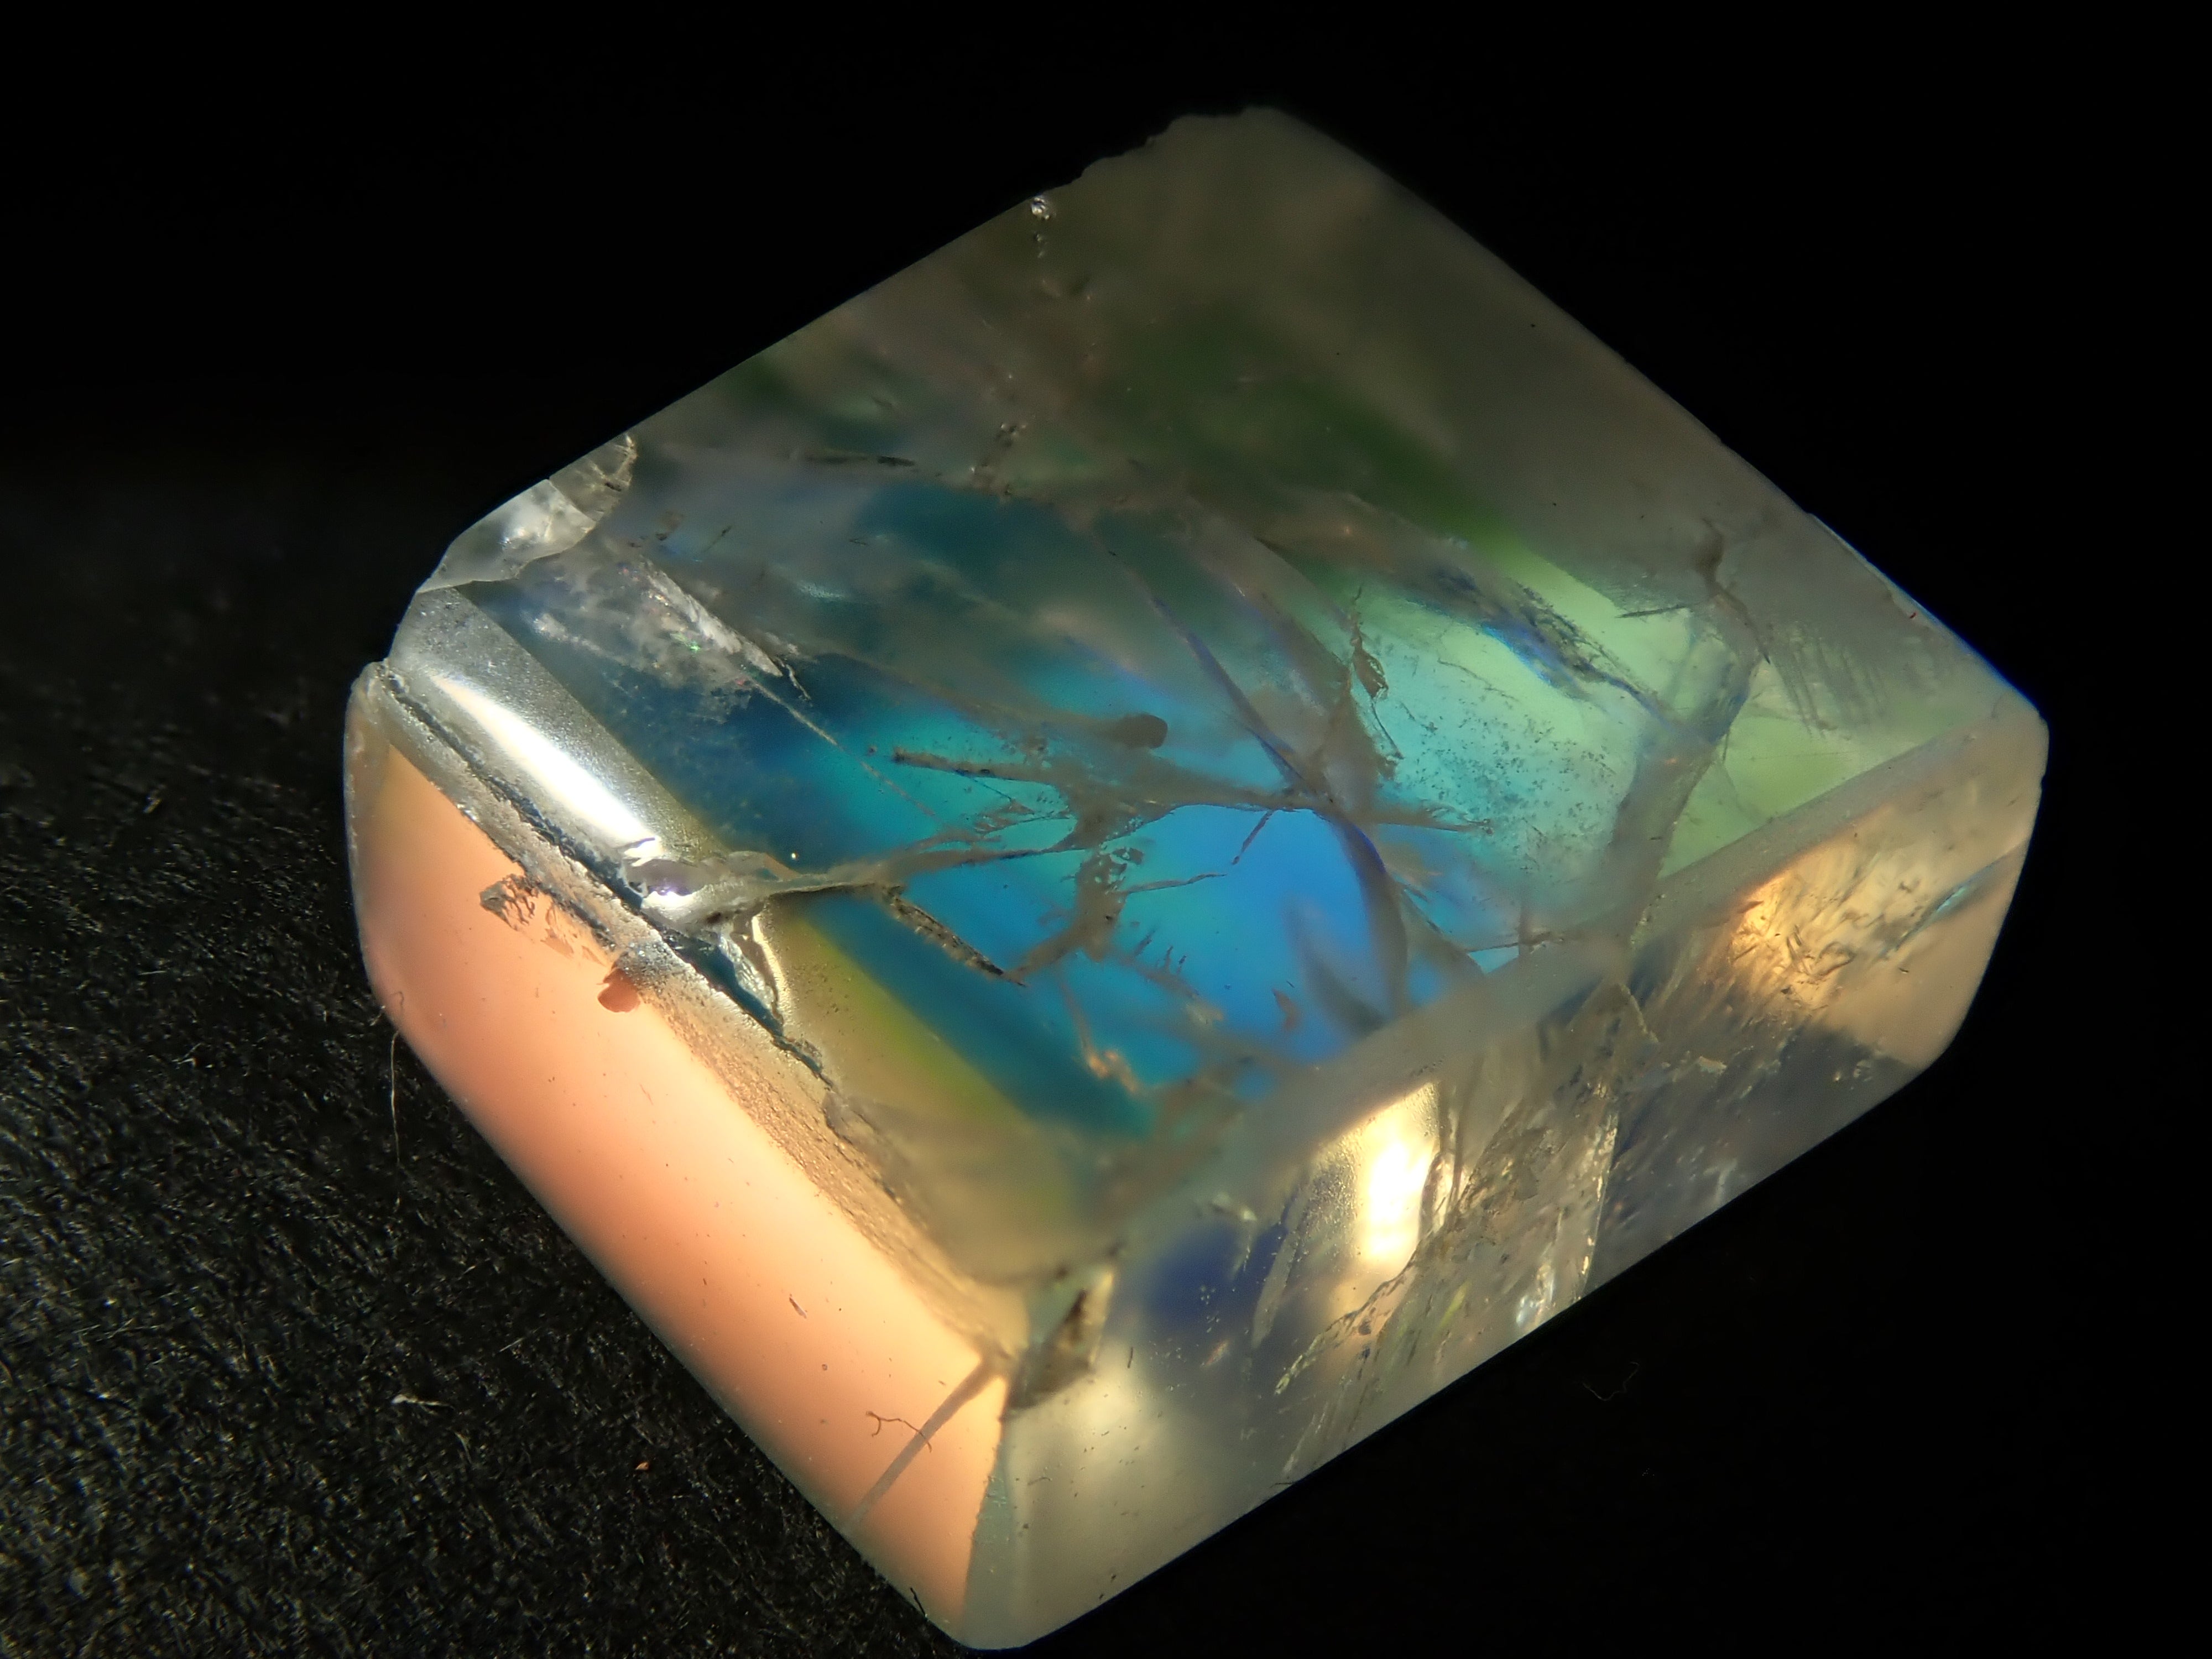
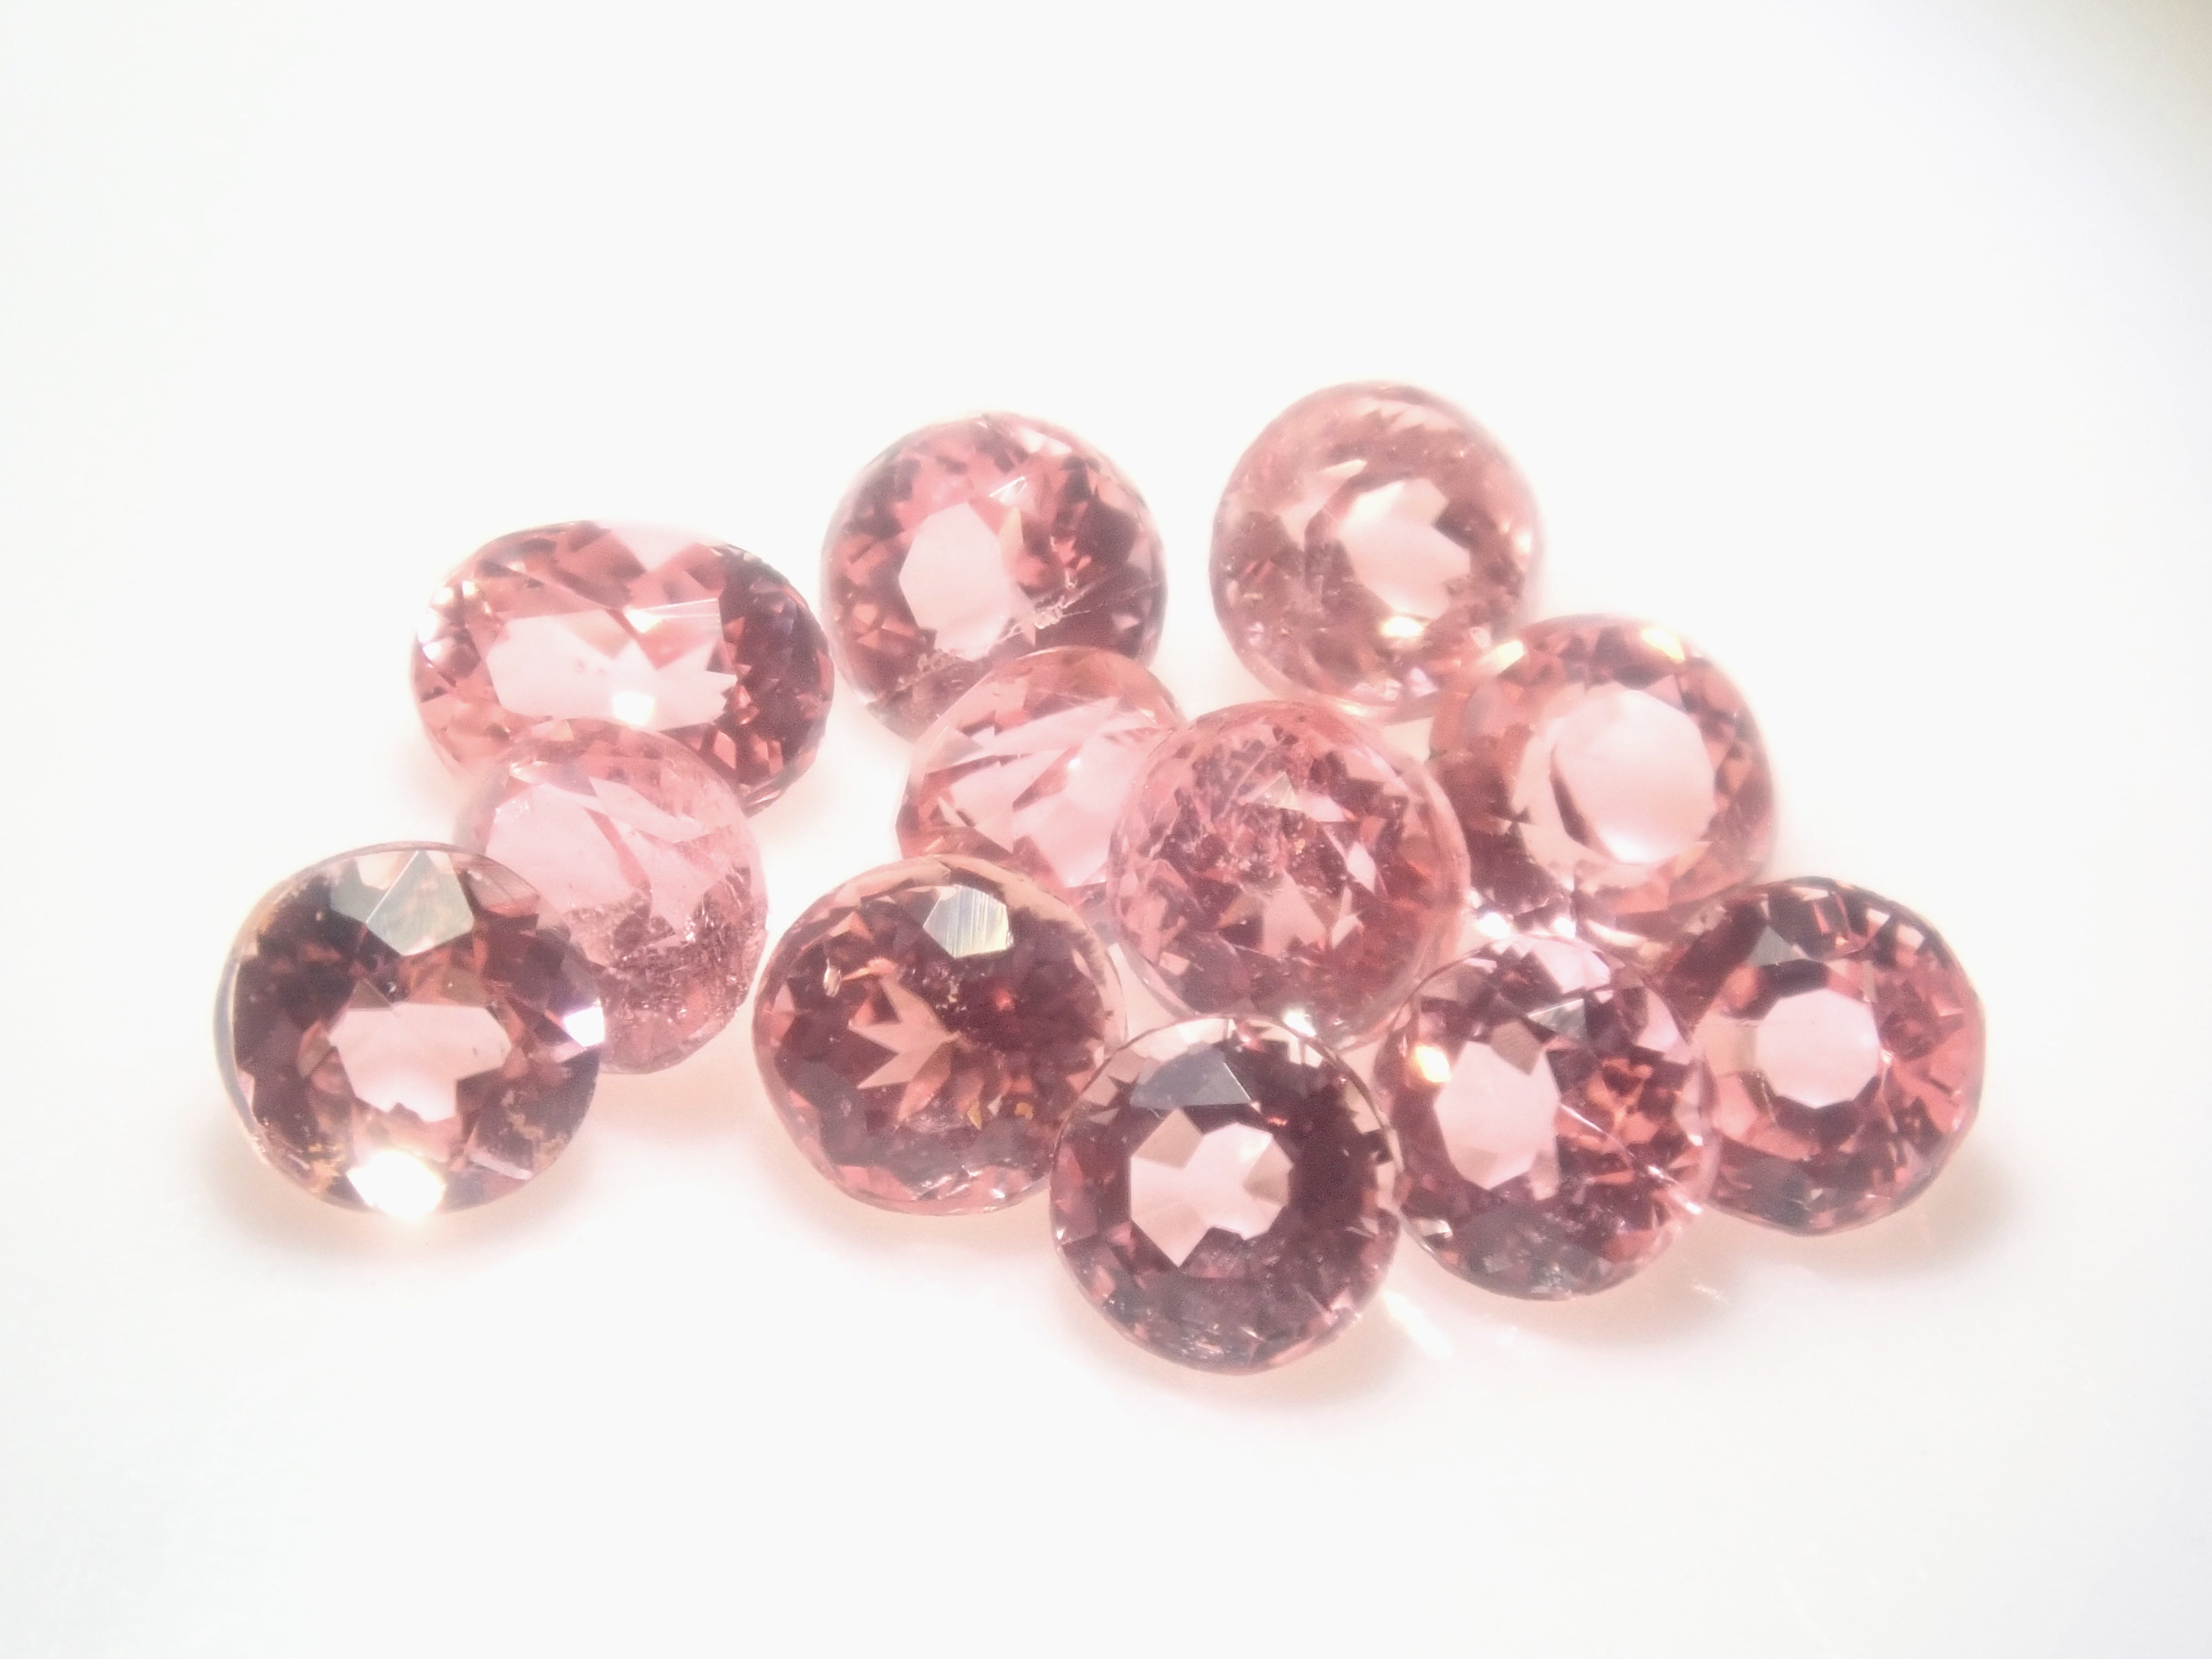
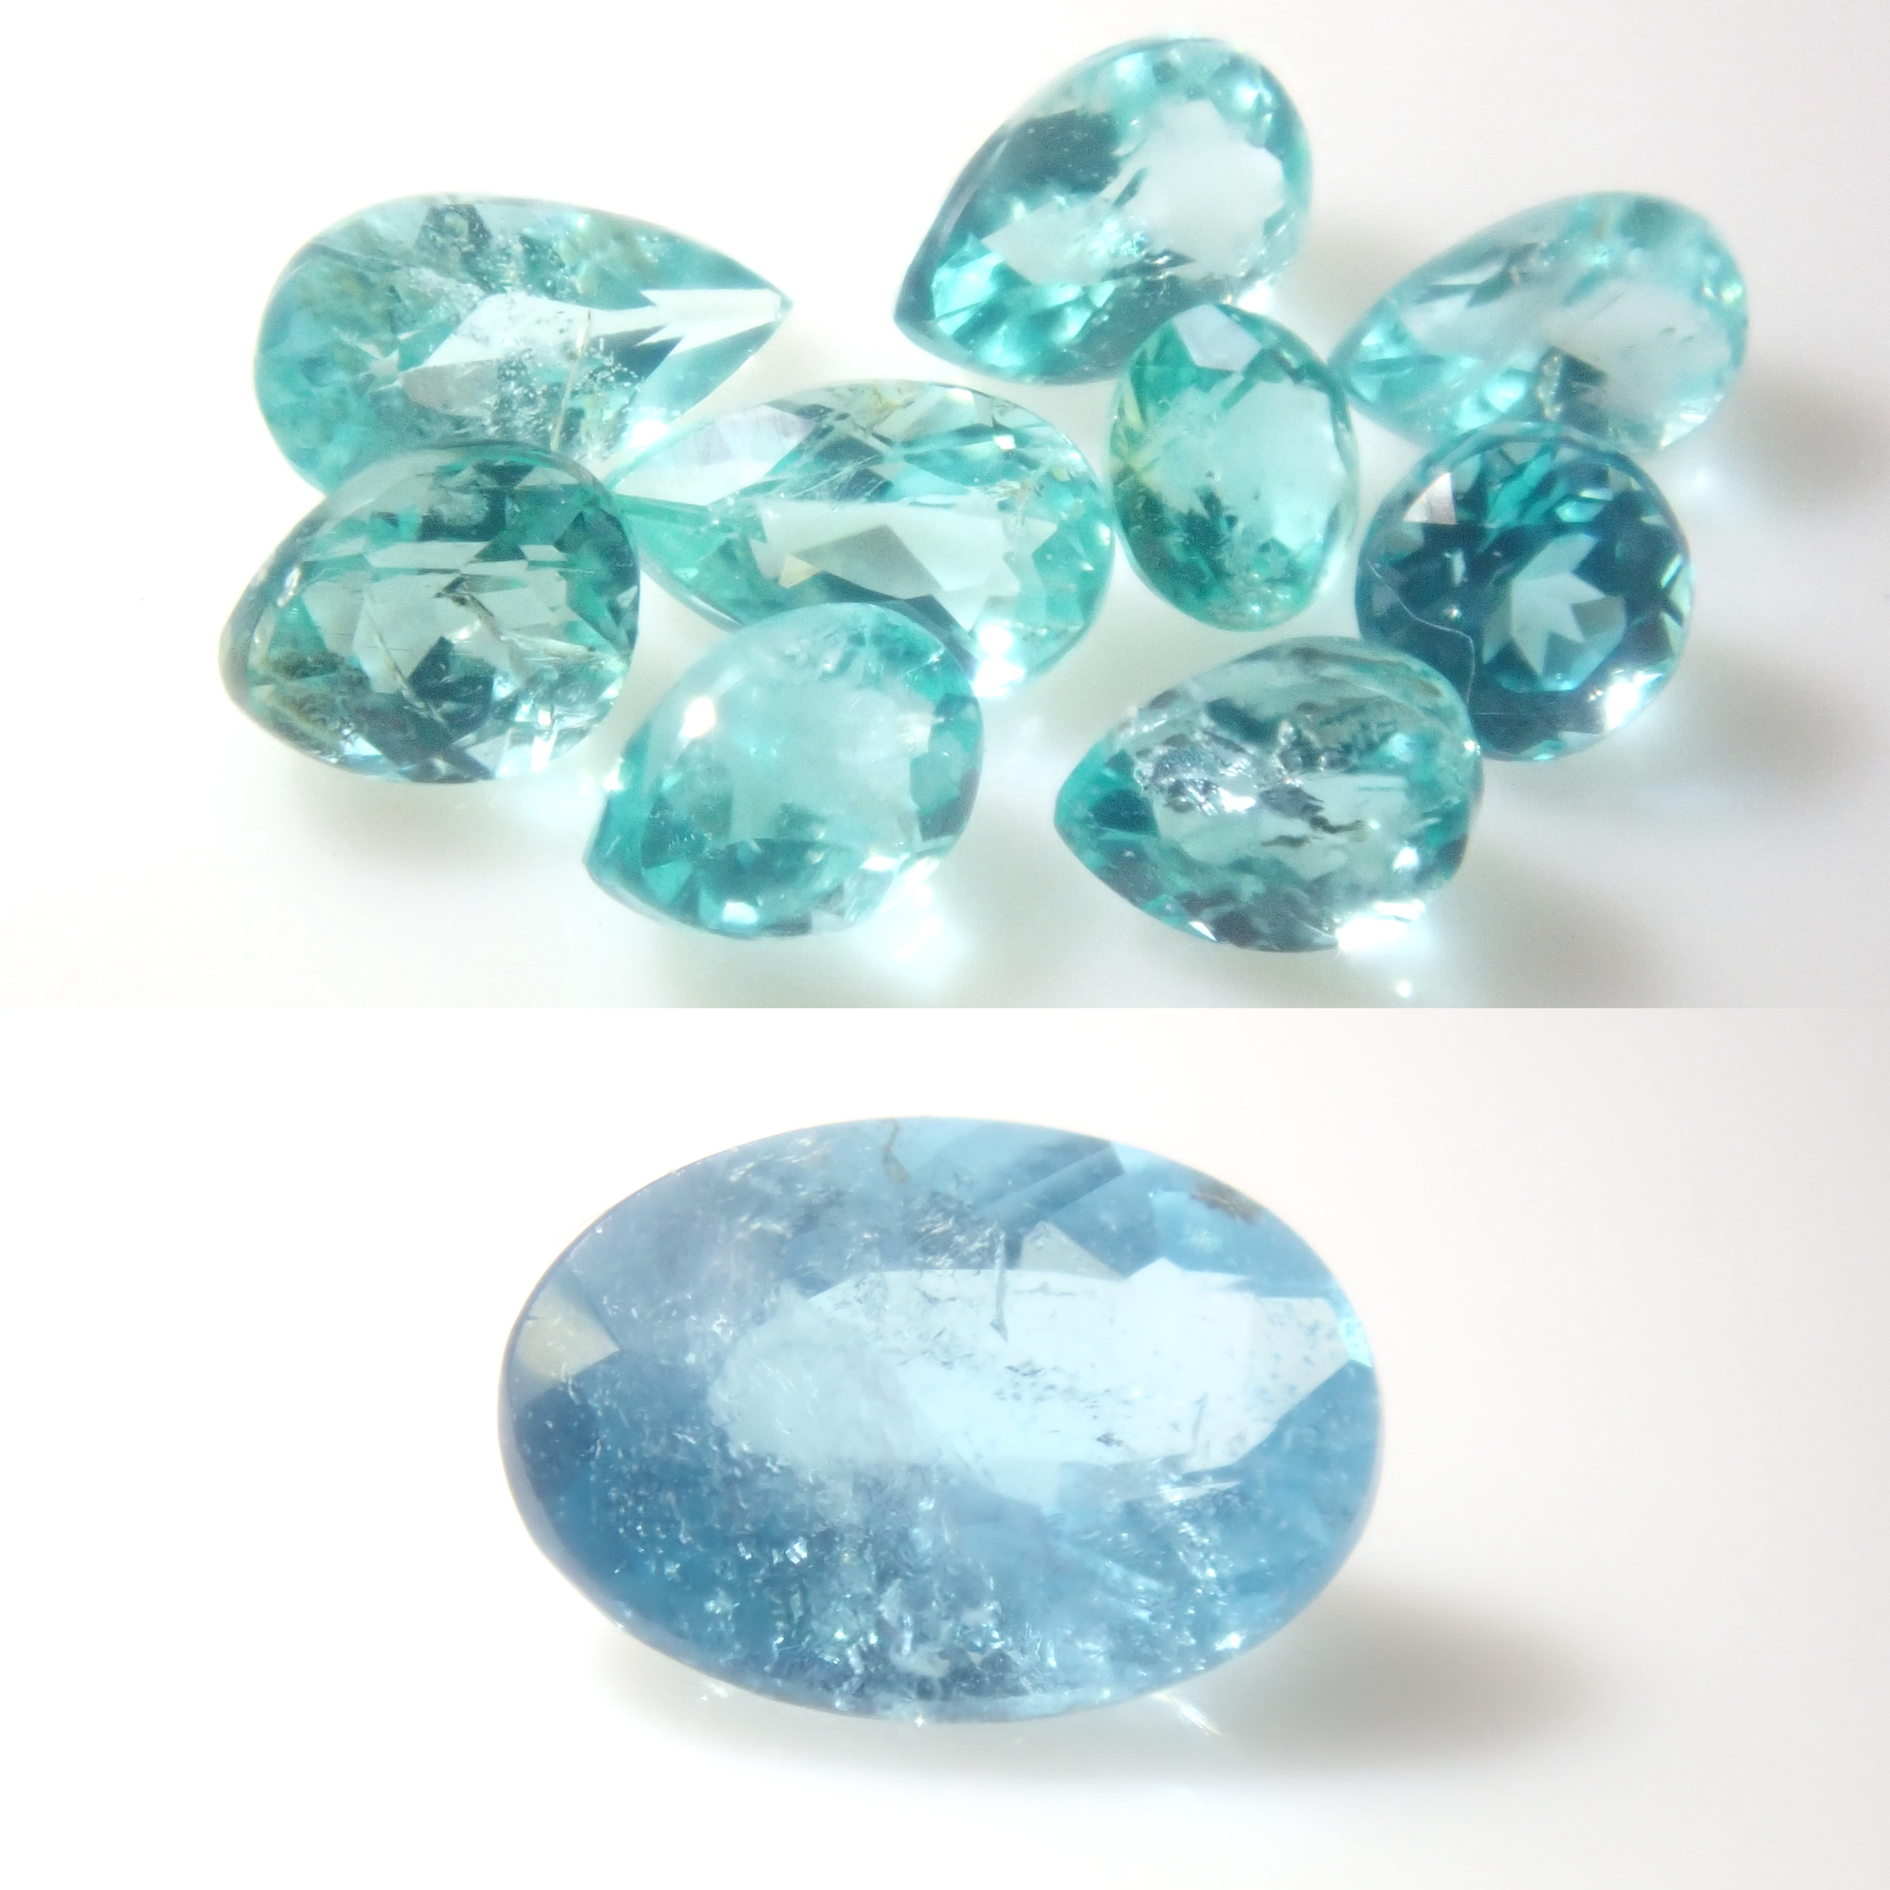
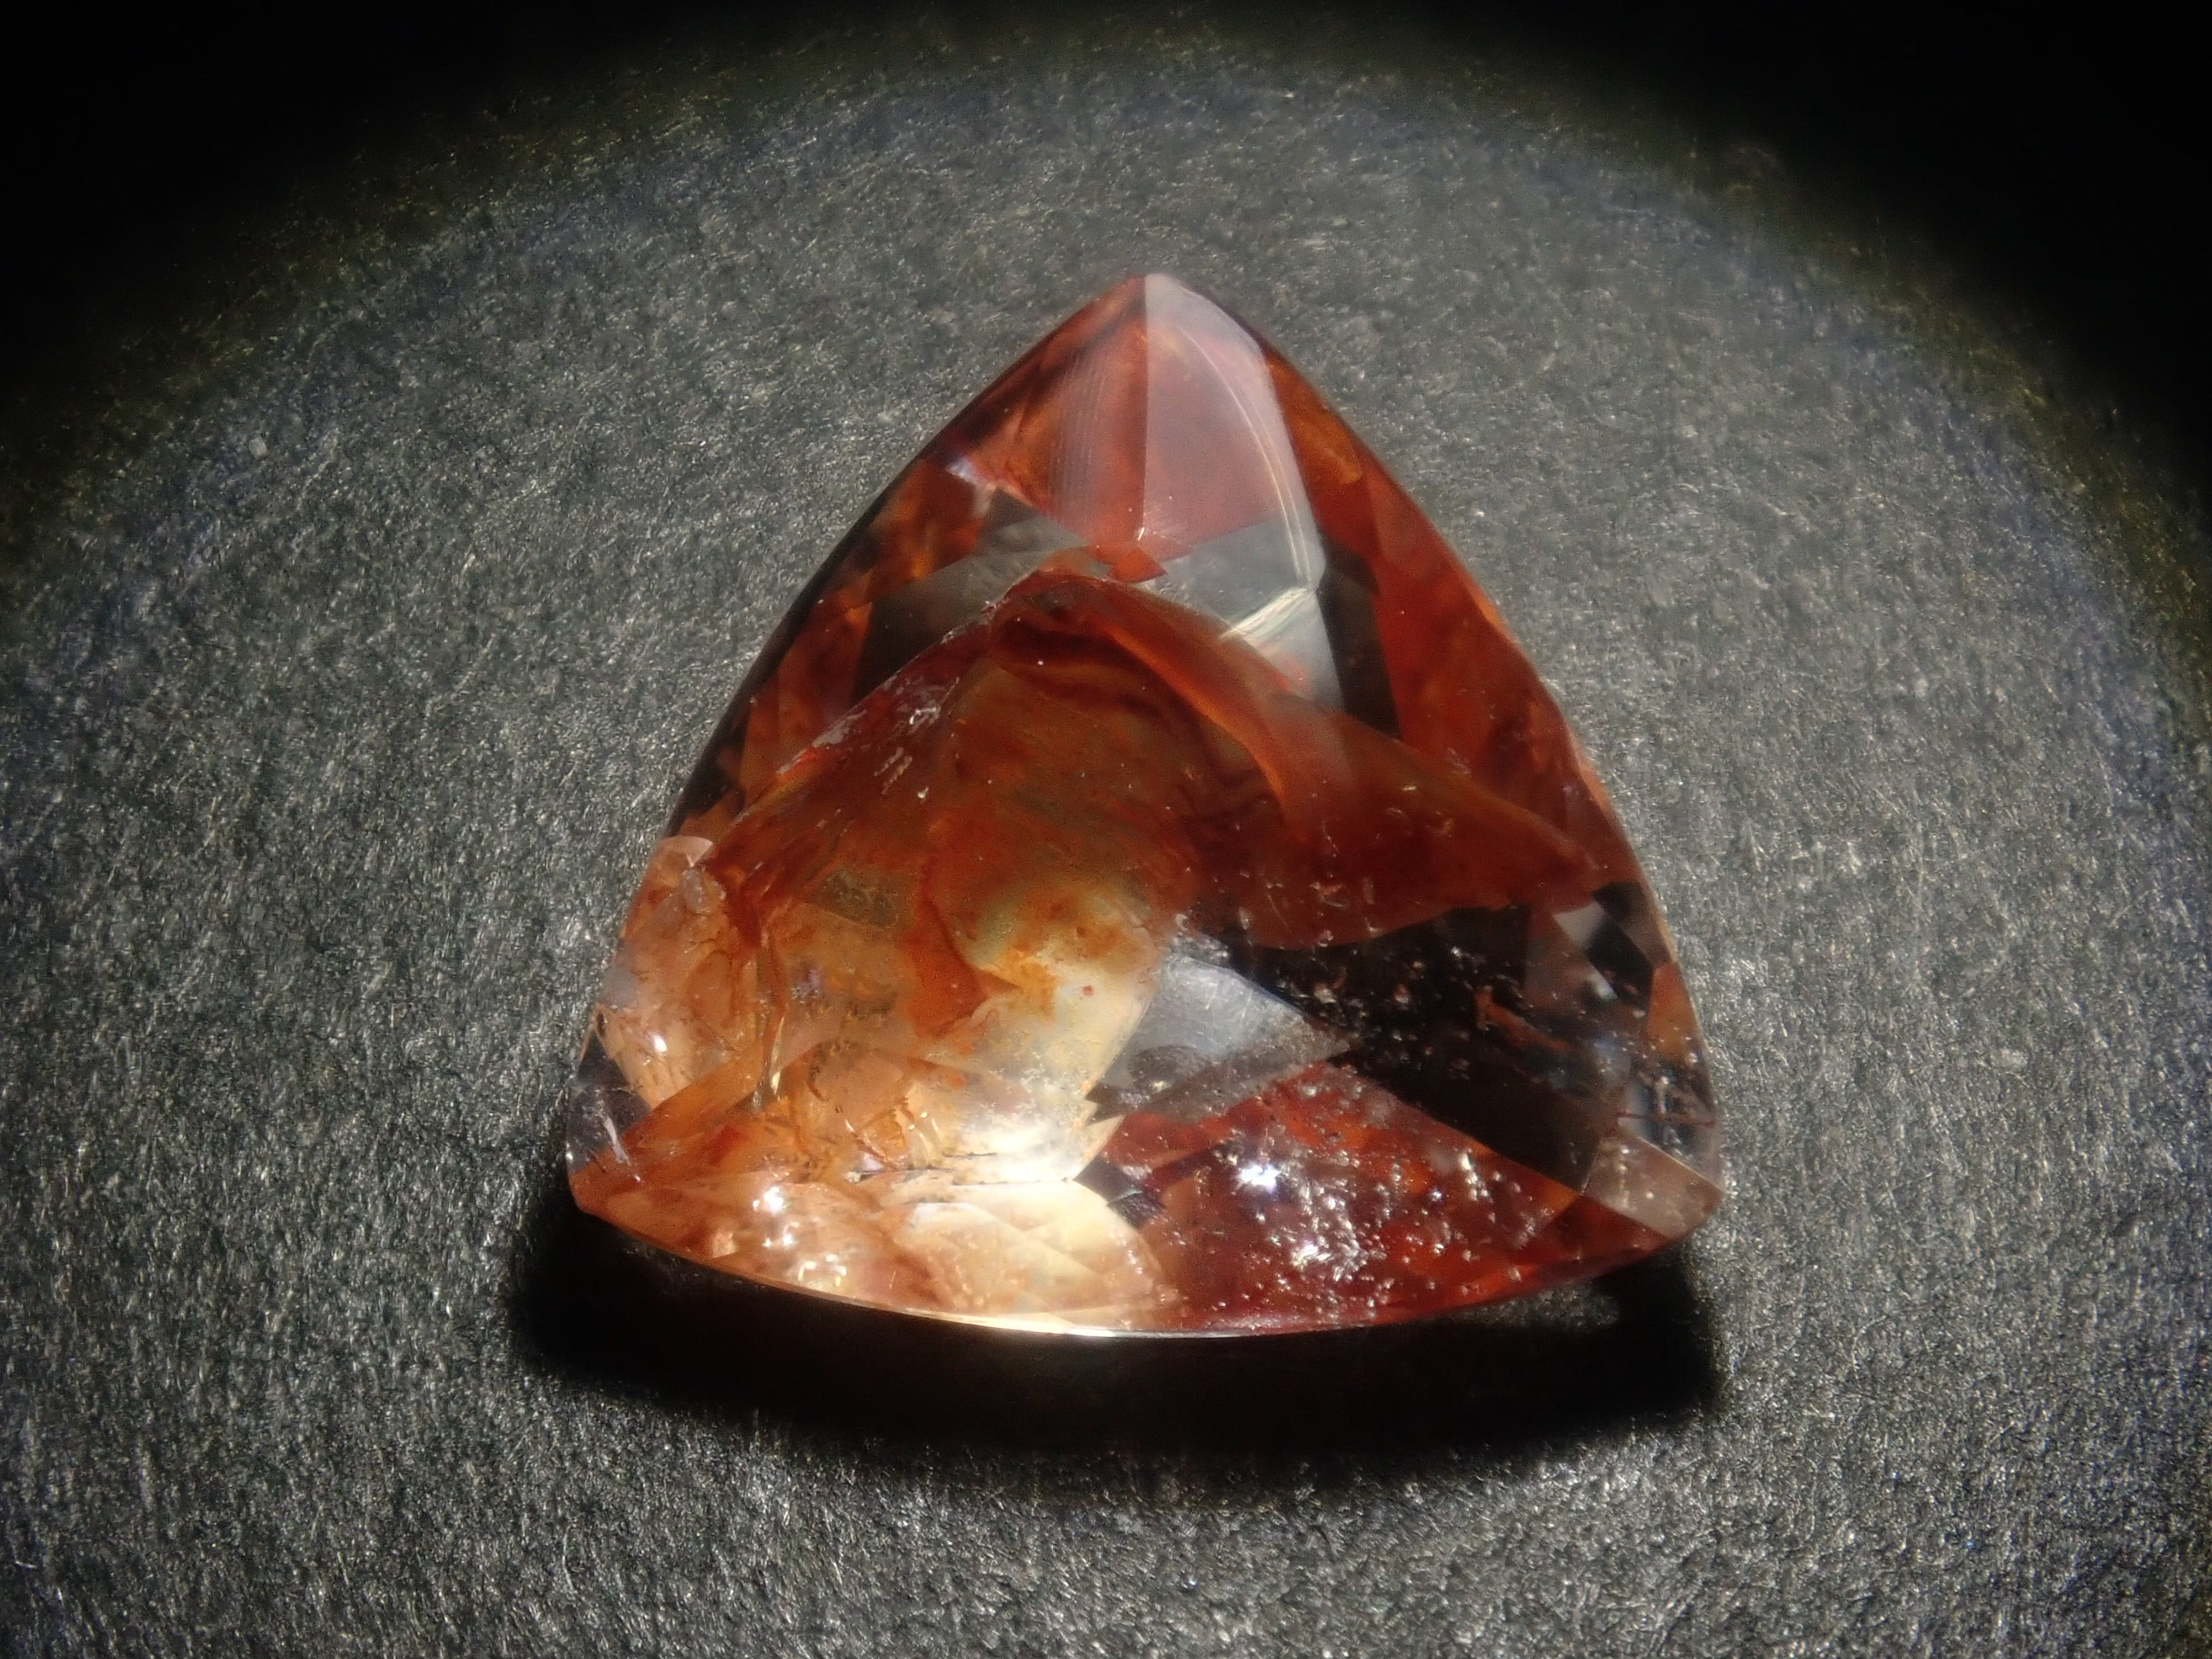
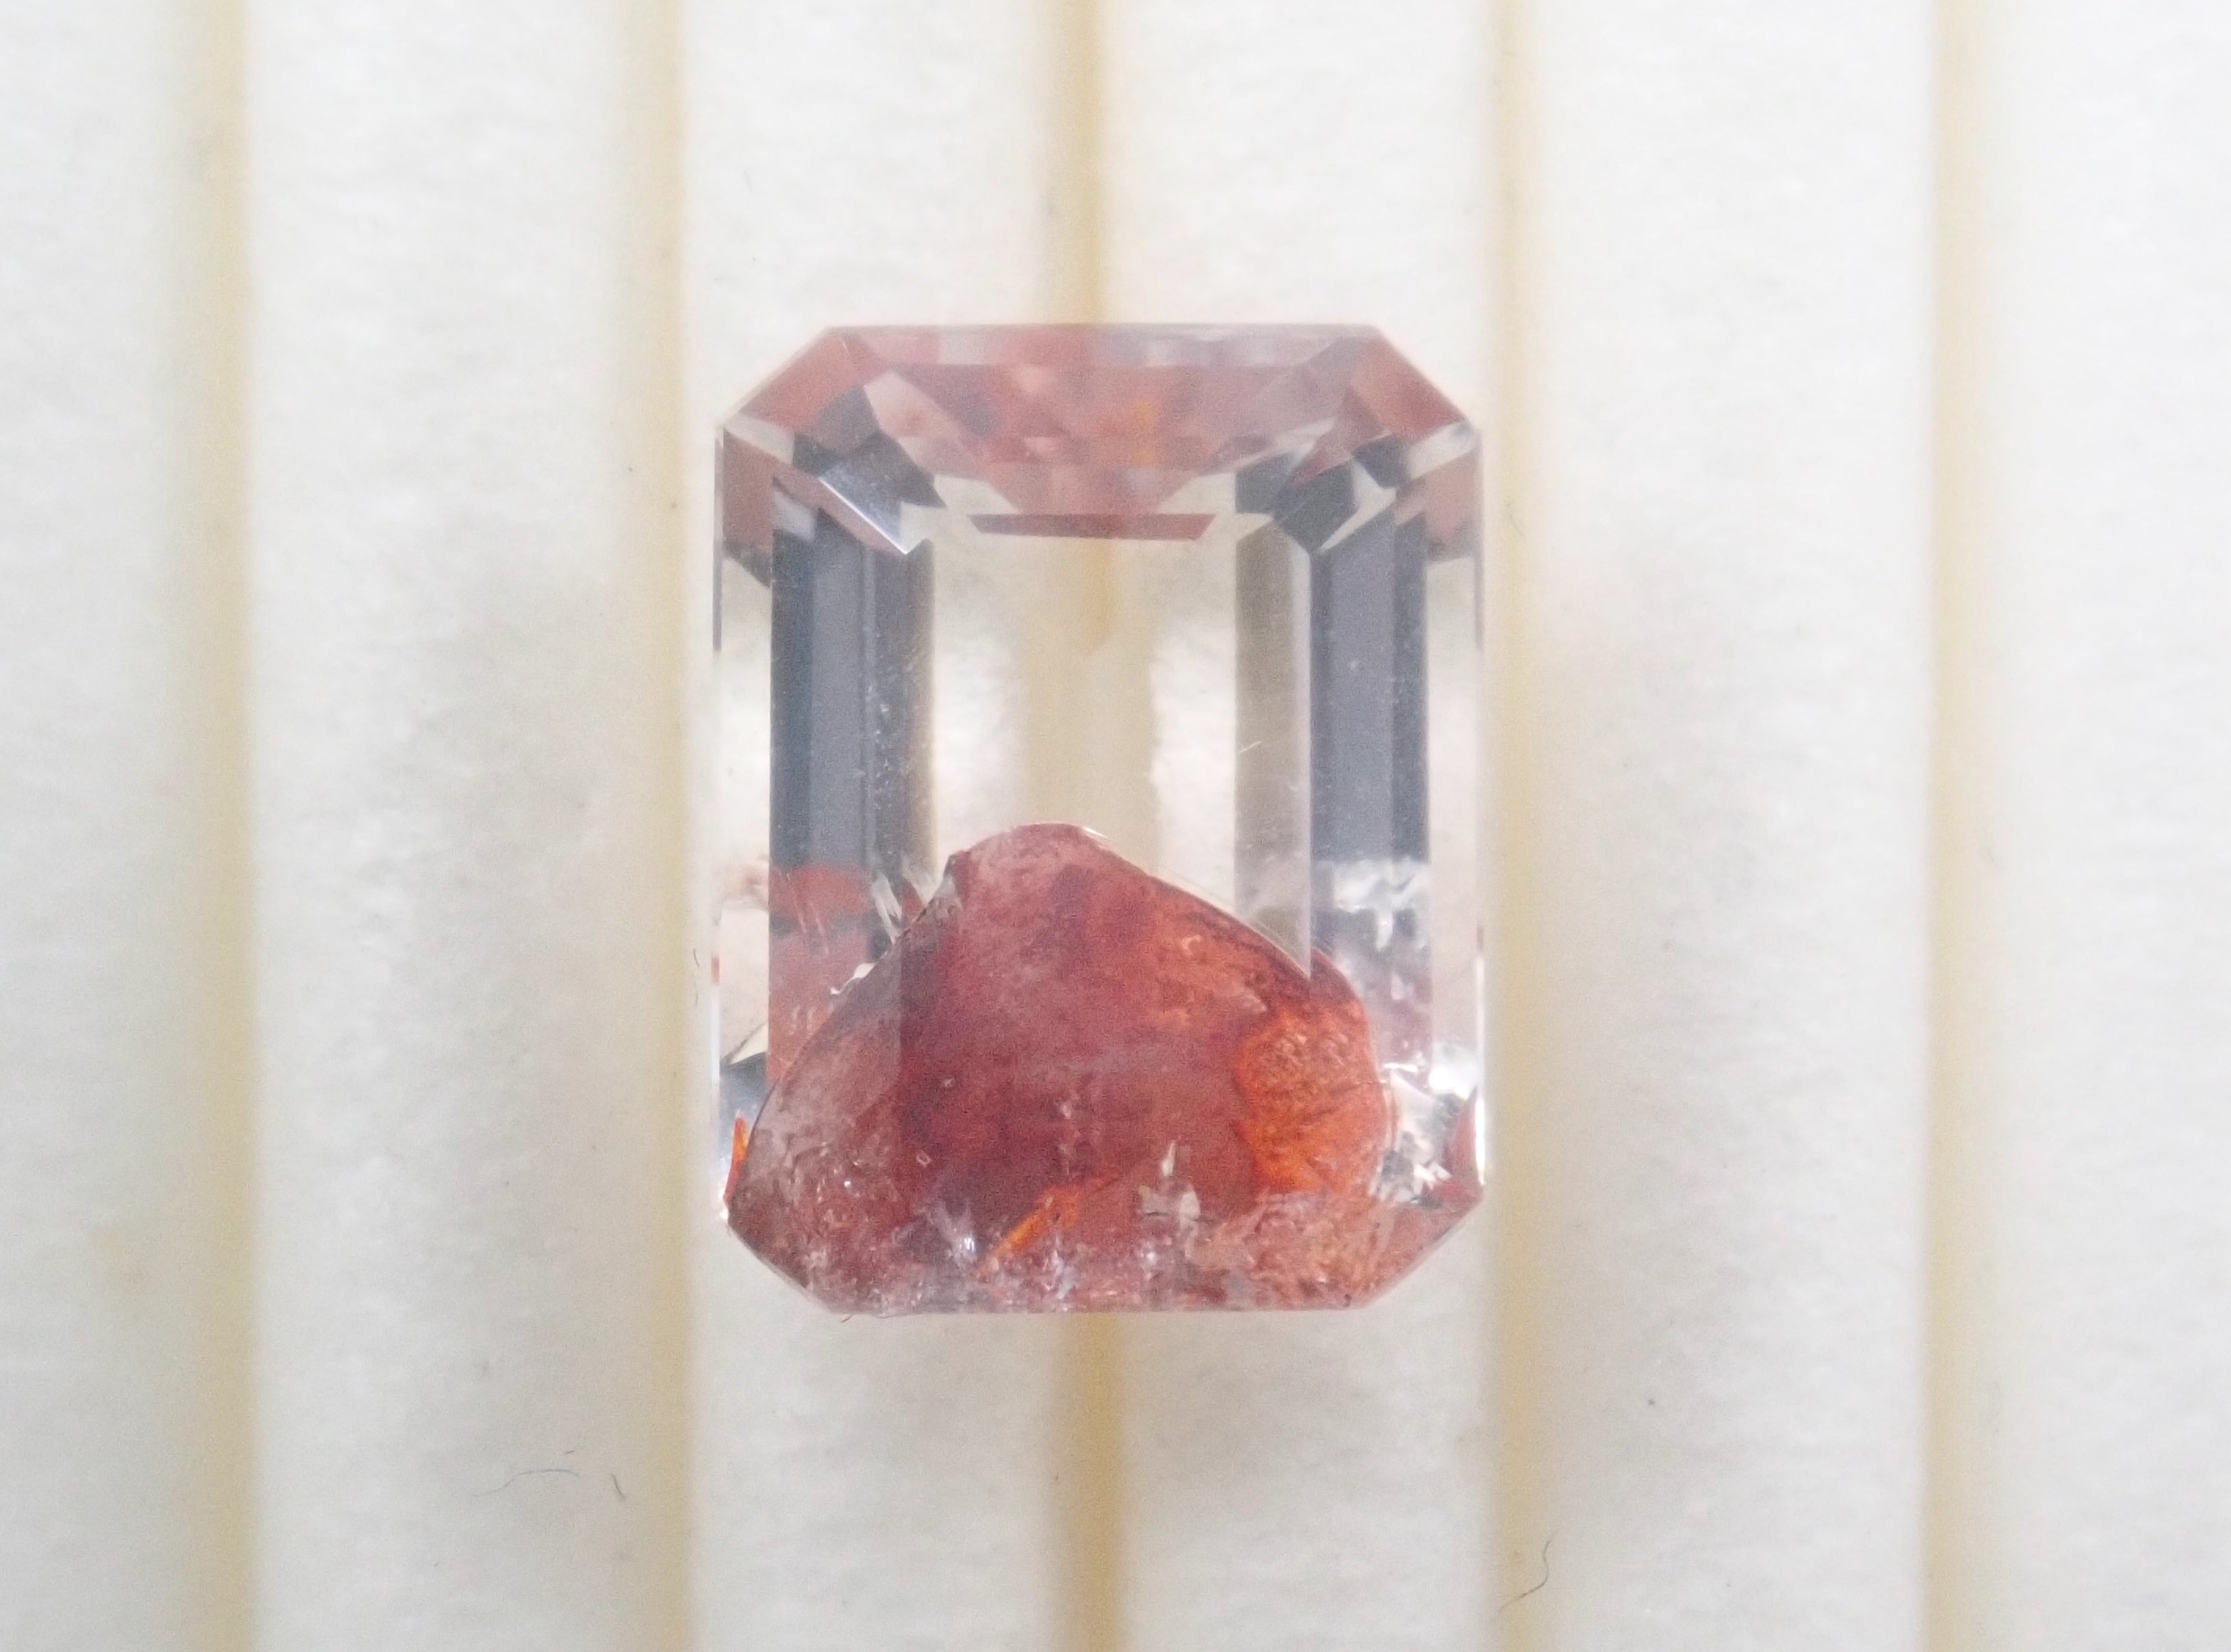
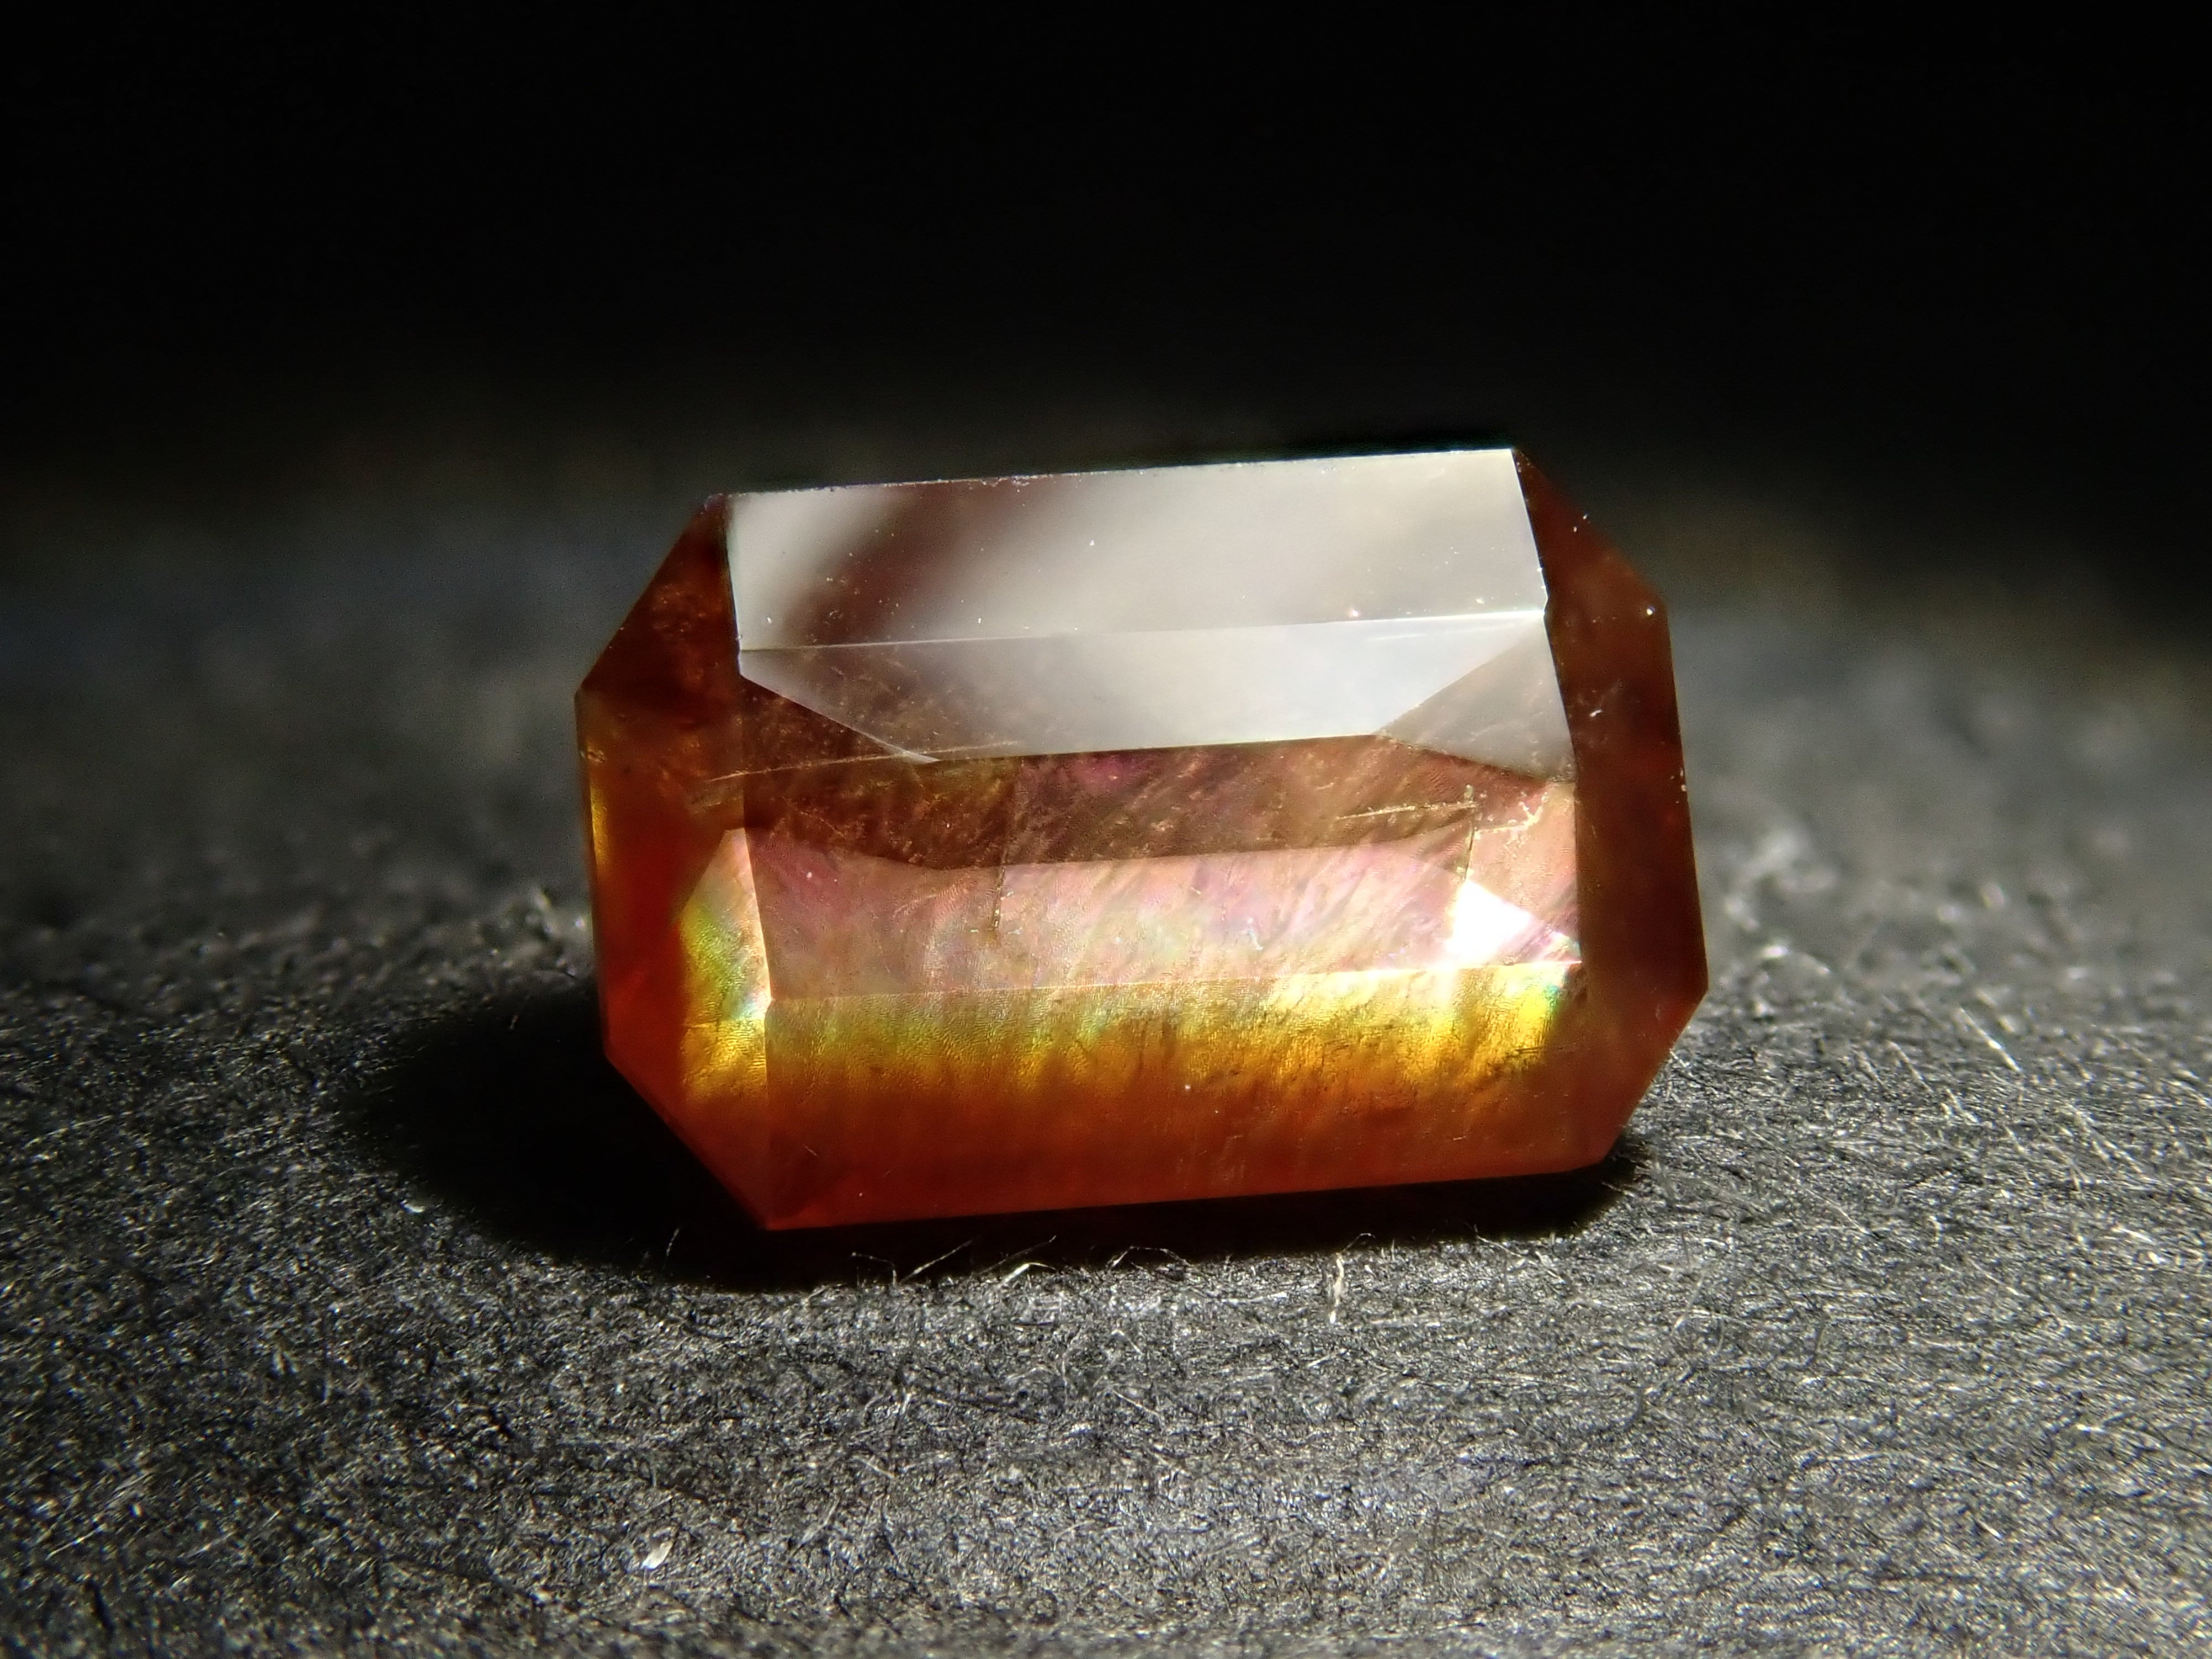
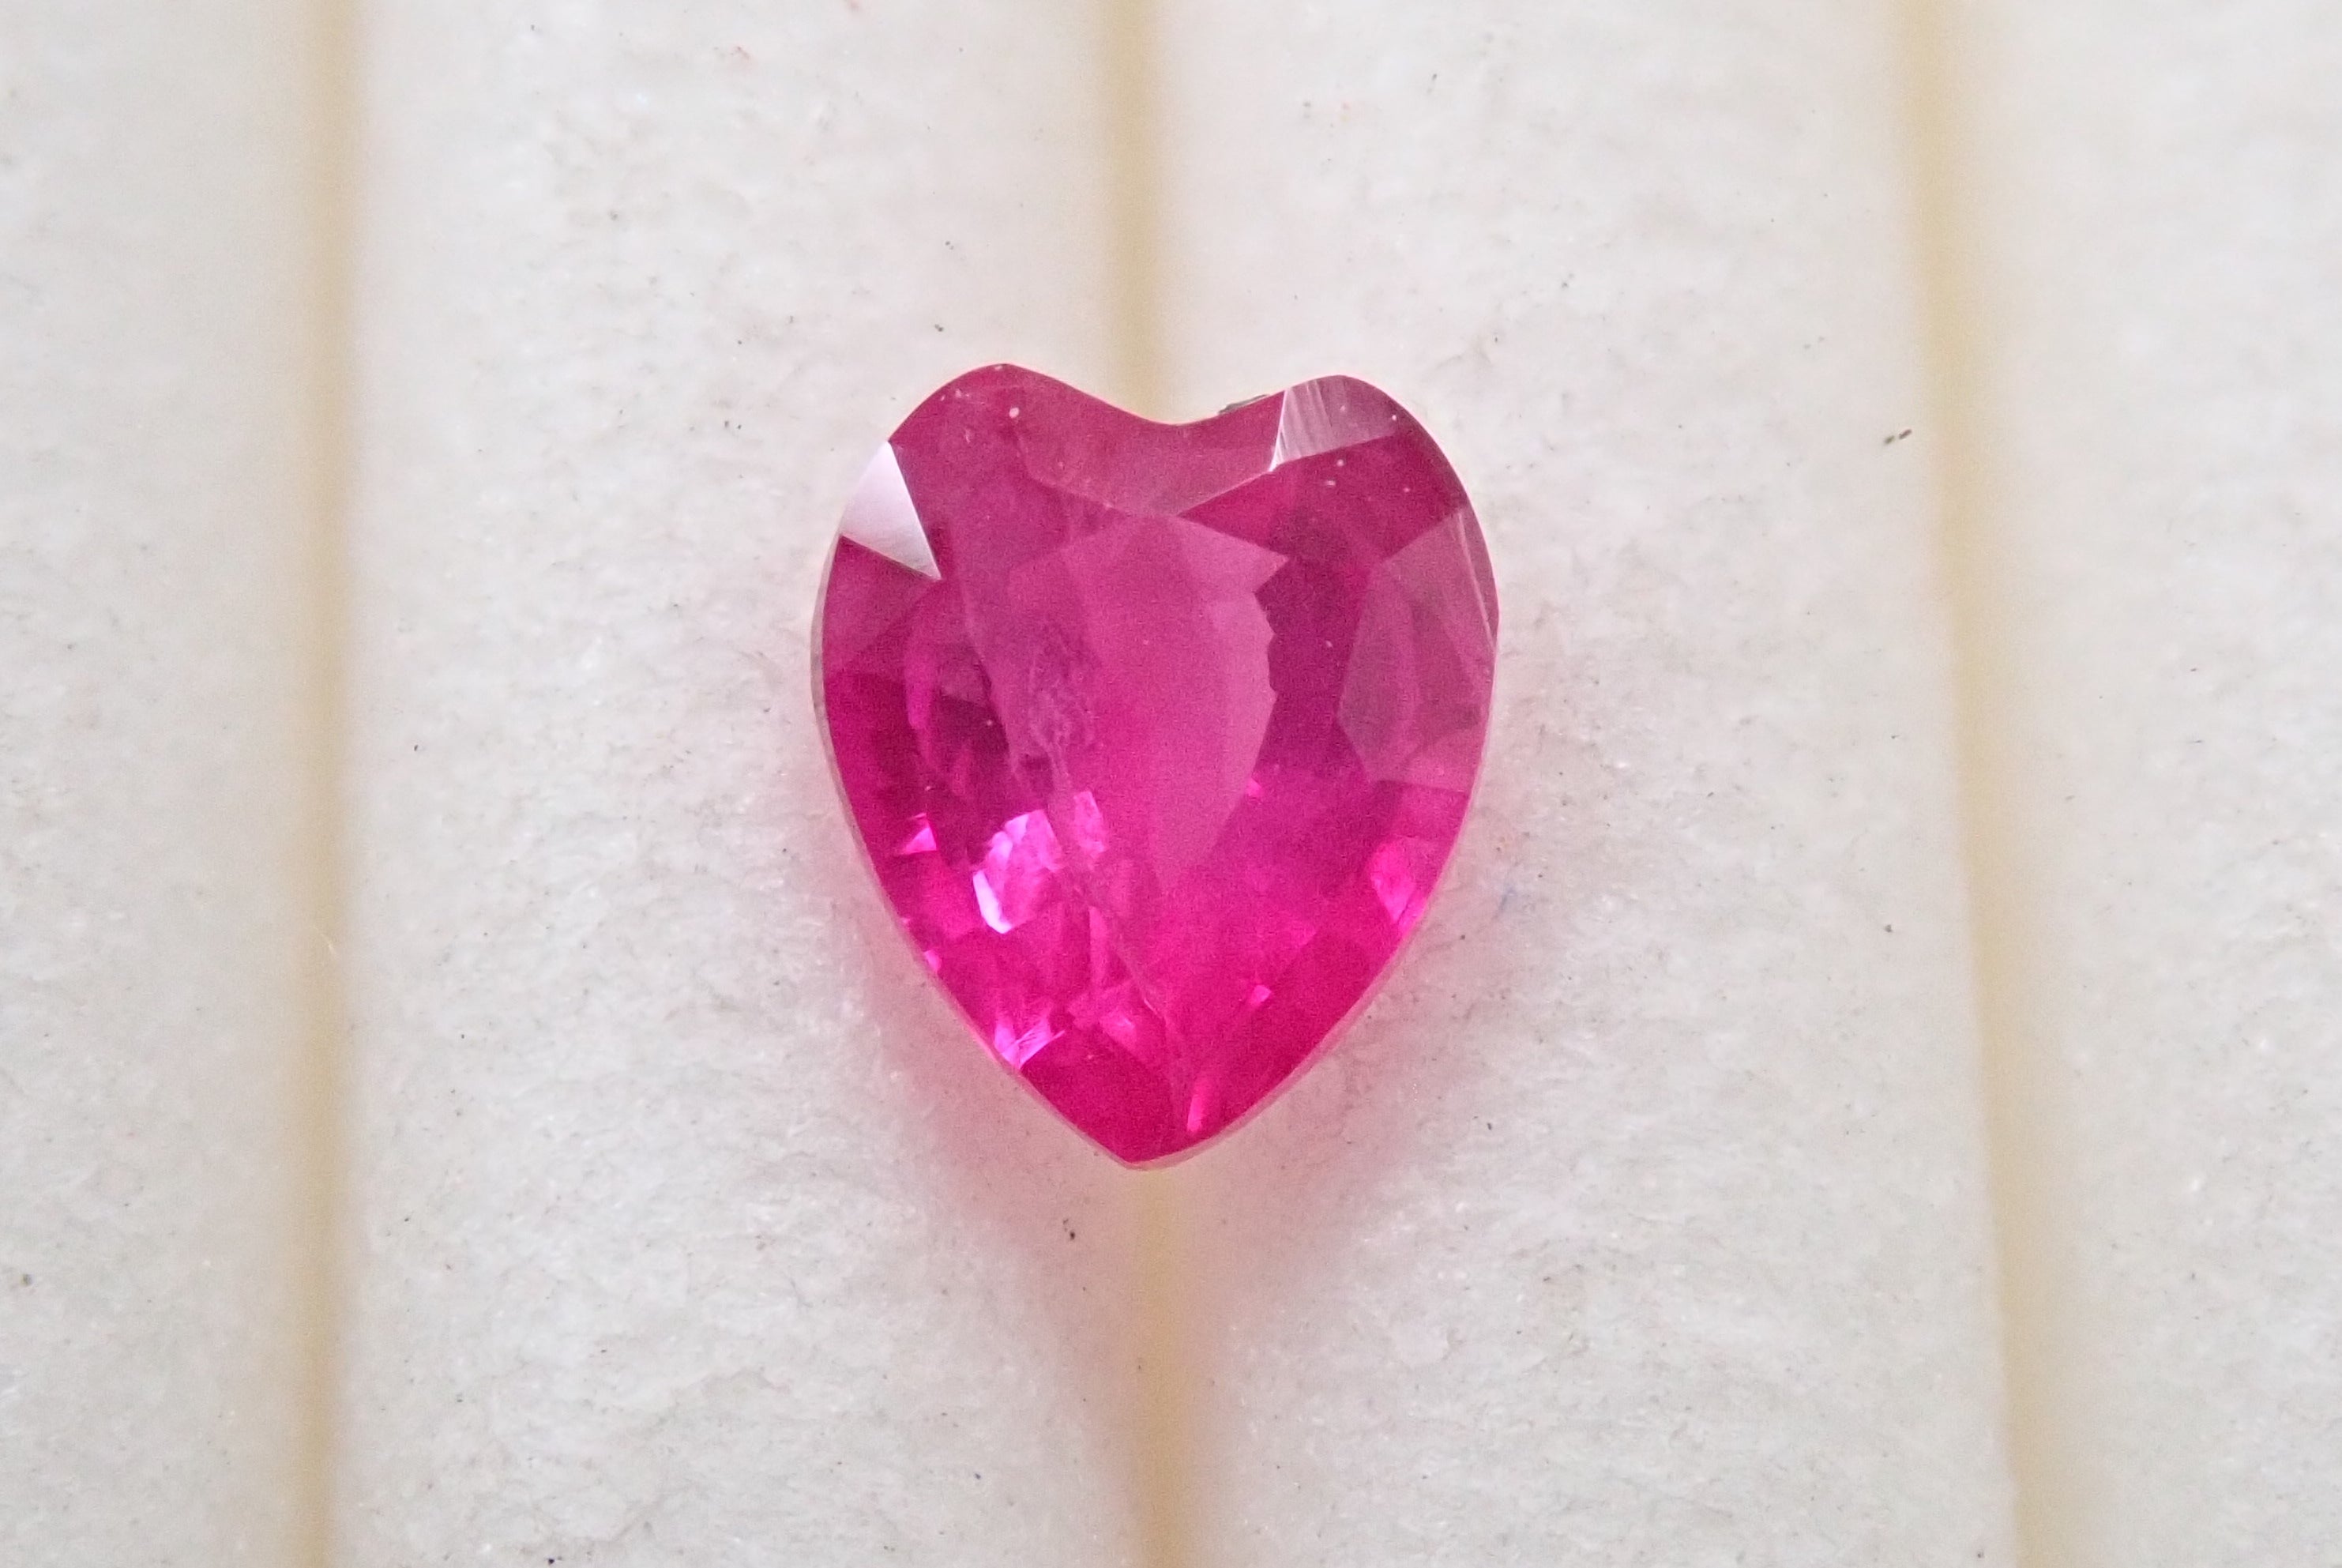
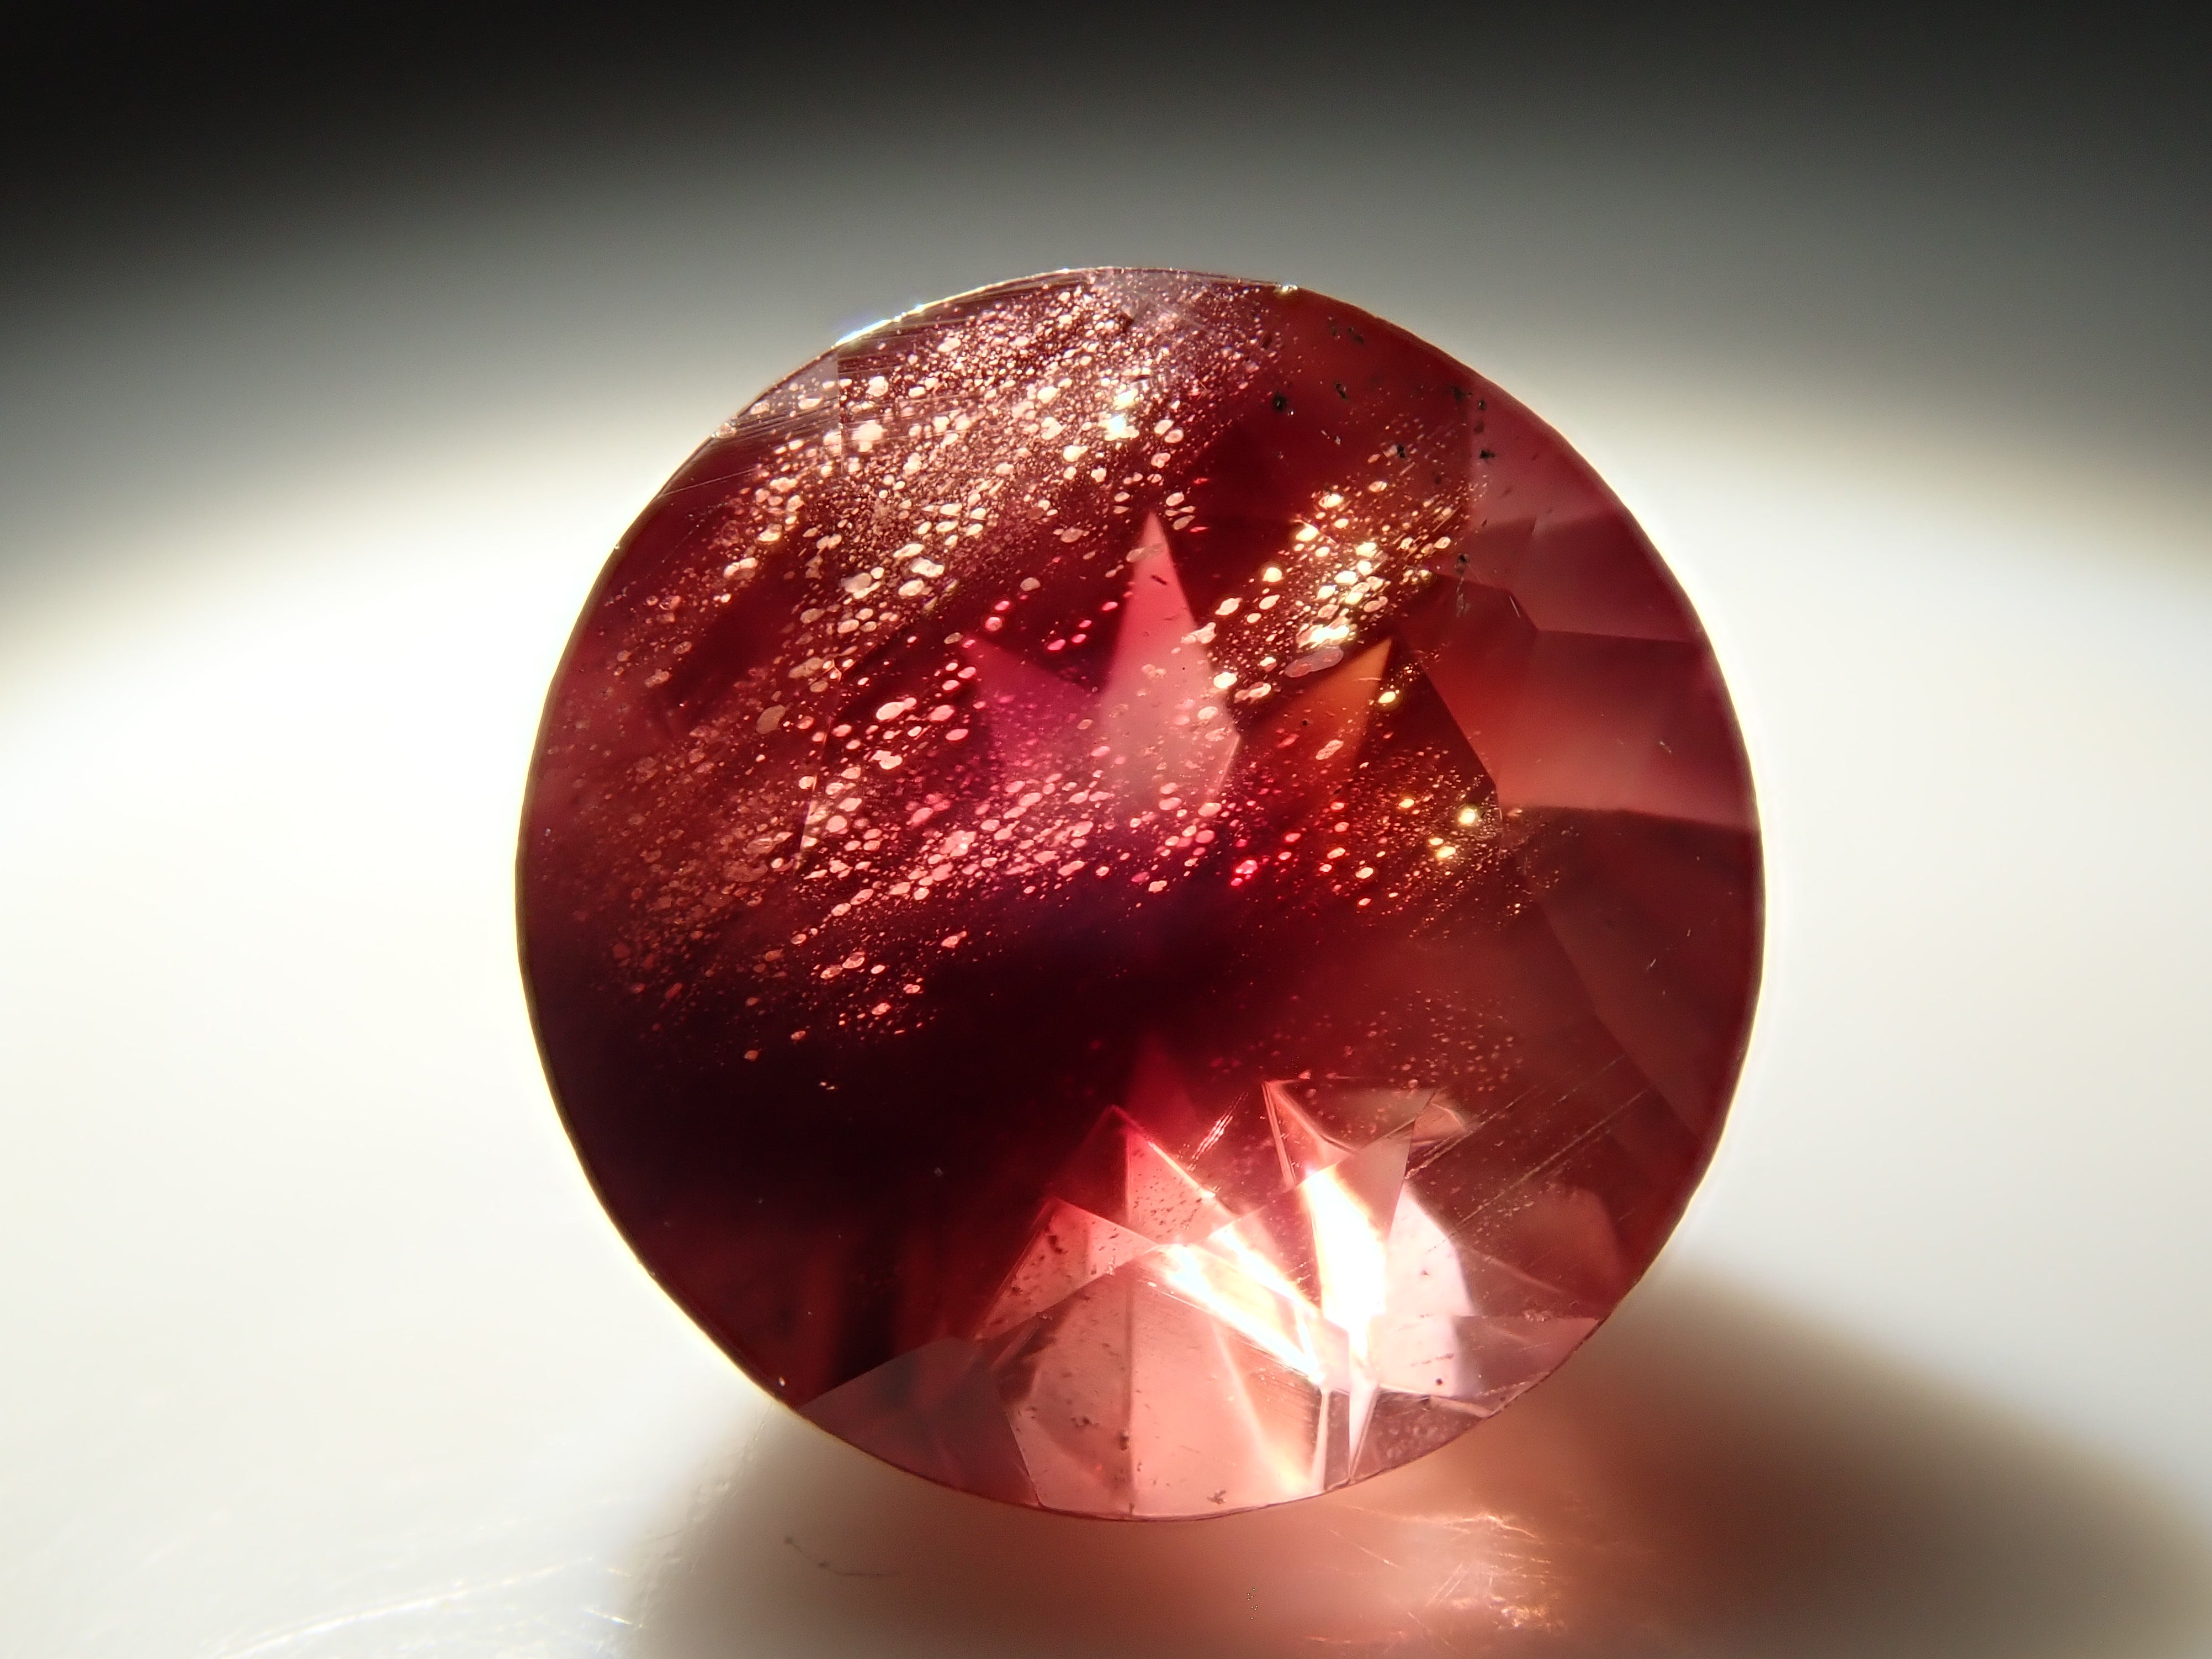
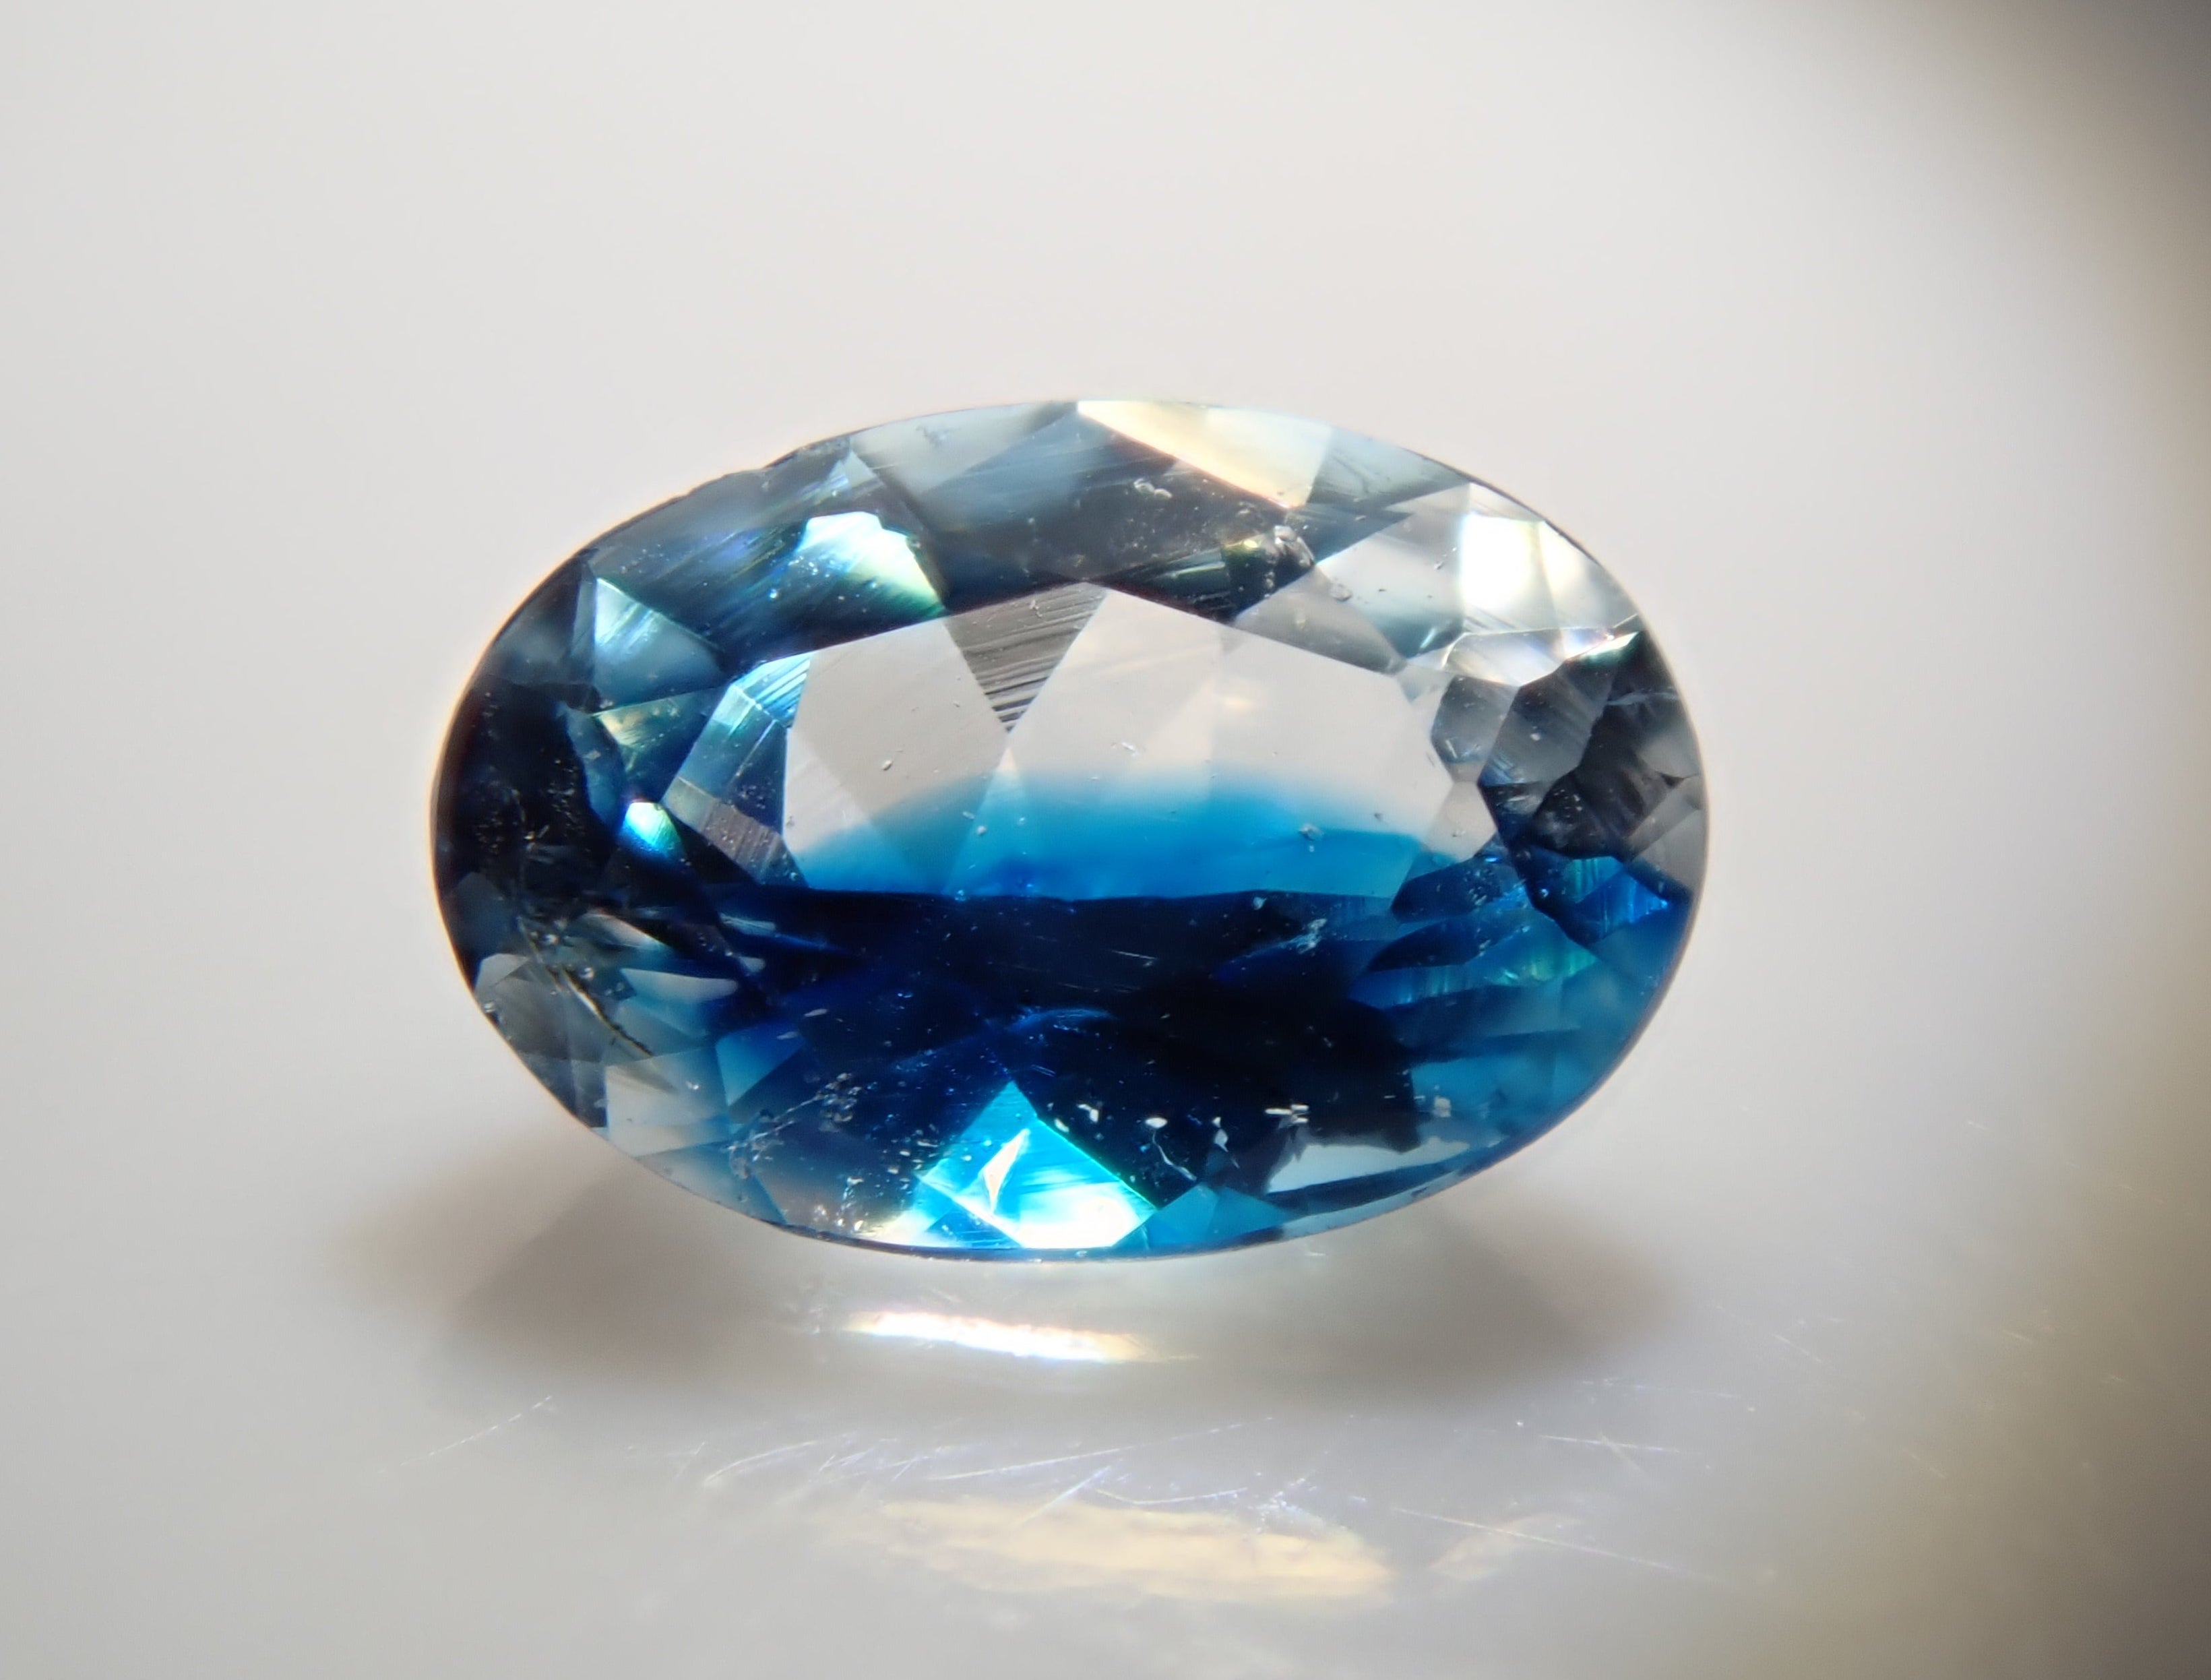
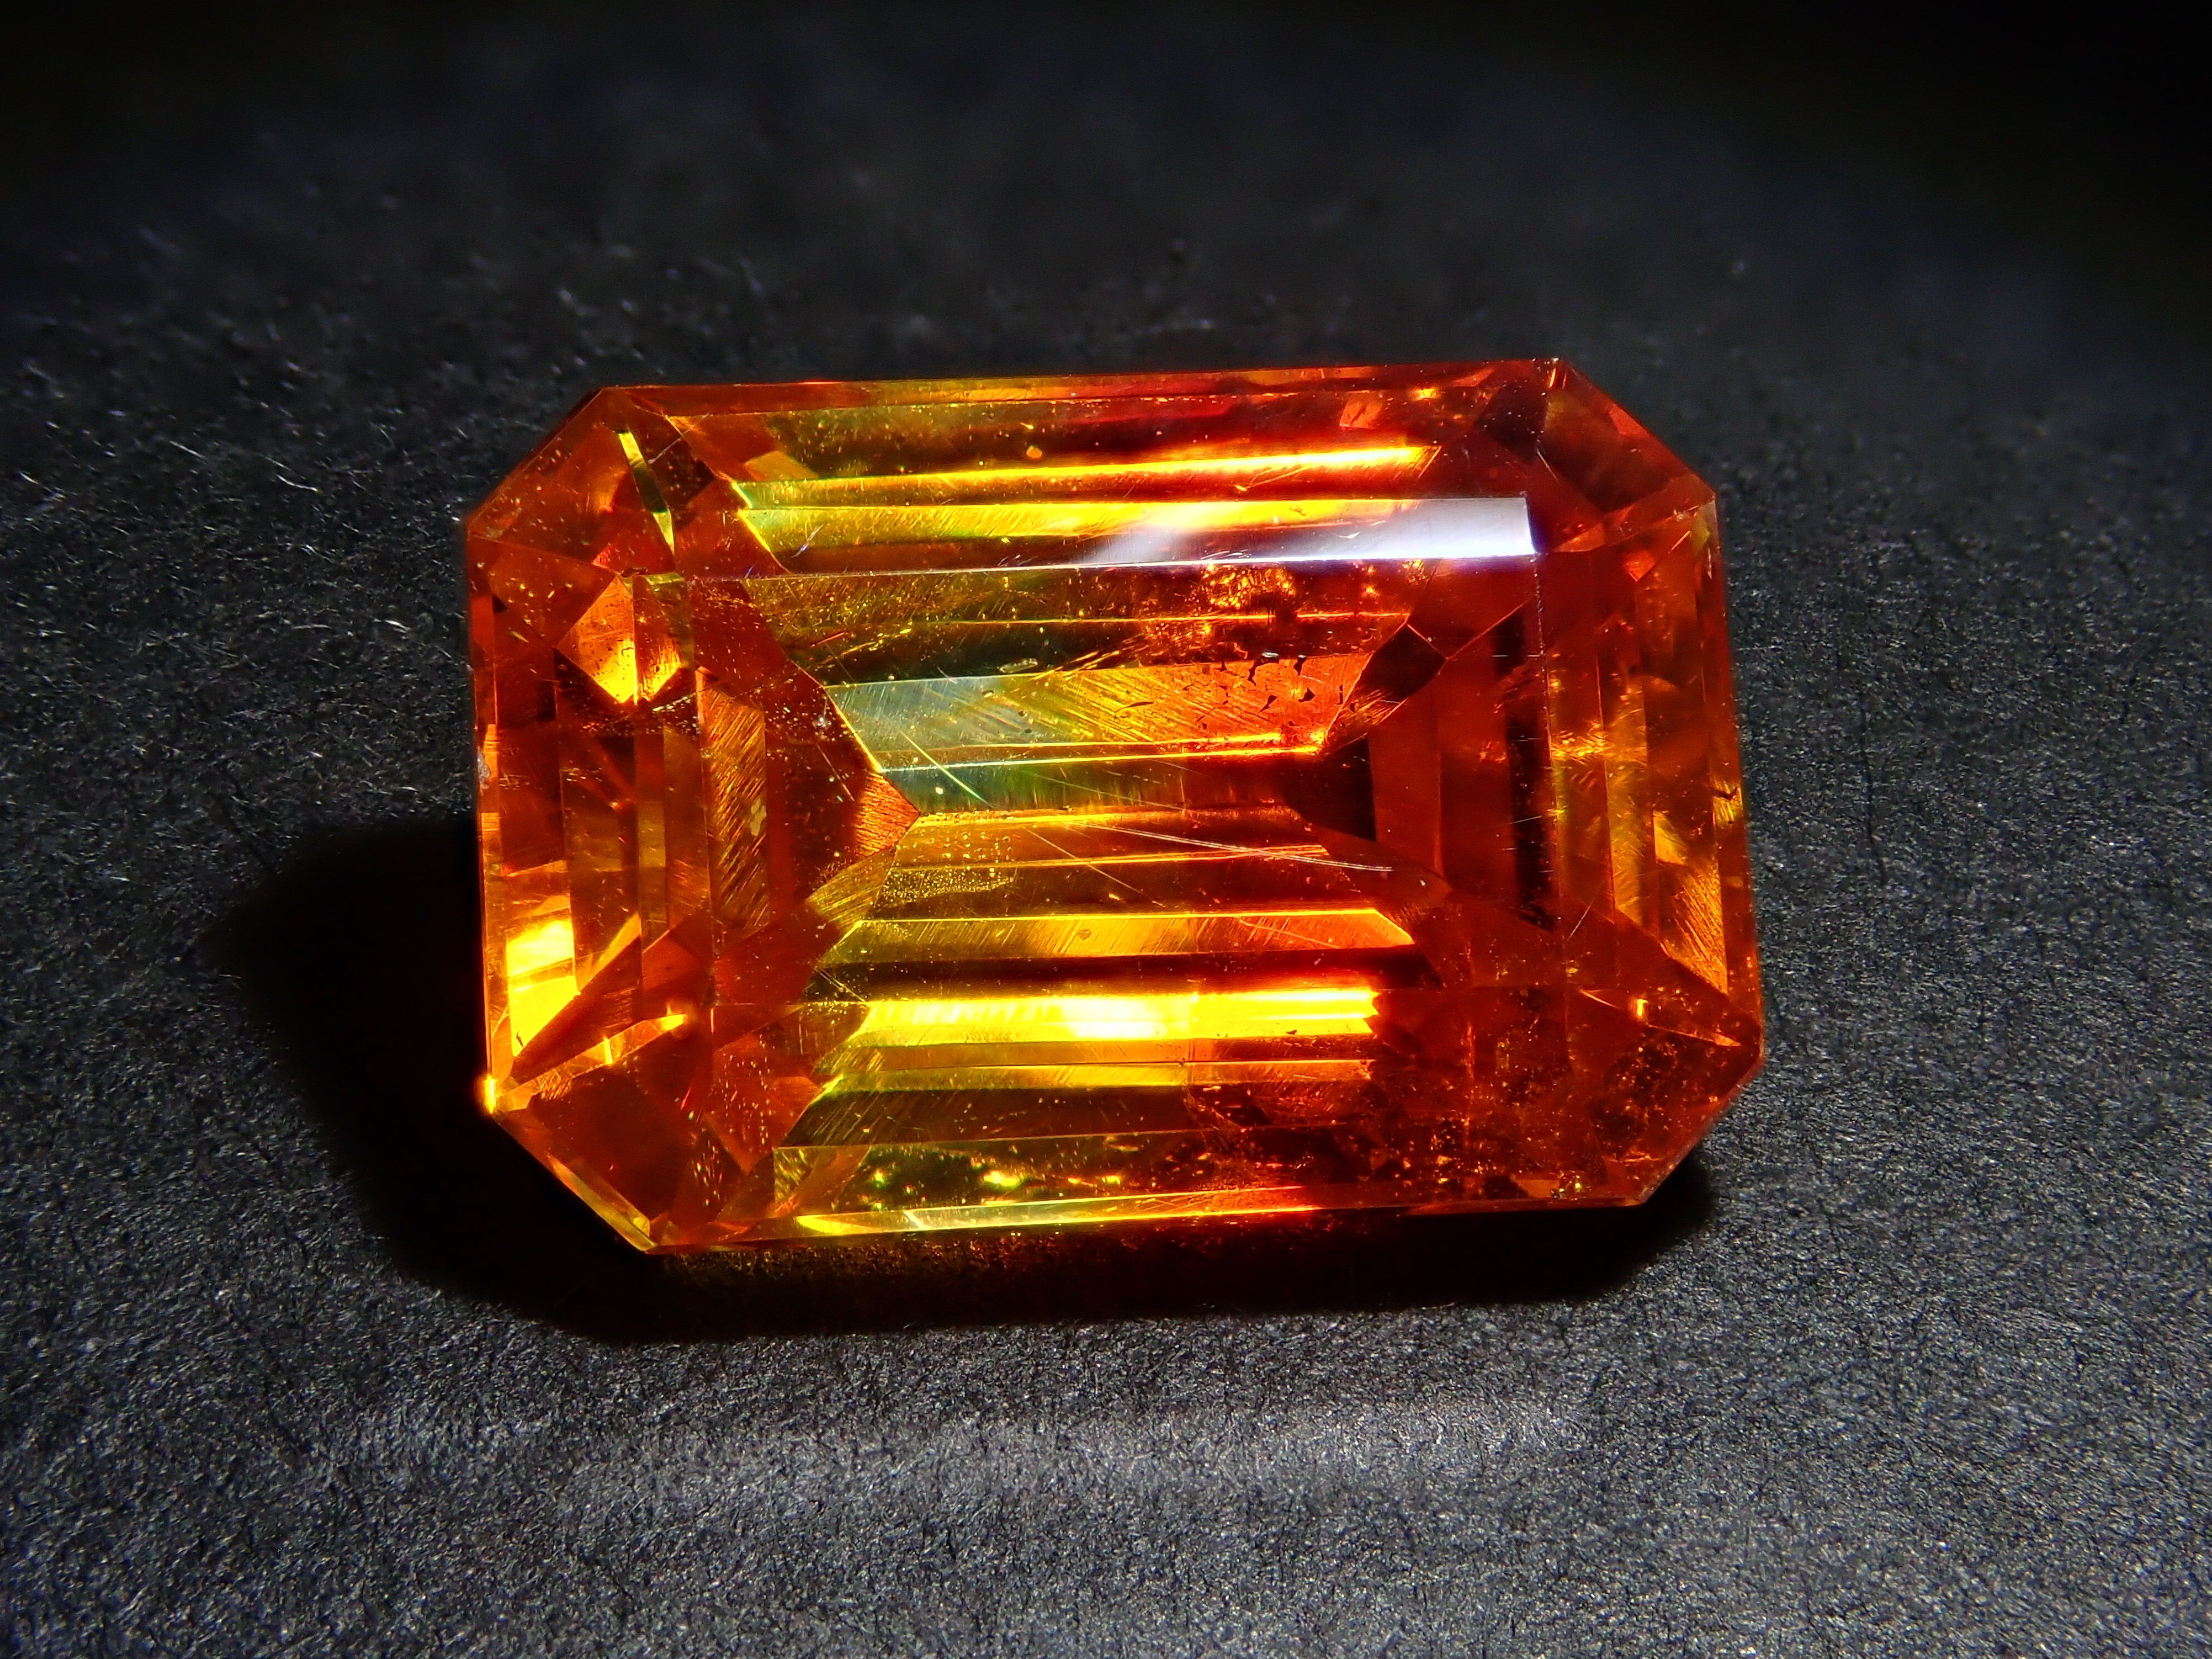
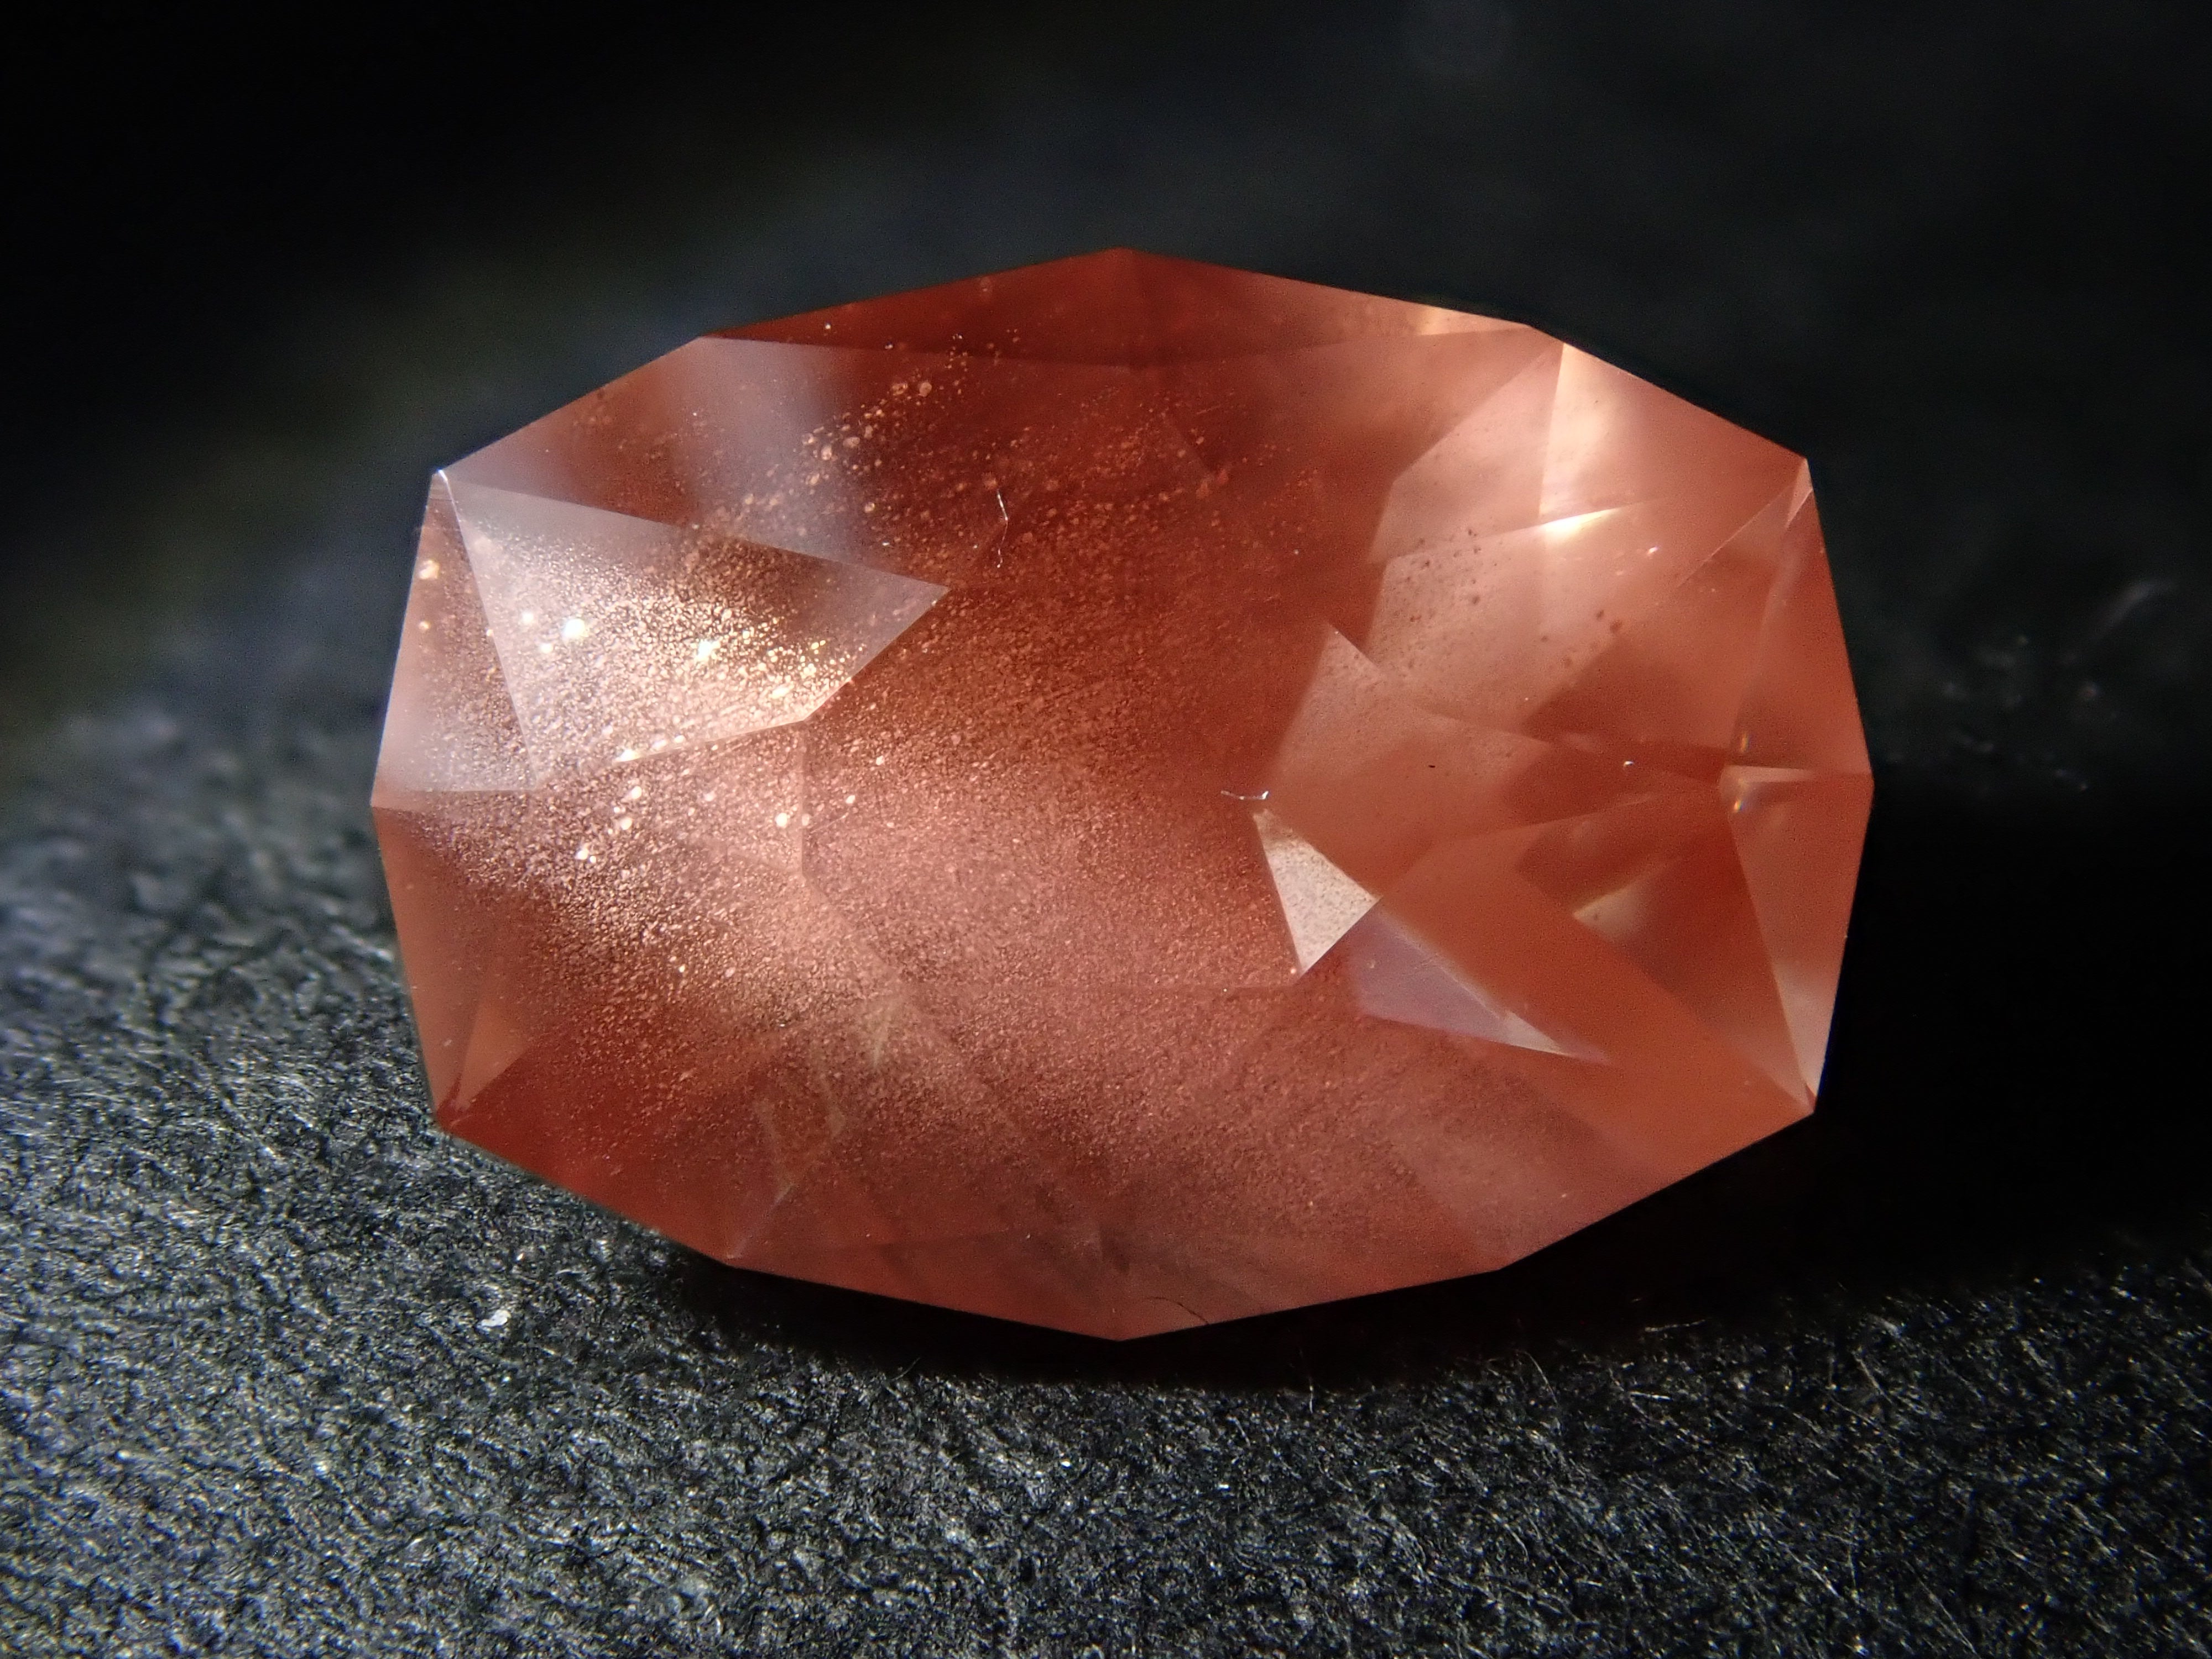
Compared to other rough stones, this particular rough stone has a higher hardness, making it recommended for adults who want to take their time and polish it thoroughly [Intermediate Level]. We have carefully selected Madagascar andesine-labradorite (rainbow moonstone) rough stones of a suitable size for polishing. We have particularly focused on selecting Madagascar andesine-labradorite rough stones with beautiful pink or orange schiller. Tools for polishing the rough stone are also included.
With this set, you can immediately enjoy the experience of polishing rough stones at home.
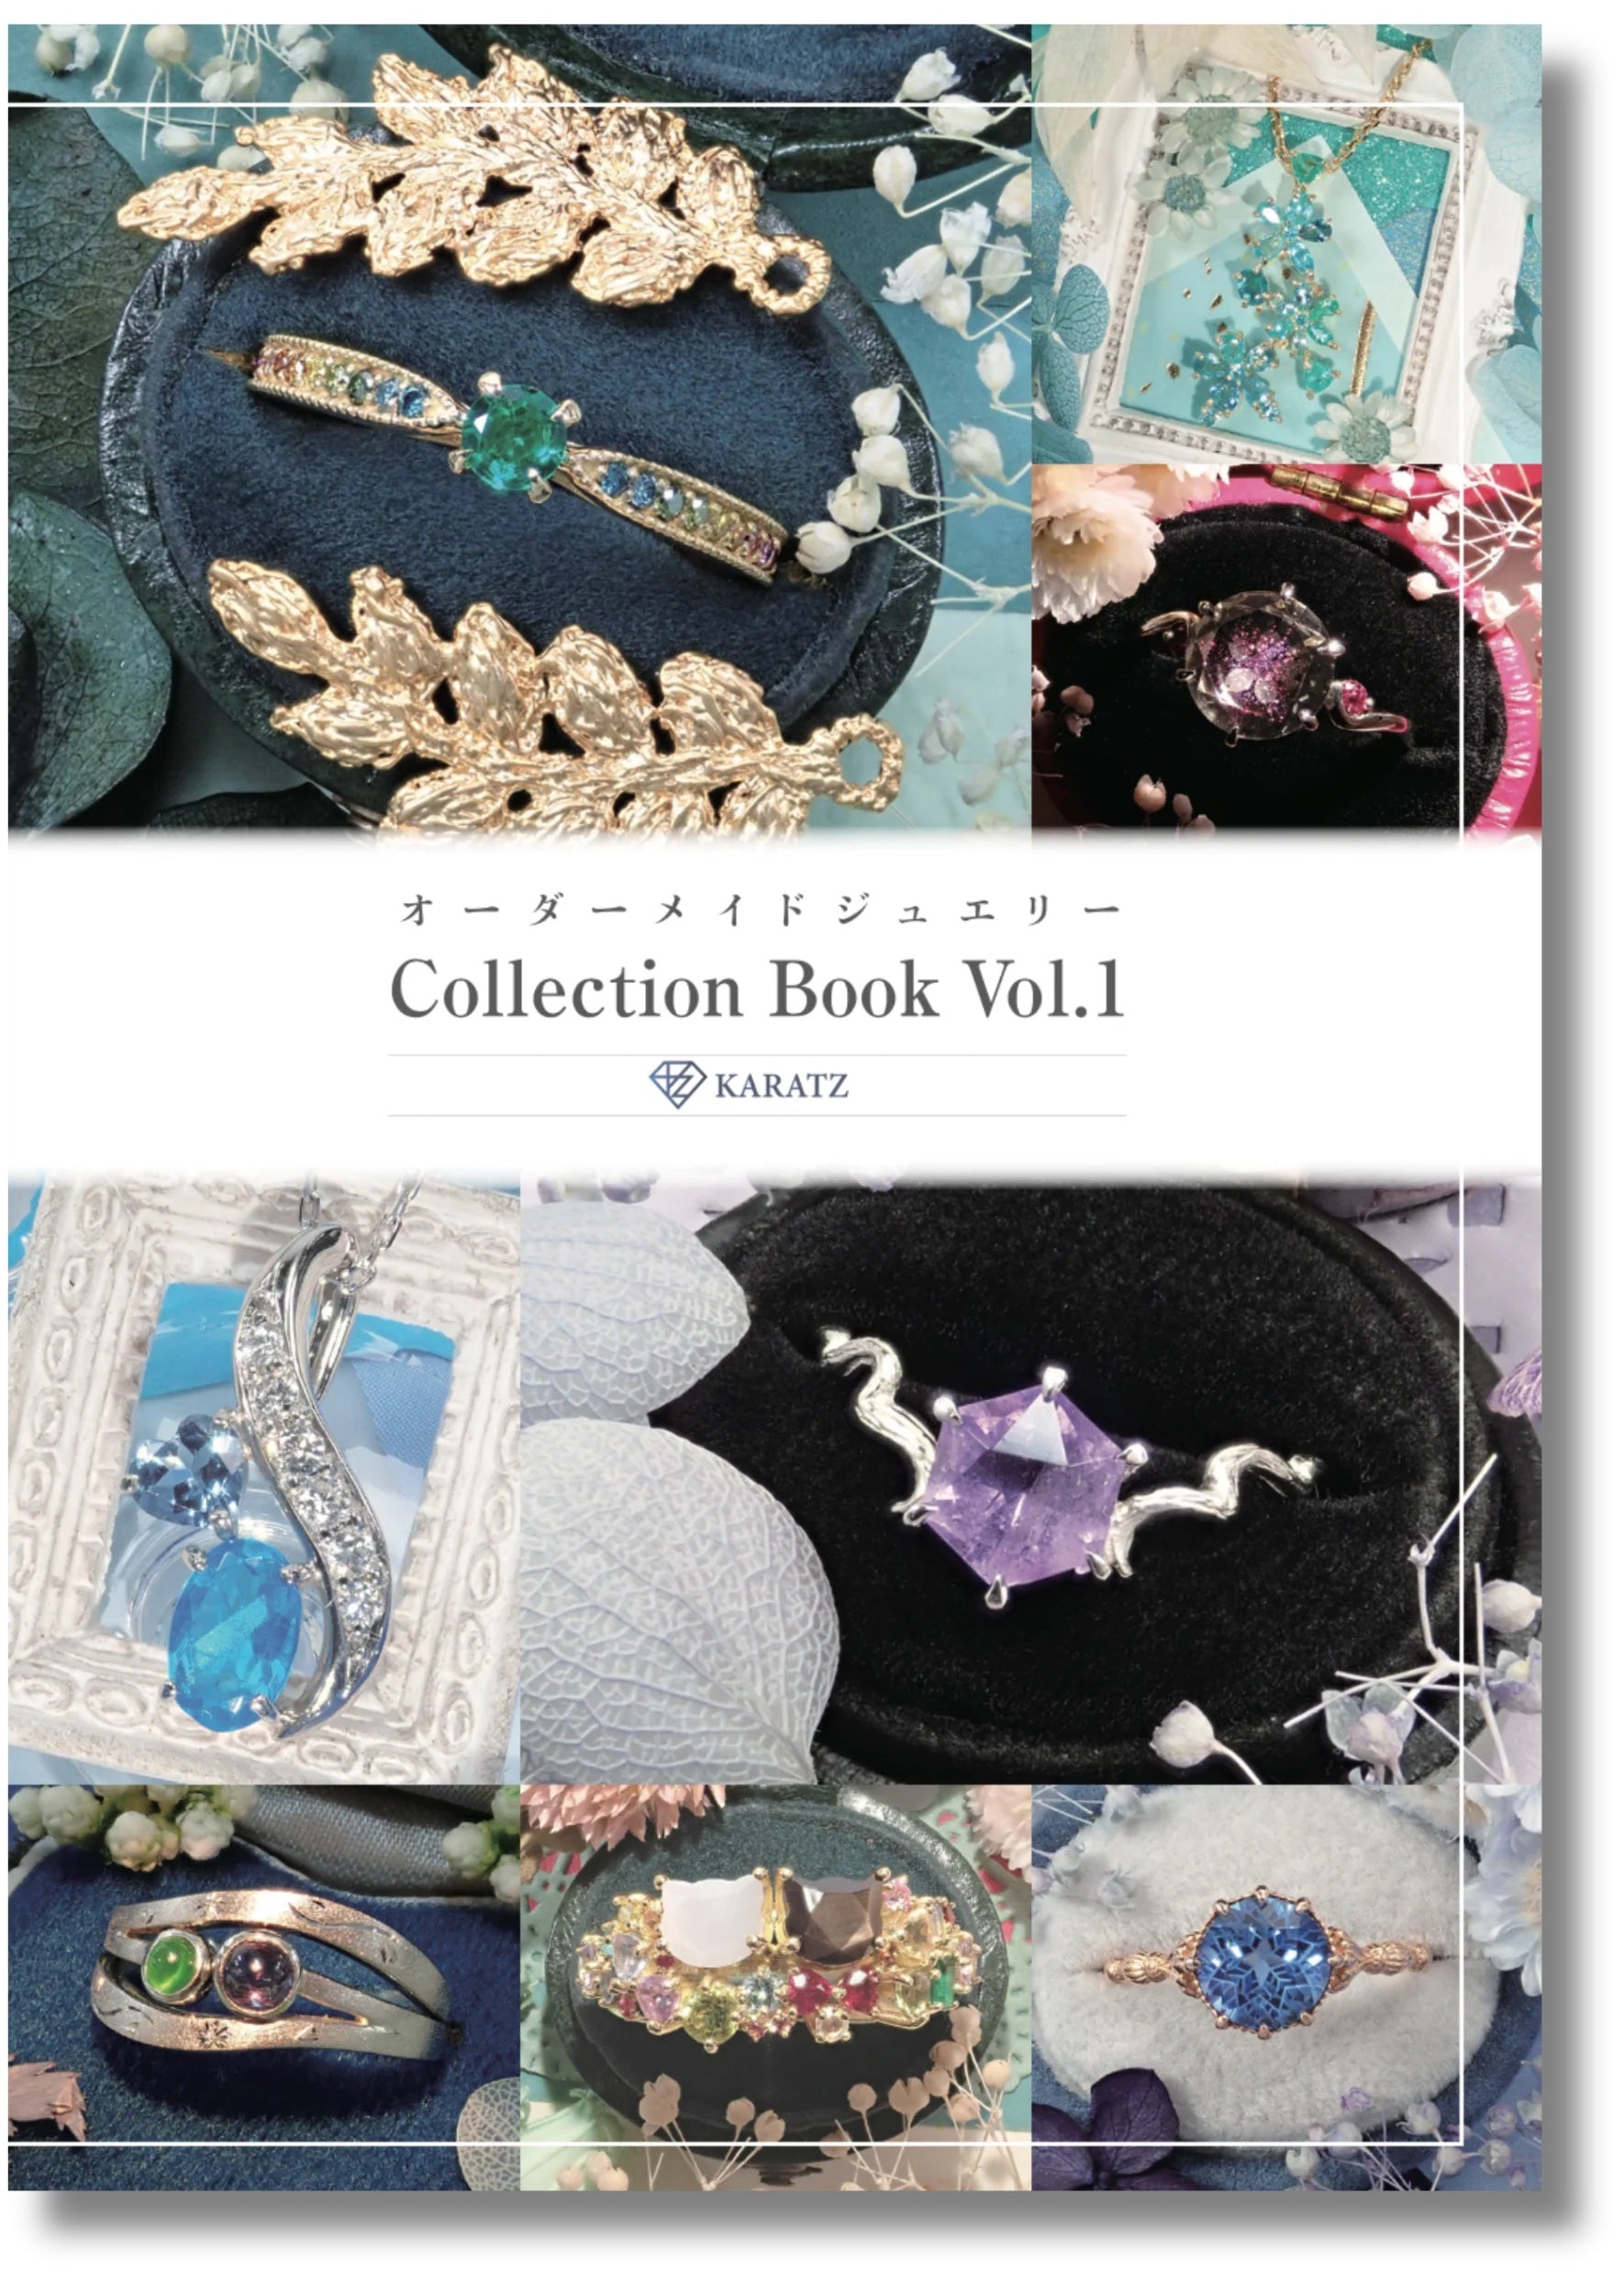
▶Masterpieces from past customers
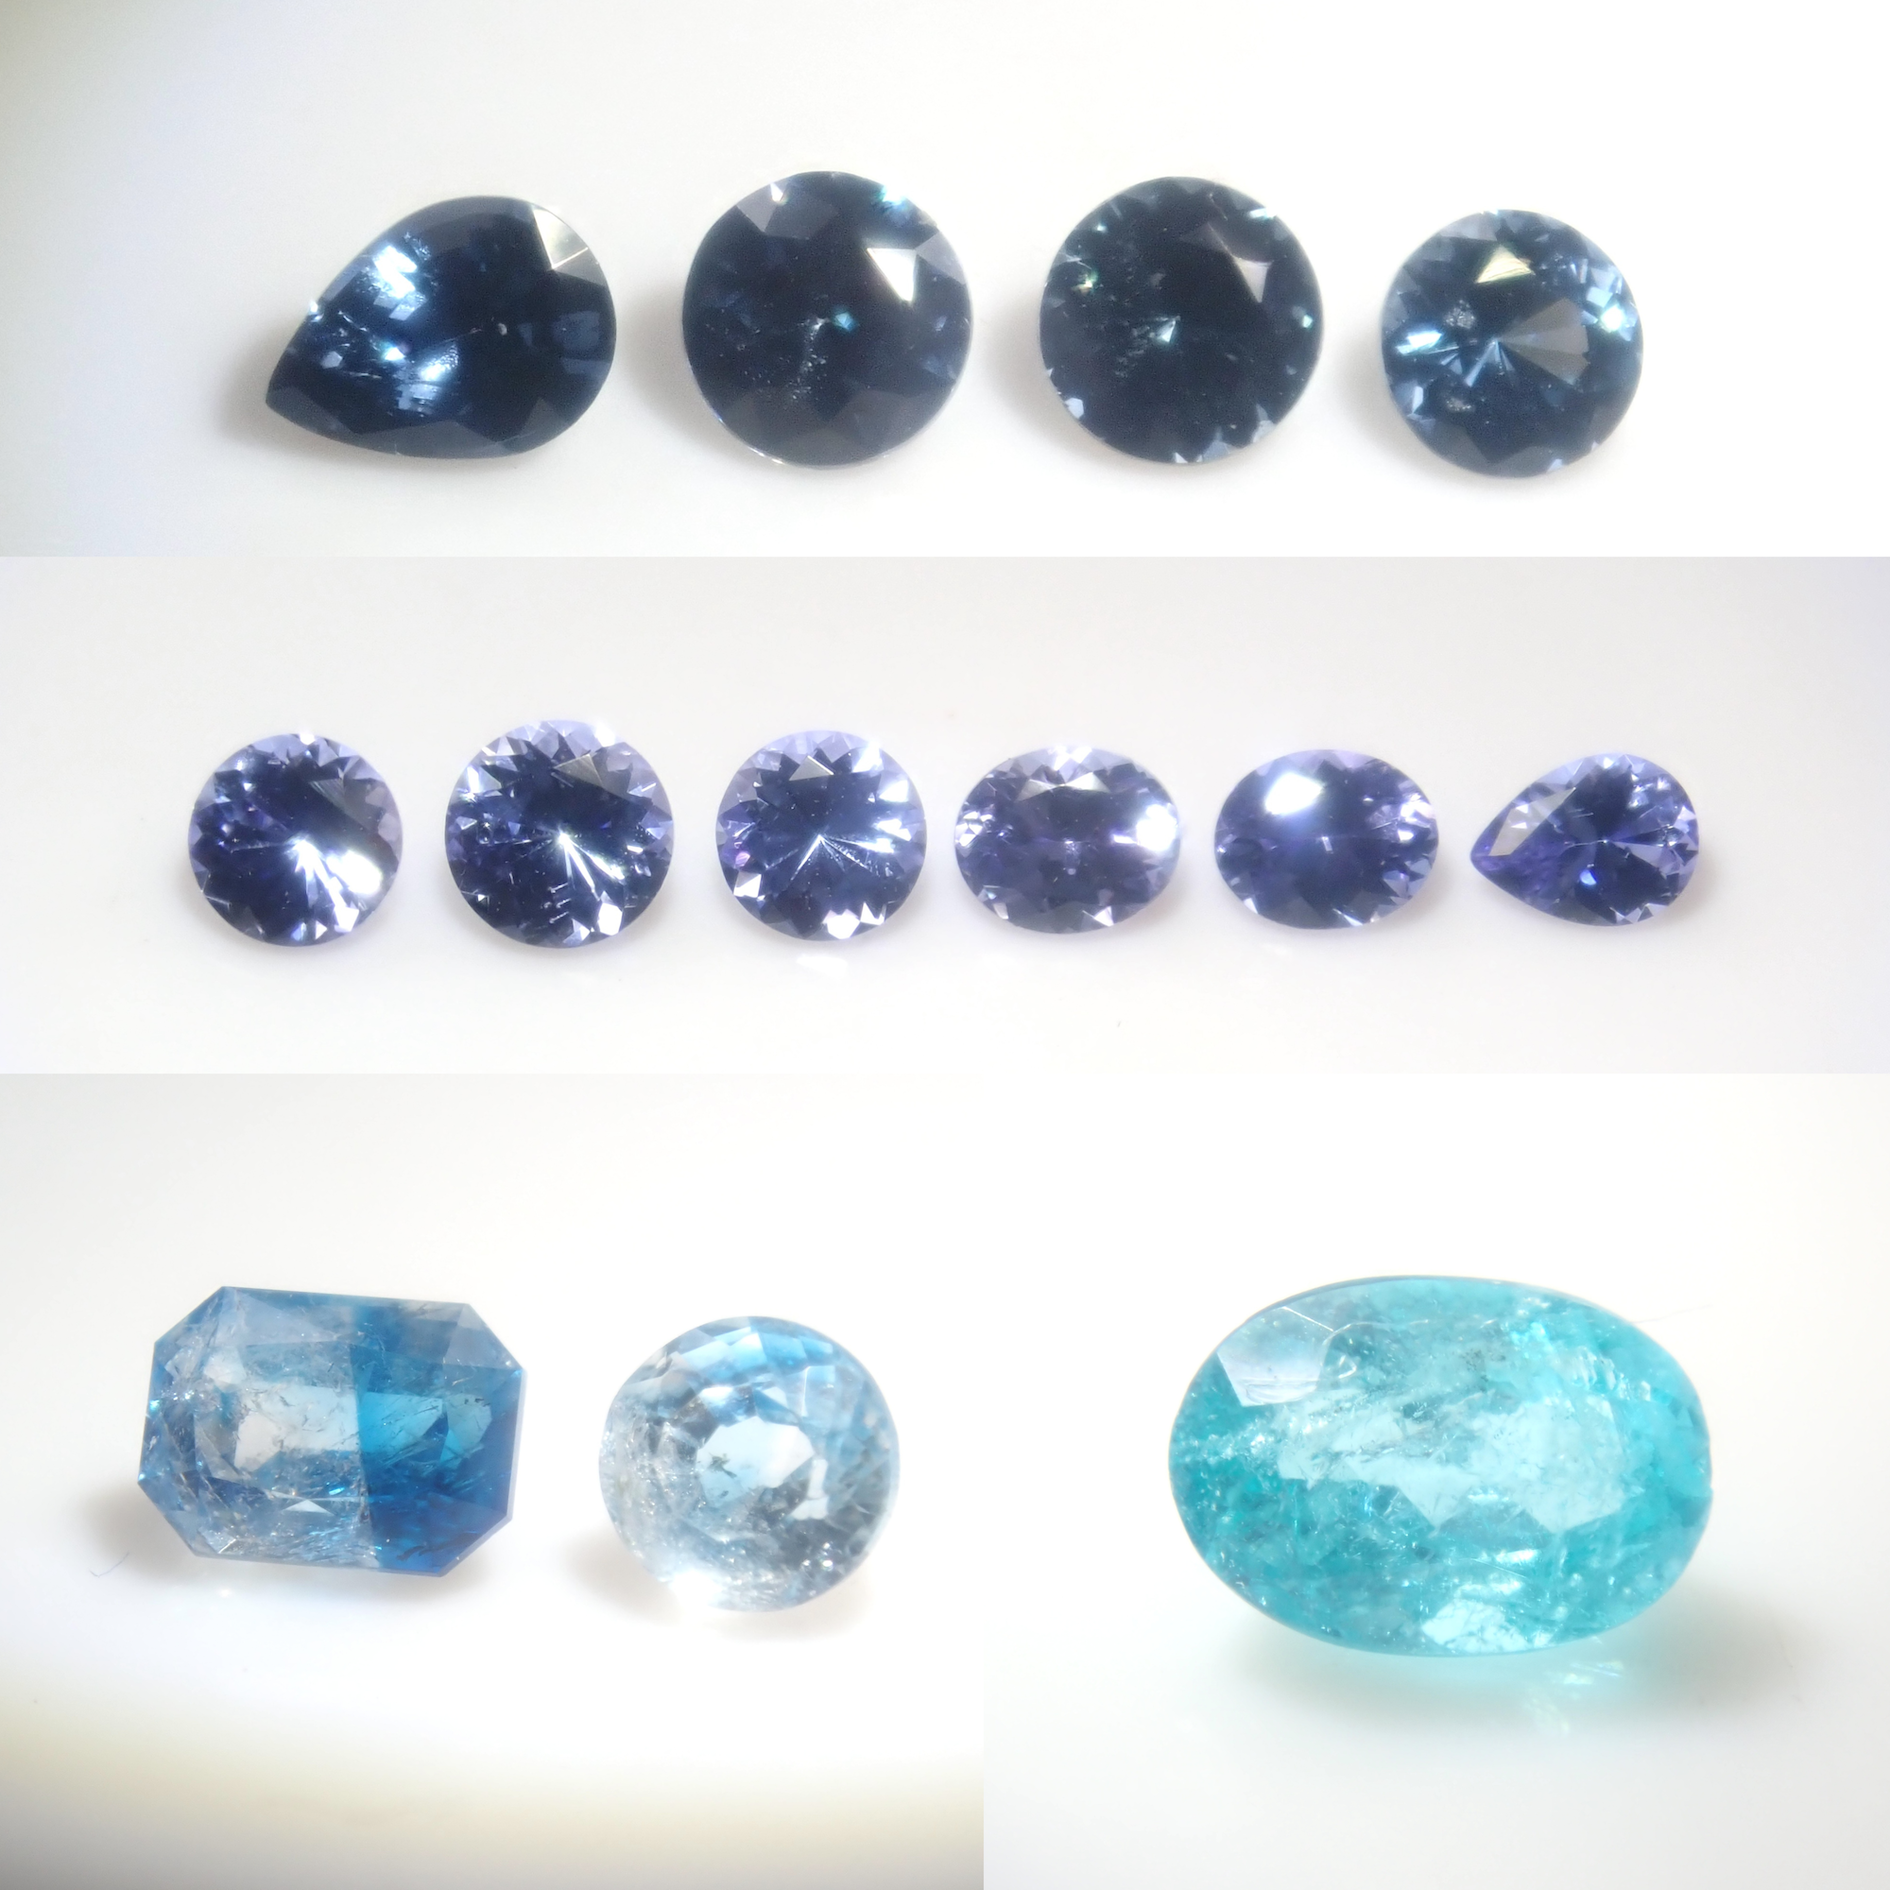
You can view the masterpieces created by our customers who have tried polishing rough stones here. Please enjoy browsing everything from cute pieces polished by children to those with a professional finish.
*These are entries from the Karatz Rough Stone Polishing Contest, held regularly on Twitter.
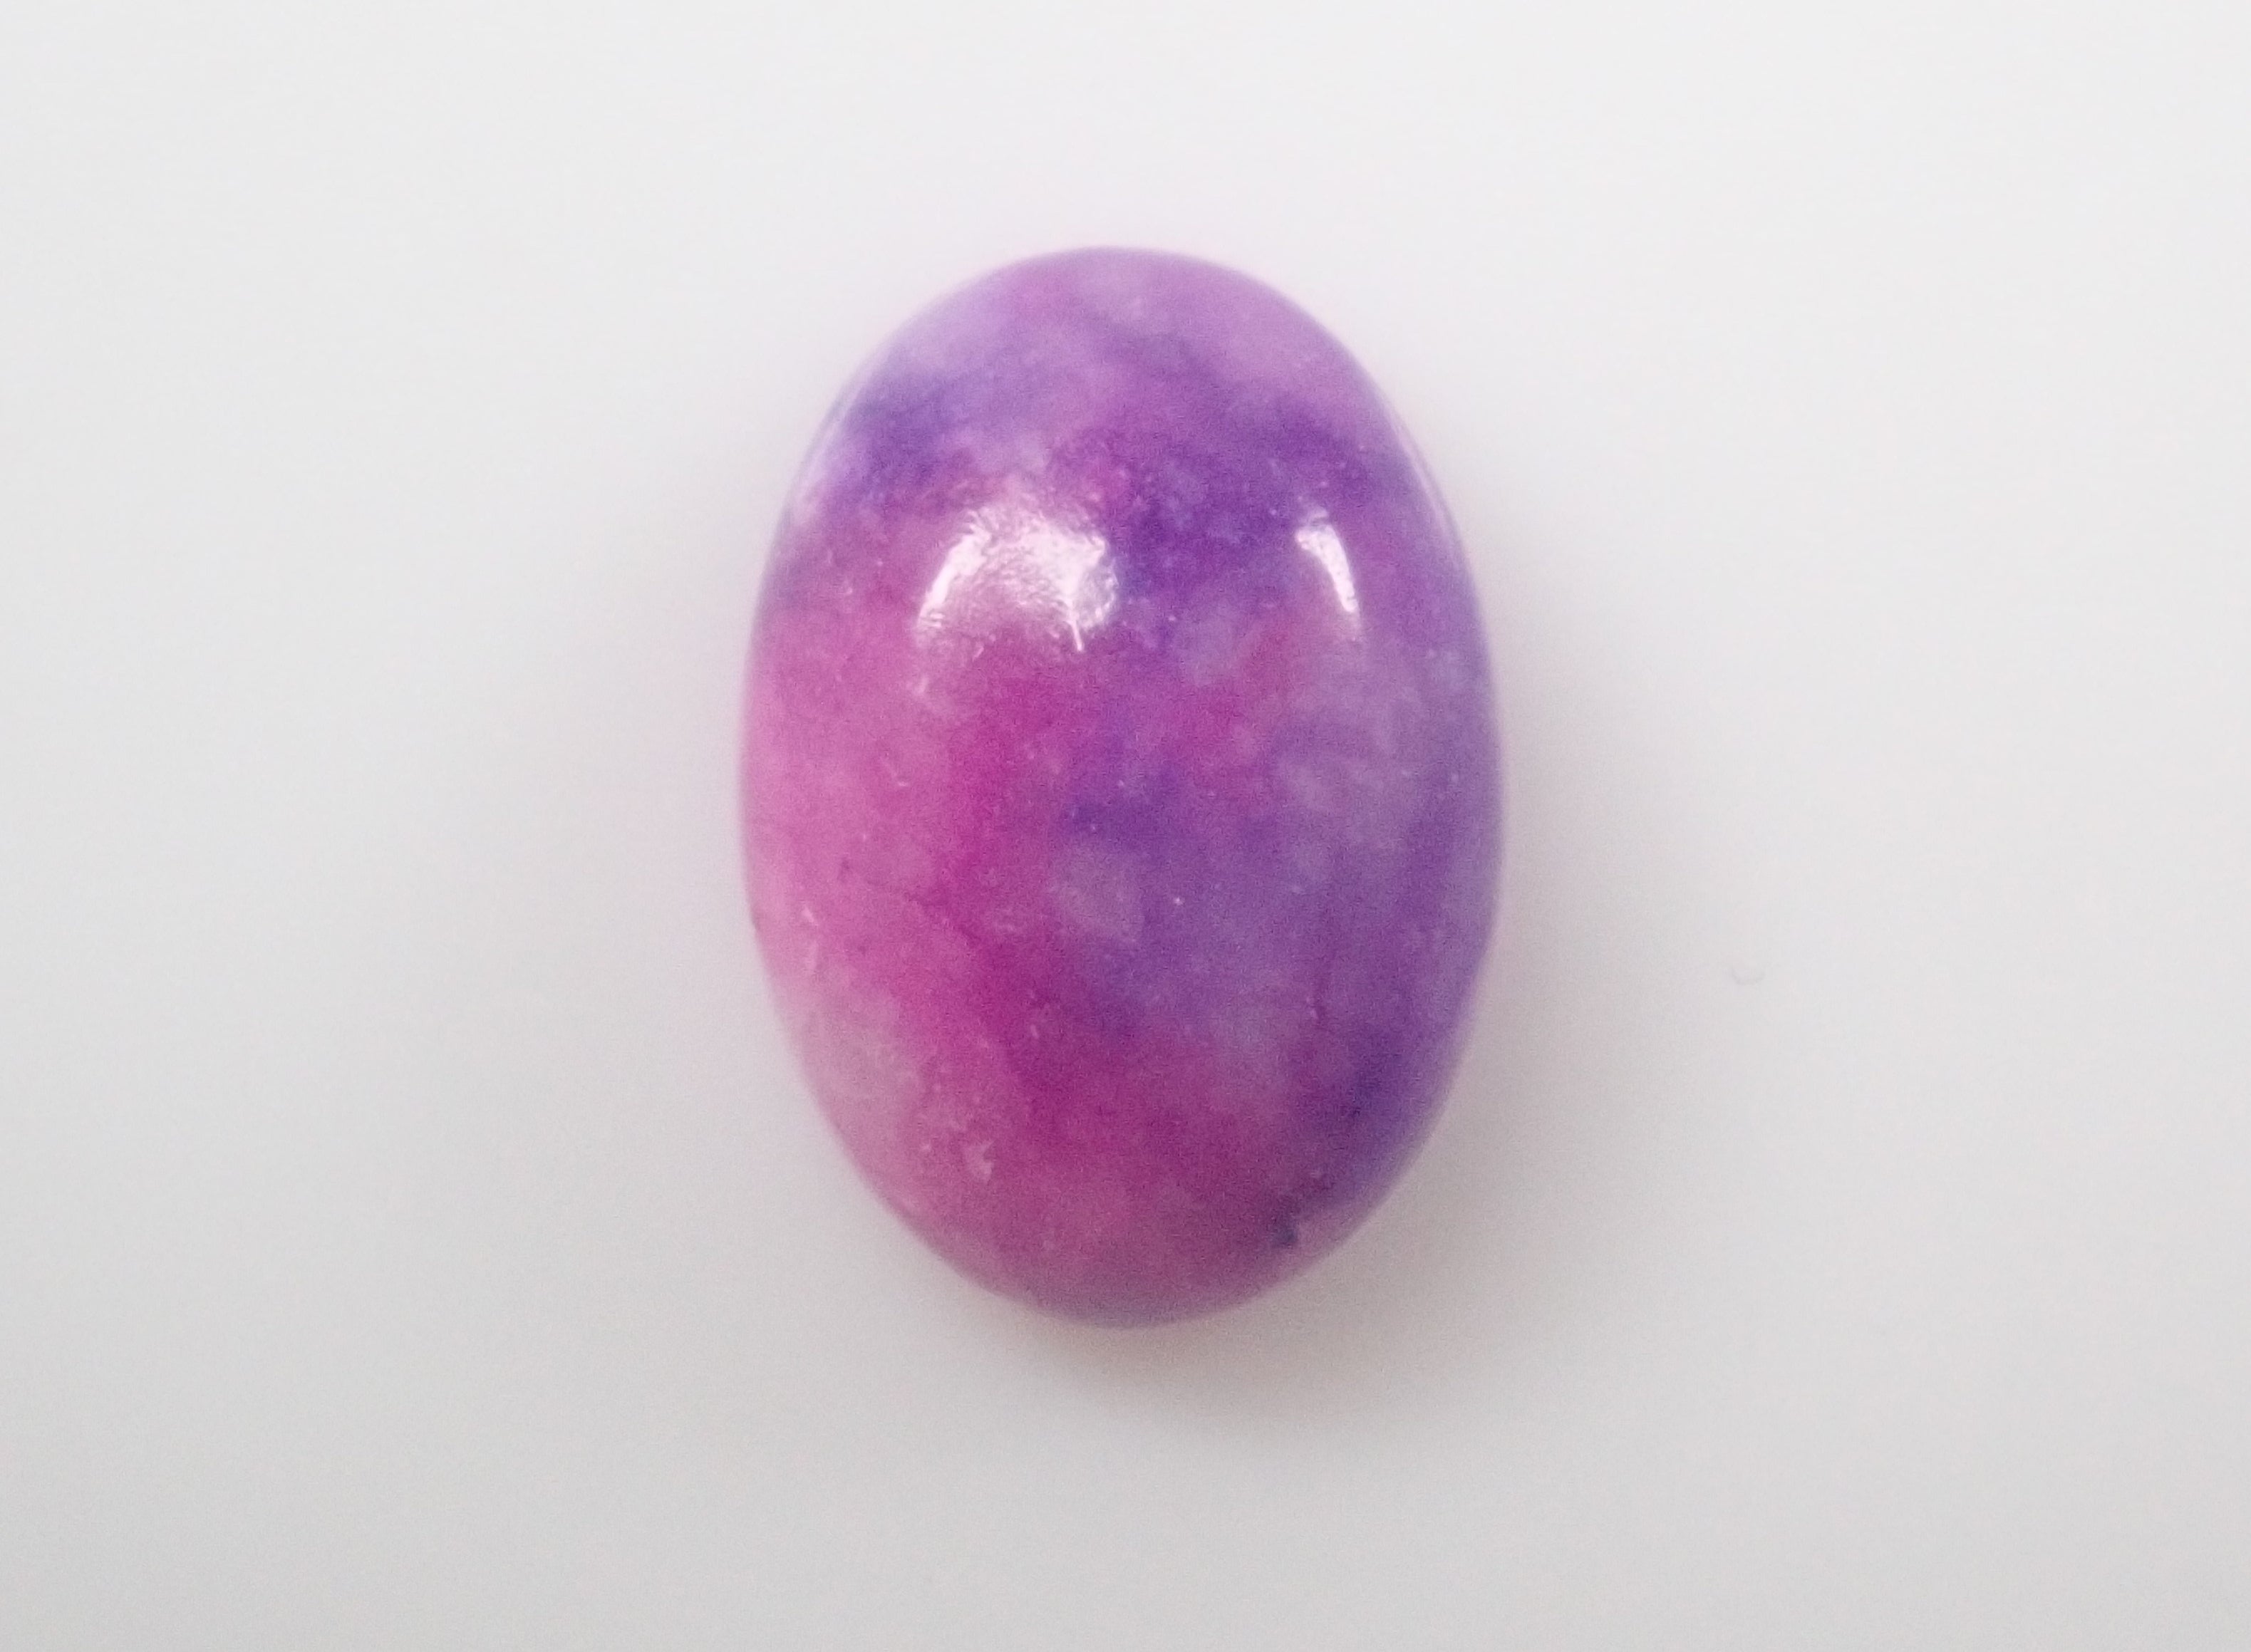
▼Before polishing
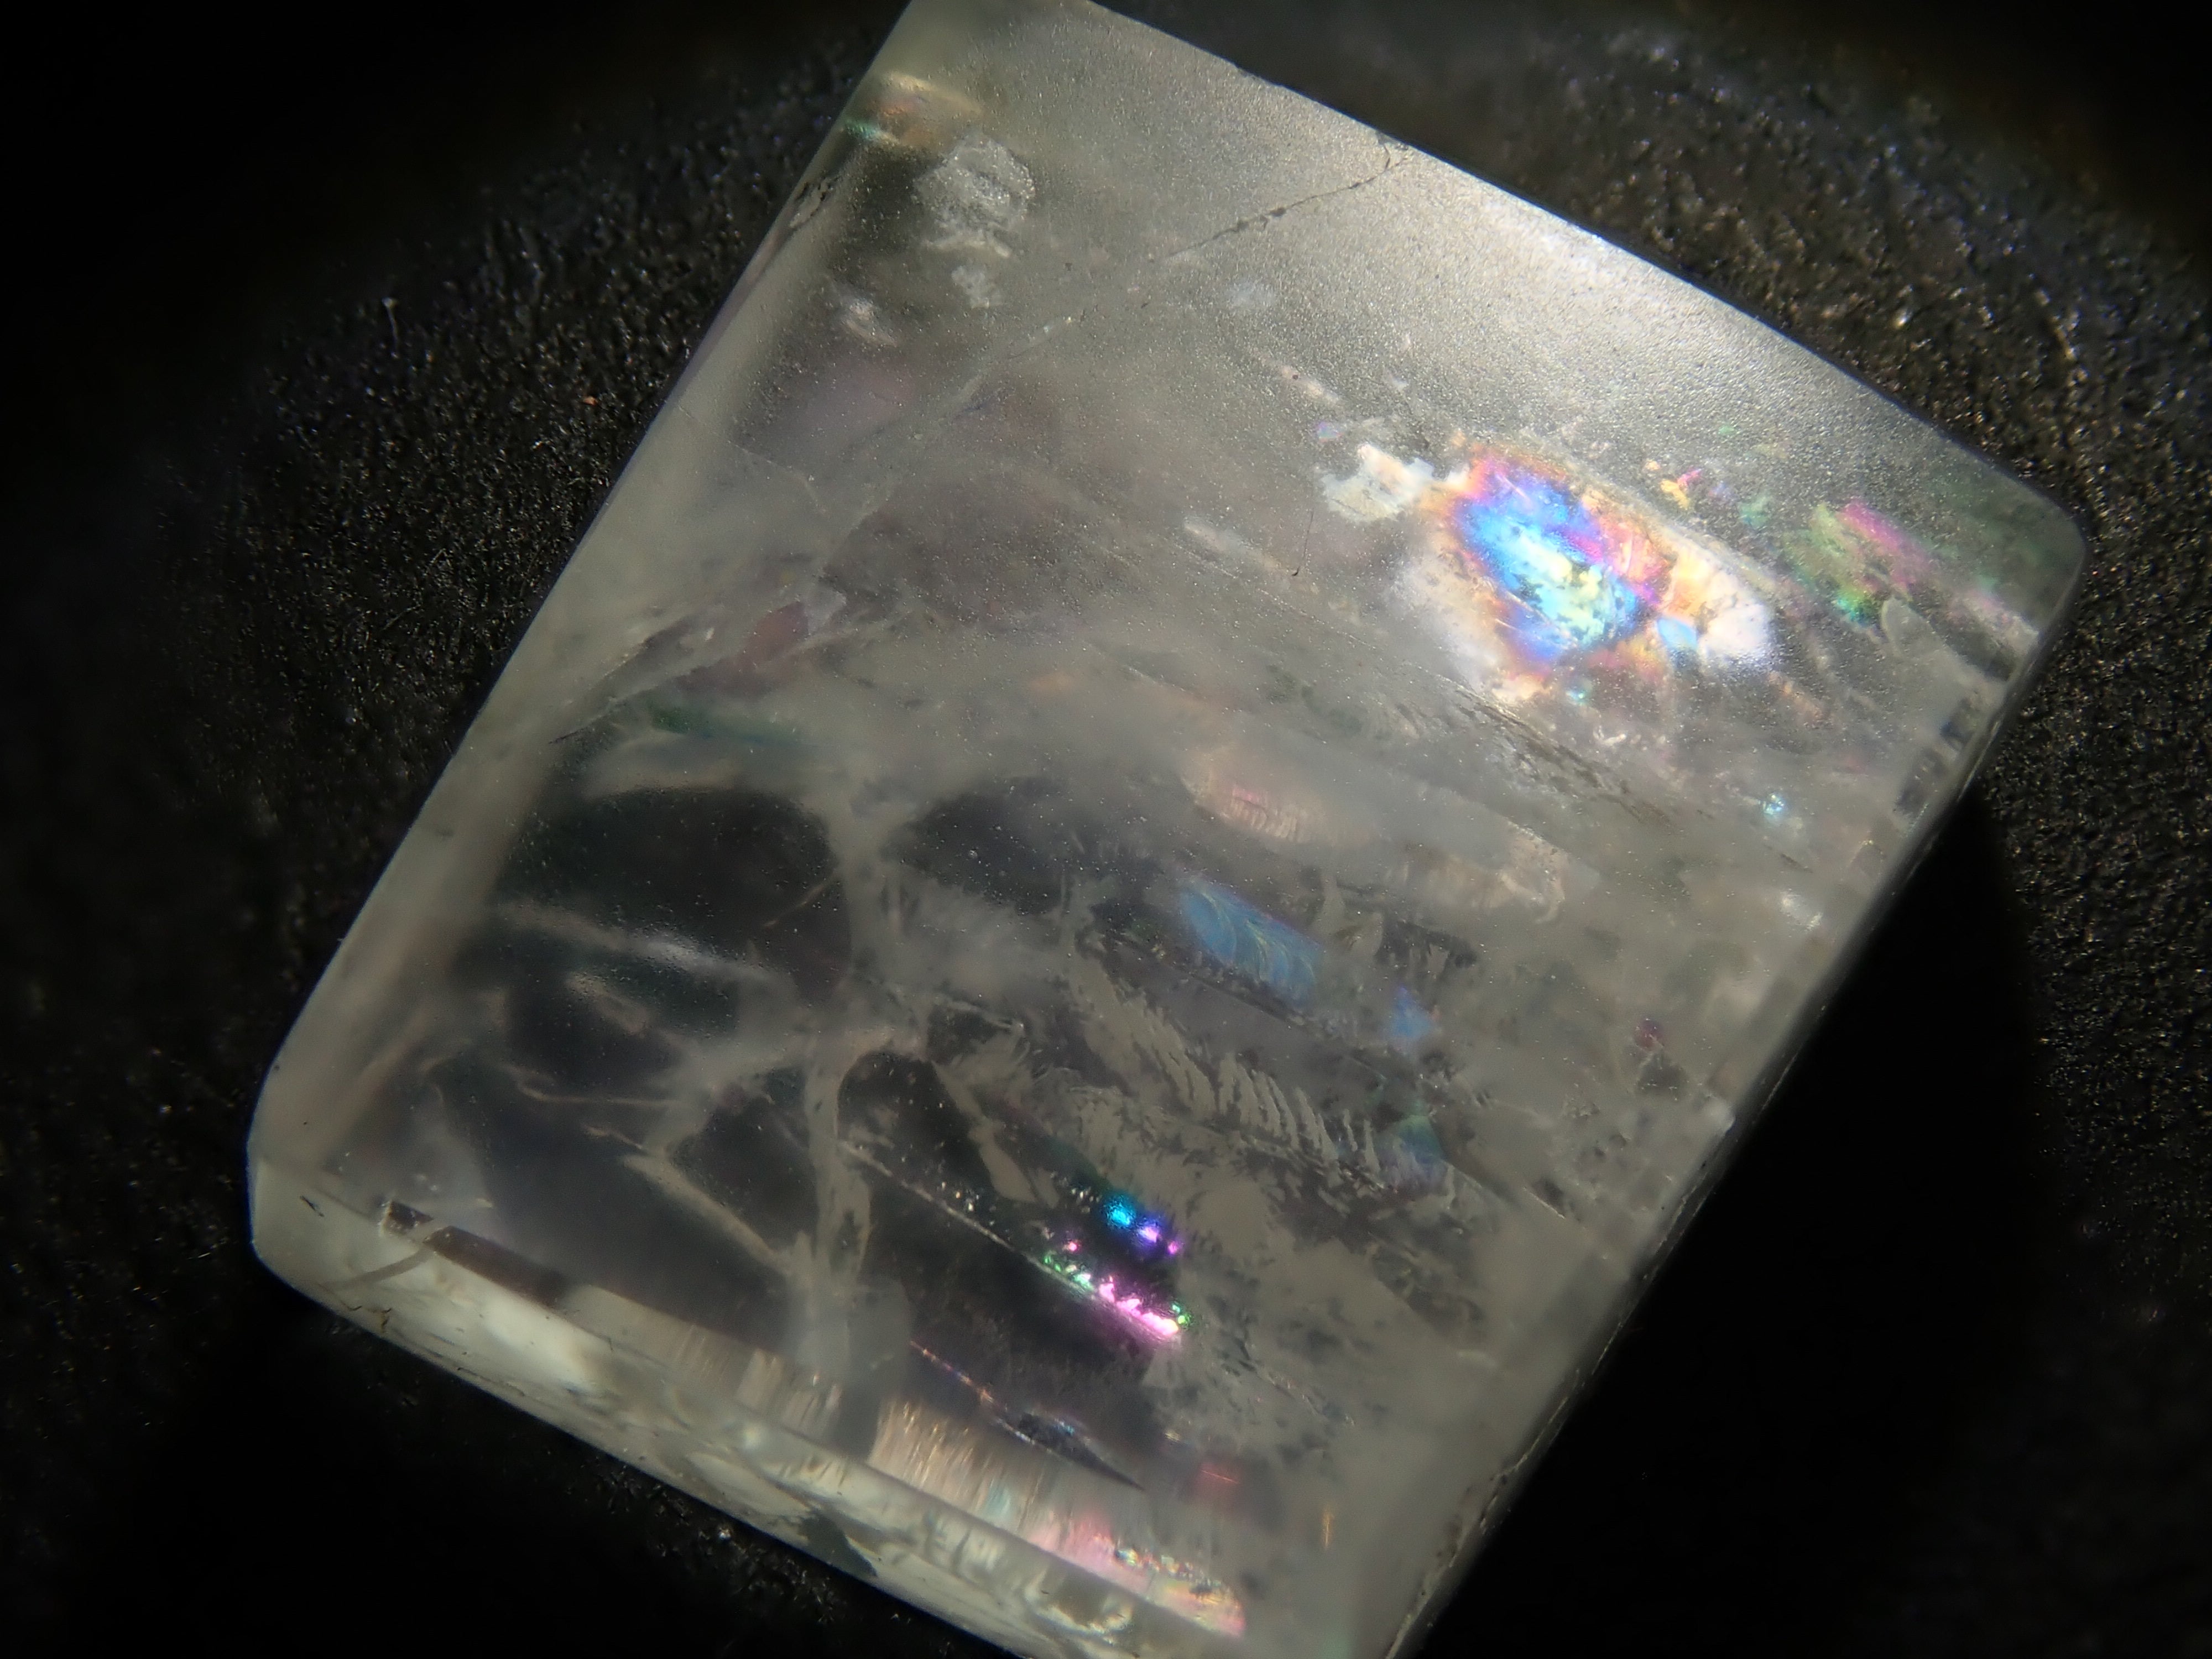
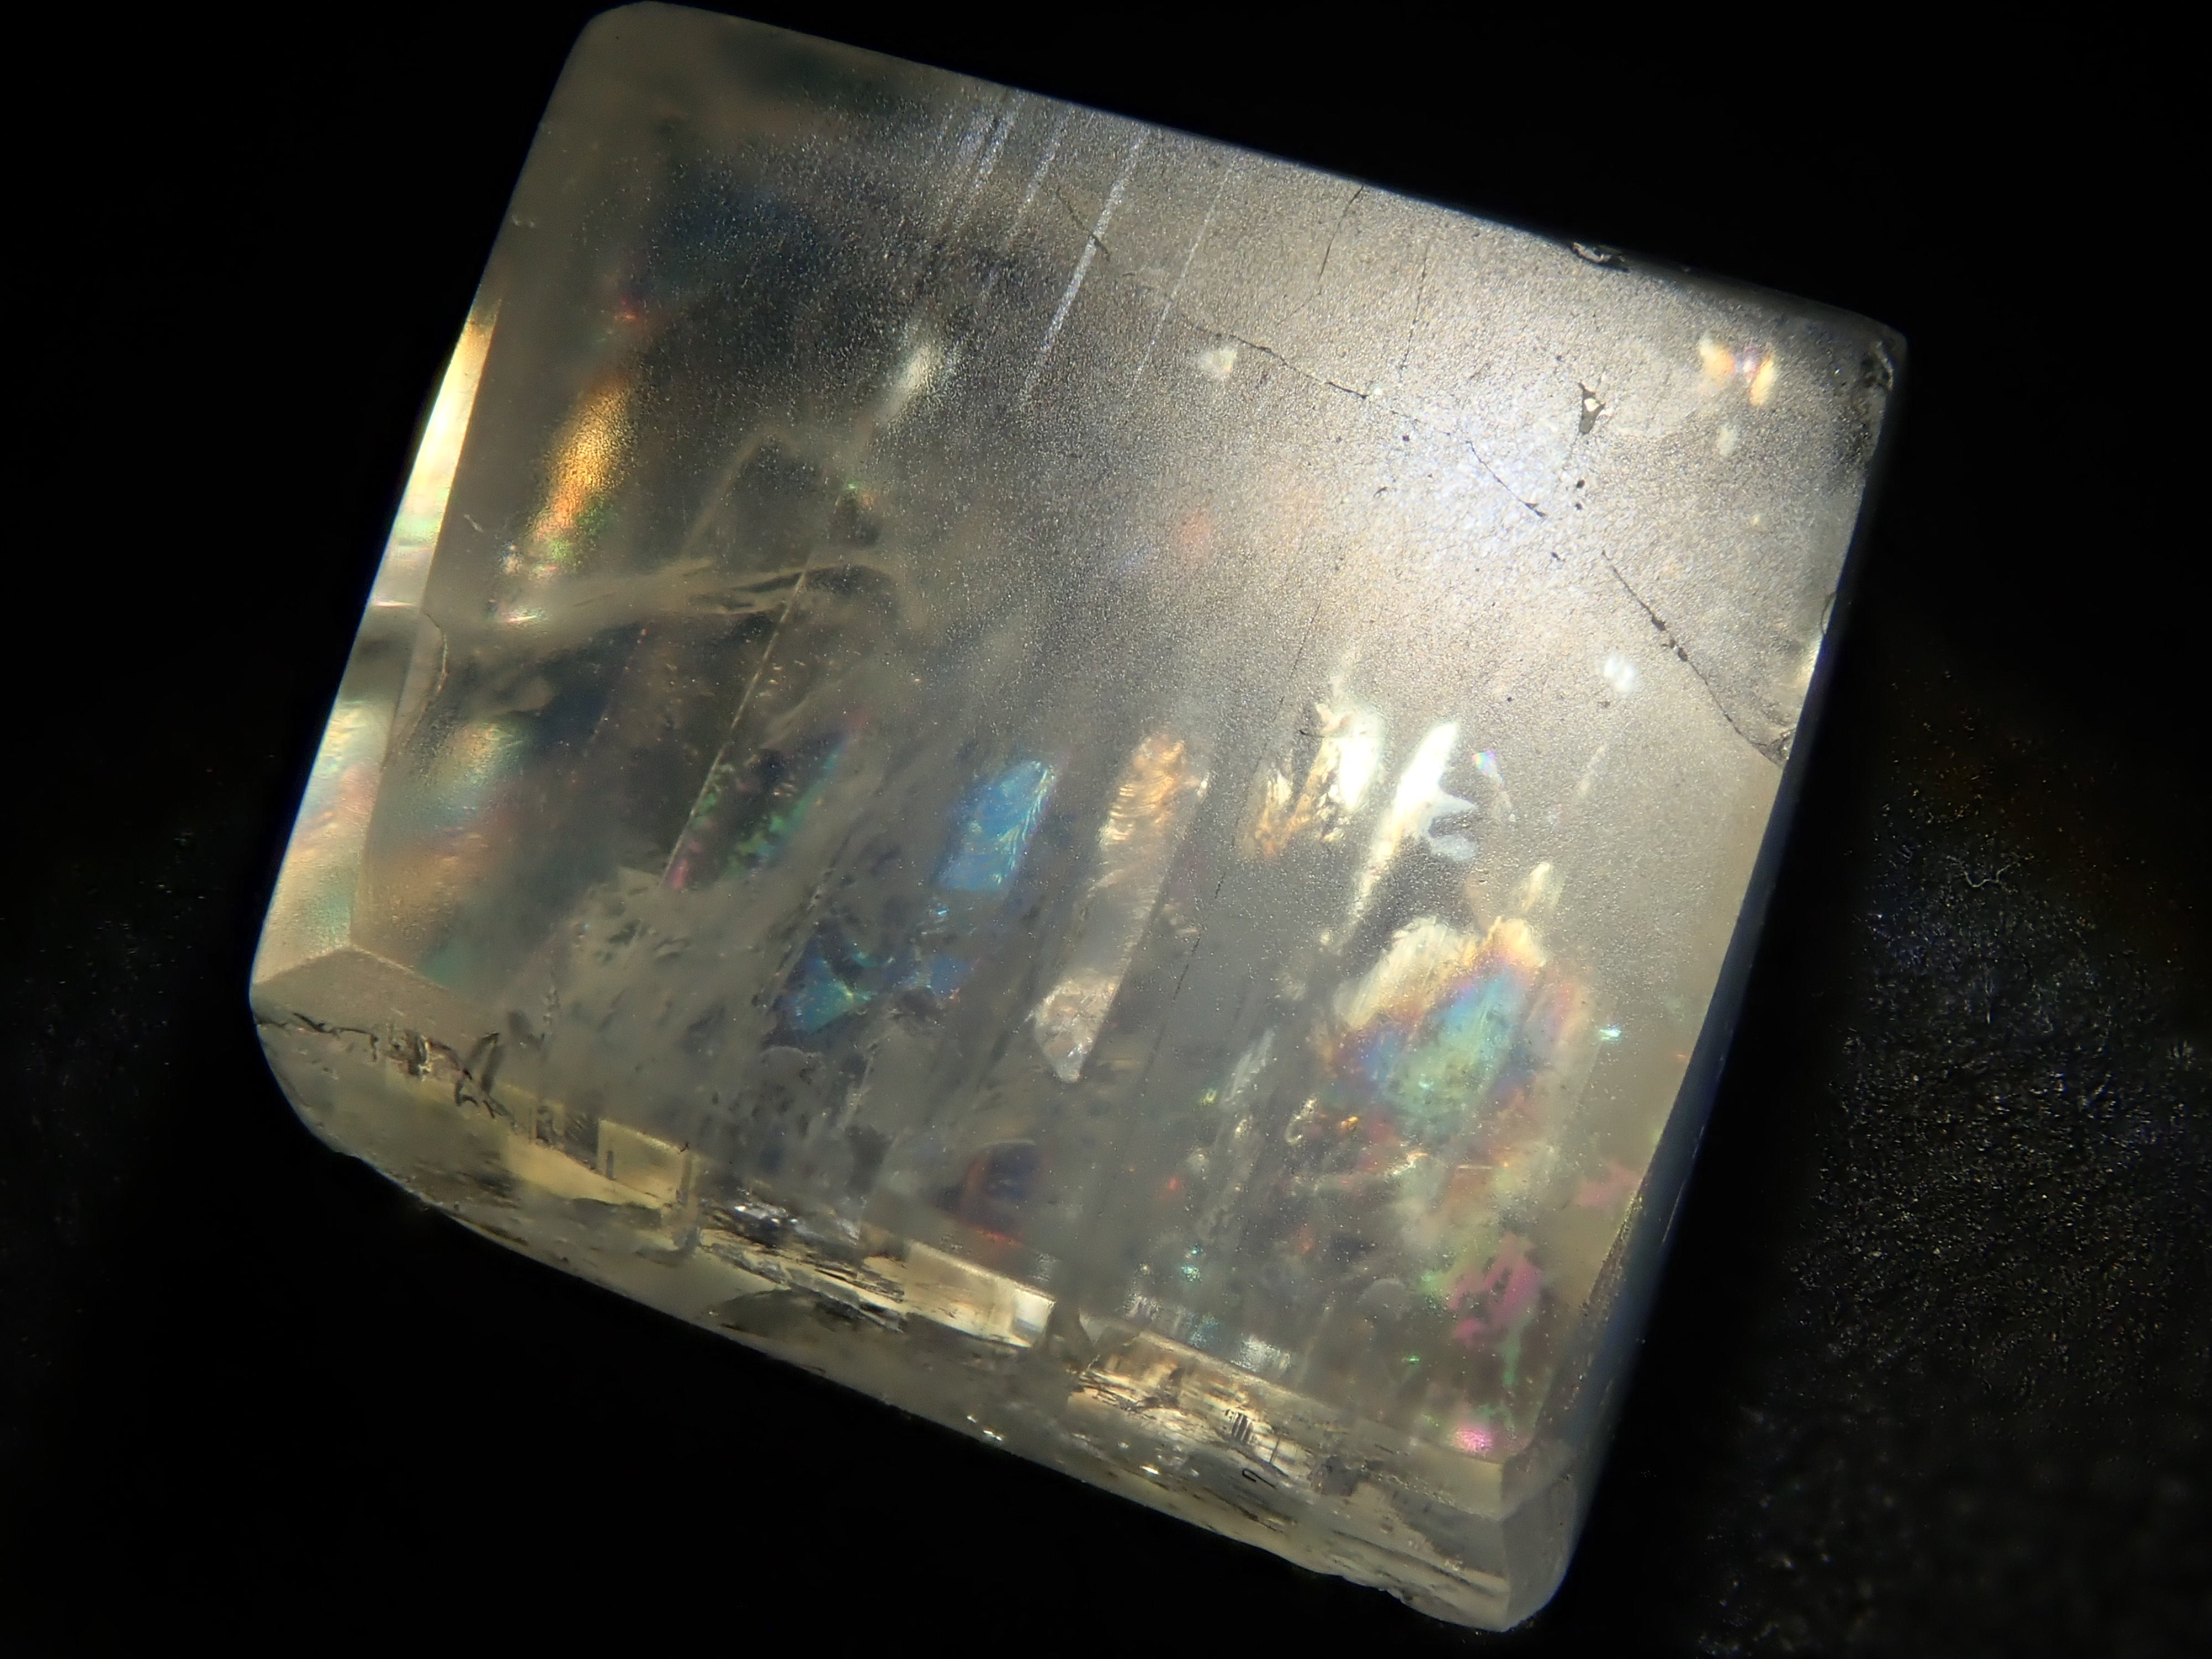
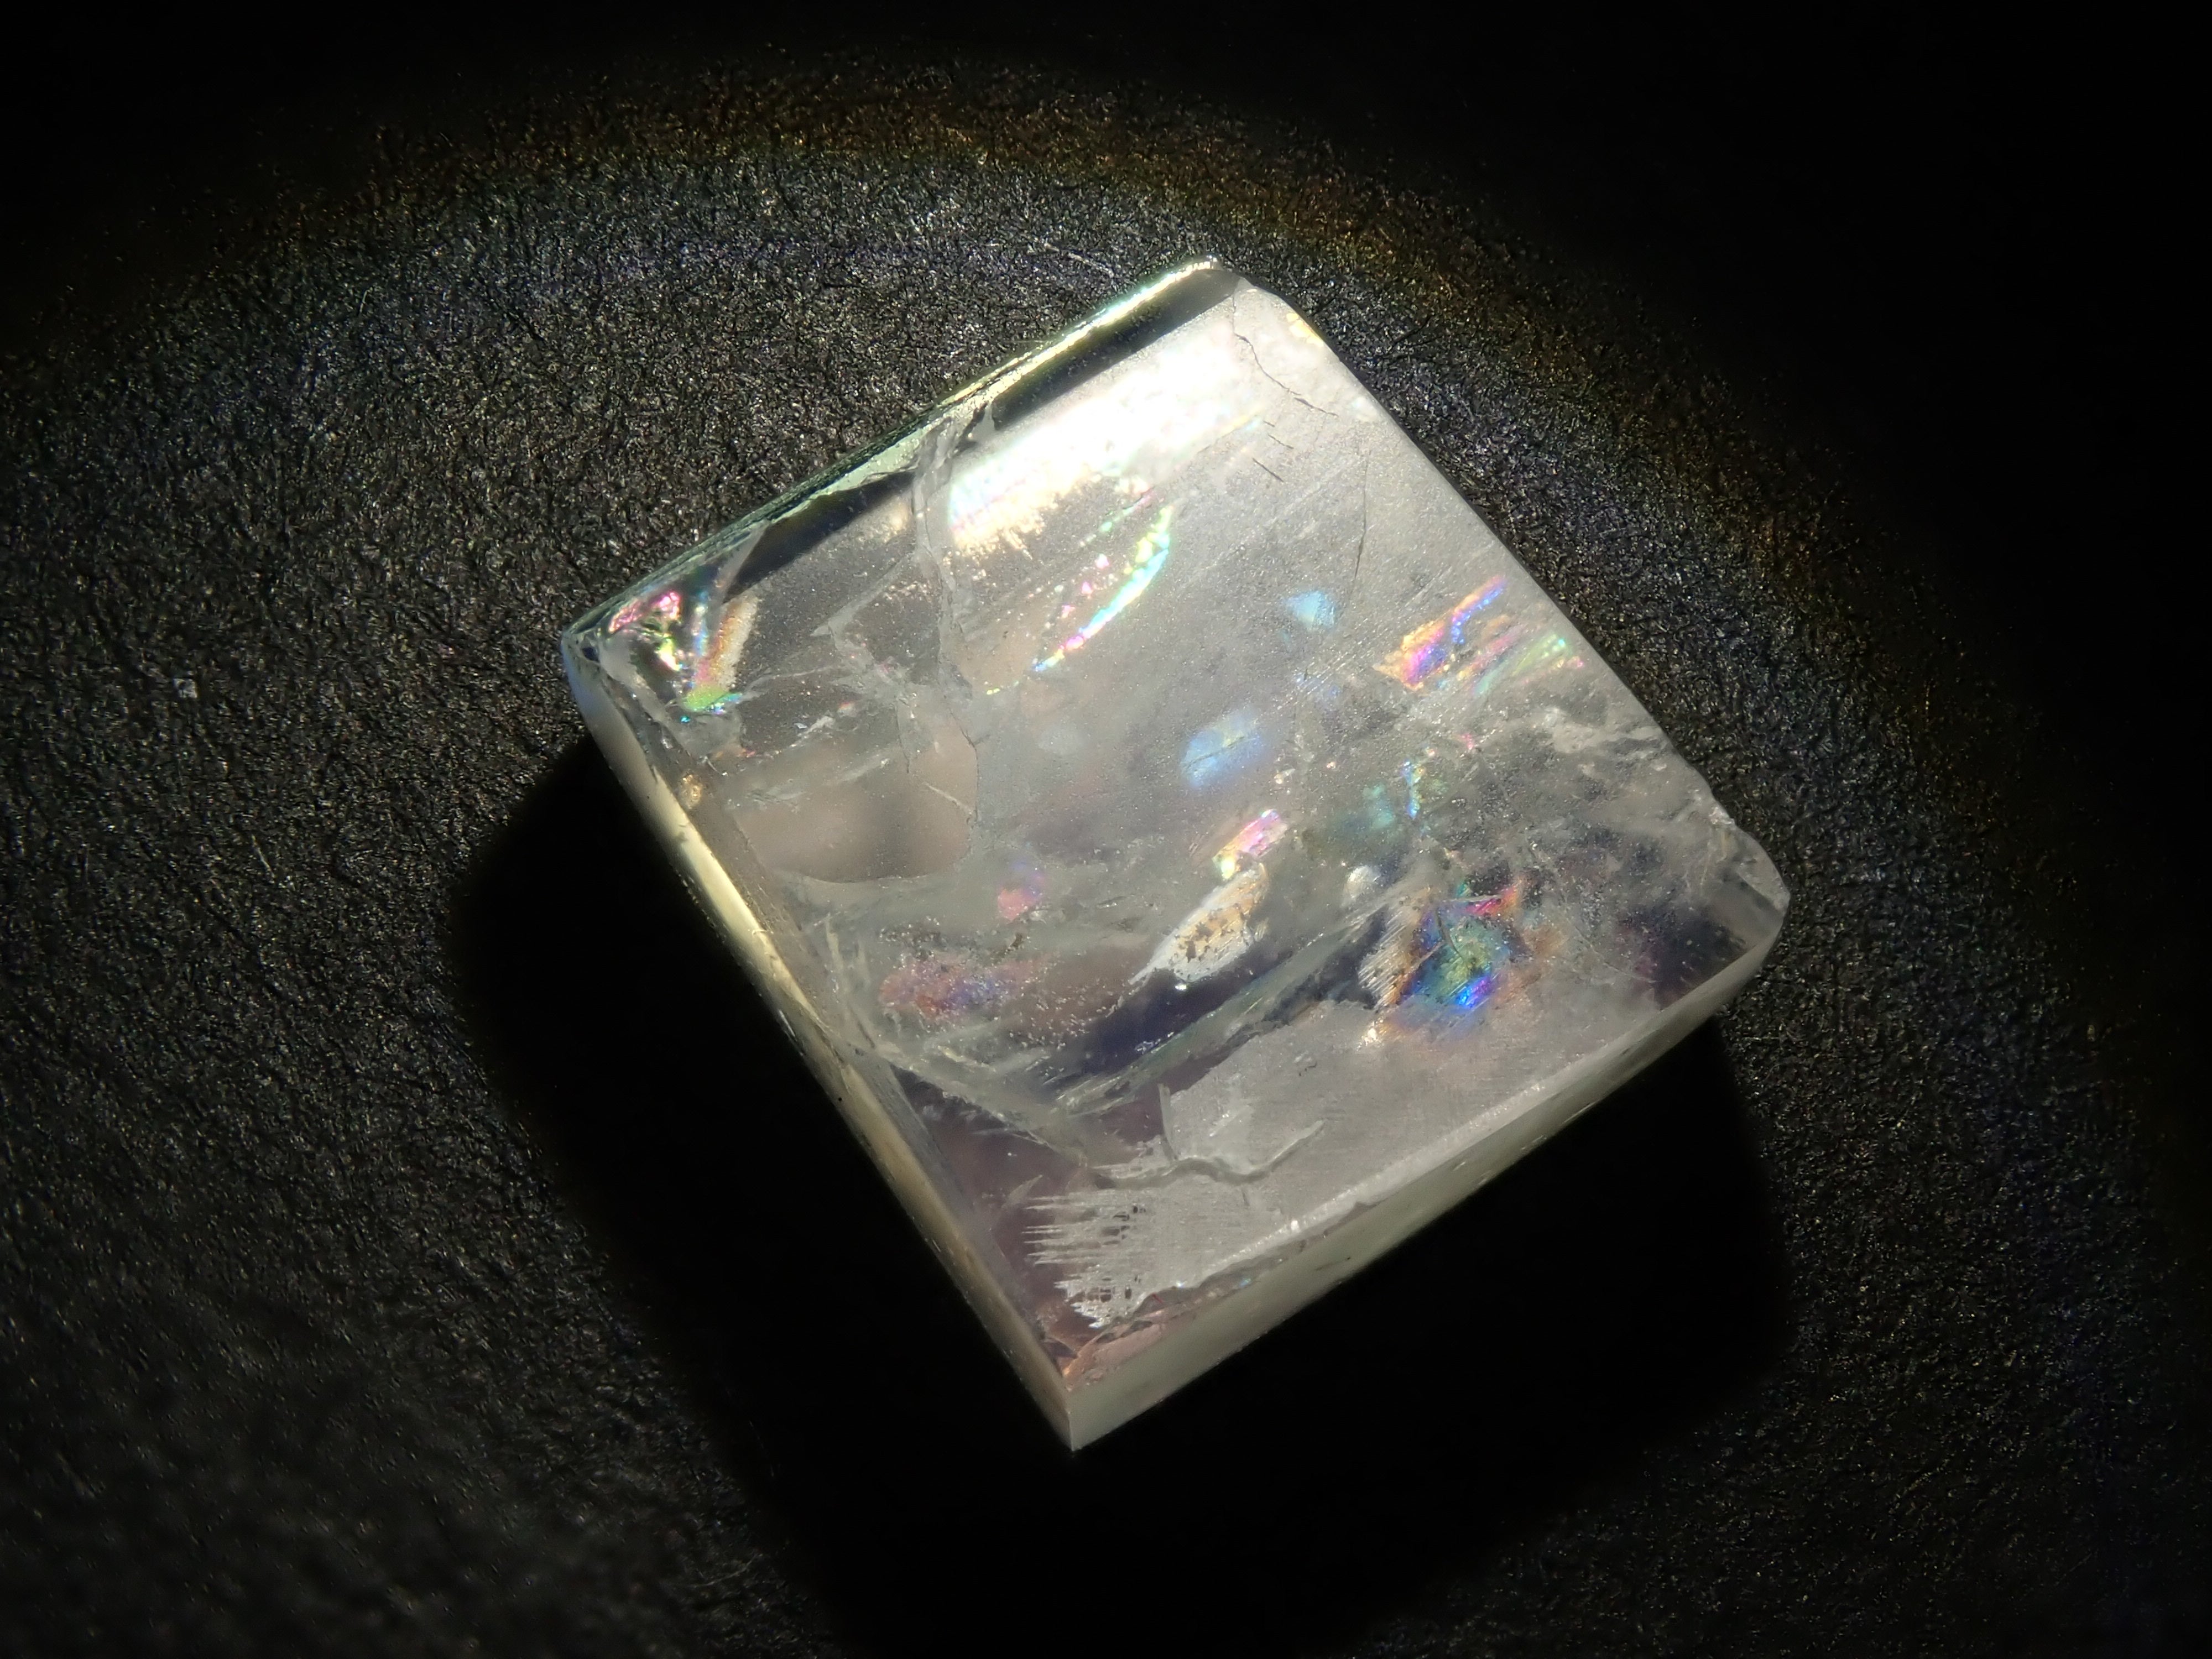
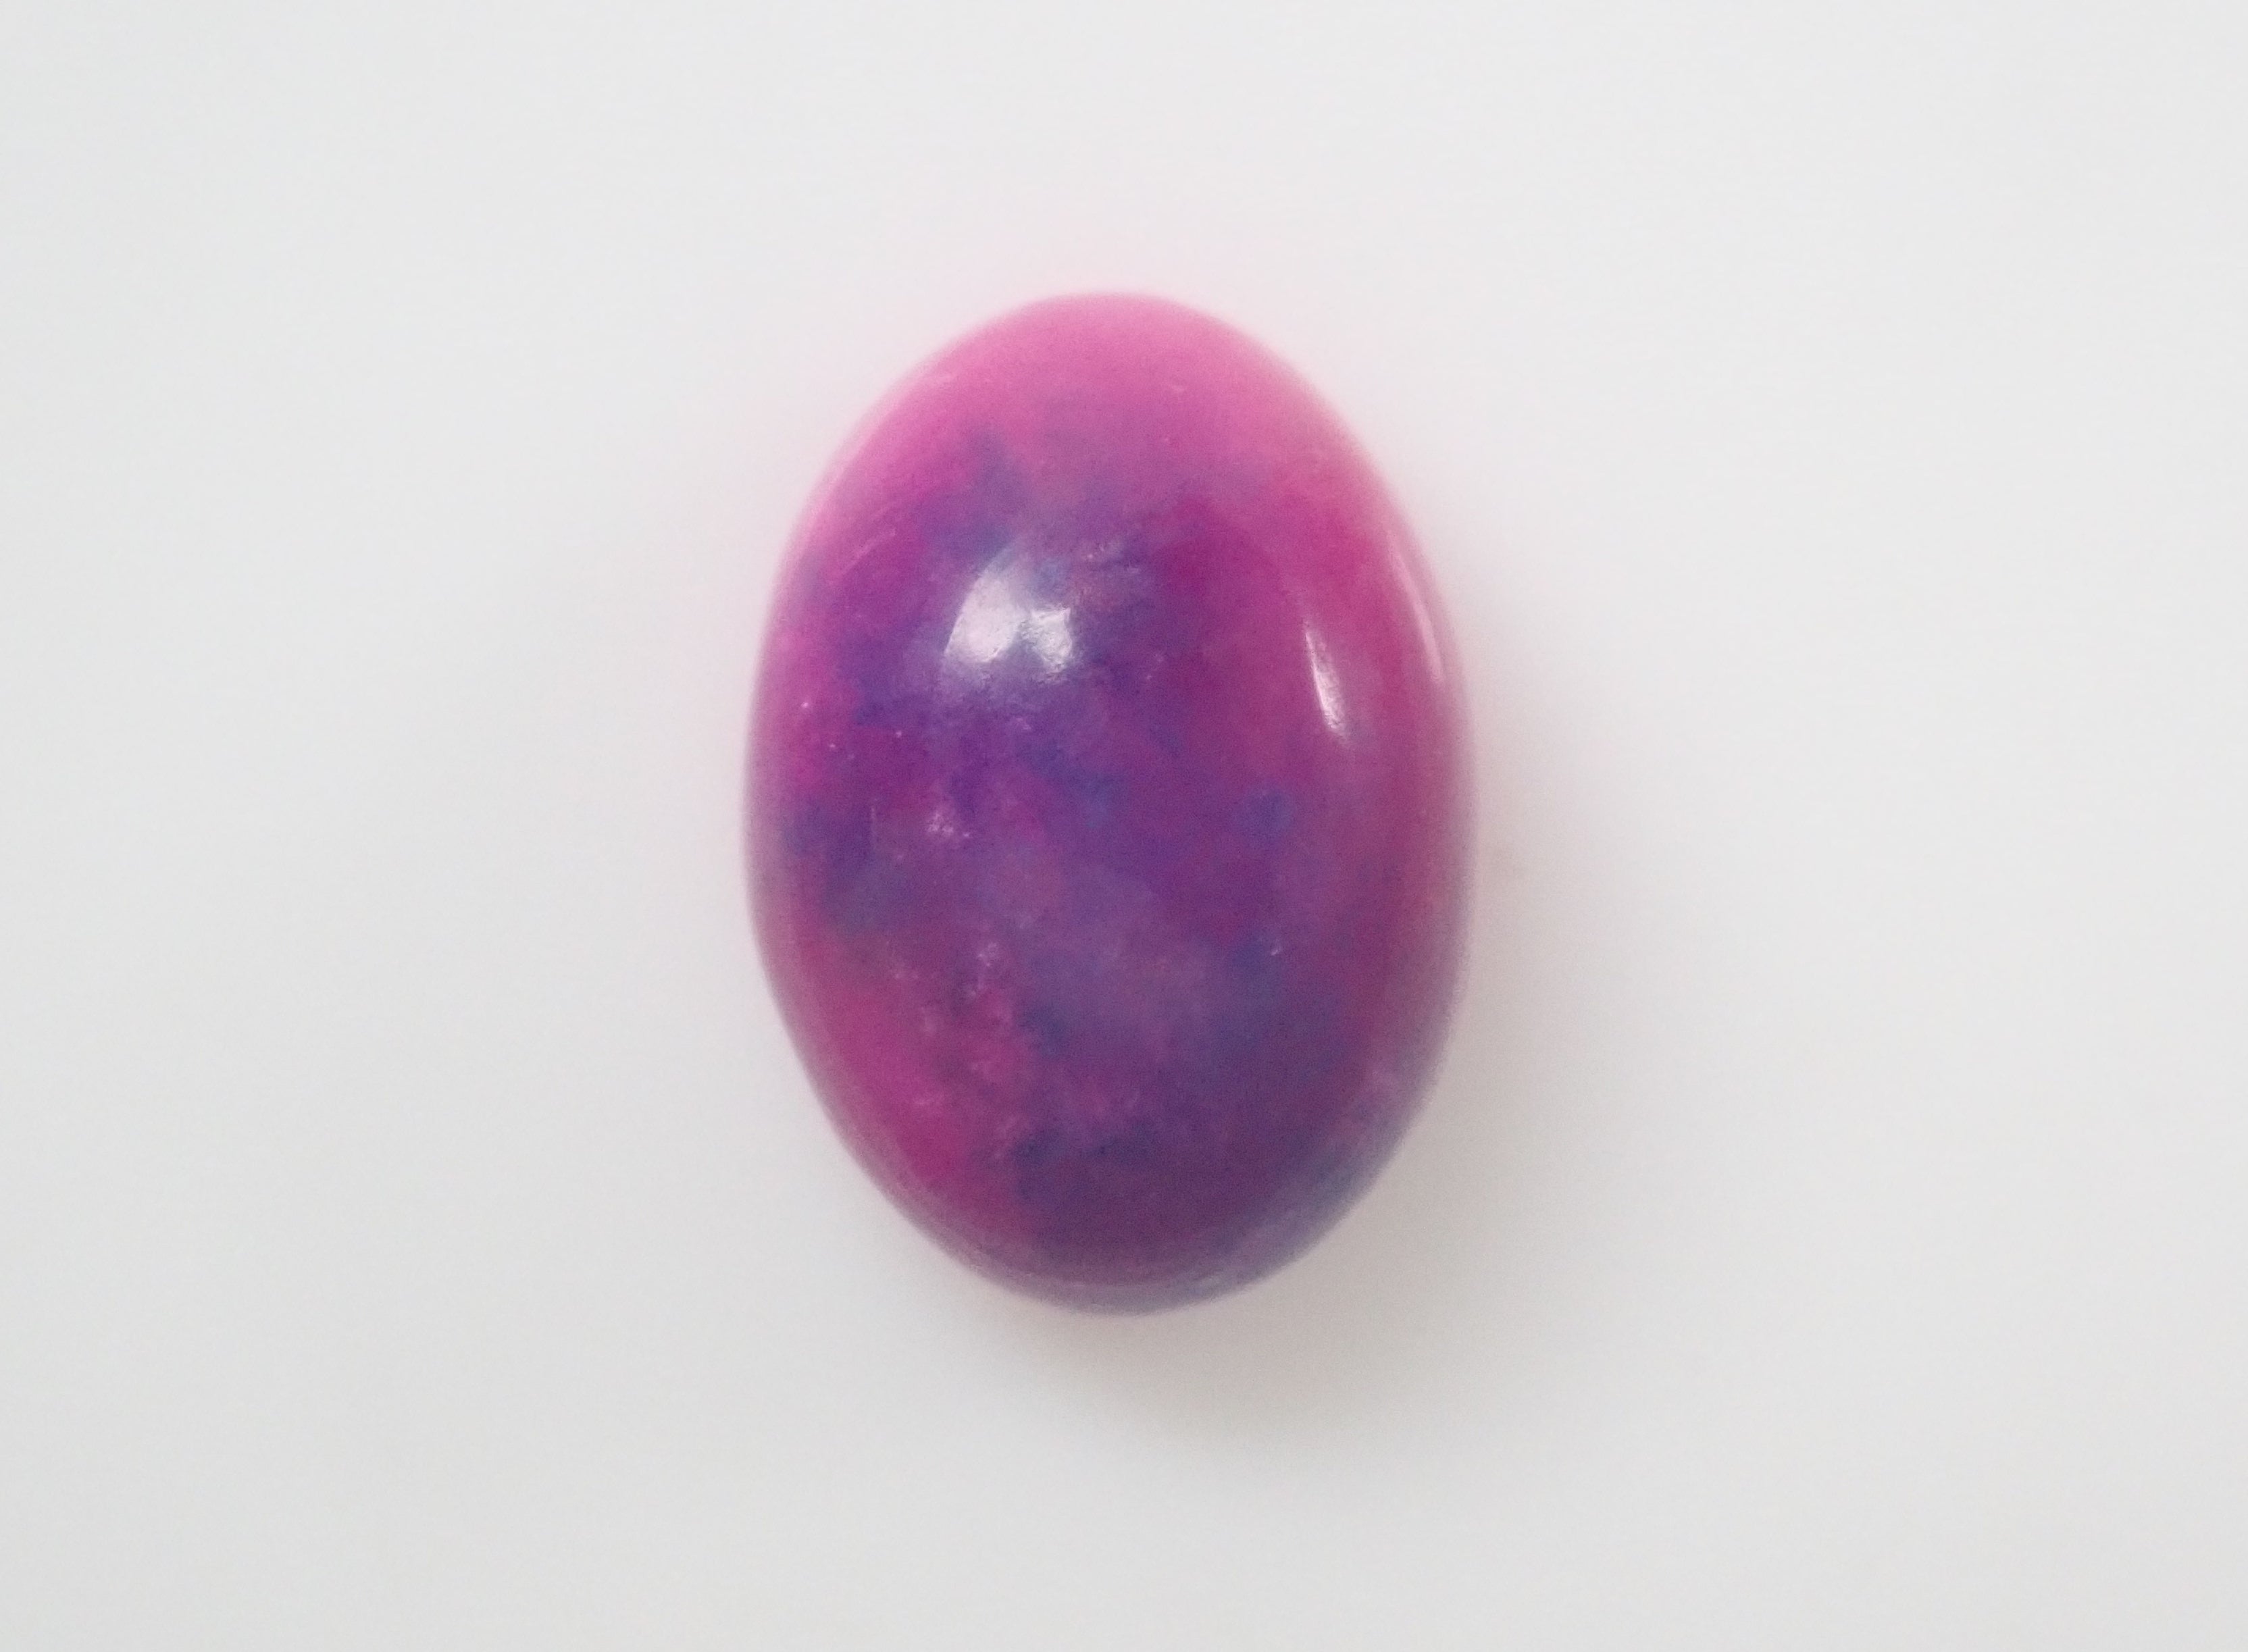
▼After polishing
【Reference Articles】
▶Can gem polishing be easily enjoyed at home? Find out how!
▶Easy and fun rough stone polishing! Let's make a cabochon cut with rhodochrosite!
【Reference Videos】
The following video features dendritic yellow opal, but for andesine-labradorite (rainbow moonstone or blue moonstone), each step of the polishing process will take more time.
▶Rough Stone Polishing (Basic)
▶Rough Stone Polishing (Advanced: Cabochon Cut)
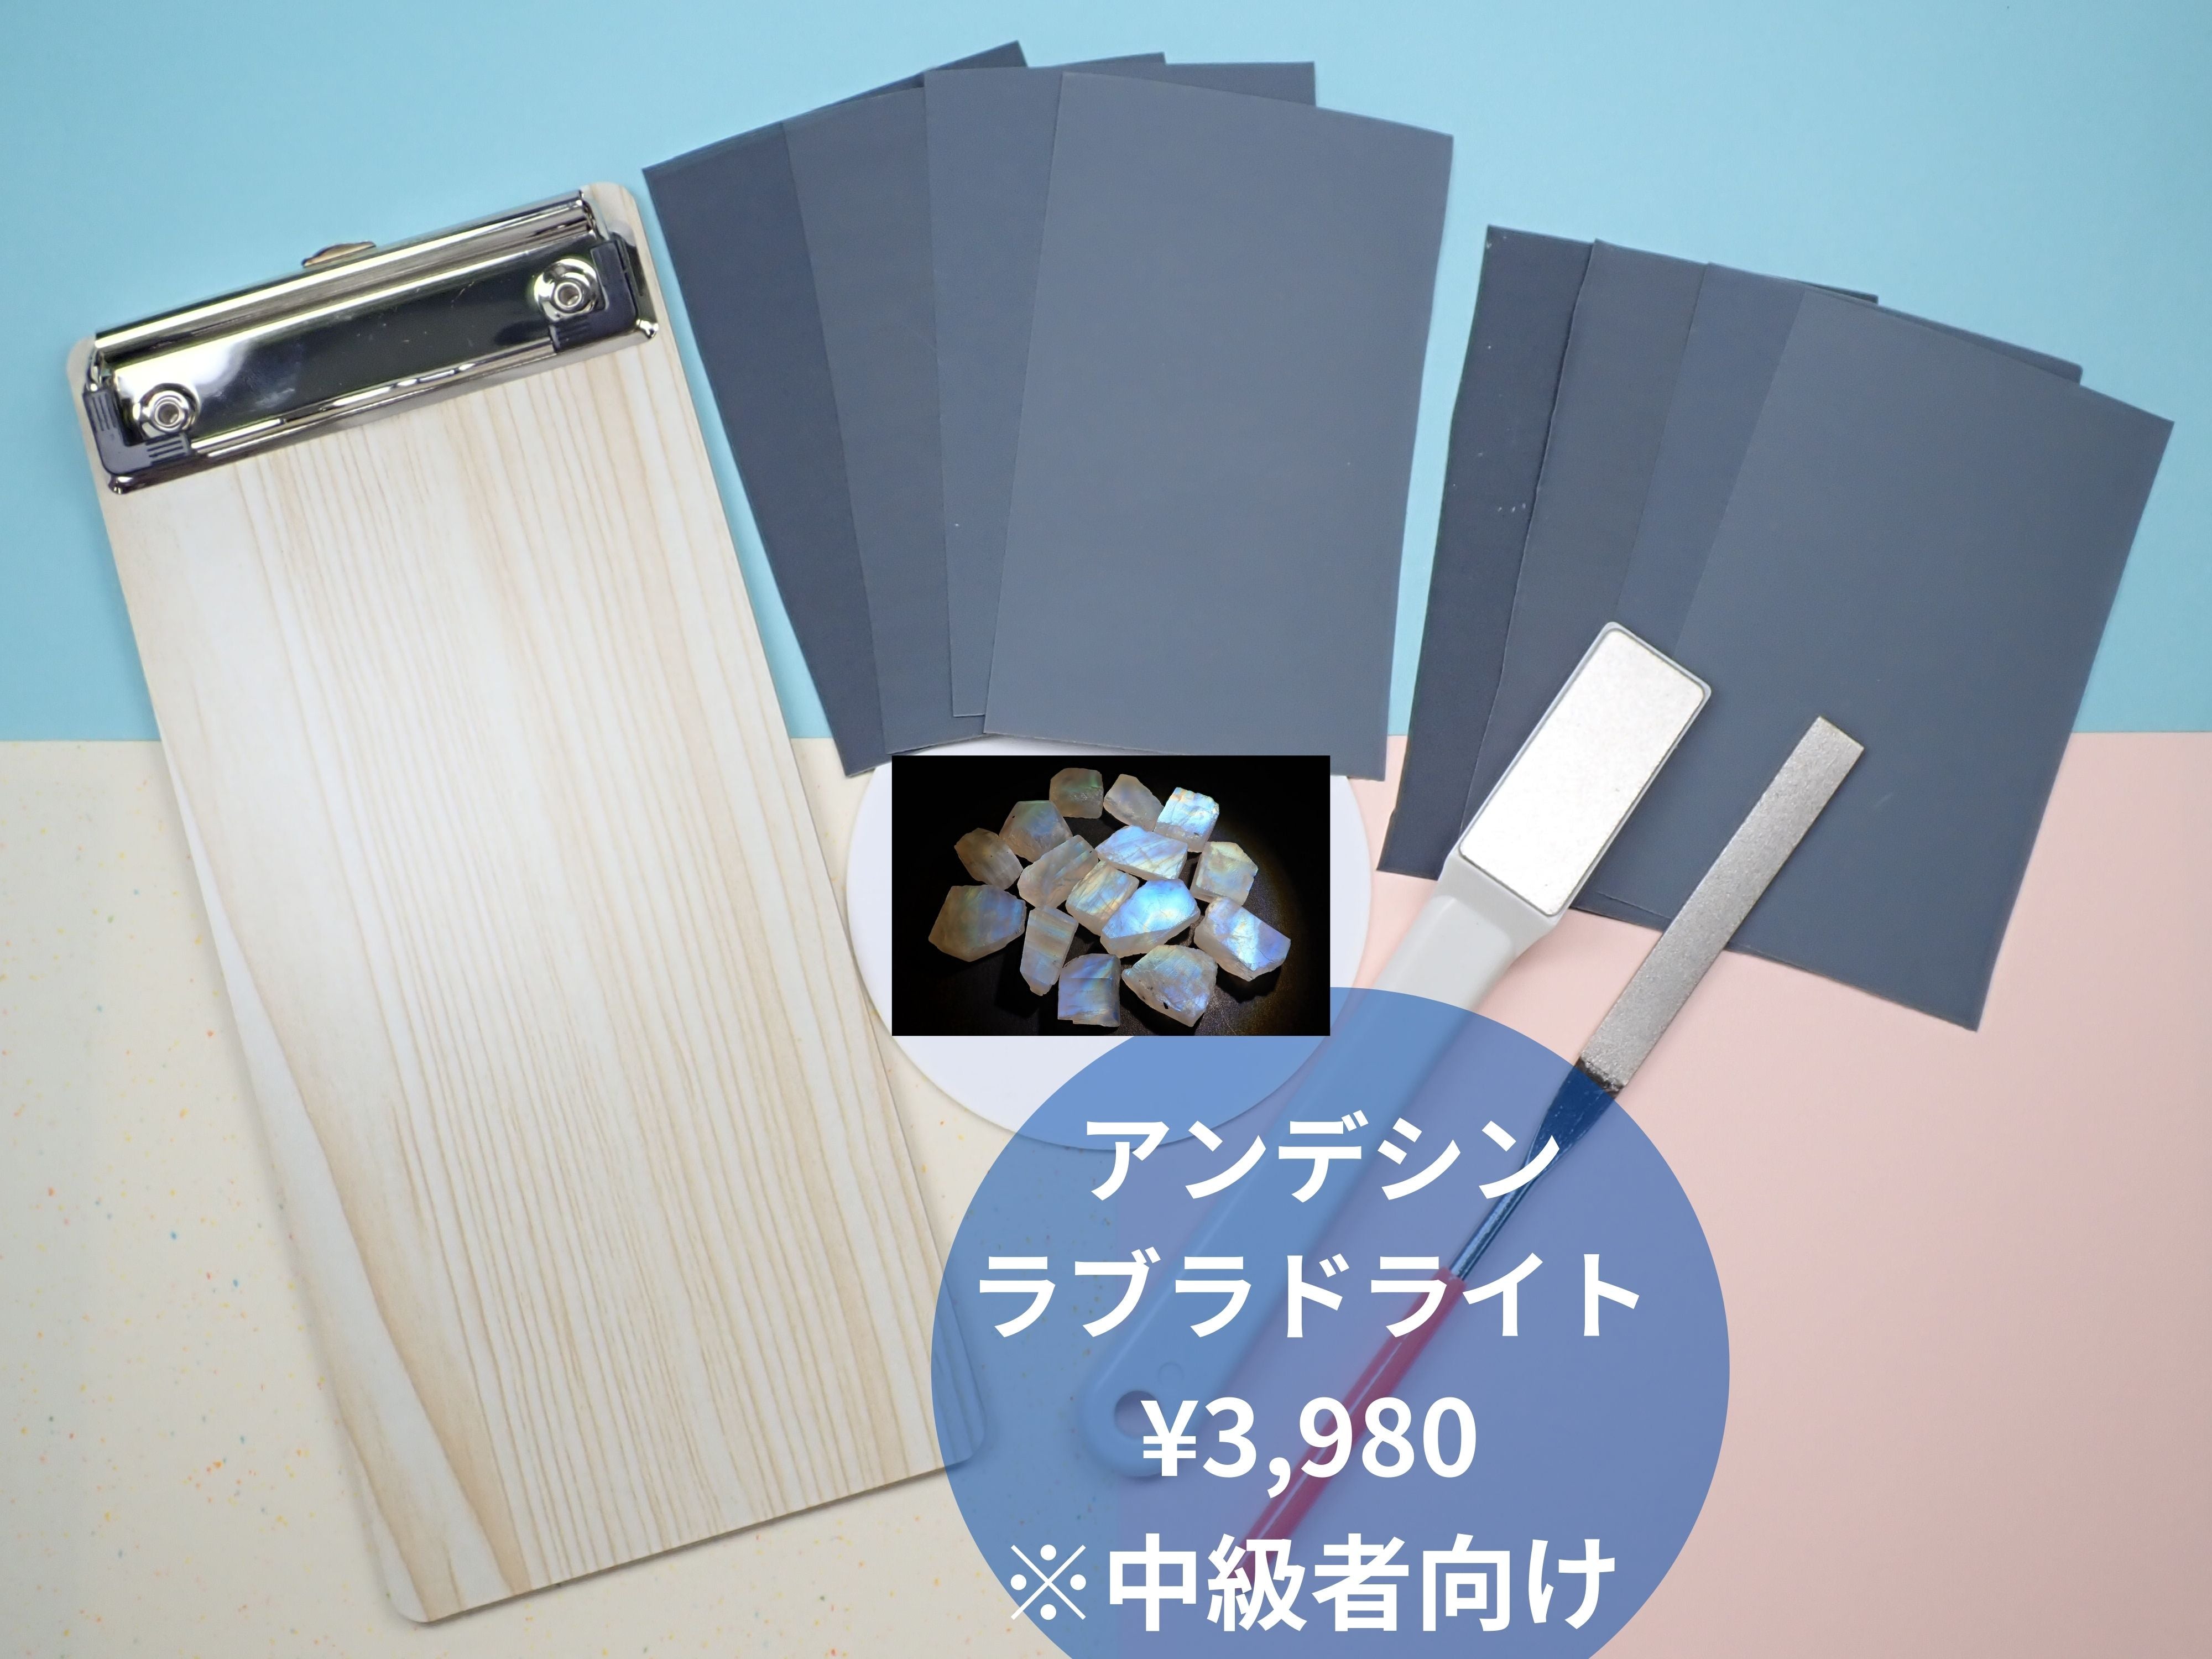
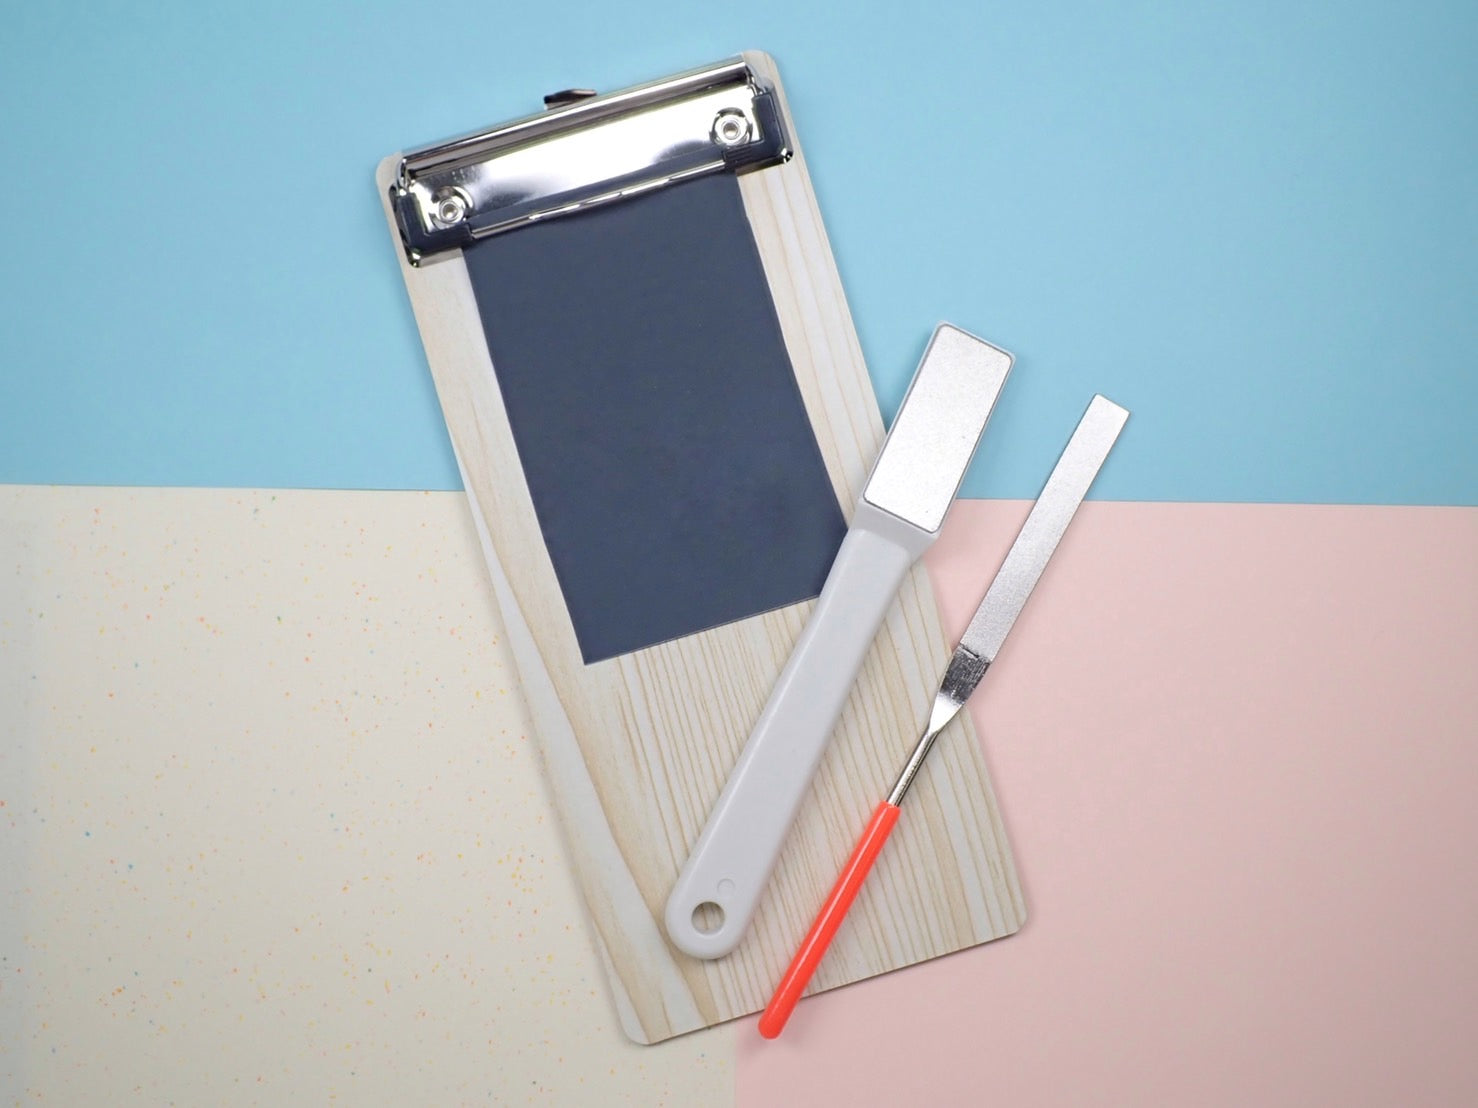
【Contents】
▷Rough Stone: 1 piece total
・Madagascar Andesine-Labradorite [Hardness: 6-6.5]
▷Waterproof Sandpaper: 2 sheets x 4 types
600 grit: 2 sheets
1200 grit: 2 sheets
1500 grit: 2 sheets
2000 grit: 2 sheets
▷Board: 1 piece total
▷Diamond Files: 2 pieces total
・(White): 1 piece
・(Red): 1 piece
【Polishing Instructions】
*For more detailed and easy-to-understand instructions, please watch the video.
1. After wetting the stone,
begin by polishing it with a diamond file. There is no functional difference in the polishing surface between the diamond files (white) and (red). The (white) file has a wider surface, making it easier for children to use. Use it when you want to remove a larger amount of material. The (red) file is recommended for polishing finer areas.
2. Secure the waterproof sandpaper to the wooden binder and polish the stone in a circular motion ("no" character) while keeping it wet. The smaller the number on the waterproof sandpaper, the coarser it is. Polish by starting with coarser sandpaper (smaller numbers) and gradually moving to finer sandpaper (larger numbers).
3. Once you have polished to your desired extent, it is complete.
【Precautions during polishing】
・There is a risk of cutting your hands while polishing. Please polish with extreme caution.
・Periodically rinse off the polishing residue with water, wipe away moisture with a tissue or paper towel, and check the polished surface. If you continue polishing without rinsing, the remaining abrasive material on the surface may scratch the gemstone. Change the water as needed.
*The photos are examples; colors and shapes cannot be chosen. Thank you for your understanding.
*While the quality and intended use will not change, some tool colors and specifications may be subject to alteration.
* For other frequently asked questions, please see here.
karatz_id:90000326
Choose options
Today's new arrivals

【7/19 22時販売】《限定12石》スペイン産スファレライトガチャ1石ルース《複数購入割引有》
Sale price¥3,980
【7/19 22時販売】《限定12石》パキスタン産ヴェイリネナイトガチャ1石ルース(平均0.03ct)《複数購入割引有》
Sale price¥2,980
【7/18 22時販売】南アフリカ産スギライト 0.748ctルース
Sale price¥13,800
【7/18 22時販売】南アフリカ産スギライト 0.806ctルース
Sale price¥14,800
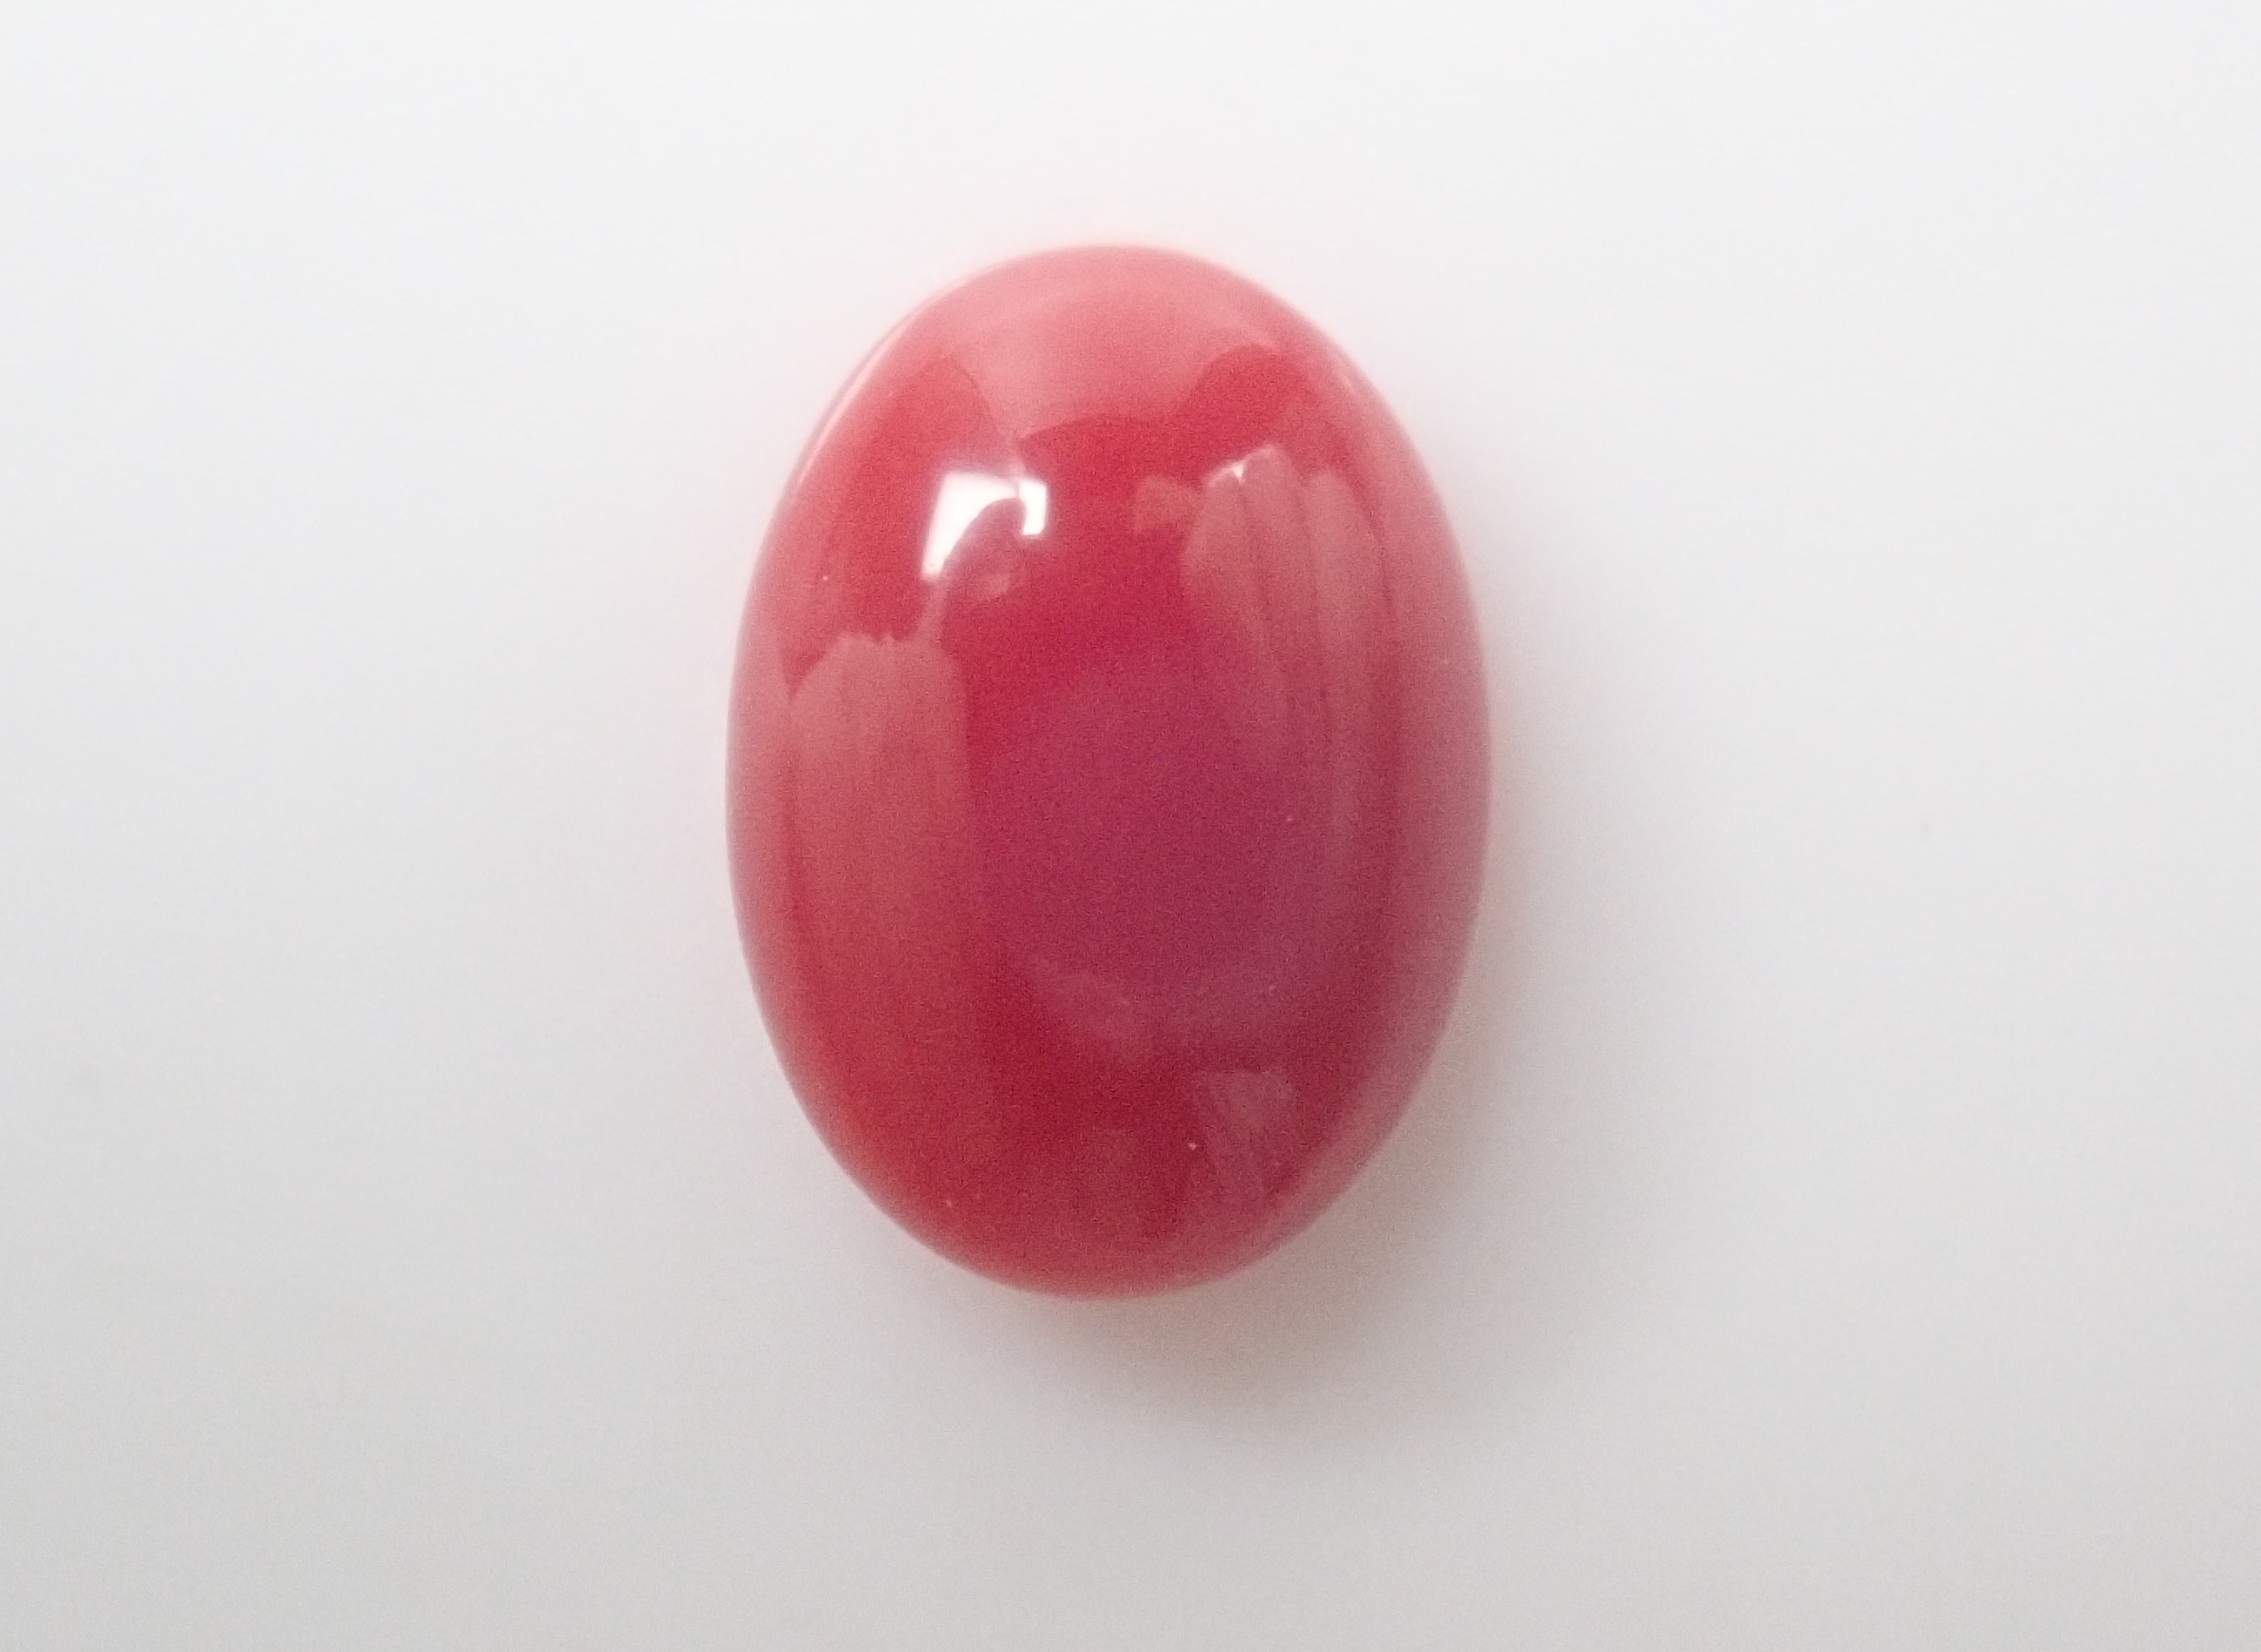
【7/18 22時販売】高知県産血赤珊瑚 1.001ctルース
Sale price¥12,800
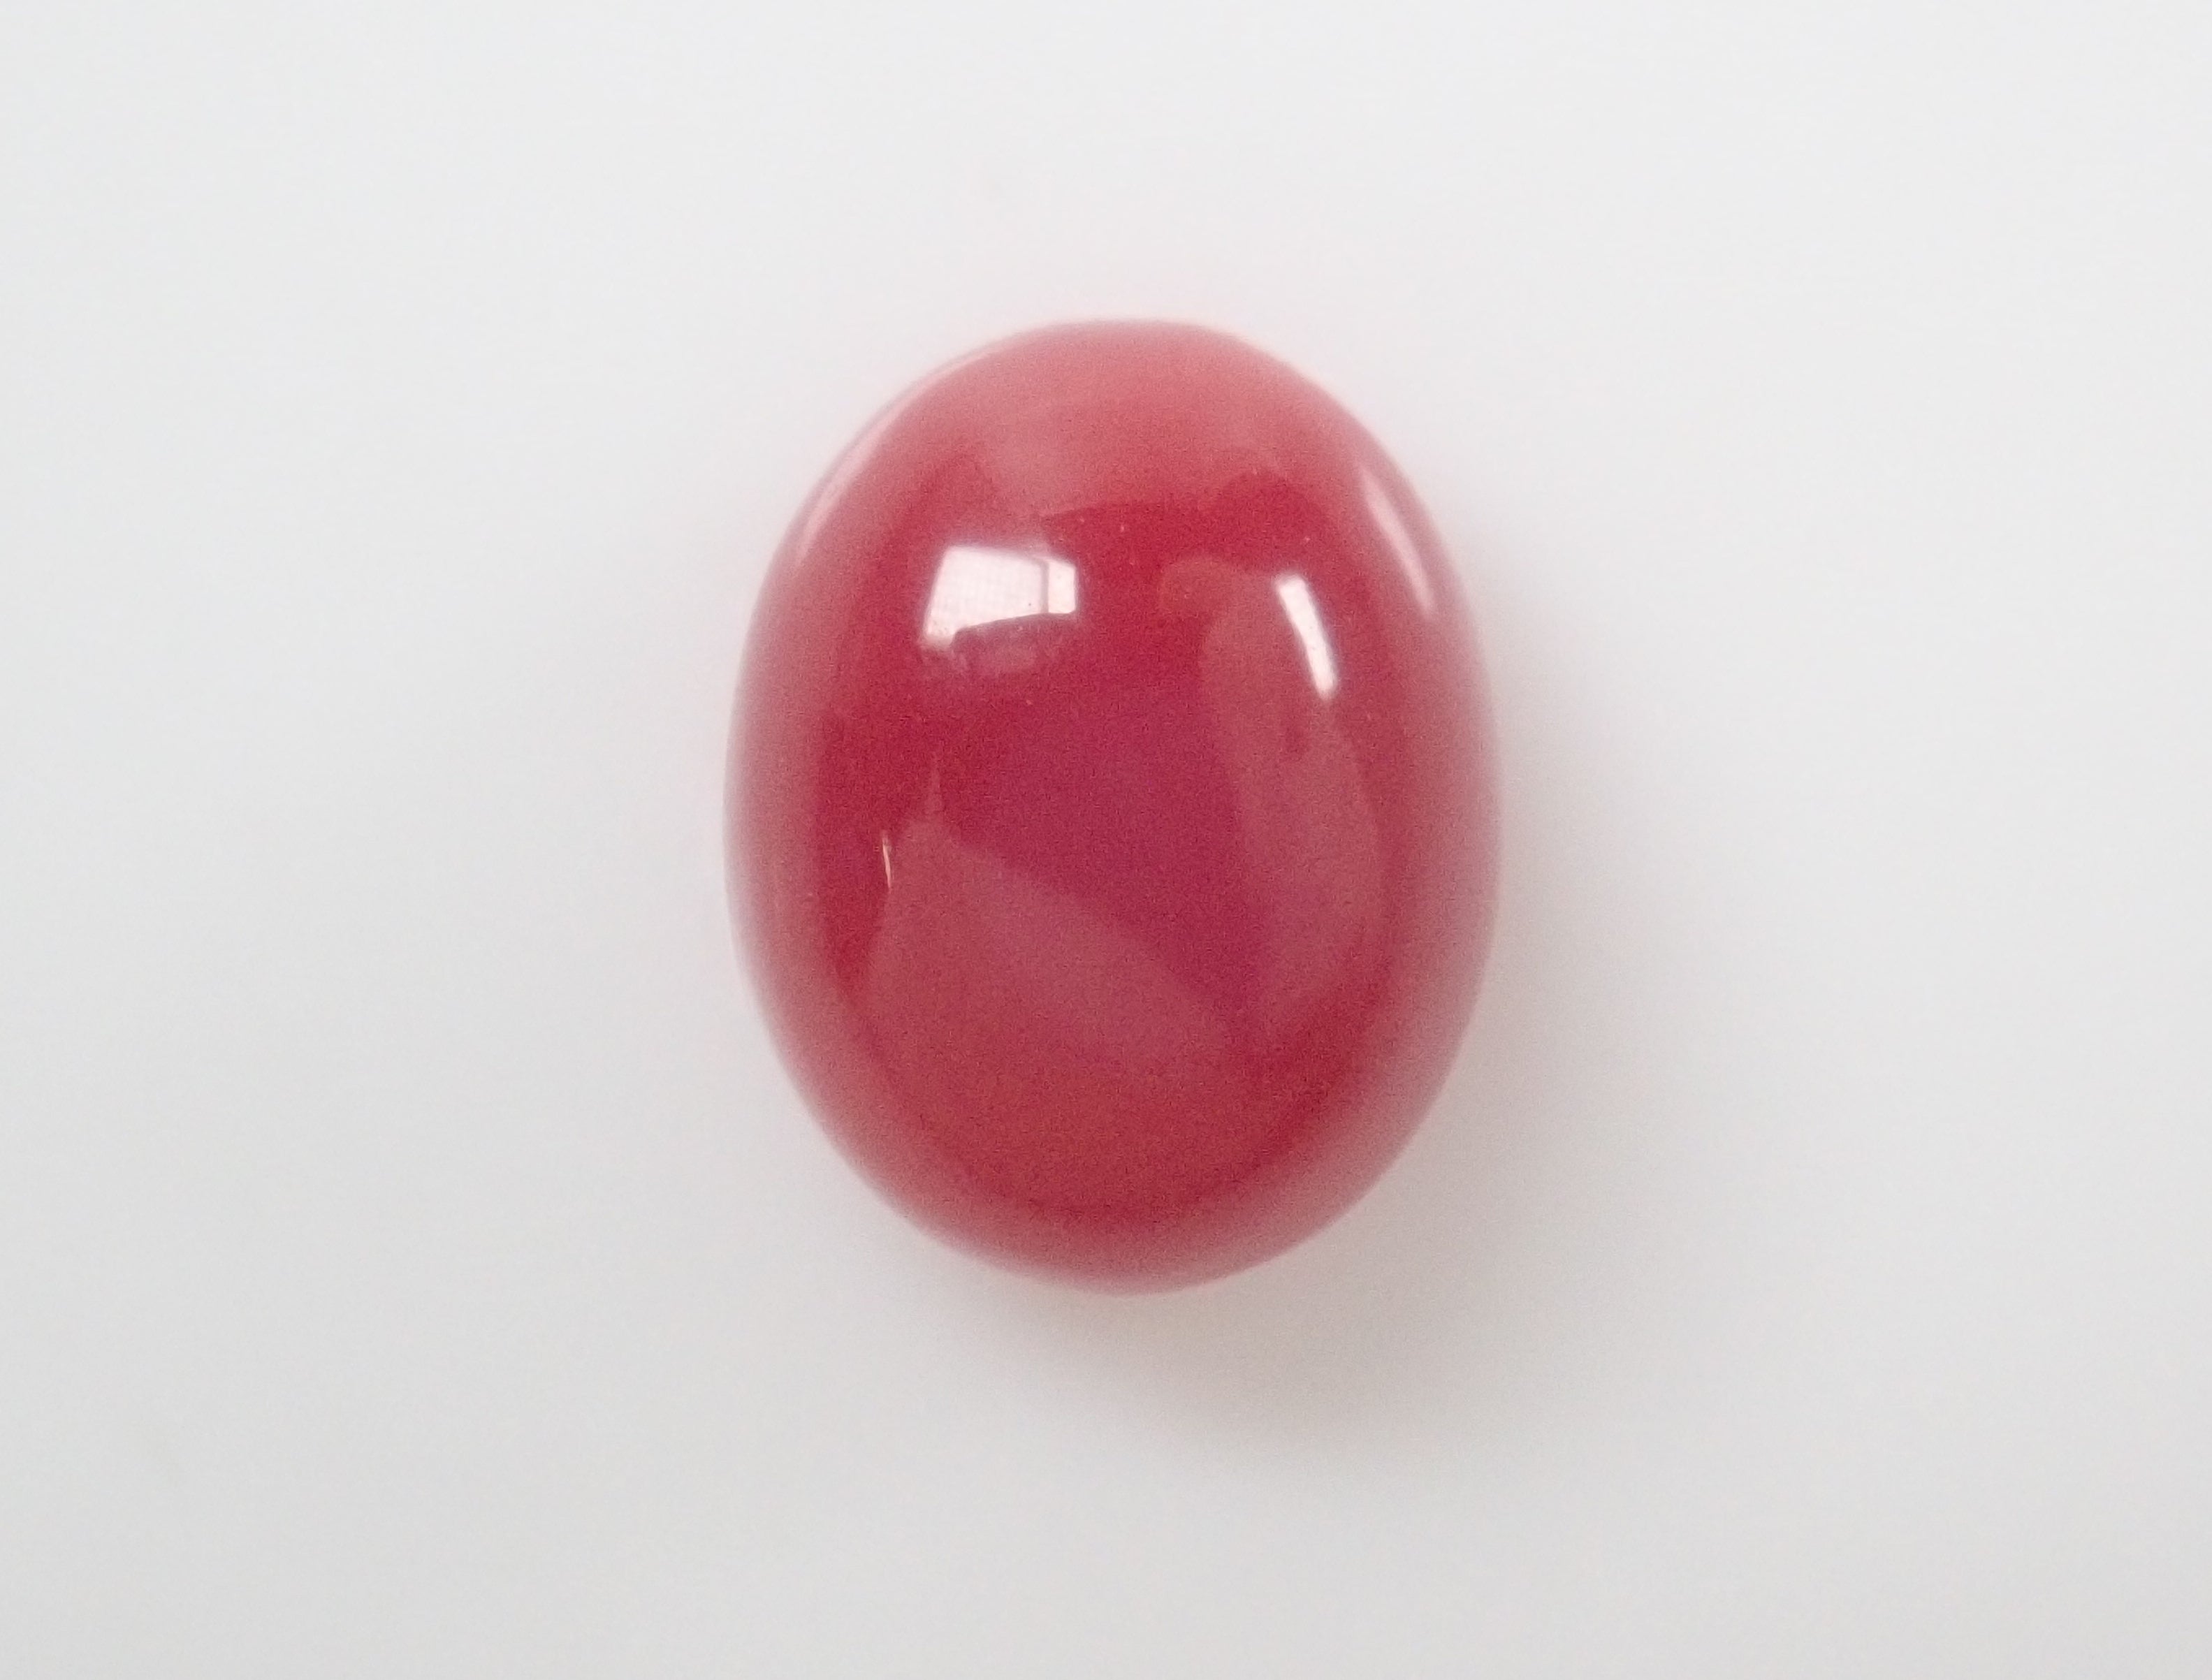
【7/18 22時販売】高知県産血赤珊瑚 1.290ctルース
Sale price¥12,800
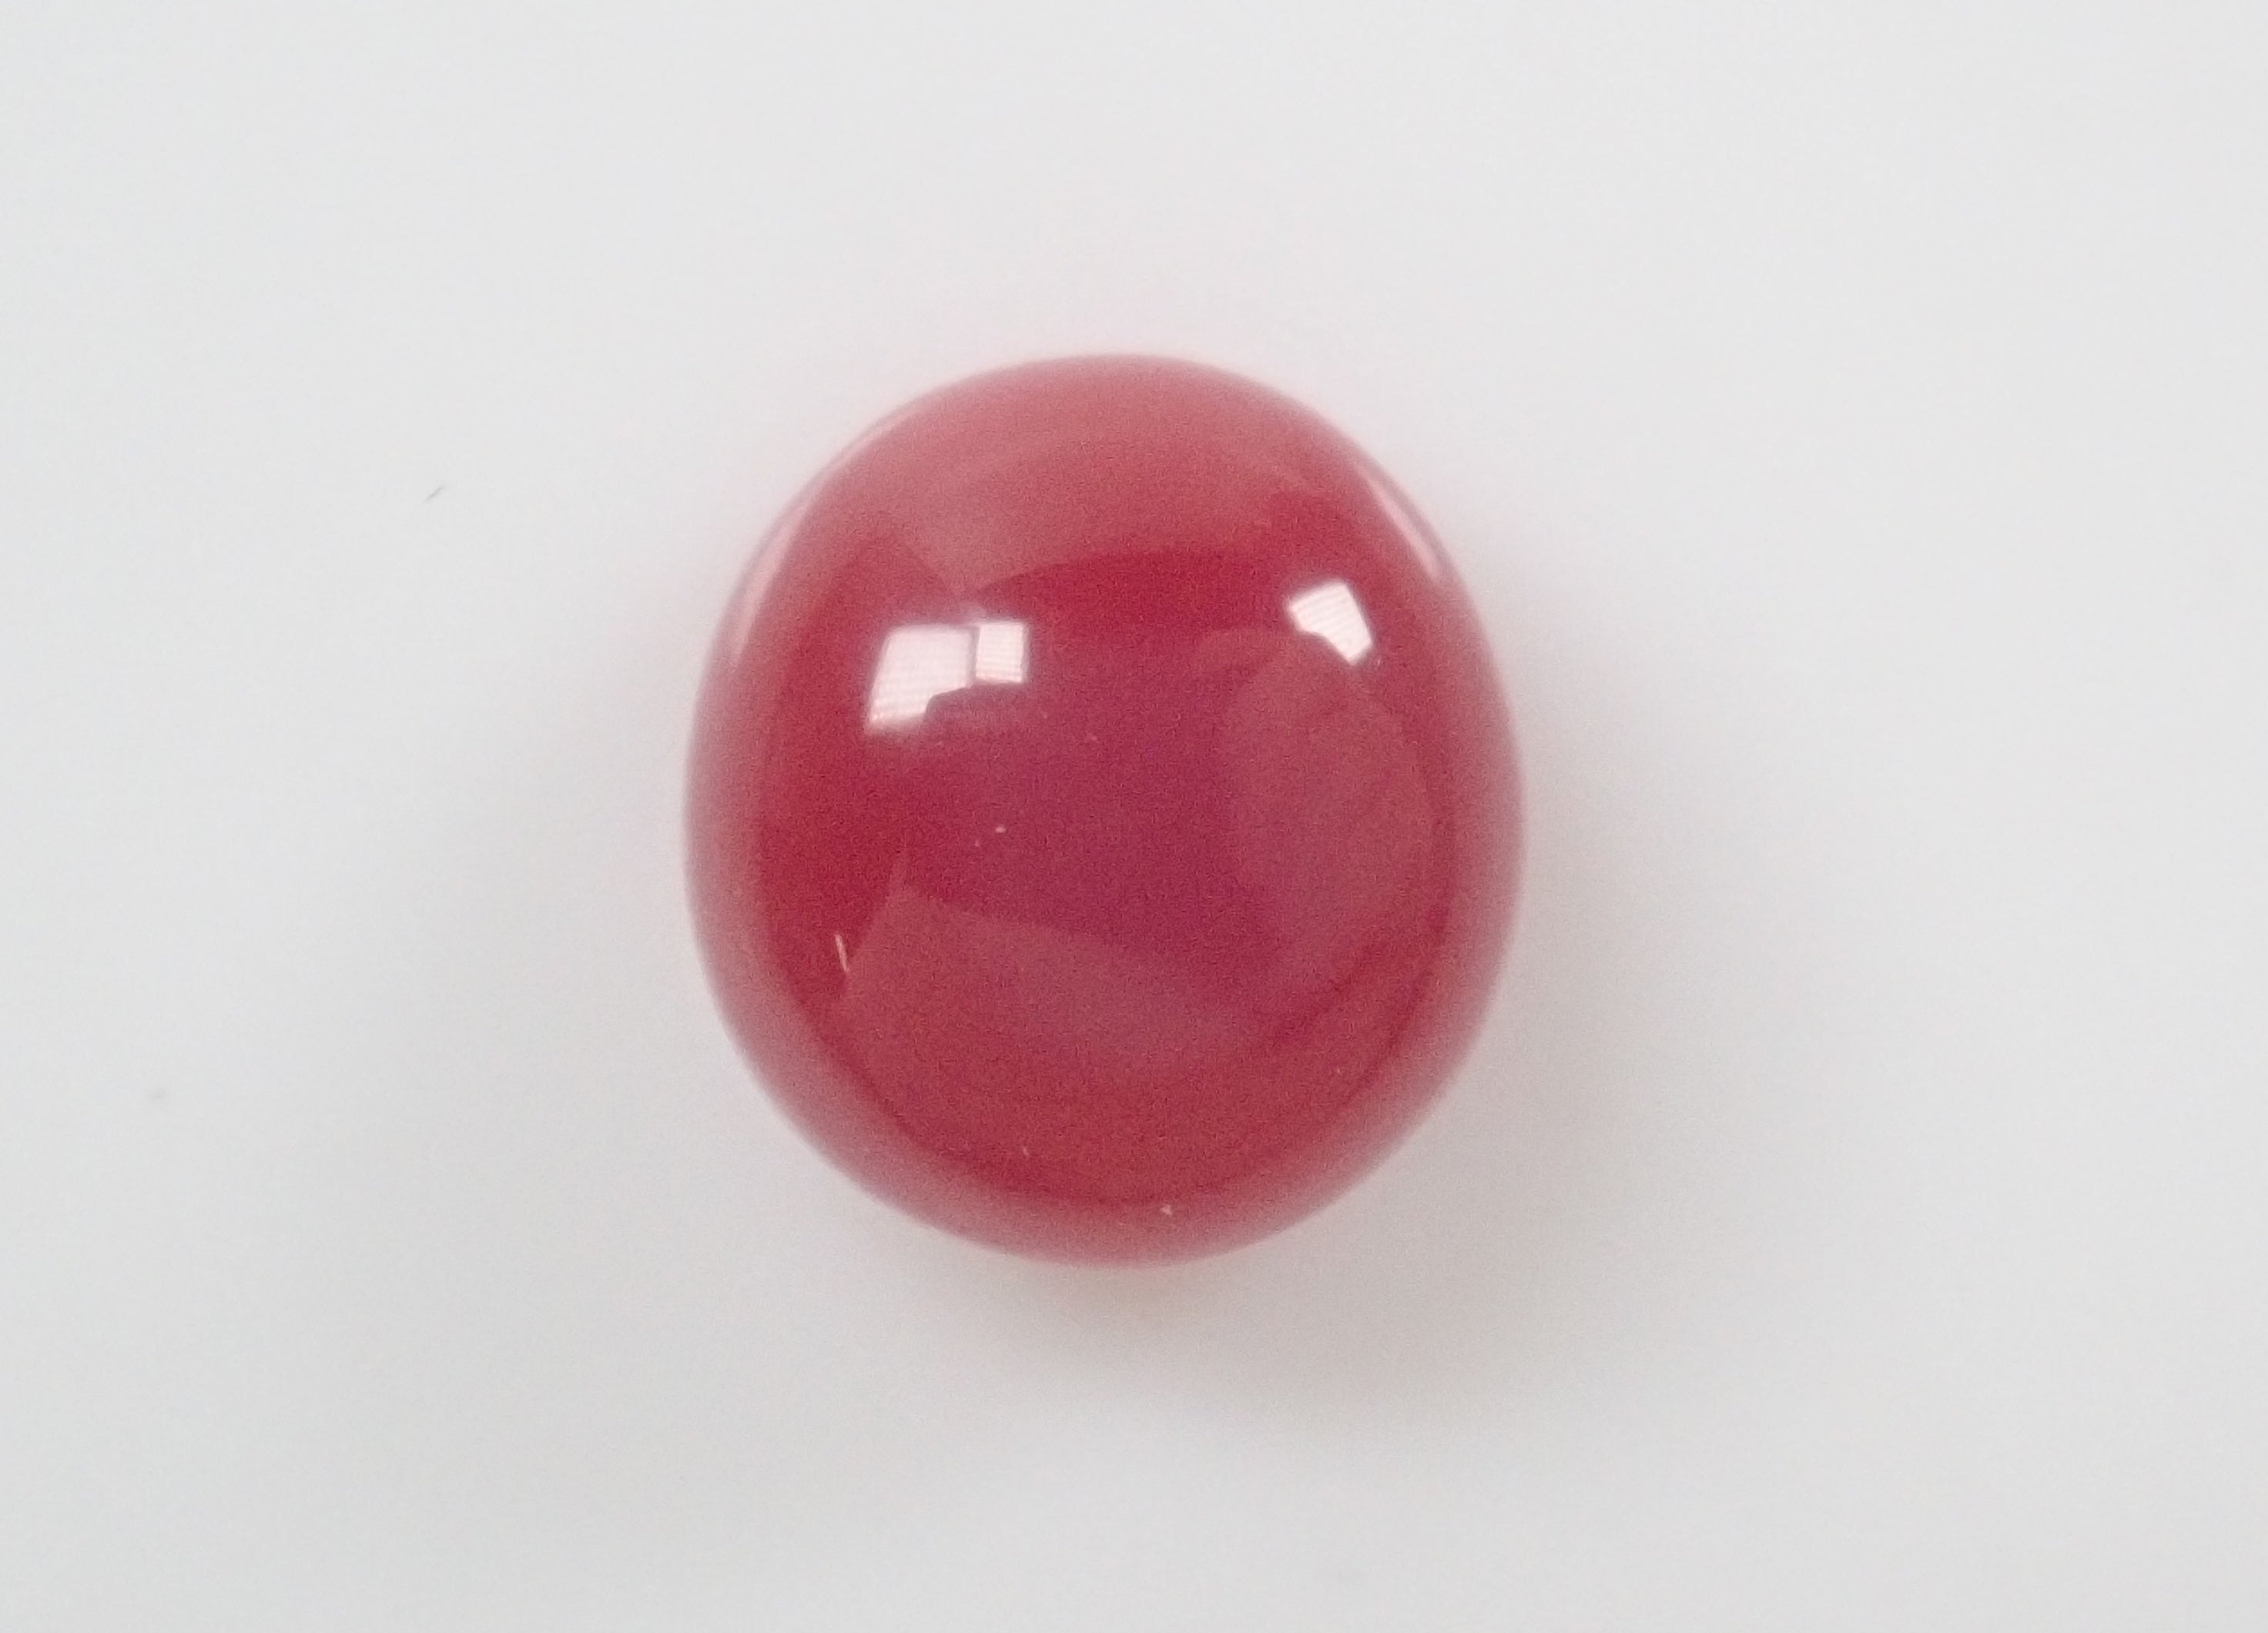
【7/18 22時販売】高知県産血赤珊瑚 1.348ctルース
Sale price¥12,800
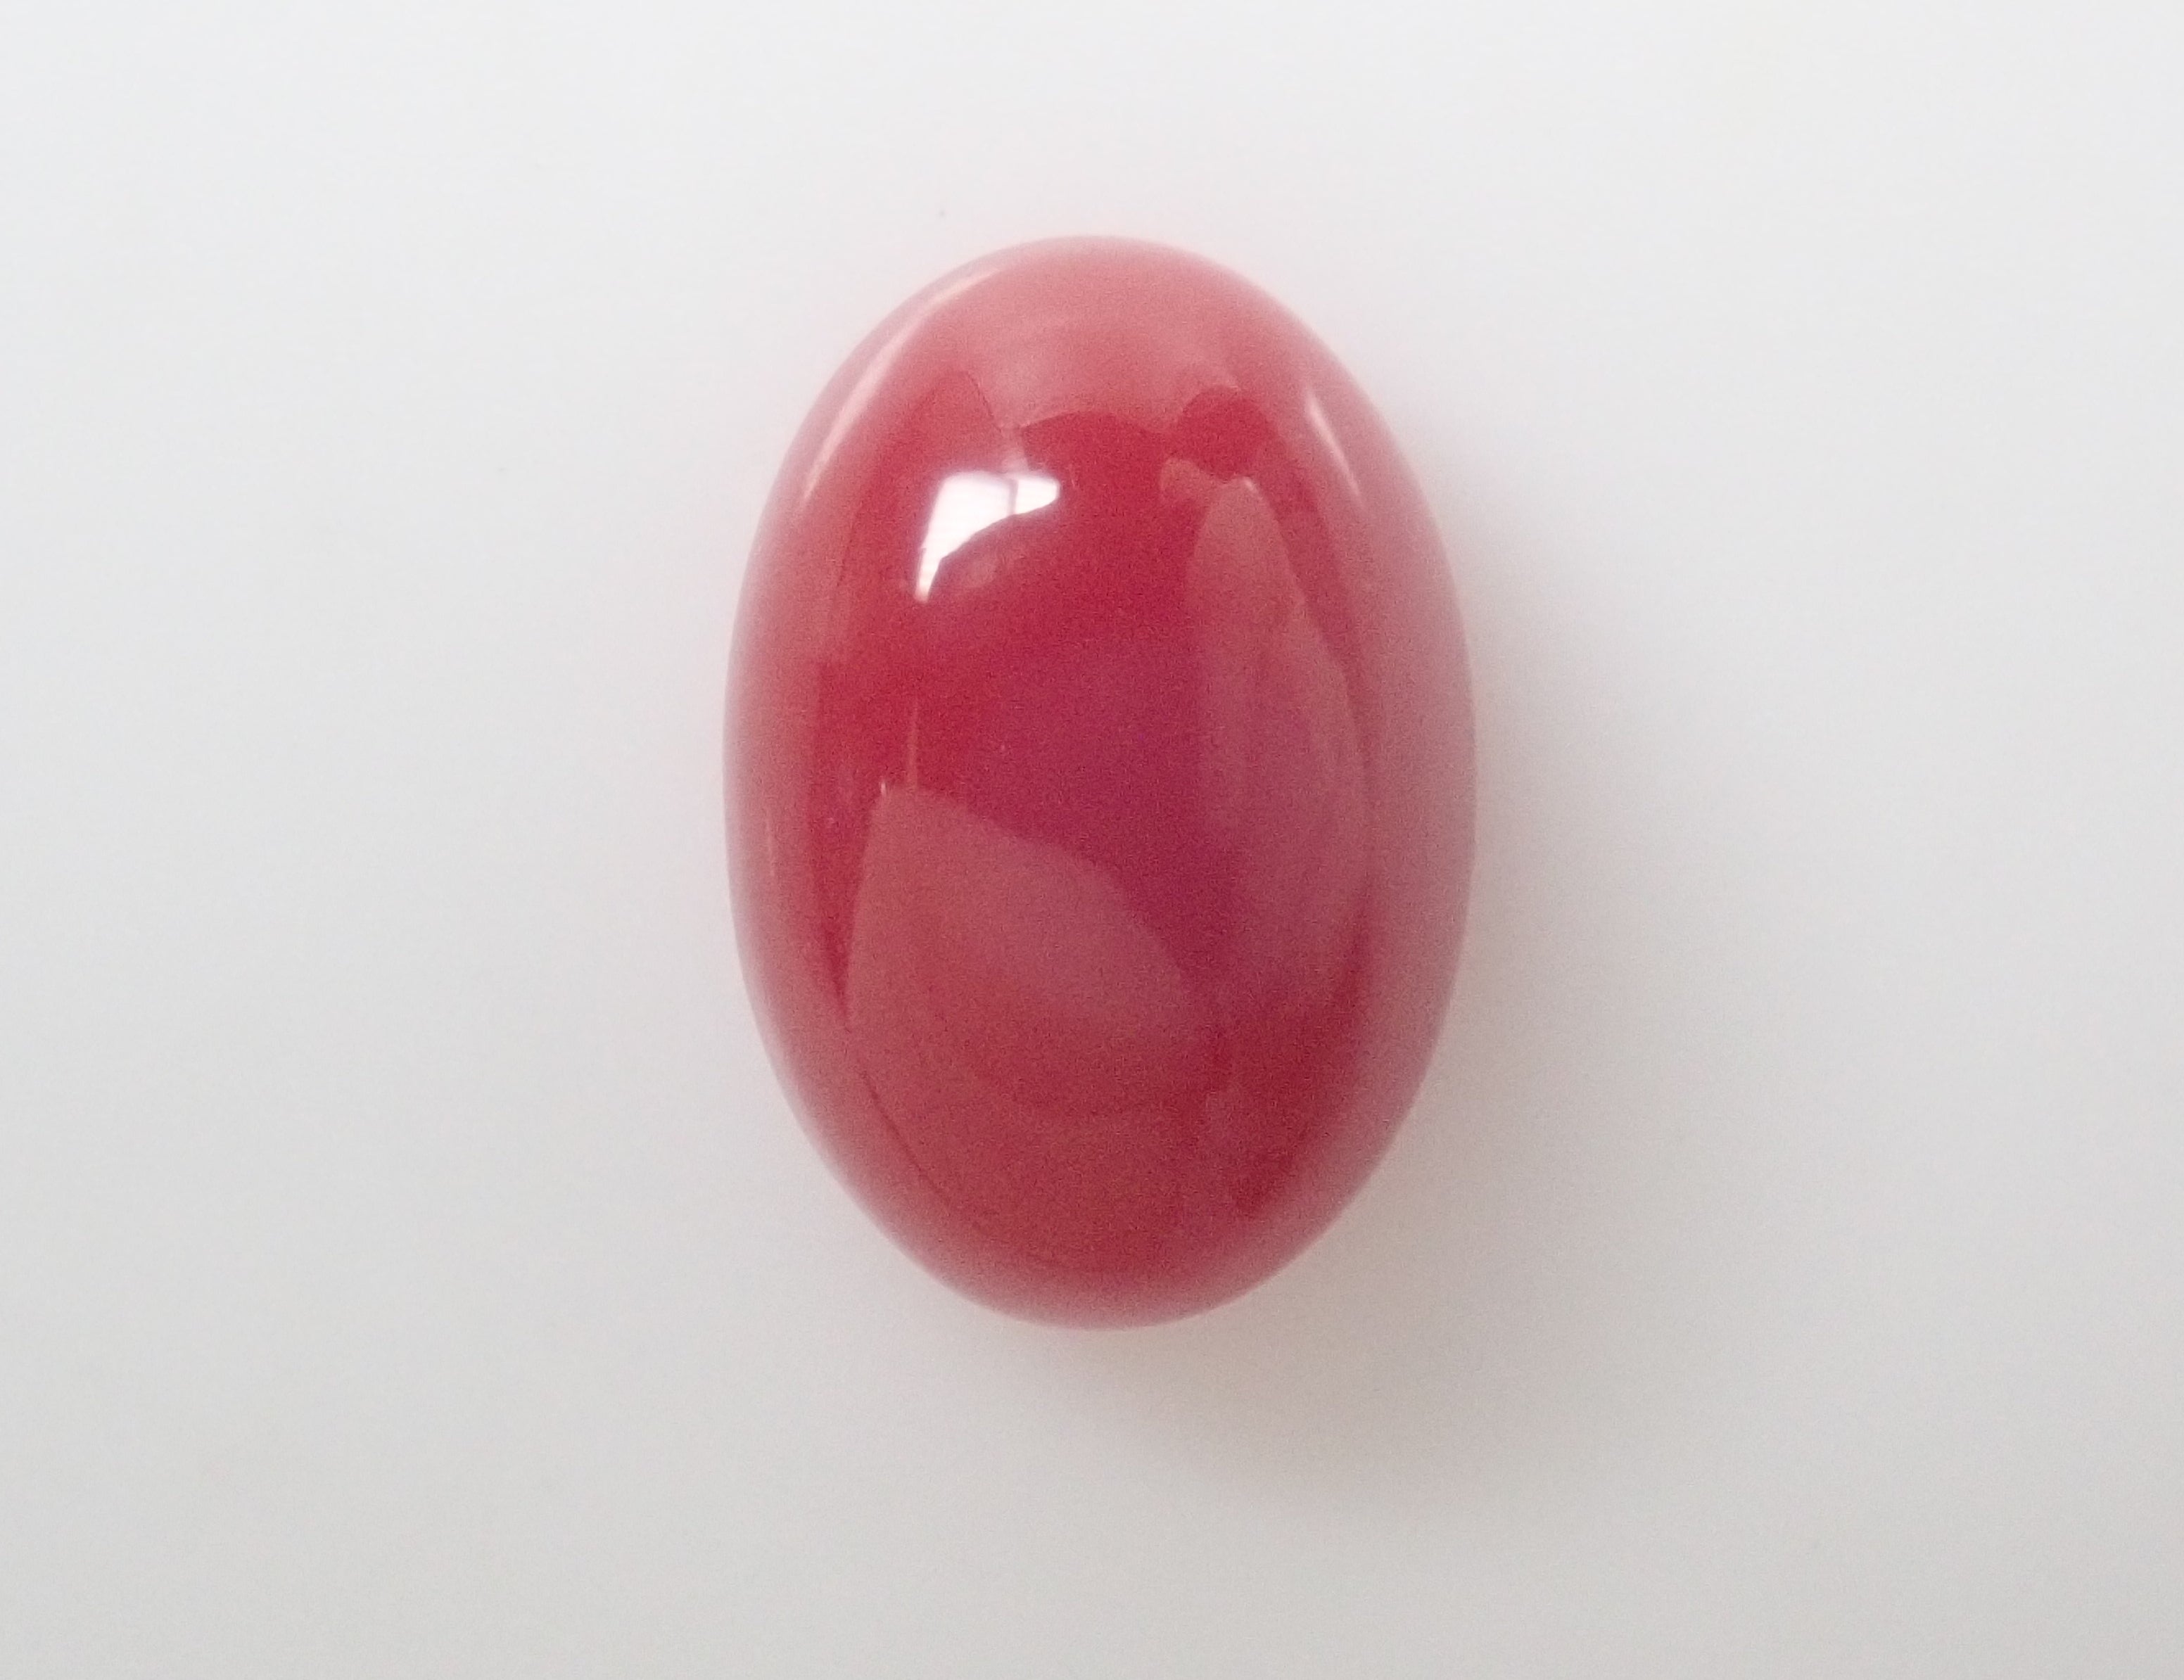
【7/16 22時販売】高知県産血赤珊瑚 1.087ctルース
Sale price¥12,800
【7/16 22時販売】ブラジル産ライモナイトインクォーツ(オーロラクォーツ) 2.094ctルース
Sale price¥8,800
【7/16 22時販売】ブラジル産ライモナイトインクォーツ(オーロラクォーツ) 2.291ctルース
Sale price¥9,800

【7/19 22時販売】ブラジル産ローズクォーツ 8.7mm/2.536ctルース
Sale price¥11,800
【7/20 22時販売】奈良県天川村産レインボーガーネット(アンドラダイトガーネット) 0.650ctルース
Sale price¥16,800
【7/20 22時販売】モザンビーク産ルビー 0.226ctルース
Sale price¥13,800
【7/20 22時販売】アメリカ産オレゴンサンストーン 7.0mm/1.441ctルース
Sale price¥35,800

Brazilian unheated particolor Paraiba tourmaline 0.84ct loose GIA
Sale price¥2,580,000

Brazilian Paraiba tourmaline 0.275ct loose (CuO:1.5%.MnO:2.3%)
Sale price¥398,000
Bicolor Euclase from Zimbabwe 0.084ct loose
Sale price¥98,000
Spanish bicolor sphalerite 6.230ct loose
Sale price¥69,800

Bekily Blue Garnet from Madagascar (color change garnet) 0.297ct loose
Sale price¥19,800
Oregon Sunstone 1.157ct loose
Sale price¥8,800
![[Jeweler's Tools] 3 black light loose pieces (ruby, red spinel rough, oil-in-quartz) with rechargeable battery](http://store.karatz.jp/cdn/shop/files/collage_c90ad5e1-b47a-49f9-b7d7-d75e04cd883a.png?v=1724920180&width=2000)
![[Jeweler's tools] 4-piece set including loupe (10x magnification), tweezers, and 2 loose stones](http://store.karatz.jp/cdn/shop/files/P4130575.jpg?v=1776126091&width=4000)